Introduction to Homemade Bomb Pops
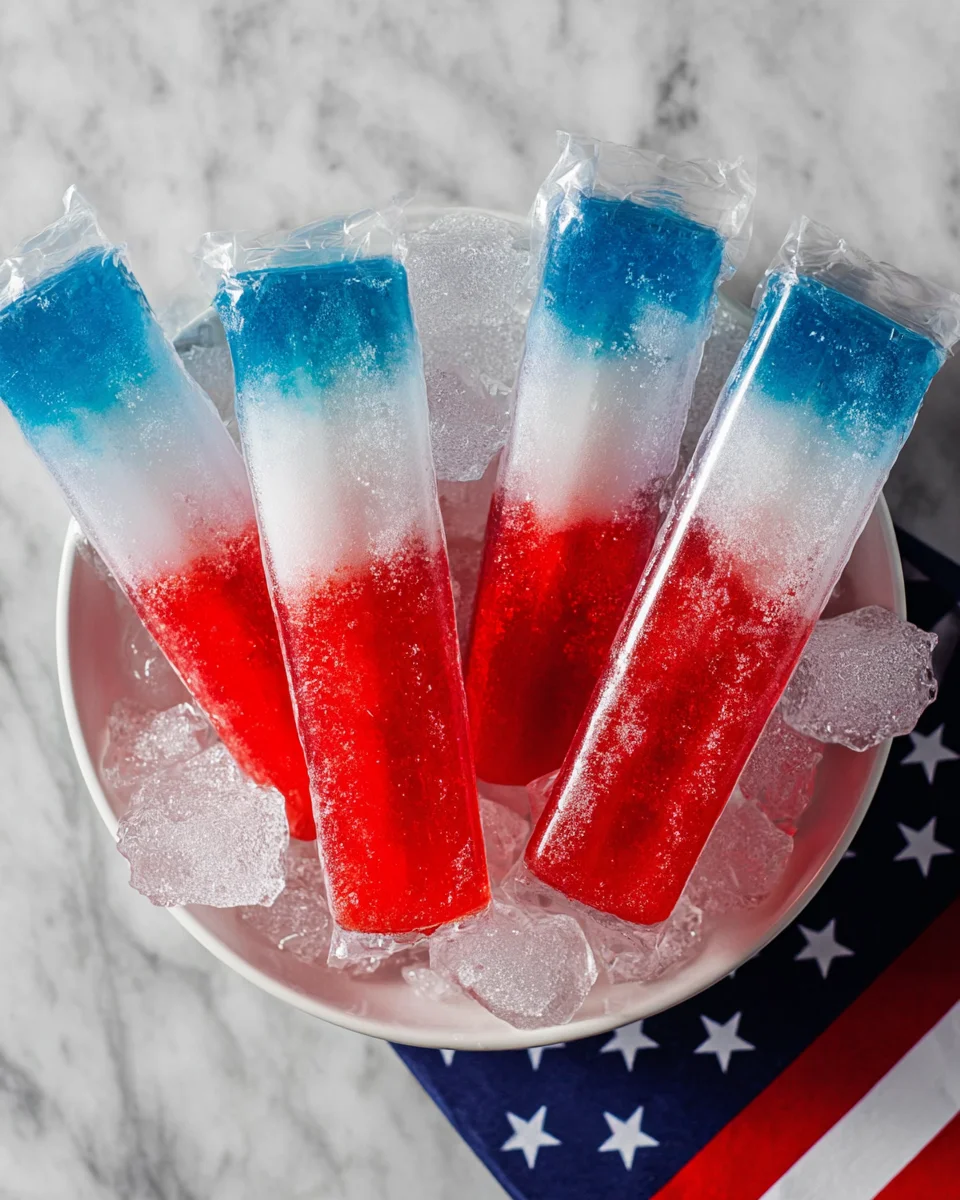
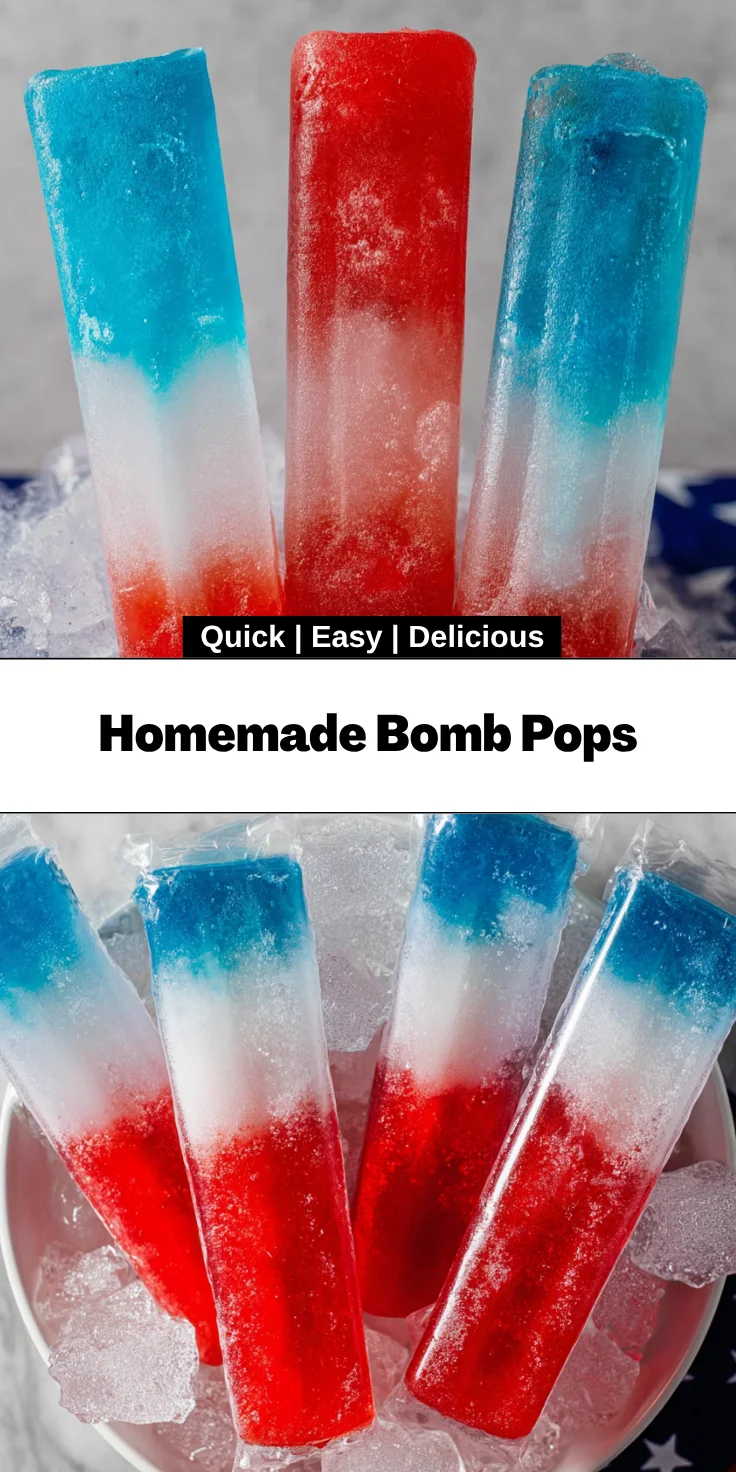
As the sun blazes and temperatures rise, I can’t help but think of the joy a refreshing treat brings. Enter my favorite summer delight: Homemade Bomb Pops! These colorful popsicles aren’t just eye-catching; they’re a quick solution for busy days filled with endless tasks. With just a few ingredients and some freezing time, you can whip up a batch that will excite your kids or impress friends. Whether it’s a backyard BBQ or a relaxing afternoon, these homemade treats are a fun way to cool off and create sweet memories with your loved ones.
Why You’ll Love This Homemade Bomb Pops
Homemade Bomb Pops are not just a feast for the eyes; they’re a breeze to make! In just 15 minutes of prep, you can layer vibrant flavors that dance on your tongue. These popsicles are a fantastic way to spark creativity in the kitchen without the hassle. Plus, they’re a hit among kids and adults alike, making them perfect for any summer gathering. Who doesn’t love a treat that’s as fun to eat as it is simple to prepare?
Ingredients for Homemade Bomb Pops
To create your vibrant Homemade Bomb Pops, you’ll need just a handful of simple ingredients. Here’s what you’ll gather:
- Blue Hawaiian Punch, Kool Aid, or Blue Sports Drink: This colorful base gives your pops a bright blue hue. You can opt for store-bought mixes or whip up your own fruity version for a homemade twist.
- Lemonade or a Mix of Water and White Grape Juice: This refreshing layer adds a zesty zing. It balances out the sweetness from the blue layer and brings a bright, cheerful taste that complements the other flavors perfectly.
- Red Hawaiian Punch, Cherry Juice, or Fruit Punch: The final layer, bursting with fruity sweetness, creates a stunning contrast. It not only looks great but offers a sweet finish that will make your taste buds sing!
Feel free to experiment with different juices or drinks that excite your palate. Want a tarter twist? Try a splash of cranberry juice! Or perhaps a more tropical flavor with mango juice? The options are truly endless! You can find exact measurements at the end of this article for your convenience.
How to Make Homemade Bomb Pops
Making your own Homemade Bomb Pops is not just a culinary adventure; it’s a family bonding experience! Let’s dive into the process. Trust me, it’s easier than you think!
Step 1: Create the Blue Layer
Begin by pouring 1-2 tablespoons of your blue juice into the popsicle mold. Fill each compartment about ⅓ full. It’s like adding a splash of ocean blue to a sunny day, don’t you think?
Next, pop them in the freezer for 30-45 minutes. You want them to be slightly firm, but not completely frozen. This is crucial for creating distinct layers later on, so keep an eye on them!
Step 2: Add the Lemonade Layer
Once the blue layer is ready, it’s time for the lemonade. Carefully pour 1-2 tablespoons of lemonade over your frozen blue layer, filling the mold another ⅓ of the way. This step is where you bring in some zest!
Again, return the molds to the freezer for about 30-45 minutes. This waiting game isn’t too bad, right? You could even soak it in some summer tunes while anticipating that sweet treat!
Step 3: Finish with the Red Layer
Now for the fun part – the red layer! Pour 1-2 tablespoons of your red juice over the frozen lemonade. Fill the molds to the top. It’s the final touch that brings your Homemade Bomb Pops to vibrant life.
Freeze these delightful creations for at least 4-6 hours, or until fully solid. Trust me; the longer they freeze, the more rewarding the wait!
Step 4: Unmold Your Popsicles
When you’re ready to devour these beauties, run the molds under warm water for a few seconds. This little trick will help you easily remove your popsicles without any stress. Nothing worse than a pop that won’t budge, right?
Once they’re free, gather your family or friends, and enjoy these colorful delights. Each bite is bound to bring laughter, smiles, and maybe a little nostalgic joy! What a way to embrace summer!
Tips for Success
- Be patient with freezing times to ensure distinct layers.
- Try using clear molds to show off those colorful layers.
- For easier pouring, use a funnel to fill the molds.
- Mix the blue and red juices with a splash of soda for added fizz!
- If your popsicles stick, let them sit for a minute in warm water.
Equipment Needed for Homemade Bomb Pops
- Popsicle Molds: Any silicone or plastic molds work great. If you don’t have molds, paper cups and wooden sticks do the trick, too!
- Measuring Spoons: For precise pouring. A liquid measuring cup can also suffice.
- Funnel: Optional but helps for spill-free filling.
Variations of Homemade Bomb Pops
- Fruit Juice Blast: Swap out the blue juice for blueberry or raspberry juice for a fruity explosion!
- Tropical Delight: Use pineapple juice or coconut water for a fun, tropical twist, transforming your pops into a vacation treat!
- Healthier Options: Try using 100% fruit juice for a cleaner, no-added-sugar treat. Think fresh-pressed juice if you’re feeling adventurous!
- Yogurt Pops: Add a layer of yogurt mixed with a bit of honey for a creamy texture that kids will love!
- Herbal Infusion: Incorporate herbal teas like hibiscus or mint for a unique flavor profile. They’ll look beautiful and taste refreshing!
Serving Suggestions for Homemade Bomb Pops
- Pair your Homemade Bomb Pops with a scoop of vanilla ice cream for a delightful dessert combo.
- Serve alongside fresh fruit like strawberries or watermelon for a colorful and healthy contrast.
- Dress up your pops with a sprinkle of edible glitter for a fun presentation at parties!
- Offer a chilled lemonade or iced tea as a refreshing drink to accompany your pops.
FAQs about Homemade Bomb Pops
Can I use different flavors for my Homemade Bomb Pops?
Absolutely! The beauty of Homemade Bomb Pops lies in their versatility. Feel free to mix and match juices based on your or your kids’ preferences. Want a tropical vibe? Go for mango or pineapple juice!
How long do Homemade Bomb Pops last in the freezer?
These vibrant creations can last in the freezer for up to two months. Just make sure you wrap them tightly in plastic wrap or store them in an airtight container to avoid freezer burn.
Can I make Homemade Bomb Pops without molds?
Yes! If you don’t have molds, you can use paper cups and wooden sticks. Just fill the cups, pop in the sticks, and freeze. They’ll be equally delightful!
Are Homemade Bomb Pops suitable for kids?
Definitely! These popsicles are a hit among kids. You can even adjust the sweetness by using less sugary juices or blending in fresh fruits for a nutritious twist!
What’s the best way to unmold my Bomb Pops?
Just run warm water over the outside of the molds for a few seconds. This simple trick helps release the popsicles without any hassle. Say goodbye to stubborn pops!
Final Thoughts
The joy of making Homemade Bomb Pops extends far beyond just savoring a delicious treat. This colorful, fun-filled endeavor brings families together, creating cherished memories on warm summer days. Whether you’re crafting them with kids or surprising guests at a gathering, each bite revives that carefree spirit of summer. With just a few ingredients and easy steps, you can bring smiles and laughter to your table. So, grab your molds and unleash your creativity! As my family discovered, these pops aren’t just refreshing; they’re a sweet reminder that happiness can be found in the simplest of pleasures. Enjoy every delectable moment!
Print
Homemade Bomb Pops
- Total Time: 6 hours
- Yield: 6 popsicles 1x
- Diet: Vegetarian
Description
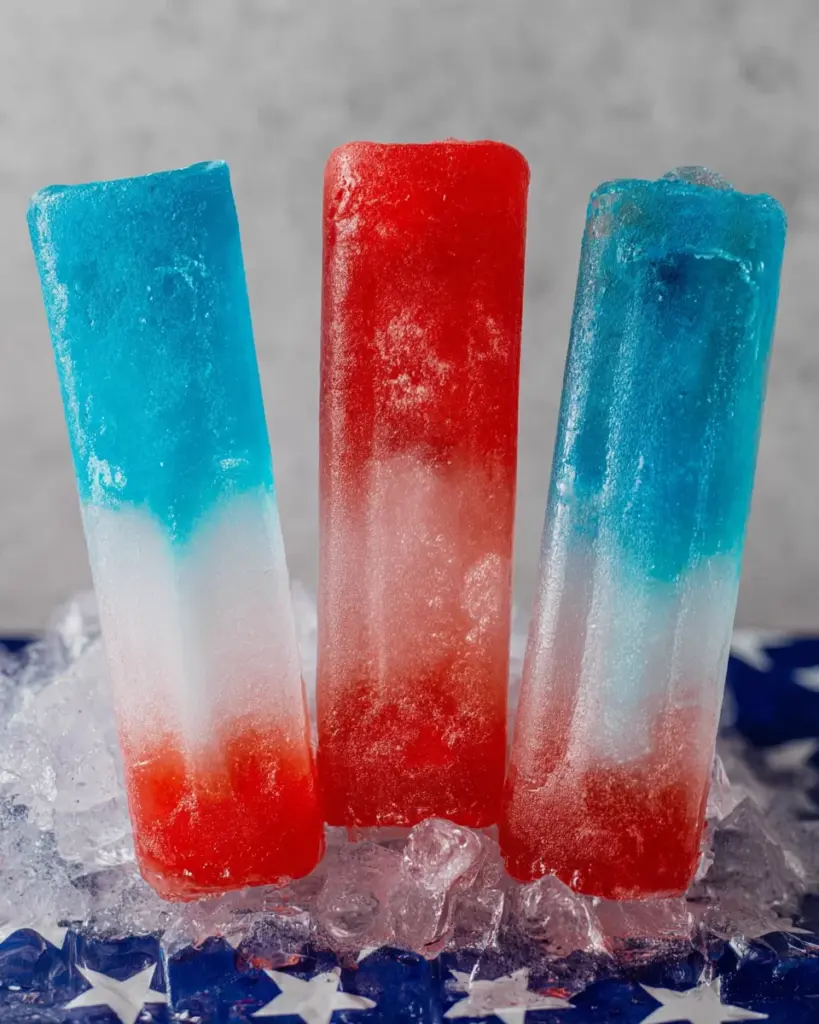
A delicious and colorful treat, Homemade Bomb Pops are refreshing frozen popsicles made with layers of blue, white, and red juices.
Ingredients
- 1 cup blue Hawaiian punch, blue Kool Aid or blue sports drink
- 1 cup lemonade or a mix of water and white grape juice
- 1 cup red Hawaiian punch, cherry juice, or fruit punch
Instructions
- Pour 1-2 tablespoons of blue juice into popsicle pouch, filling each about ⅓ full. Freeze for 30-45 minutes, until slightly firm but not completely frozen.
- Pour 1-2 tablespoons of lemonade over the frozen blue layer, filling another ⅓ of the pouch. Freeze for another 30-45 minutes.
- Pour 1-2 tablespoons of red juice over frozen lemonade and frozen blue juice, filling the molds to the top. Freeze for at least 4-6 hours or until fully solid.
- Run molds under warm water for a few seconds to easily remove the popsicles.
Notes
- Experiment with different juice flavors for unique variations.
- Ensure the layers are frozen sufficiently to create distinct layers.
- Prep Time: 15 minutes
- Cook Time: 0 minutes
- Category: Dessert
- Method: Freezing
- Cuisine: American
Nutrition
- Serving Size: 1 popsicle
- Calories: 70
- Sugar: 15g
- Sodium: 10mg
- Fat: 0g
- Saturated Fat: 0g
- Unsaturated Fat: 0g
- Trans Fat: 0g
- Carbohydrates: 18g
- Fiber: 0g
- Protein: 0g
- Cholesterol: 0mg