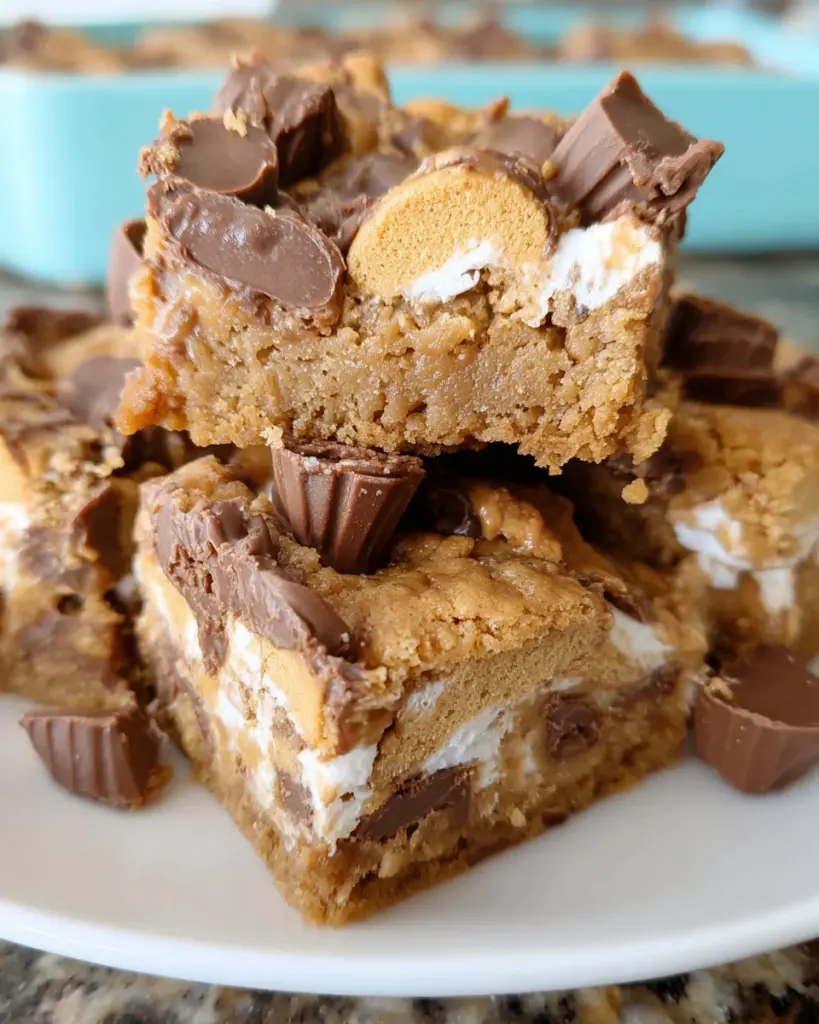
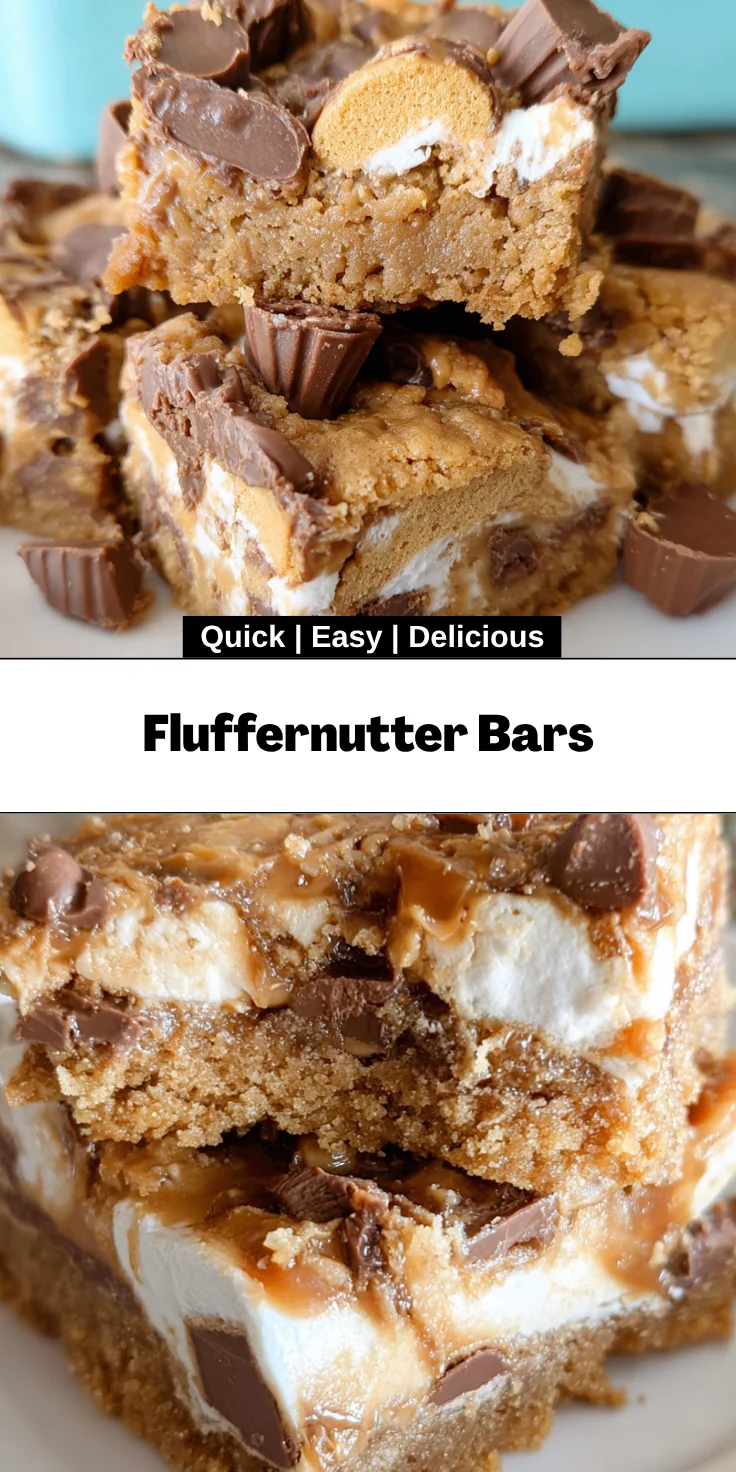
Introduction to Fluffernutter Bars
Welcome to my kitchen, where I can’t help but get a little giddy over the thought of Fluffernutter Bars! These delightful treats are like a warm hug on a busy day. Picture this: golden cookie layers filled with creamy peanut butter, sweet marshmallow fluff, and dreamy chocolate. Whether you’re looking for a quick solution for a hectic afternoon or a sweet surprise for a family gathering, these bars deliver joy and comfort in every bite. Trust me, they’re bound to impress loved ones, even the pickiest of eaters. Let’s dive into this scrumptious recipe together!
Why You’ll Love This Fluffernutter Bars
These Fluffernutter Bars are more than just a dessert; they’re a time-saving miracle for busy lives. With just a few simple steps, you can create a treat bursting with flavors that everyone will adore. The best part? They’re so easy to whip up that you’ll find yourself making them again and again. Plus, they emerge warm and gooey, making them perfect for sharing or for a cozy night in.
Ingredients for Fluffernutter Bars
Gathering the right ingredients is crucial for making these delightful Fluffernutter Bars. Each element plays a role, transforming simple pantry staples into something extraordinary. Here’s what you’ll need:
- Butter: Softened to room temperature, it brings richness and helps create that gooey texture we crave.
- Peanut Butter: Creamy or chunky, this gives the bars their signature flavor. Choose your preference for an added crunch or smoothness.
- Brown Sugar: Packed tight, it adds sweetness and depth, ensuring the bars are delightful and chewy.
- Egg: This binds the bar together while adding moisture, making sure each slice has a soft crumb.
- Vanilla Extract: A splash of this adds warmth and enhances the overall flavor, making it more inviting.
- All-Purpose Flour: Here’s where the magic of dough happens. It gives structure to the bars.
- Peanut Butter Cups: Choose regular-sized ones, and you’re in for a delightful surprise of chocolate and peanut butter in each bite.
- Chocolate Chips: These tiny treasures melt beautifully and provide pockets of chocolatey goodness throughout the bars.
- Marshmallow Creme: Also known as marshmallow fluff, it’s the star of the show! It brings a light, fluffy contrast that makes these bars indulgent.
For detailed measurements, don’t forget to check the bottom of the article—they’re all available for easy printing.
How to Make Fluffernutter Bars
Step 1: Preheat and Prepare Your Pan
First things first, preheat your oven to 350°F. This step is essential because a properly heated oven ensures even baking. While it heats up, grab an 8×11 inch baking pan and line it with parchment paper. Let the edges hang over the sides—this makes lifting your Fluffernutter Bars out a breeze later. Trust me, when you’re standing there, knife in hand, you’ll appreciate that parchment!
Step 2: Make the Cookie Dough
Now, let’s get mixing! In a large bowl, beat together the softened butter and brown sugar until the mixture is light and fluffy—this should take about three minutes. Then, add the egg, peanut butter, and vanilla extract. Keep mixing until everything is combined nicely. Next, gradually incorporate the all-purpose flour, gently mixing until the dough comes together. The desired texture should be soft and slightly sticky—just the way we want it!
Step 3: Assemble the Bars
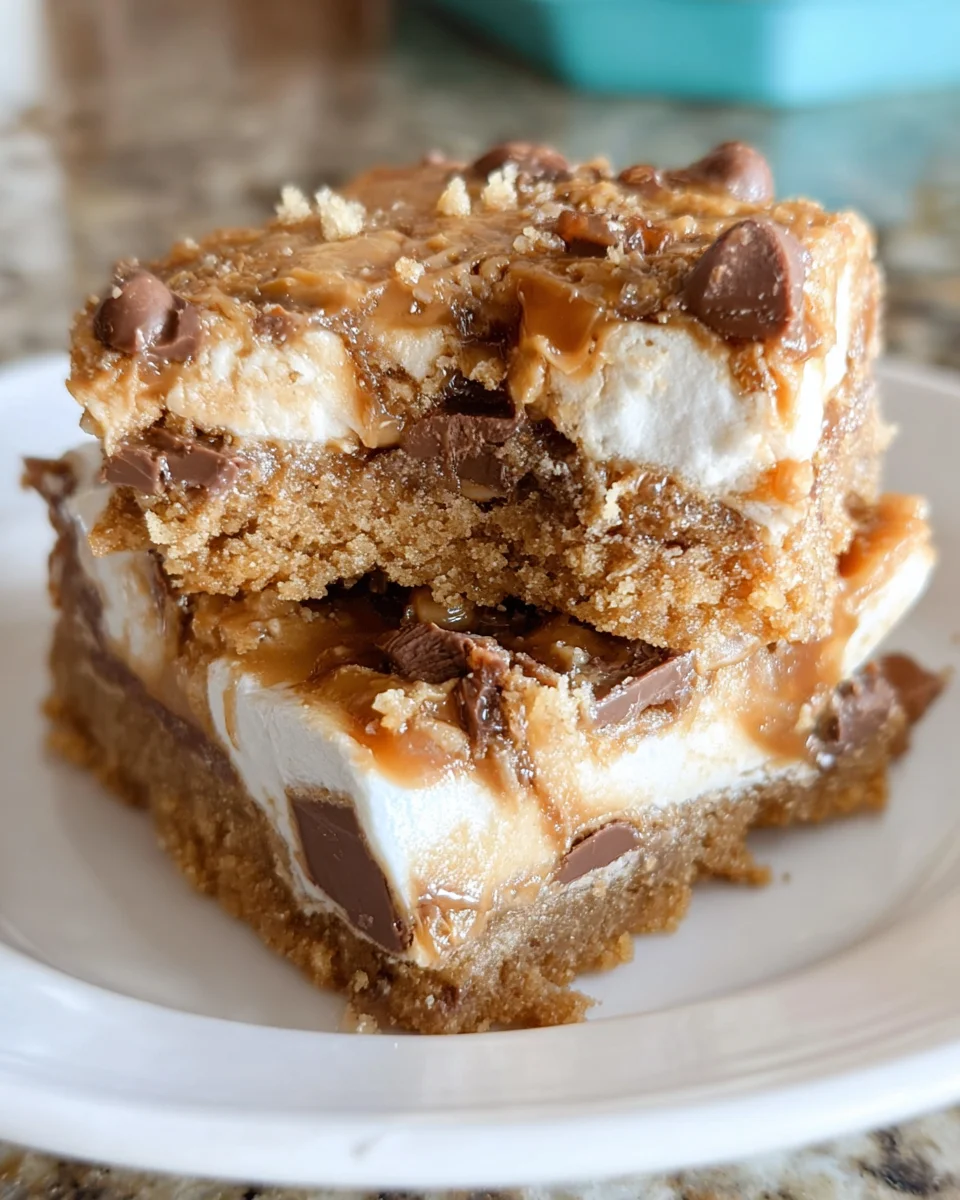
It’s assembly time! Take about two-thirds of your cookie dough and press it evenly into the bottom of your prepared pan. This creates your base. Now for the fun part: spread the marshmallow fluff over this layer. Make sure it’s well-covered. Next, evenly place the peanut butter cups on top, ensuring they’re not overlapping. Finally, dollop spoonfuls of the remaining dough over the peanut butter cups and gently spread it out. Pat it down slightly so everything is tucked in tightly.
Step 4: Bake to Perfection
Slide your pan into the oven and set a timer for 25 minutes. Keep an eye on it! You’ll know the bars are ready when the edges turn a lovely golden brown. The center may look a bit soft, but don’t worry—it will firm up as it cools. The aroma wafting from the oven will drive you wild, and you’ll be tempted to sneak a taste!
Step 5: Cooling and Slicing
Patience is key here, my friend! Once they’re out of the oven, let the bars cool in the pan for about an hour. This gentle cooling helps them set just right. After they’ve had their time, lift them out using the overhanging parchment paper—voila! To slice them cleanly, consider using a pizza cutter; it makes the job much easier. Enjoy the satisfaction of cutting perfectly shaped bars; you’ve earned it!
Tips for Success
- Always use softened butter for easy mixing and a smooth texture.
- Measure flour accurately by spooning it into the measuring cup and leveling it off.
- Let your Fluffernutter Bars cool completely before slicing to avoid crumbly edges.
- For a fun twist, add chopped nuts or dried fruit into the dough.
- Store leftovers in an airtight container to maintain freshness.
Equipment Needed
- Baking pan (8×11 inch) – If you don’t have one, a 9×9 inch pan will do!
- Parchment paper – You can also use aluminum foil, but parchment helps prevent sticking.
- Mixing bowl – Any large bowl will work for combining ingredients.
- Electric mixer – A whisk will suffice, though it requires more elbow grease!
- Spatula – A rubber spatula helps scrape every delicious bit from the bowl.
Variations of Fluffernutter Bars
- Dark Chocolate Drizzle: Swap regular chocolate chips for dark chocolate for a rich twist.
- Nutty Delight: Fold in some chopped walnuts or pecans into the dough for added crunch.
- Gluten-Free Version: Substitute all-purpose flour with a gluten-free flour blend to accommodate dietary needs.
- Vegan Option: Replace butter with coconut oil and use a flax egg instead of a regular egg for a vegan-friendly treat.
- Flavored Marshmallow: Use flavored marshmallow fluff, like strawberry or chocolate, for a fun twist on the classic.
Serving Suggestions for Fluffernutter Bars
- Pair with a glass of cold milk for the ultimate comfort food experience.
- Serve warm with a scoop of vanilla ice cream on the side for a delightful contrast.
- Top with whipped cream and a drizzle of chocolate sauce for extra indulgence.
- Garnish with crushed peanuts to elevate the presentation and crunch.
- Wrap in parchment and tie with twine for a charming homemade gift.
FAQs about Fluffernutter Bars
Can I make Fluffernutter Bars ahead of time?
Absolutely! These bars store beautifully. You can prepare them a day in advance and keep them wrapped tightly at room temperature, or you can store them in the fridge for an even longer shelf life. Just remember to let them come to room temperature before serving.
What can I substitute for marshmallow fluff?
If you can’t find marshmallow fluff, you can use homemade marshmallow cream or make a simple mixture of whipped cream combined with powdered sugar. The result may vary slightly, but it’ll still be a sweet treat!
Can I freeze Fluffernutter Bars?
Yes, you can freeze them! Once fully cooled, wrap the bars in plastic wrap and foil before placing them in an airtight container. They can be frozen for up to three months. Just thaw them in the fridge before serving.
What’s the best way to store leftovers?
For leftovers, keep them in an airtight container at room temperature. If you prefer a firmer bar texture, storing them in the fridge is a great option, but let them sit out for about 15 minutes before enjoying for that fresh-baked taste!
Can I customize the flavor of Fluffernutter Bars?
Definitely! Feel free to get creative with your toppings. Add crushed Oreos for a chocolate twist, or mix in your favorite nuts. Each variation adds a unique flair to the classic Fluffernutter flavor you’ll love!
Final Thoughts
Making Fluffernutter Bars is not just about preparing a delicious dessert; it’s about creating moments filled with joy and indulgence. Each slice offers a delightful blend of flavors that elicits smiles from family and friends, reminding us of the sweet joys in life. Whether you indulge after a long day or serve them at a gathering, these bars become a part of your cherished memories. Plus, they’re simple enough for even the busiest of lifestyles. I promise you’ll find endless reasons to make these scrumptious treats again and again. Happy baking!
Print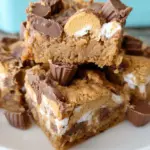
Fluffernutter Bars
- Total Time: 1 hour 40 minutes
- Yield: 16 bars 1x
- Diet: Vegetarian
Description
Delicious Fluffernutter Bars combining the flavors of peanut butter, chocolate, and marshmallow.
Ingredients
- 1/2 cup butter softened
- 1/3 cup peanut butter
- 1 cup packed brown sugar
- 1 egg
- 1 teaspoon vanilla extract
- 1 1/4 cups all purpose flour
- 9–12 peanut butter cups regular size (not fun size)
- 2/3 cup chocolate chips
- 7 ounces marshmallow creme or marshmallow fluff
Instructions
- Preheat oven to 350°F.
- Line an 8×11 inch baking pan with parchment paper, allowing the parchment paper to hang over all the edges of the pan, so that you can use it to pull the bars out of the pan later.
- To make the cookie dough: Combine the butter and sugar in a large bowl and beat until light in color and fluffy consistency (about 3 minutes).
- Add the egg, peanut butter and vanilla, continuing to mix.
- Add the flour and mix until well combined.
- Fold in chocolate chips.
- To make the fluffernutter bars: Press about 2/3 of the dough into the bottom of the baking dish.
- Spread the entire container of marshmallow creme over the layer of Reese’s cups.
- Place the peanut butter cups on top of the cookie dough, in an even layer, not overlapping.
- Spread the marshmallow fluff on top of the peanut butter cups, spreading evenly.
- Cover with the remaining dough and gently press into an even layer.
- Bake for 25 minutes at 350°F until the crust starts to turn golden brown.
- Remove from oven, keeping bars in the pan for an hour. This allows them to slowly cook a little more until they cool to room temperature.
- Remove the fluffernutter bars from the pan by pulling on the parchment paper and place on a wire cooling rack. Allow to cool fully, until set, before slicing.
Notes
- Ensure butter is softened to room temperature for easy mixing.
- Chill the bars before slicing for cleaner cuts.
- Use a pizza cutter for easy slicing.
- Prep Time: 15 minutes
- Cook Time: 25 minutes
- Category: Dessert
- Method: Baking
- Cuisine: American
Nutrition
- Serving Size: 1 bar
- Calories: 250
- Sugar: 18g
- Sodium: 150mg
- Fat: 12g
- Saturated Fat: 6g
- Unsaturated Fat: 4g
- Trans Fat: 0g
- Carbohydrates: 35g
- Fiber: 1g
- Protein: 4g
- Cholesterol: 20mg