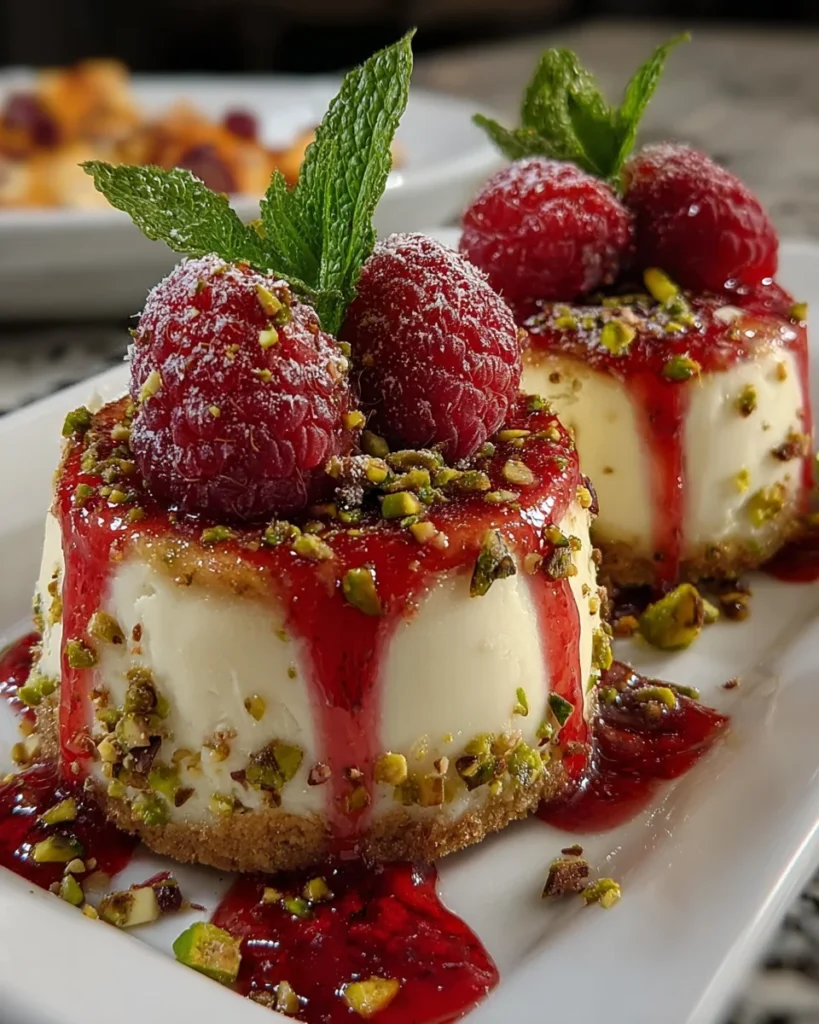
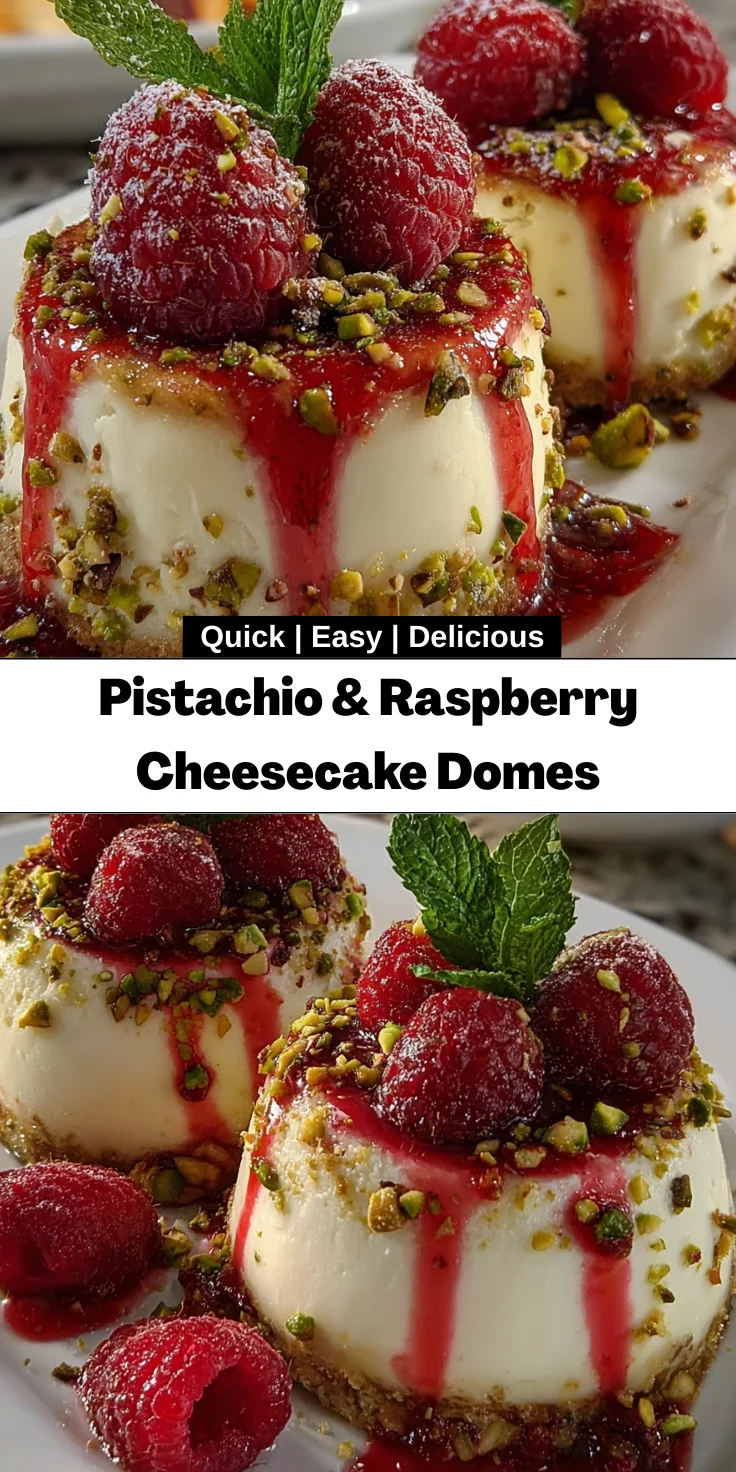
Introduction to Pistachio & Raspberry Cheesecake Domes
Welcome, fellow home cooks! Imagine a little sweet escape that fits right into your busy life—enter the Pistachio & Raspberry Cheesecake Domes. These delightful treats combine creamy raspberry filling with a crunchy pistachio crust, making them a perfect dessert to impress loved ones or simply indulge yourself after a long day. Whether you’re navigating the chaos of family dinners or seeking a special treat for a friend, these domes are your answer. They’re not just delicious; they’re an experience that brings joy to your kitchen and smiles to your table!
Why You’ll Love This Pistachio & Raspberry Cheesecake Domes
If you’re like me, you’re juggling a million things at once. These Pistachio & Raspberry Cheesecake Domes make dessert easy and enjoyable! They require minimal prep, leaving you extra time to kick back and savor life with your family. Plus, the rich flavors and textures are a crowd-pleaser for everyone, from picky eaters to dessert aficionados. Delicious, simple, and elegant—the perfect trifecta!
Ingredients for Pistachio & Raspberry Cheesecake Domes
Gathering your ingredients is half the fun of this delicious adventure! Here’s what you’ll need for these delightful Pistachio & Raspberry Cheesecake Domes:
- Cream cheese – This creamy, dreamy base helps achieve that silky texture we all love in cheesecake.
- Granulated sugar – Sweetness is key! It balances the tartness of the raspberries and enhances flavors.
- Sour cream – This adds richness and a tangy flavor that makes every bite heavenly.
- Vanilla extract – A splash of this aromatic ingredient brings warmth to your cheesecake filling.
- Eggs – These provide structure and creaminess, holding everything together beautifully.
- Raspberries – Fresh or frozen, they’re the star of this dessert, adding a burst of fruity goodness.
- Pistachio nuts – Finely ground, they form a crunchy crust that contrasts perfectly with the smooth filling.
- Unsalted butter – This acts as the glue in your crust, adding richness and flavor.
- Lemon juice – Just a hint brightens the raspberry sauce, amplifying its lovely taste.
- Chopped pistachios – Perfect for garnishing, they add that extra crunch and a pop of color.
- Fresh mint leaves – A charming touch to elevate your presentation and add a refreshing aroma.
For those looking to adapt this recipe, consider using low-fat cream cheese or a dairy-free alternative for a lighter option. You can also swap the raspberries for strawberries or blueberries if you prefer.
For the exact quantities, please check the section at the bottom of this article where they are all listed and available for printing!
How to Make Pistachio & Raspberry Cheesecake Domes
Step 1: Preheat the Oven and Prepare Your Molds
First things first—preheat your oven to 350°F (175°C). This is crucial for that perfect bake! While the oven heats up, gather your individual molds. I love using silicone molds as they make it easy to pop the domes out. Next, grab a mixing bowl and combine the finely ground pistachios, a touch of sugar, and melted butter. The mixture should feel like moist sand. Once combined, it’s time to fill your molds with this enticing crust mixture, pressing it down firmly. This forms the base for our delightful cheesecakes!
Step 2: Make the Pistachio Crust
Now that your molds are prepared, it’s time to get baking. Place your filled molds in the preheated oven for about 10-12 minutes. This baking time allows the crust to firm up nicely—just the way we like it! The aroma of toasting pistachios will fill your kitchen, tempting your taste buds. After the time is up, keep those molds out of the oven and let them cool slightly while we move on to our creamy filling!
Step 3: Prepare the Cheesecake Filling
In a large mixing bowl, beat the softened cream cheese until it’s dreamy and smooth—trust me, no lumps, only love! Gradually add granulated sugar and sour cream, blending together beautifully. Next, pour in a splash of vanilla extract—it adds warmth to our filling. Now, crack in the eggs one at a time, making sure to mix thoroughly after each addition. Finally, gently fold in those luscious raspberries, creating a vibrant mixture. This step is where the magic happens!
Step 4: Bake the Cheesecake Domes
Once your filling is ready, it’s time to bring it all together. Carefully pour the cheesecake mix over the cooled pistachio crust in each mold. The batter should fill the molds almost to the top. Bake these innocent-looking domes for about 25-30 minutes. You’re looking for a slight jiggle in the center when they’re done—this indicates they’re set but still creamy. When finished, turn off the oven and let them cool inside for about 30 minutes. This gentle cooling prevents cracks on the surface.
Step 5: Make Raspberry Sauce
While the cheesecake domes cool, let’s whip up that tangy raspberry sauce! In a small saucepan, combine raspberries, sugar, and lemon juice over medium heat. Stir occasionally until the mixture thickens, which should take about 10 minutes. For a smoother sauce, you can strain it through a fine mesh sieve after cooking. This step is optional, but it elevates the presentation and taste. Once cooled, this vibrant sauce will be ready to pour over your cheesecakes!
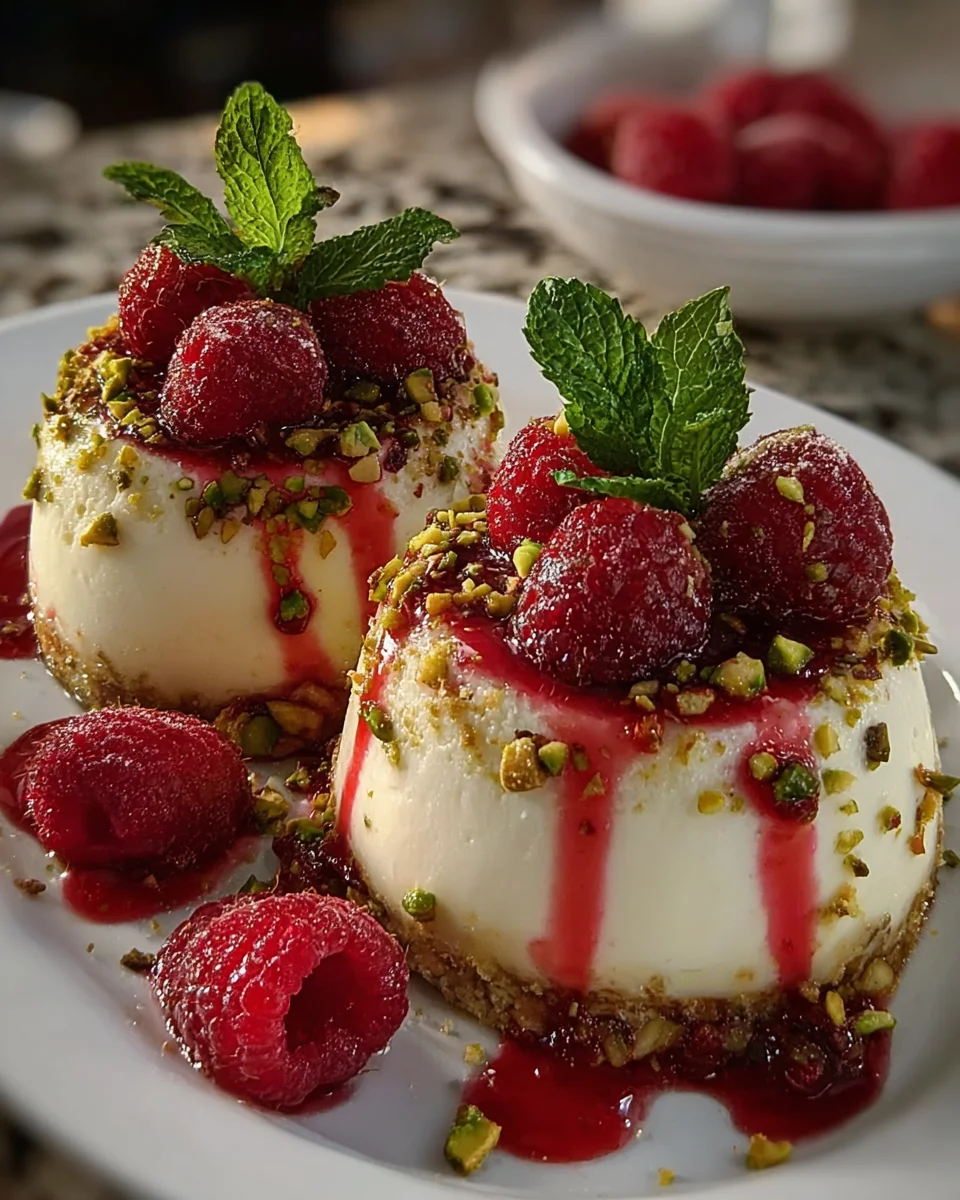
Step 6: Chill and Serve
Patience is key here! After baking, it’s time to refrigerate these lovely cheesecakes for at least 4 hours or overnight if possible. This chilling time allows the flavors to meld beautifully. When you’re ready to serve, gently pop the domes out of the molds. Drizzle with your raspberry sauce and get creative with those chopped pistachios and fresh mint leaves for garnish. They’ll look fantastic on your dessert table, and your guests will marvel at your culinary skills!
Tips for Success
- Ensure your cream cheese is softened to make mixing a breeze.
- Don’t skip the cooling step in the oven to prevent cracks in your cheesecake.
- If using frozen raspberries, thaw and drain excess liquid for less moisture in the filling.
- Make the raspberry sauce in advance to save time on serving day.
- Chill the cheesecakes overnight for a firmer, more delicious result.
Equipment Needed
- Oven: Essential for baking the cheesecakes; toaster ovens can work too for smaller batches.
- Mixing bowls: Use any deep bowl for mixing; one glass bowl is perfect for visibility.
- Electric mixer: A hand mixer makes life easier, but a whisk works in a pinch!
- Silicone molds: Great for easy release; traditional muffin tins can also be used.
- Small saucepan: For the raspberry sauce; a regular pot does the job as well.
Variations for Pistachio & Raspberry Cheesecake Domes
- Nut-Free Option: Omit the pistachios and use a graham cracker or almond flour crust for a different texture.
- Berry Medley: Swap raspberries for a mix of blueberries and strawberries for a colorful and fruity twist.
- Chocolate Lovers: Add cocoa powder to the cream cheese filling or drizzle melted dark chocolate on top for added richness.
- Gluten-Free Version: Use gluten-free cookies or almond flour in your crust to accommodate gluten sensitivities.
- Vegan Option: Replace cream cheese with a plant-based alternative and use flax eggs in place of regular eggs for a delightful vegan treat.
Serving Suggestions for Pistachio & Raspberry Cheesecake Domes
- Pair with Coffee: A cup of rich brewed coffee offers a delightful contrast to the sweetness of the cheesecake.
- Fresh Fruits: Serve alongside a medley of fresh berries for a colorful and refreshing touch.
- Elegant Plating: Use a wide dessert plate and drizzle raspberry sauce artfully around the dome for an impressive presentation.
- Whipped Cream: A dollop of lightly sweetened whipped cream adds an extra creamy texture.
FAQs about Pistachio & Raspberry Cheesecake Domes
Can I use other nuts for the crust? Absolutely! Feel free to experiment with almonds or walnuts if you’re not a fan of pistachios. Just remember to grind them finely for that perfect crunchy crust!
How long can I store the cheesecake domes? These Pistachio & Raspberry Cheesecake Domes can be stored in the refrigerator for up to five days. Just make sure to keep them covered to maintain their freshness!
Can I freeze the cheesecake domes? Yes! They freeze quite well. Just wrap them in plastic wrap and place them in an airtight container. To enjoy later, simply thaw them in the fridge overnight.
What’s the best way to serve these cheesecakes? For a stunning presentation, drizzle warm raspberry sauce over your domes just before serving. Garnish with chopped pistachios and fresh mint leaves for that extra flair.
Why is my cheesecake dome cracking? Cracks often happen due to too much heat or not enough cooling. Make sure your oven temperature is just right and remember to let them cool gradually in the oven!
Final Thoughts
Making Pistachio & Raspberry Cheesecake Domes is more than just a cooking task—it’s a delightful experience. Each step, from mixing to chilling, offers a chance to enjoy a moment of creativity in the kitchen. Watching your family’s eyes light up upon tasting these little wonders makes the effort worth every second. So, whether it’s for a special occasion or a casual family dinner, let these stunning cheesecakes be the highlight of your dessert table. They promise not just flavor, but also smiles and sweet memories that linger long after the last bite has vanished.
Print
Pistachio & Raspberry Cheesecake Domes
- Total Time: 4 hours 10 minutes (including chilling time)
- Yield: 12 cheesecake domes 1x
- Diet: Vegetarian
Description
Delicious cheesecake domes featuring a creamy raspberry filling and a crunchy pistachio crust.
Ingredients
- 12 oz cream cheese (softened)
- 1 cup granulated sugar
- 1 cup sour cream
- 1 tsp vanilla extract
- 3 large eggs (room temperature)
- 1 cup raspberries (fresh or frozen)
- 1 ½ cups pistachio nuts (finely ground)
- ¼ cup granulated sugar
- ½ cup unsalted butter (melted)
- 1 cup raspberries
- ¼ cup sugar
- 1 tbsp lemon juice
- Chopped pistachios (for garnish)
- Fresh mint leaves (for garnish)
Instructions
- Preheat oven to 350°F (175°C).
- Mix ground pistachios, sugar, and melted butter; press into molds. Bake for 10-12 minutes.
- Beat softened cream cheese until smooth. Add sugar, sour cream, and vanilla; mix well. Add eggs one at a time, then fold in raspberries.
- Pour filling over the cooled crust. Bake for 25-30 minutes until set but jiggly. Cool in the oven for 30 minutes.
- Cook raspberries, sugar, and lemon juice in a saucepan until thickened. Strain if desired and let cool.
- Refrigerate the cheesecake domes for at least 4 hours. Serve with raspberry sauce and garnishes.
Notes
- Ensure cream cheese is softened for easy mixing.
- For a smoother raspberry sauce, strain it after cooking.
- These cheesecakes can be made a day in advance for optimal chilling.
- Prep Time: 25 minutes
- Cook Time: 45 minutes
- Category: Dessert
- Method: Baking
- Cuisine: American
Nutrition
- Serving Size: 1 dome
- Calories: 320
- Sugar: 15g
- Sodium: 150mg
- Fat: 22g
- Saturated Fat: 10g
- Unsaturated Fat: 10g
- Trans Fat: 0g
- Carbohydrates: 30g
- Fiber: 2g
- Protein: 5g
- Cholesterol: 95mg