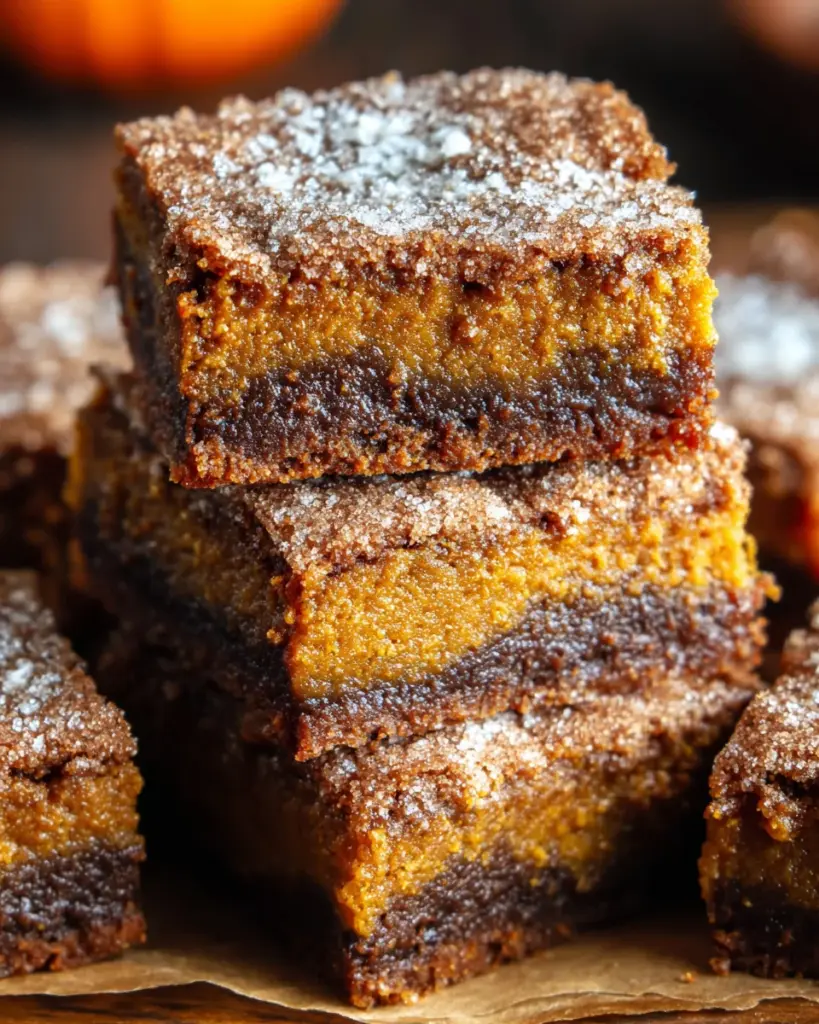
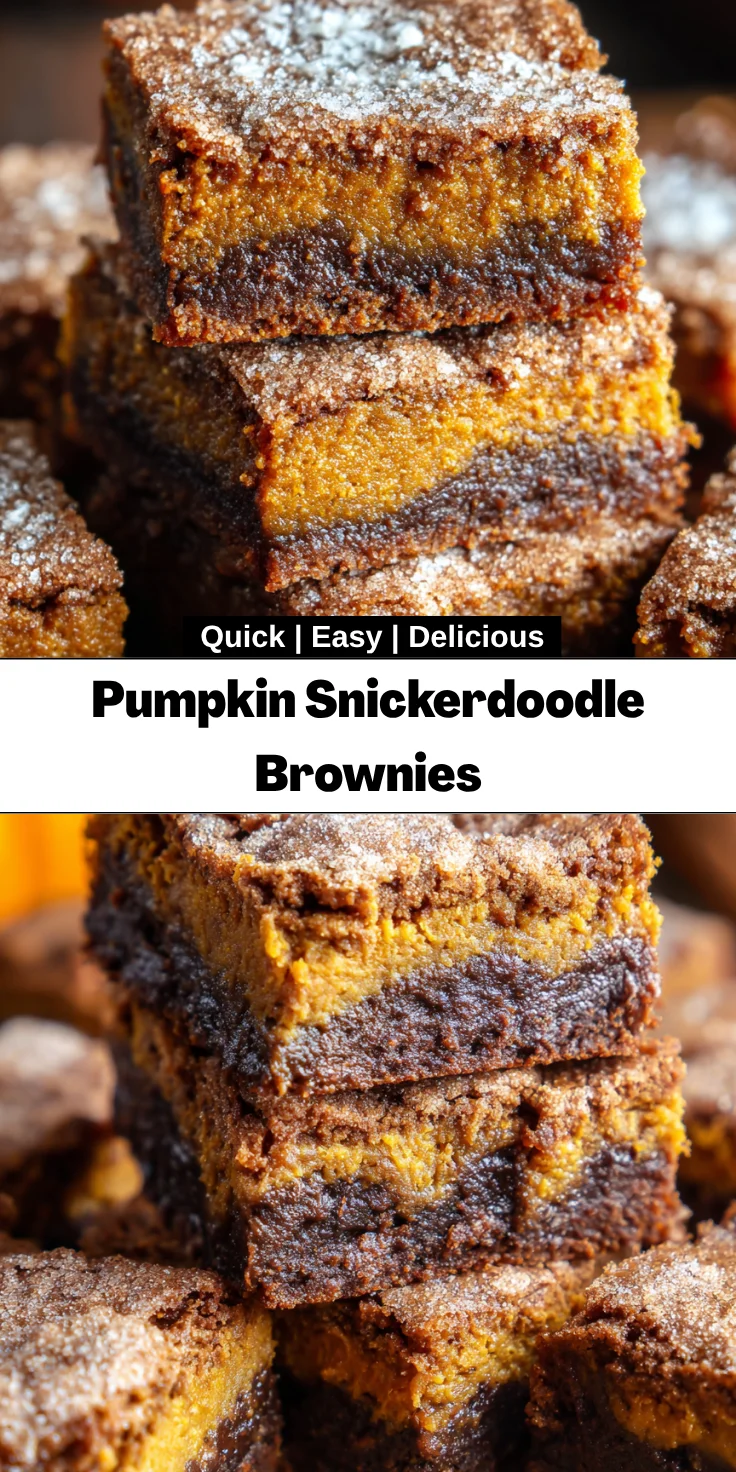
Introduction to Pumpkin Snickerdoodle Brownies
As the leaves turn a vibrant orange and the air begins to smell like cinnamon, I can’t help but think of cozy baking afternoons. That’s when I whip up these delightful Pumpkin Snickerdoodle Brownies. They’re the ultimate treat, merging the warmth of snickerdoodles with the rich flavor of pumpkin. If you’re like me and looking for a quick solution to satisfy both family and friends, this recipe is your golden ticket. Perfect for busy days or those special gatherings, I promise it’ll impress everyone without stealing hours from your day!
Why You’ll Love This Pumpkin Snickerdoodle Brownies
What’s not to adore about these Pumpkin Snickerdoodle Brownies? They’re simple to make, requiring just one bowl for mixing, which means less cleanup for you—yay! Plus, they bake up in under 30 minutes. The taste? Oh, it’s a harmonious blend of spiced pumpkin and sweet chocolate, creating a warm embrace in every bite. Your family will beg for more, and you’ll have a cozy fall dessert that’s ready in no time!
Ingredients for Pumpkin Snickerdoodle Brownies
Gathering the right ingredients is key to whipping up these Pumpkin Snickerdoodle Brownies. Each component brings something special to the table. Here’s what you’ll need:
- Pumpkin purée: Adds a moist texture and rich flavor that screams fall. Use canned or homemade; just ensure there are no added ingredients.
- Maple syrup or granulated sugar: Choose maple syrup for a deeper sweetness, or stick with granulated sugar if you prefer classic flavors.
- Almond butter or unsalted butter: Almond butter lends a nutty taste, while unsalted butter keeps it traditional and creamy.
- Pure vanilla extract: This aromatic essence elevates the flavor profile, giving your brownies that lovely warmth.
- Oat flour: A gluten-free alternative, oat flour contributes to a chewy texture. You can even make it at home by blending oats until fine.
- Baking soda: A leavening agent that helps your brownies rise, creating that perfect fudgy finish.
- Fine sea salt: A dash of salt enhances the sweetness and balances flavors, so don’t skip it!
- Ground cinnamon: The star spice of these brownies! It adds warmth and a cozy aroma that makes your home feel inviting.
- Ground ginger: A subtle spice that complements the cinnamon beautifully, giving it a little zing.
- Ground nutmeg: Just a hint is needed to bring in that classic holiday flavor—it’s like a warm hug in each bite.
- Chocolate chips or chopped dark chocolate: The sweet dots of chocolate create gooey pockets that are simply irresistible.
- Optional topping: If you want an extra special touch, mix sugar with cinnamon to sprinkle on top. It adds a delightful sweetness and crunch.
For exact quantities of each ingredient, please refer to the recipe section at the bottom of the article, where you can even print them out for easy access!
How to Make Pumpkin Snickerdoodle Brownies
Making these Pumpkin Snickerdoodle Brownies is a breeze! Follow these simple steps, and you’ll have an aromatic dessert in no time. Let’s dive into the delicious adventure!
Step 1: Preheat the Oven
To kick things off, preheat your oven to 350°F (175°C). This step is crucial for achieving perfectly baked brownies. While the oven warms up, line a 20 × 20 cm baking pan with parchment paper or grease it lightly. This ensures that your brownies won’t stick, allowing for easy removal once they’re done.
Step 2: Mix Wet Ingredients
Next, grab a large bowl and toss in the pumpkin purée, maple syrup (or sugar), almond butter, and vanilla extract. Using a whisk or spatula, mix these wet ingredients until smooth and creamy. You want the mixture to blend beautifully without any lumps. This combination of flavors creates a wonderfully moist base for your brownies.
Step 3: Prepare Dry Ingredients
In a separate bowl, whisk together the oat flour, baking soda, fine sea salt, ground cinnamon, ground ginger, and ground nutmeg. Mixing these dry ingredients thoroughly ensures that all the flavors and leavening agents are evenly distributed. It’s a small step that makes a big difference for your brownie texture!
Step 4: Combine the Mixtures
Now, gently fold the dry ingredients into the wet mixture. Use a spatula to incorporate them gradually, taking care not to overmix. Too much mixing can lead to dense brownies. Aim for a uniform batter—minimal streaks of flour are okay! This is where the magic begins to happen!
Step 5: Add Chocolate Chips
Time to make it even better! Fold in those delightful chocolate chips or dark chocolate pieces. Make sure they’re evenly distributed throughout the batter. Each bite deserves a little bit of that sweet chocolate decadence to contrast with the spiced pumpkin flavor. A delicious surprise awaits!
Step 6: Bake
Spread the batter evenly into your prepared pan. If you’re feeling fancy, sprinkle the optional cinnamon-sugar mixture over the top. It gives a beautiful finish! Bake in your preheated oven for 25 to 28 minutes. Keep an eye out for doneness—a toothpick inserted into the center should come out mostly clean. A few moist crumbs are perfect!
Step 7: Cool and Slice
Once your brownies are baked to perfection, remove them from the oven and let them cool in the pan. This makes slicing easier and keeps them together nicely. Once cool, use a sharp knife to slice them into evenly sized squares. This will make them more appealing and easier to share with family and friends!
Tips for Success
- Make sure your pumpkin purée is well-mixed to prevent lumps in your batter.
- Use room temperature ingredients for easier mixing and a smoother batter.
- Experiment with different chocolate types—white or butterscotch chips add a fun twist!
- Cool brownies completely before slicing for cleaner edges.
- Feel free to double the recipe and share with friends, because who can resist these brownies?
Equipment Needed
- Mixing bowls: A large bowl for wet ingredients and a medium-sized bowl for dry.
- Whisk or spatula: To mix ingredients smoothly. You can also use a fork in a pinch.
- Baking pan: An 8×8 inch (20 × 20 cm) pan works, or you can use a slightly larger pan for thinner brownies.
- Parchment paper: Helps with easy removal; foil works too if that’s what you have.
Variations
- Gluten-free option: Substitute oat flour with almond flour or a gluten-free all-purpose flour blend for a delightful gluten-free treat.
- Vegan twist: Use flax eggs in place of the regular egg and maple syrup instead of sugar to make these brownies vegan-friendly.
- Nut-free version: Swap almond butter with sunflower seed butter for those with nut allergies.
- Spicy kick: Add a pinch of cayenne pepper or red pepper flakes to the batter for a surprising touch of heat!
- Fruit add-ins: Fold in some dried cranberries or chopped apples for added texture and sweetness.
Serving Suggestions for Pumpkin Snickerdoodle Brownies
- Pair with a dollop of whipped cream or a scoop of vanilla ice cream for an extra indulgent treat.
- Serve warm with a drizzle of caramel sauce for a decadent finishing touch.
- Enjoy with a cup of spiced chai or hot cocoa to enhance those cozy fall vibes.
- For presentation, dust with powdered sugar or present on a decorative platter.
FAQs about Pumpkin Snickerdoodle Brownies
Can I use fresh pumpkin instead of canned purée?
Absolutely! Just ensure to cook and puree your pumpkin until smooth, similar to the texture of canned pumpkin purée. This gives you that homemade touch.
How do I store leftover brownies?
Store any leftover Pumpkin Snickerdoodle Brownies in an airtight container at room temperature for up to three days. If you want them to last longer, refrigerate for about a week. Just let them come to room temperature before enjoying!
Can I freeze these brownies?
Yes! These brownies freeze beautifully. Wrap them individually in plastic wrap and place them in a freezer bag. They’ll stay fresh for up to three months. Just thaw them overnight in the fridge when you’re ready to enjoy!
What can I substitute for oat flour?
If you don’t have oat flour on hand, you can use almond flour or all-purpose flour as an alternative. Just keep in mind that it may slightly alter the texture.
Can I add nuts to my brownies?
Of course! Chopped walnuts or pecans would add a nice crunch. Just fold them in during Step 5 to evenly distribute the flavors.
Final Thoughts
There’s something undeniably joyful about baking these Pumpkin Snickerdoodle Brownies. The delightful aroma that fills your kitchen, the warmth of spices dancing in the air, and the smiles from family as they take that first bite—it’s magic! These brownies are not just a dessert; they’re a piece of autumn you can share with loved ones.
With their perfect blend of pumpkin and snickerdoodle charm, they bring cozy vibes to any gathering and create sweet memories. So grab your ingredients and let the baking adventure begin. I can’t wait for you to experience the bliss of these fall treats!
Print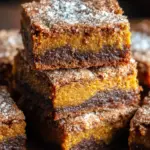
Pumpkin Snickerdoodle Brownies
- Total Time: 43 minutes
- Yield: 16 brownies 1x
- Diet: Vegetarian
Description
Delicious and cozy pumpkin snickerdoodle brownies perfect for autumn.
Ingredients
- 120 g pumpkin purée
- 135 g pure maple syrup or granulated sugar
- 60 g almond butter or unsalted butter, softened
- 2 teaspoons pure vanilla extract
- 60 g oat flour
- 1/4 teaspoon baking soda
- 1/4 teaspoon fine sea salt
- 2 teaspoons ground cinnamon
- 1/2 teaspoon ground ginger
- 1/4 teaspoon ground nutmeg
- 55 g mini chocolate chips or chopped dark chocolate
- Optional: 1 tablespoon sugar mixed with 1/2 teaspoon cinnamon for topping
Instructions
- Preheat oven to 175°C. Line a 20 × 20 cm baking pan with parchment paper or lightly grease.
- In a large bowl, stir together pumpkin purée, maple syrup or sugar, almond butter, and vanilla extract until smooth and homogenous.
- In a separate bowl, whisk oat flour with baking soda, salt, cinnamon, ginger, and nutmeg until well blended.
- Gradually fold the dry mixture into the pumpkin mixture, mixing until a uniform batter forms.
- Gently fold in the chocolate chips or chopped dark chocolate until evenly distributed.
- Spread the batter evenly into the prepared baking pan.
- If desired, sprinkle the cinnamon-sugar mixture evenly over the surface.
- Bake for 25 to 28 minutes, or until a toothpick inserted in the centre emerges mostly clean.
- Allow brownies to cool completely in the pan before slicing with a sharp knife.
Notes
- Ensure the pumpkin purée is well-mixed to avoid lumps in the batter.
- Store leftover brownies in an airtight container at room temperature for up to 3 days.
- For a more decadent treat, serve with a scoop of vanilla ice cream.
- Prep Time: 15 minutes
- Cook Time: 28 minutes
- Category: Dessert
- Method: Baking
- Cuisine: American
Nutrition
- Serving Size: 1 brownie
- Calories: 150
- Sugar: 10 g
- Sodium: 50 mg
- Fat: 7 g
- Saturated Fat: 1 g
- Unsaturated Fat: 6 g
- Trans Fat: 0 g
- Carbohydrates: 20 g
- Fiber: 2 g
- Protein: 3 g
- Cholesterol: 0 mg