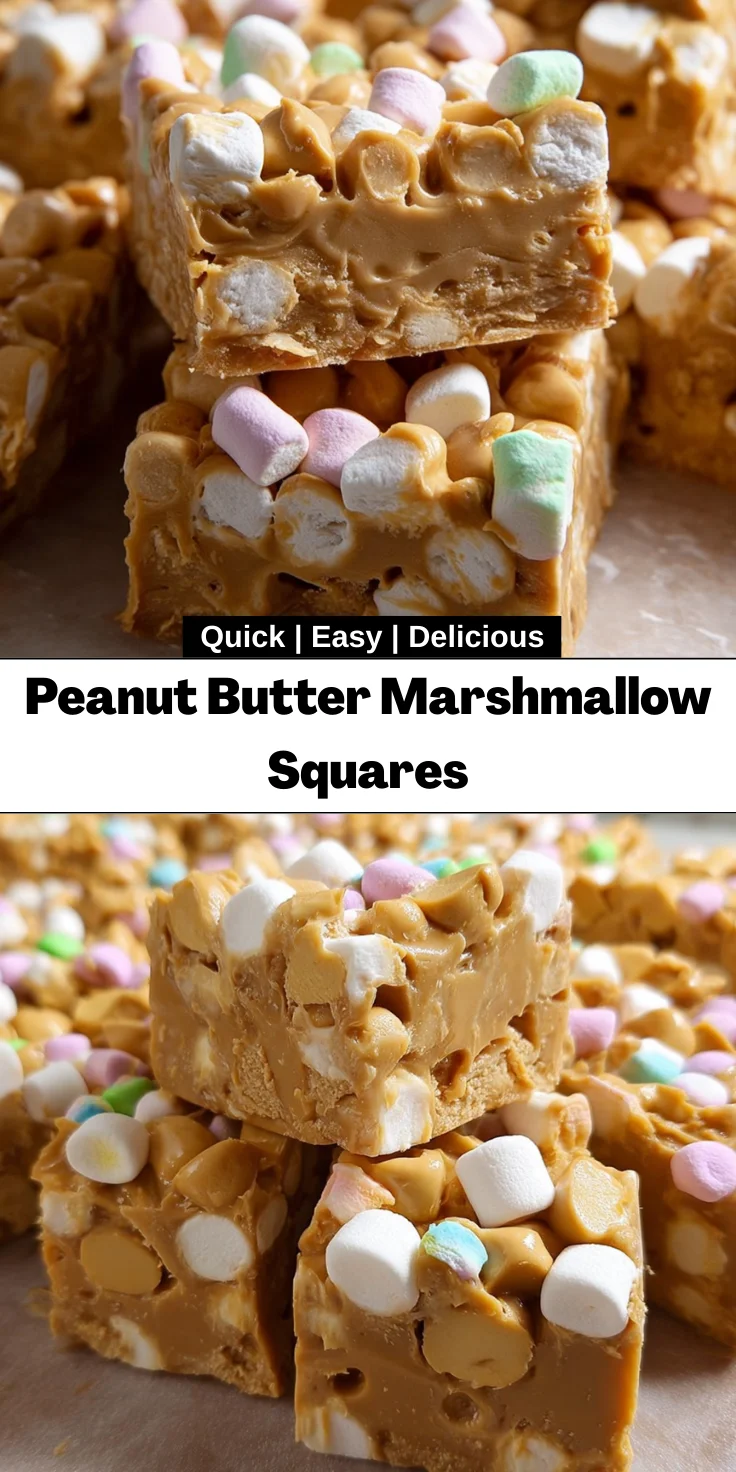
Introduction to Peanut Butter Marshmallow Squares
There’s something magical about the combination of creamy peanut butter and sweet marshmallows that brings me back to my childhood days. Peanut Butter Marshmallow Squares are not just a treat; they’re a quick solution for busy days when you need to whip up something delicious without spending hours in the kitchen.
Imagine the delight on your loved ones’ faces when you serve these chewy, sweet squares! This recipe is perfect for moms juggling work, homework, and dinner prep. You can impress them without breaking a sweat—now that’s a win!
Why You’ll Love This Peanut Butter Marshmallow Squares
You’re going to adore Peanut Butter Marshmallow Squares for so many reasons! First off, they’re crazy easy to make—perfect for those evenings when time slips away from you. Plus, the delightful combination of creamy peanut butter and fruity marshmallows creates an explosion of flavor that both kids and adults can’t resist. Best of all, they’re no-bake! What’s not to love about a dessert that doesn’t require firing up the oven?
Ingredients for Peanut Butter Marshmallow Squares
Let’s gather the delightful ingredients for these yummy Peanut Butter Marshmallow Squares. Each component plays a unique role in crafting this chewy dessert.
- Unsalted Butter: This creamy base gives our squares a rich texture. Use unsalted to control the saltiness to your liking.
- Creamy Peanut Butter: The star of the show! Choose a good-quality peanut butter for that luscious taste. You can also substitute with natural peanut butter for a healthier twist.
- Butterscotch Chips: These chips add a sweet, buttery flavor that complements the peanut butter beautifully. For variety, try using chocolate or white chocolate chips instead!
- Vanilla Extract: Just a teaspoon enhances the flavors, giving your squares that warm, inviting aroma. It’s a little ingredient with a big impact!
- Fruity Mini Marshmallows: The vibrant addition of these cute little marshmallows adds chewy sweetness that’s irresistible. Feel free to experiment with different flavors for a fun twist!
You can find the exact measurements at the bottom of the article if you’re ready to make these treats! Cook and enjoy, my friends!
How to Make Peanut Butter Marshmallow Squares
Now that we’ve got our ingredients ready, let’s dive into making these delightful Peanut Butter Marshmallow Squares. This process is simple, quick, and oh-so-rewarding! Let’s break it down step by step.
Step 1: Melt the Butter
Start by grabbing a large saucepan and placing it on low heat. Add in your unsalted butter, allowing it to melt slowly.
Keep an eye on it, stirring gently every so often. This helps prevent burning, which can ruin your delicious squares. You’ll know it’s ready when it’s completely melted and the surface looks shiny.
Be patient—rushing this step can lead to scorched butter. Remember, the key to a smooth texture starts right here!
Step 2: Add Peanut Butter and Butterscotch Chips
Once your butter is all melted, it’s time to add in the creamy peanut butter and butterscotch chips. At this point, stir consistently to combine everything thoroughly.
Focus on getting a smooth mixture without any lumps. The mesmerizing swirl of peanut butter and butterscotch is a great motivator!
By incorporating these ingredients properly, you create a luscious foundation that brings the peanut butter flavor to life. This is where the magic truly begins, folks!
Step 3: Stir in Vanilla Extract
Now, remove that lovely mixture from the heat and add in a teaspoon of vanilla extract.
While it might seem like a small addition, it makes a world of difference. Vanilla enhances the flavor, giving it a warm and inviting essence.
Just stir it in until it’s evenly distributed, and you’ll immediately notice the aroma. Vanilla is like a hug for your taste buds, wrapping them in cozy goodness!
Step 4: Fold in Marshmallows
Here comes the fun part! Grab those fruity mini marshmallows and gently fold them into your mixture. Make sure they’re evenly coated with that luscious peanut butter and butterscotch.
This step is a great opportunity to involve your kids—they’ll love helping out! Just be careful not to crush the marshmallows while folding.
This blend creates delightful pockets of chewy sweetness that make every bite a tasty adventure!
Step 5: Transfer and Press Mixture
Next, it’s time to transfer your delicious mixture into a greased 9×13-inch baking dish.
I find using a spatula works wonders to avoid sticking and helps spread the mixture evenly.
Once it’s in the dish, press it down gently to form an even layer. Don’t skip this step—it helps the squares hold together beautifully when cut. You’ll want to achieve that perfect thickness, ready for the next tasty stages!
Step 6: Set the Squares
Now, let your masterpiece sit at room temperature for at least two hours, or pop it into the refrigerator for a quicker set.
Waiting is the hardest part, but it’s worth it! Check for firmness before slicing; it should be set but still chewy. The longer you let it set, the better the texture.
This patience yields rich flavors and perfect squares, ready to delight your family!
Step 7: Cut and Serve
With your squares now set, it’s time for the delicious moment we’ve all been waiting for! Use a sharp knife to cut them into squares—aim for about 1.5 inches for perfect portions.
Transfer those tasty squares to a serving platter or keep them in the dish. Don’t forget to offer them with a glass of cold milk or a cup of tea for a delightful snack!
Each square is a treasure of flavor and sweetness, ready to make your loved ones smile!
Tips for Success
- Always measure your ingredients accurately for the best results.
- Let the butter melt slowly; this preserves its flavor.
- Use a clean spatula for transferring the mixture to avoid sticking.
- Refrigerate longer if you prefer firmer squares.
- Experiment with flavored chips to create unique twists!
Equipment Needed
- Large Saucepan: Essential for melting and mixing. A skillet can work if it’s deep enough.
- Spatula: Perfect for mixing and transferring. A wooden spoon will do if you don’t have one.
- Baking Dish: A 9×13-inch dish is ideal. You can also use a lined square dish.
- Measuring Cups and Spoons: Important for accuracy. Use any kitchen measuring tools at hand!
Variations of Peanut Butter Marshmallow Squares
- Chocolate Delight: Substitute butterscotch chips with chocolate chips for a rich, chocolatey twist that chocolate lovers will adore.
- Nutty Surprise: Add chopped nuts, like peanuts or almonds, for a delightful crunch that contrasts with the creamy squares.
- Healthier Option: Use natural peanut butter and substitute mini marshmallows with sugar-free options or dried fruits for a lighter treat.
- Festive Flavors: Experiment with seasonal marshmallows—think pumpkin spice or peppermint during holidays for an unforgettable flavor experience!
- Peanut Butter Bliss: Swirl in additional peanut butter on top before letting it set for an extra layer of peanut flavor.
Serving Suggestions for Peanut Butter Marshmallow Squares
- Pair with a tall glass of cold milk for a classic, comforting treat.
- Serve alongside fresh fruit, like strawberries or bananas, for a refreshing contrast.
- For a fun presentation, sprinkle some crushed nuts on top before serving.
- Package them in cellophane for delightful party favors or lunchbox surprises!
- Introduce a scoop of vanilla ice cream on the side for an indulgent dessert experience.
FAQs about Peanut Butter Marshmallow Squares
Got questions about these delightful Peanut Butter Marshmallow Squares? I’ve got you covered! Here are some common inquiries I hear from fellow home cooks.
Can I make Peanut Butter Marshmallow Squares ahead of time?
Absolutely! These squares store beautifully. You can prepare them a day in advance, keeping them in the refrigerator. Just be sure to cut them into squares before serving for easy snacking!
What can I substitute for butterscotch chips?
If butterscotch isn’t your thing, try chocolate chips instead! White chocolate or even peanut butter chips work wonderfully too. Each variation offers a unique twist, ensuring there’s something for everyone.
Are these squares suitable for children?
Definitely! Peanut Butter Marshmallow Squares are a hit with kids! Just keep in mind any allergies related to peanuts or marshmallows. They are both fun and deliciously chewy, appealing to young taste buds!
Can I freeze these squares?
Yes, you can! Just cut them into squares, wrap them tightly in plastic wrap, and store them in an airtight container. They’ll stay fresh in the freezer for up to two months. Just thaw them before serving!
How can I make these squares more festive?
To amp up the holiday spirit, consider adding colored sprinkles on top or using festive-flavored marshmallows. You can even layer in peppermint extract during the mixing phase for a seasonal touch!
Final Thoughts
Making Peanut Butter Marshmallow Squares is not just about simple ingredients; it’s about creating sweet memories with family and friends. The joy on your loved ones’ faces as they bite into these chewy, flavorful squares is truly priceless.
This recipe invites you into a world of nostalgia while delighting your taste buds.
Whether it’s a busy weekday or a special occasion, these squares bring comfort and joy. So, gather your loved ones, whip up a batch, and relish those lovely moments together. You’ll find that each square is packed with not just flavor, but love!
Print
Peanut Butter Marshmallow Squares
- Total Time: 2 hours 15 minutes
- Yield: 16 squares 1x
- Diet: Vegetarian
Description
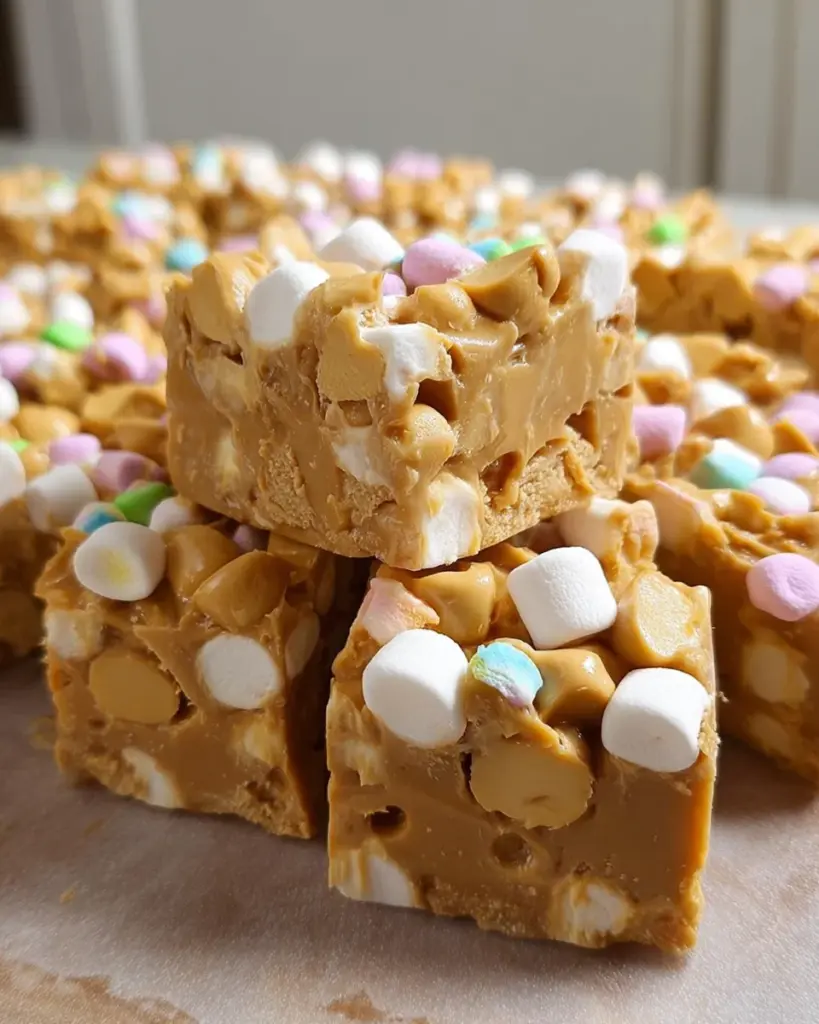
Peanut Butter Marshmallow Squares are a delightful treat that combines creamy peanut butter, butterscotch chips, and fruity mini marshmallows into a sweet, chewy dessert.
Ingredients
- ½ cup unsalted butter
- 1 cup creamy peanut butter
- 11 oz butterscotch chips
- 1 teaspoon vanilla extract
- 10 oz fruity-flavored mini marshmallows
Instructions
- In a large saucepan, melt the butter over low heat.
- Add the peanut butter and butterscotch chips, stirring constantly until smooth and fully melted.
- Remove from heat and stir in the vanilla extract.
- Immediately fold in the mini marshmallows until evenly coated.
- Transfer the mixture to a greased 9×13-inch baking dish and press gently into an even layer.
- Let set at room temperature for at least 2 hours or refrigerate until firm.
- Cut into squares and serve.
Notes
- For best results, allow the squares to set longer in the refrigerator.
- Try using different flavored chips or marshmallows for a unique twist.
- Prep Time: 10 minutes
- Cook Time: 5 minutes
- Category: Dessert
- Method: Stovetop and refrigerator
- Cuisine: American
Nutrition
- Serving Size: 1 square
- Calories: 220
- Sugar: 15g
- Sodium: 80mg
- Fat: 12g
- Saturated Fat: 5g
- Unsaturated Fat: 7g
- Trans Fat: 0g
- Carbohydrates: 25g
- Fiber: 1g
- Protein: 4g
- Cholesterol: 15mg