Introduction to Orange Creamsicle Dream Bars
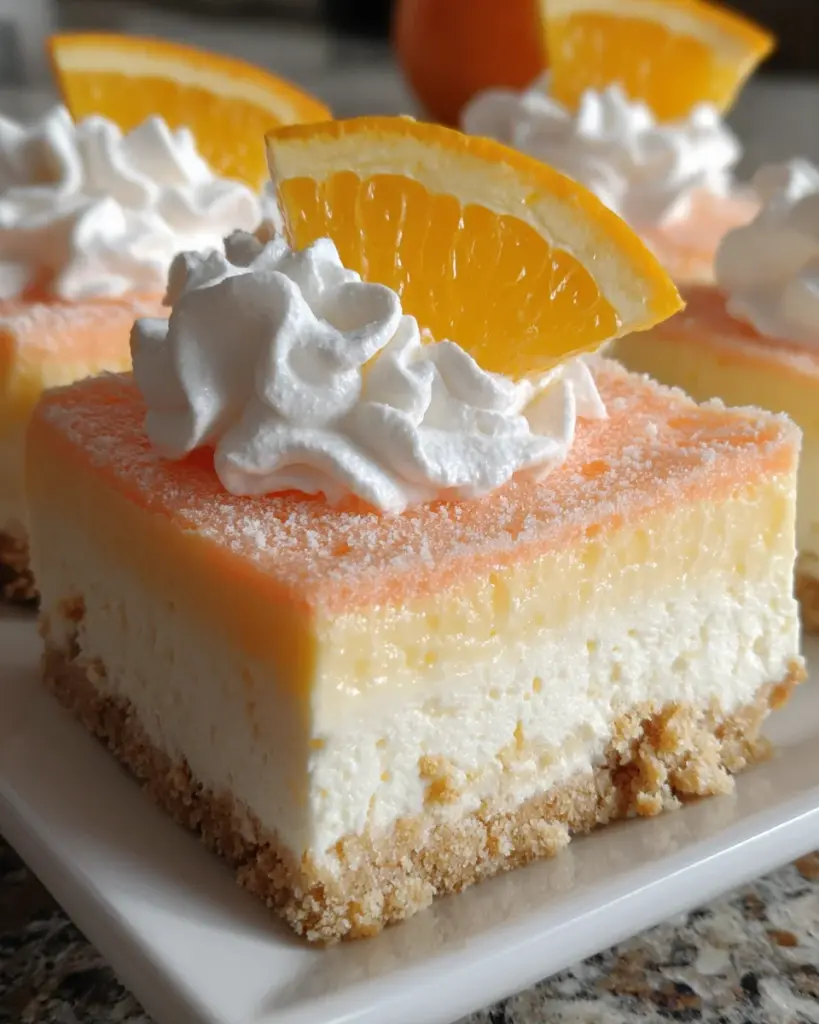
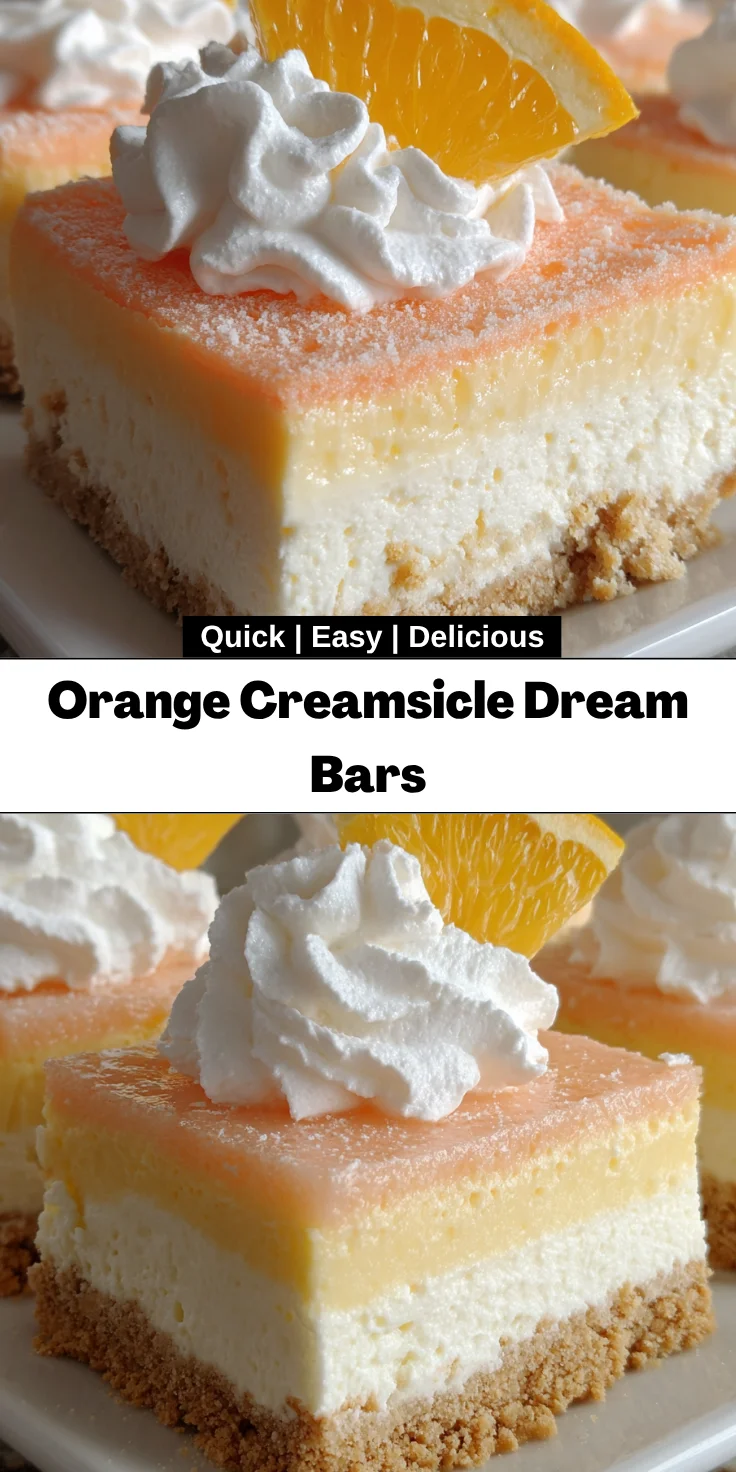
Hey there, fellow dessert lovers! If you’re anything like me, the mere thought of a refreshing treat can brighten your day. That’s why I can’t wait to share my recipe for Orange Creamsicle Dream Bars. These delightful bars are like a cool breeze on a hot summer day! They perfectly combine the rich, creamy texture of cheesecake with a zesty orange layer, reminiscent of those classic creamsicles we adored as kids. Perfect for busy moms and professionals, these bars allow you to whip up a stunning dessert that tastes as wonderful as it looks—no fuss, just pure joy!
Why You’ll Love This Orange Creamsicle Dream Bars
You’ll adore these Orange Creamsicle Dream Bars for so many reasons! First off, they’re incredibly easy to make, meaning you can whip them up even on your busiest days. The vibrant orange flavor dances on your taste buds, sparking joy with every bite. Plus, they’re perfect for serving at gatherings—they’ll impress your friends and family without requiring hours of hard work in the kitchen. Sweet, zesty, and oh-so-delicious!
Ingredients for Orange Creamsicle Dream Bars
Getting started on your Orange Creamsicle Dream Bars is a breeze with these simple ingredients. Each component adds its unique flair to this sunny dessert!
- Graham Crackers: The base of your bars, these provide a sweet, crunchy crust that complements the creamy layers perfectly.
- Plain Flour: A tiny touch of flour helps the crust hold together, giving it just the right texture.
- Caster Sugar: Finer than regular sugar, it ensures a smooth blend in your crust, making it sweet without grittiness.
- Unsalted Butter: Melted butter brings richness to the crust and binds the crumbs into a cohesive layer.
- Cream Cheese: Softened cream cheese is the star of both the cheesecake and orange cream layers, providing a creamy and rich foundation.
- Powdered Sugar: This creates the dreamiest texture in your bars, making them luscious and sweet without a gritty feel.
- Pure Vanilla Extract: A splash of vanilla adds warmth and depth to the cheesecake layer, enhancing the overall flavor.
- Whipped Topping: Thawed whipped topping lightens the cheesecake, giving it a fluffy, dreamy quality.
- Orange Jelly Powder: This is the zesty heart of our orange layer. It infuses the bars with that unmistakable fruity flavor.
- Boiling Water: Helps dissolve the jelly powder completely, unlocking its delightful orange goodness.
- Cold Water: Cools the mixture down to ensure a velvety consistency without setting too quickly.
- Orange Extract: For an extra burst of orange flavor, this ingredient pairs beautifully with the jelly.
- Orange Food Coloring: Just a few drops bring a sunny hue to your bars, making them even more appealing!
Optional toppings, like whipped cream, can elevate your presentation and add an extra layer of indulgence. Don’t worry about jotting down the exact measurements; they’re all available at the bottom of the article for easy printing!
How to Make Orange Creamsicle Dream Bars
Now, let’s jump into the fun part! Making these Orange Creamsicle Dream Bars is not just a task; it’s a delightful adventure in the kitchen. Follow these steps, and I promise you’ll be rewarded with a bright, zesty dessert that’s bound to impress!
Preparing the Crust
Start by gathering your graham crackers. Toss them into a food processor to blend into fine crumbs. You want them to feel like soft sand, not pebbles!
Next, add in your plain flour and caster sugar. Pulse to mix everything together. Pour in the melted unsalted butter, which helps bind the mixture. Give it another whirl until it resembles damp sand.
Grab a 23 x 33 cm pan, and transfer your crumb mixture. Press it down firmly with either your fingers or the bottom of a measuring cup. Aim for an even layer; this will serve as your sturdy foundation.
Making the Cheesecake Layer
In a large mixing bowl, beat your softened cream cheese, powdered sugar, and pure vanilla extract together. You want it to be silky smooth, so take your time!
Once that’s achieved, gently fold in the thawed whipped topping. Use a spatula for this—be careful not to deflate the fluffiness you just created.
Spread the cheesecake mixture evenly over your prepared crust. It should be a lovely, creamy layer that will blend brilliantly with the orange topping later.
Preparing the Orange Cream Layer
Boil water in a medium saucepan. Add the orange jelly powder and whisk until it completely dissolves. Stirring is key! Then, mix in the cold water, which helps cool the mixture down.
Now, let this orange mixture chill in the fridge for about 10 minutes. You want it to cool completely but not set.
While it’s cooling, beat the softened cream cheese, powdered sugar, and orange extract in a separate bowl. It will gain a smooth consistency that’s just irresistible.
Once the jelly mixture has cooled, slowly pour it into your cream mixture while mixing continuously. This step ensures an even, velvety texture for your orange layer.
Assembling the Bars
Time to combine! Gently spread the orange cream mixture over the cheesecake layer. Try to keep it even so every bite is filled with that delightful orange flavor.
Now, it’s time for some patience. Cover the pan and refrigerate your bars until they’re fully chilled and the orange cream layer is set. This could take a few hours—resist the temptation to sneak a taste!
When you’re ready to serve, feel free to add a dollop of whipped cream on top. Trust me, it’s an indulgent touch that boosts the flavor!
Tips for Success
- Make sure your cream cheese is at room temperature. This prevents lumps and creates a smoother texture.
- Be patient while the orange cream layer sets—it’s worth the wait for that perfect bite!
- For a stronger orange flavor, feel free to add a little more orange extract.
- Use a clean, sharp knife to cut the bars for neat, beautiful slices.
- Chill leftovers; these bars make for a refreshing snack!
Equipment Needed
- Food Processor: Essential for crushing graham crackers; a zip-top bag and rolling pin work too.
- Mixing Bowls: Use one large bowl for blending; just a couple of medium bowls will do as well.
- Whisk: Perfect for mixing both layers; a fork can handle the job in a pinch!
- 23 x 33 cm Pan: Needed for baking; a similar-sized dish can be substituted if necessary.
Variations on Orange Creamsicle Dream Bars
- Swap the Citrus: Experiment with different flavors! Try lemon or lime jelly for a fun twist on the classic.
- Gluten-Free Option: Use gluten-free graham crackers or a blend of nuts for the crust to accommodate dietary needs.
- Lower Sugar: Substitute with a sugar alternative in both the crust and cheesecake layers for a healthier treat.
- Chocolate Drizzle: Add a chocolate drizzle on top for a decadent touch that pairs beautifully with orange!
- Vegan Version: Replace cream cheese with a dairy-free cream cheese alternative and use coconut cream for the whipped topping.
Serving Suggestions
- Pair your Orange Creamsicle Dream Bars with fresh berries for a burst of color and flavor.
- Serve alongside a chilled glass of iced tea or lemonade for a refreshing complement.
- For an impressive presentation, garnish with a slice of orange and a sprig of mint on each bar.
- Consider a light dusting of powdered sugar for a gorgeous finishing touch.
FAQs about Orange Creamsicle Dream Bars
Can I make Orange Creamsicle Dream Bars ahead of time?
Absolutely! These bars actually taste better after chilling for a few hours. You can prepare them a day in advance and store them in the fridge. Just make sure they’re covered to keep them fresh!
What can I use if I don’t have graham crackers?
No problem! You can use crushed vanilla cookies or even a blend of nuts for a gluten-free option. Just remember to adjust the sugar accordingly since cookies may already be sweet.
How should I store any leftovers?
Keep any leftover bars in an airtight container in the fridge. They’ll stay fresh and delicious for up to five days—if they last that long! Perfect for an afternoon pick-me-up.
Can I freeze Orange Creamsicle Dream Bars?
<pYes, you can! Just ensure they’re tightly wrapped in plastic wrap and stored in a freezer-safe container. They can be frozen for up to three months. Thaw in the refrigerator before serving to enjoy the best texture!
What if I want a more intense orange flavor?
If you’re craving that vibrant taste, feel free to increase the amount of orange extract in the orange cream layer. A little goes a long way, so start small and taste as you mix!
Final Thoughts
As I bask in the delight of my Orange Creamsicle Dream Bars, I’m reminded of the simple joys that come from sharing homemade treats with loved ones. Each bite bursts with nostalgia, transporting me back to carefree summer days. This recipe not only brings a refreshing zest to gatherings but also invites everyone to enjoy an experience filled with laughter and smiles. Whether you’re packing them for a picnic or serving them at a birthday celebration, these bars are bound to create sweet memories. Embrace the joy of creating something delicious—your family will thank you for it!
Print
Orange Creamsicle Dream Bars
- Total Time: 4 hours
- Yield: 12 servings 1x
- Diet: Vegetarian
Description
A deliciously zesty dessert that combines creamy cheesecake with a refreshing orange layer, reminiscent of the classic creamsicle treat.
Ingredients
- Crust:
- 2 packages graham crackers
- 2 teaspoons plain flour
- 120 grams caster sugar
- 170 grams unsalted butter, melted
- Cheesecake Layer:
- 450 grams cream cheese, softened
- 240 grams powdered sugar
- 2 teaspoons pure vanilla extract
- 480 millilitres whipped topping, thawed
- Orange Cream Layer:
- 170 grams orange jelly powder (2 x 85g boxes)
- 355 millilitres water, boiling
- 355 millilitres water, cold
- 450 grams cream cheese, softened
- 60 grams powdered sugar
- 4 teaspoons orange extract
- 16 drops orange food colouring
- Optional Topping:
- Whipped cream, for serving
Instructions
- Place graham crackers in a food processor and blend into fine crumbs. Add flour and sugar, pulsing to combine. Pour in the melted butter and pulse until the mixture resembles wet sand.
- Transfer the crumb mixture to a 23 x 33 cm pan and press firmly into an even layer. Set aside.
- In a large mixing bowl, beat softened cream cheese, powdered sugar, and vanilla extract until smooth. Gently fold in the whipped topping until fully incorporated. Spread this mixture evenly over the prepared crust.
- Boil water in a medium saucepan. Add orange jelly powder and whisk until fully dissolved. Stir in the cold water. Place the mixture in the refrigerator for 10 minutes to cool completely without setting.
- In a separate large bowl, beat softened cream cheese, powdered sugar, orange extract, and orange food colouring until smooth and well blended.
- Slowly pour the cooled orange gelatin into the orange cream mixture while continuously mixing to ensure a smooth, homogeneous consistency.
- Spread the orange cream mixture gently over the cheesecake layer.
- Refrigerate dessert until fully chilled and the orange cream layer is set.
- Top individual portions with whipped cream before serving, if desired.
Notes
- Ensure the cream cheese is softened for easier mixing.
- The dessert is best served chilled.
- For a more intense orange flavor, increase the amount of orange extract.
- Prep Time: 30 minutes
- Cook Time: 10 minutes
- Category: Dessert
- Method: Refrigerated
- Cuisine: American
Nutrition
- Serving Size: 1 bar
- Calories: 320
- Sugar: 25g
- Sodium: 200mg
- Fat: 18g
- Saturated Fat: 10g
- Unsaturated Fat: 7g
- Trans Fat: 0g
- Carbohydrates: 37g
- Fiber: 1g
- Protein: 3g
- Cholesterol: 40mg


