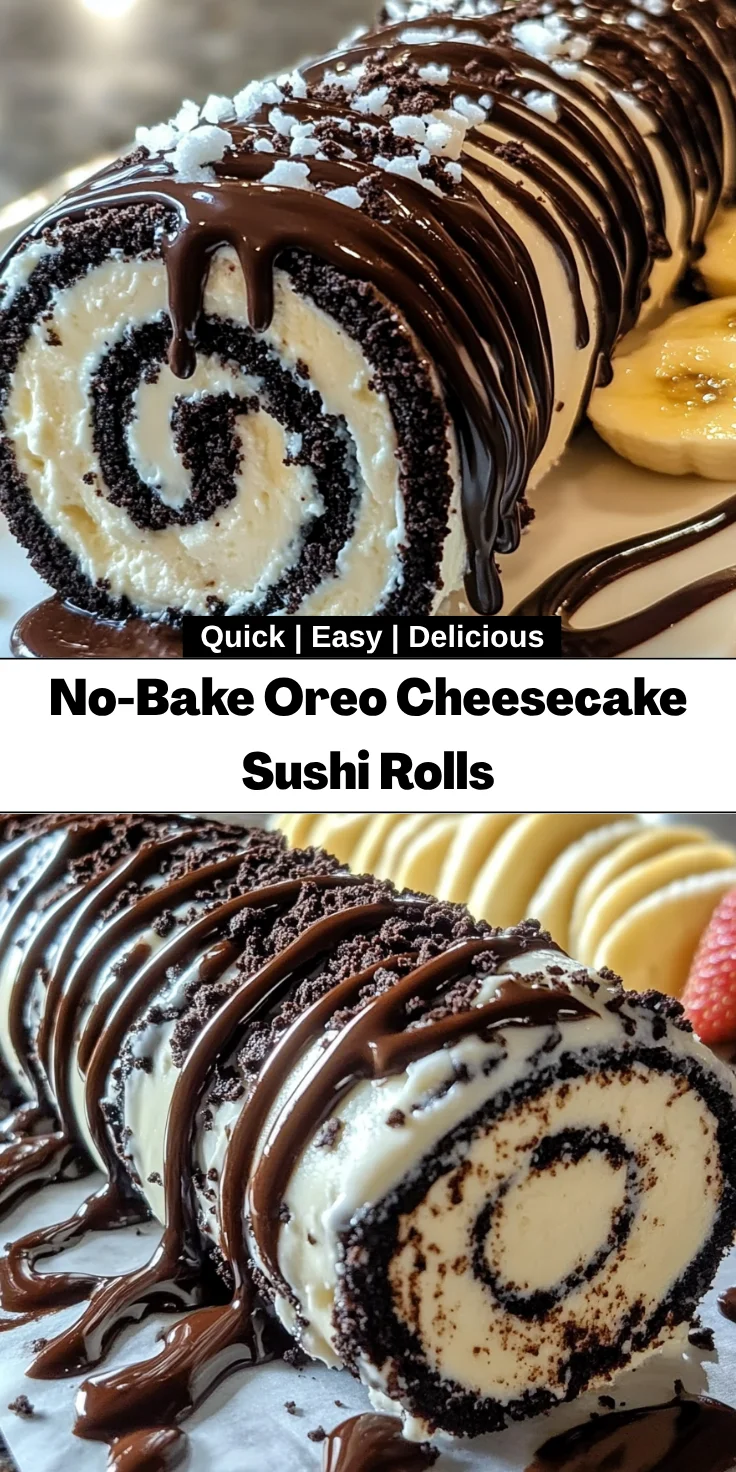
Introduction to No-Bake Oreo Cheesecake Sushi Rolls
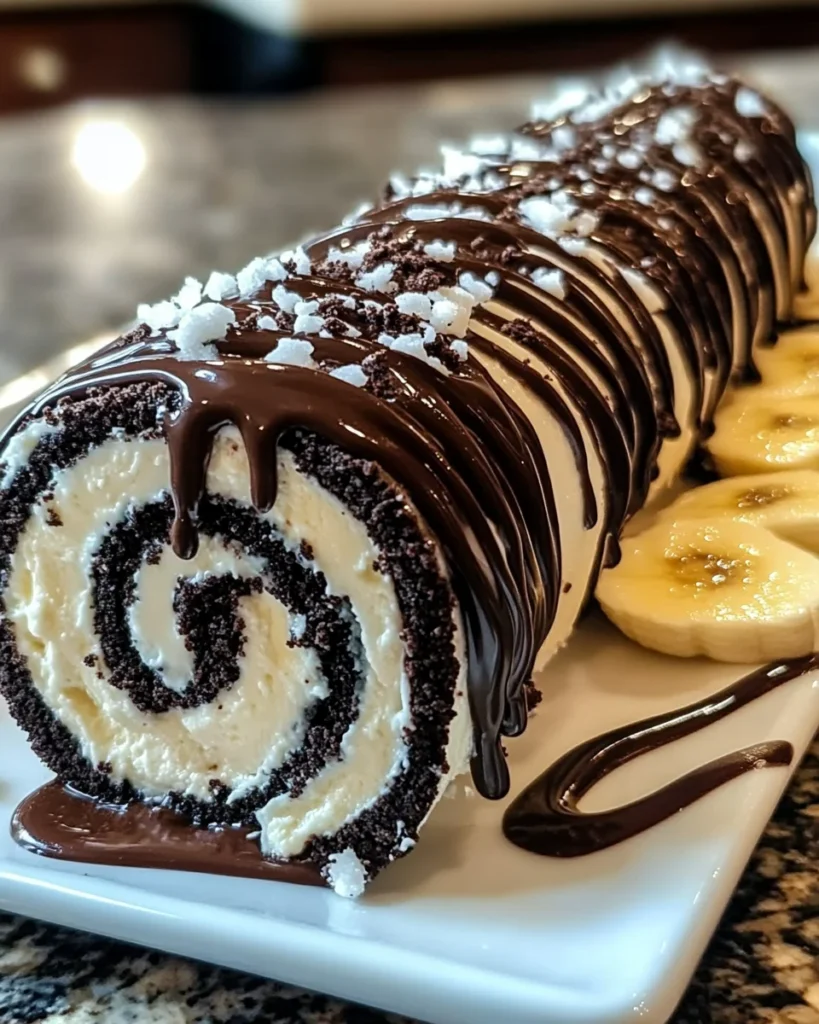
Welcome to a dessert that truly marries fun with flavor! These No-Bake Oreo Cheesecake Sushi Rolls are not just a treat for the taste buds but a delightful visual feast as well. Whether you’re a busy mom seeking a quick solution for dessert or someone wanting to impress at gatherings, this recipe has you covered. With a mere 15 minutes of prep and no oven required, you’ll have an enticing sweet roll ready to thrill your family and friends. Dive in with me for a delicious adventure that’s as easy as it is tasty!
Why You’ll Love This No-Bake Oreo Cheesecake Sushi Rolls
These No-Bake Oreo Cheesecake Sushi Rolls are the answer to your dessert dilemmas. In just 15 minutes, you can whip up a delightful treat that looks as incredible as it tastes. Perfectly creamy and rich, every bite is a sweet celebration. Plus, the no-bake aspect means you can say goodbye to the oven—ideal for those hot summer days or when time is scarce. Trust me, these rolls will quickly become a family favorite!
Ingredients for No-Bake Oreo Cheesecake Sushi Rolls
Creating these delightful No-Bake Oreo Cheesecake Sushi Rolls requires just a handful of simple ingredients. Here’s what you’ll need:
- Cream cheese: Softened for easy mixing, it’s the creamy base for your cheesecake. Make sure to take it out of the fridge ahead of time!
- Powdered sugar: This will sweeten your cheesecake mixture, balancing the richness of the cream cheese. It dissolves easily, creating a smooth texture.
- Oreo cookies: The star of our show! Crushed into fine crumbs, they add that irresistible chocolate flavor and crumbly texture.
- Melted butter: This binds the Oreo crumbs into a delicious crust-like base. You can’t have cheesecake sushi rolls without a sturdy foundation!
- Chocolate drizzle: Optional but oh-so-delicious! It adds a fun finishing touch that not only tastes great but also elevates the presentation.
- Crushed Oreos: For garnish, adding a decorative and crunchy element that complements the softness of the cheesecake.
- Whipped cream: Optional topping for adding extra creaminess. You could also use store-bought to save a little time!
- Sliced strawberries or bananas: Optional fillings that provide a fresh contrast to the rich cheesecake. Feel free to get creative with seasonal fruits!
For exact quantities of each ingredient, check the bottom of the article. You’ll find everything laid out clearly and ready for printing. Happy cooking!
How to Make No-Bake Oreo Cheesecake Sushi Rolls
Now comes the part where the magic happens! Making these No-Bake Oreo Cheesecake Sushi Rolls is as easy as pie, or should I say, easy as sushi? Follow each step closely for a delightful treat that’ll impress everyone.
Step 1: Beat the Cream Cheese and Sugar
Start by grabbing a medium-sized bowl. In it, combine the softened cream cheese and powdered sugar.
Using an electric mixer, beat them together until the mixture is smooth and fluffy. No lumps allowed here! It should feel like a sweet cloud.
Step 2: Crush the Oreos
Now, let’s bring in those Oreos! Place them in a ziplock bag and seal it tightly.
With a rolling pin or something heavy, crush them into fine crumbs. The sound can be quite therapeutic—trust me, it’s like a mini workout for your dessert!
Step 3: Mix the Crust Ingredients
In a separate bowl, mix the crushed Oreos with the melted butter. Stir until every crumb is coated. This mixture will serve as our crumbly base—think of it as the sushi rice!
Step 4: Form the Base
Lay out a sheet of parchment paper on your counter. Press the Oreo mixture into a thin rectangle, about ¼-inch thick.
Ensure it’s evenly shaped so every slice has that pretty sushi roll look! Use your fingers or a spatula to smooth the top.
Step 5: Spread the Cheesecake Mixture
Grab your fluffy cheesecake mixture and spread it evenly over the Oreo crust. Leave about a ½-inch border on all sides.
Now, this is the place to add any optional fruit filling if you’ve chosen to use it. Berries and bananas mix beautifully with the flavors!
Step 6: Roll and Freeze
Here’s where the fun part begins! Carefully lift the parchment paper on one side and start rolling the mixture towards the other side.
Keep the roll tight but not too tight—like a warm hug! Once rolled up, tuck the ends like a burrito and place it in the freezer for about 30-45 minutes or until it’s firm.
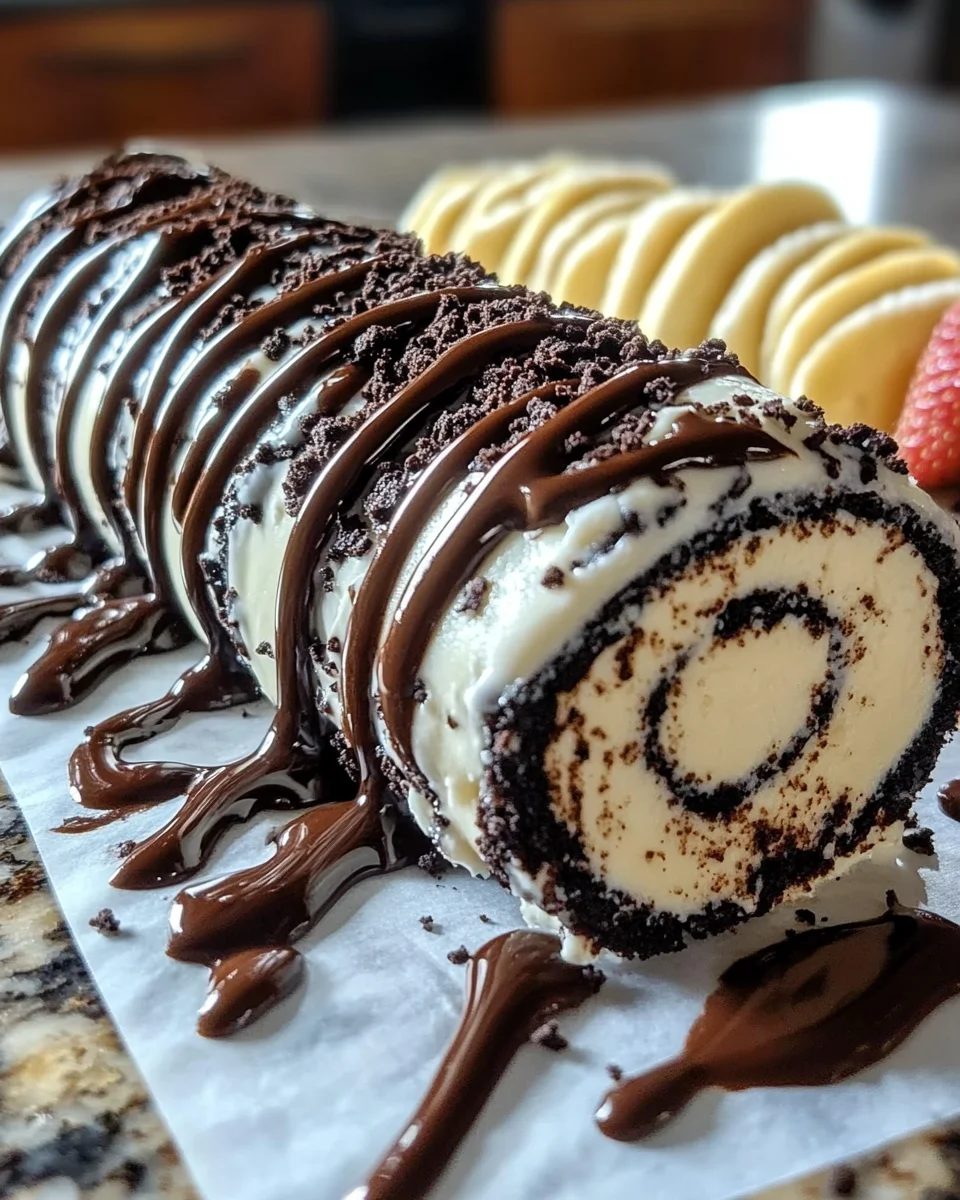
Step 7: Slice and Serve
When it’s firm, take it out of the freezer. Using a sharp knife, slice the roll into 1-inch rounds.
Garnish with chocolate drizzle, crushed Oreos, or whipped cream to elevate the presentation. You can also add fresh fruit on the side for a pop of color.
Voila! Your No-Bake Oreo Cheesecake Sushi Rolls are ready to be devoured. Enjoy this delicious creation and watch smiles spread, just like the sweet cream inside each slice!
Tips for Success
- Ensure your cream cheese is softened to room temperature for easy mixing.
- When crushing Oreos, use a ziplock bag to avoid any messy cleanup.
- Don’t rush the freezing process; letting it chill properly ensures cleaner slices.
- Add fillings sparingly to avoid a messy roll; you want that delightful surprise in every bite!
- Feel free to experiment with different toppings—let your creativity shine!

Equipment Needed
- Mixing bowls: Any medium-sized bowl will do for mixing, but a glass bowl is ideal for watching that creamy texture come together.
- Electric mixer: A hand mixer speeds things up, but a whisk works too—just get ready for a workout!
- Parchment paper: Essential for easy rolling and cleanup; alternatively, a silicone mat can be used.
- Sharp knife: Perfect for slicing through your roll cleanly—don’t forget to warm the knife under hot water for smoother cuts!
- Ziplock bag or heavy rolling pin: Use either for crushing your Oreos to get those fine crumbs. A blender also works in a pinch!
Variations of No-Bake Oreo Cheesecake Sushi Rolls
- Nut Butter Swirls: Add a layer of almond or peanut butter between the cheesecake and Oreo layers for an extra flavor burst.
- Fruit Twist: Substitute crushed Oreos for vanilla wafers and add fresh raspberries or diced peaches for a fruity delight.
- Minty Fresh: Mix peppermint extract into your cream cheese mixture for a refreshing minty twist—like a dessert mojito!
- Chocolate Lovers: Use double stuffed Oreos and drizzle chocolate sauce all over for that ultimate chocolate experience.
- Dairy-Free Option: Swap cream cheese for dairy-free alternatives, and use coconut cream to keep it creamy and delicious!
- Gluten-Free: Choose gluten-free Oreos or use crushed gluten-free cookies to accommodate dietary restrictions while still enjoying the fun.
- Mini Sushi Rolls: Create bite-sized versions by rolling smaller sections of the cheesecake mixture—perfect for fun party snacks!
Serving Suggestions for No-Bake Oreo Cheesecake Sushi Rolls
- Pair with a scoop of vanilla ice cream for a delightful contrast of temperatures.
- Serve alongside a fresh fruit salad for a refreshing side that balances the richness.
- Drizzle with salted caramel for a sweet and slightly salty twist.
- Garnish with mint leaves to add a pop of color and freshness.
- Offer coffee or milk as a drink to complement the dessert beautifully.
FAQs about No-Bake Oreo Cheesecake Sushi Rolls
Can I make these No-Bake Oreo Cheesecake Sushi Rolls ahead of time?
Absolutely! You can prepare the rolls a day in advance and store them in the fridge. Just slice them right before serving for the freshest experience.
What can I substitute for cream cheese?
If you’re looking for a dairy-free option, try using vegan cream cheese or coconut cream. They both work surprisingly well and keep the dessert creamy!
How do I store leftovers?
Place any leftover sushi rolls in an airtight container and refrigerate. They taste best when fresh but will stay good for a few days.
Can I use other cookies instead of Oreos?
Of course! Feel free to experiment with any chocolate or vanilla sandwich cookies. Just keep in mind that the flavor and texture may vary a bit.
How can I make this recipe more festive for special occasions?
For a celebration, add colorful sprinkles or seasonal fruits as toppings. You could also serve them on a decorative platter to impress your guests!
Final Thoughts
Indulging in these No-Bake Oreo Cheesecake Sushi Rolls is like wrapping your taste buds in a warm, delicious hug. The joy of creating something that looks as fun as it tastes cannot be overstated. Whether you’re bonding with family in the kitchen or surprising friends at a gathering, this recipe brings smiles all around. I’ve found that it’s not just about the dessert but the shared moments over a plate of homemade sweetness. So roll up your sleeves, gather your loved ones, and embark on this delightful adventure. Trust me, you won’t regret it!
Print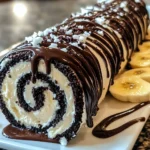
No-Bake Oreo Cheesecake Sushi Rolls
- Total Time: 1 hour (including freezing time)
- Yield: 6-8 servings 1x
- Diet: Vegetarian
Description
A fun and delicious dessert that combines the flavors of Oreo cheesecake with the presentation of sushi rolls, ready in no time without baking.
Ingredients
- 8 oz cream cheese softened
- 0.25 cup powdered sugar
- 20 Oreo cookies
- 2 tbsp melted butter
- Chocolate drizzle (optional)
- Crushed Oreos (optional)
- Whipped cream (optional)
- Sliced strawberries or bananas (optional)
Instructions
- Beat the softened cream cheese and powdered sugar together in a bowl until it’s smooth and fluffy.
- Crush the Oreos into fine crumbs.
- Mix the Oreo crumbs and melted butter until well combined.
- Press the Oreo mixture into a thin rectangle on a sheet of parchment paper.
- Spread the cheesecake mixture evenly over the Oreo crust, leaving about a ½-inch border.
- If using, add your optional fruit filling now.
- Carefully roll up the cheesecake mixture using the parchment paper as a guide.
- Freeze the roll for 30-45 minutes, or until firm.
- Once frozen, slice the roll into 1-inch rounds.
- Drizzle with chocolate, sprinkle with crushed Oreos, or top with whipped cream – get creative!
Notes
- Make sure the cream cheese is well softened for easier mixing.
- Feel free to customize fillings according to your preferences.
- This dessert is best enjoyed fresh but can be stored in the fridge for a few days.
- Prep Time: 15 minutes
- Cook Time: 0 minutes
- Category: Dessert
- Method: No-Bake
- Cuisine: American
Nutrition
- Serving Size: 1 roll (1-inch slice)
- Calories: 150
- Sugar: 10g
- Sodium: 90mg
- Fat: 8g
- Saturated Fat: 4g
- Unsaturated Fat: 4g
- Trans Fat: 0g
- Carbohydrates: 20g
- Fiber: 1g
- Protein: 2g
- Cholesterol: 30mg