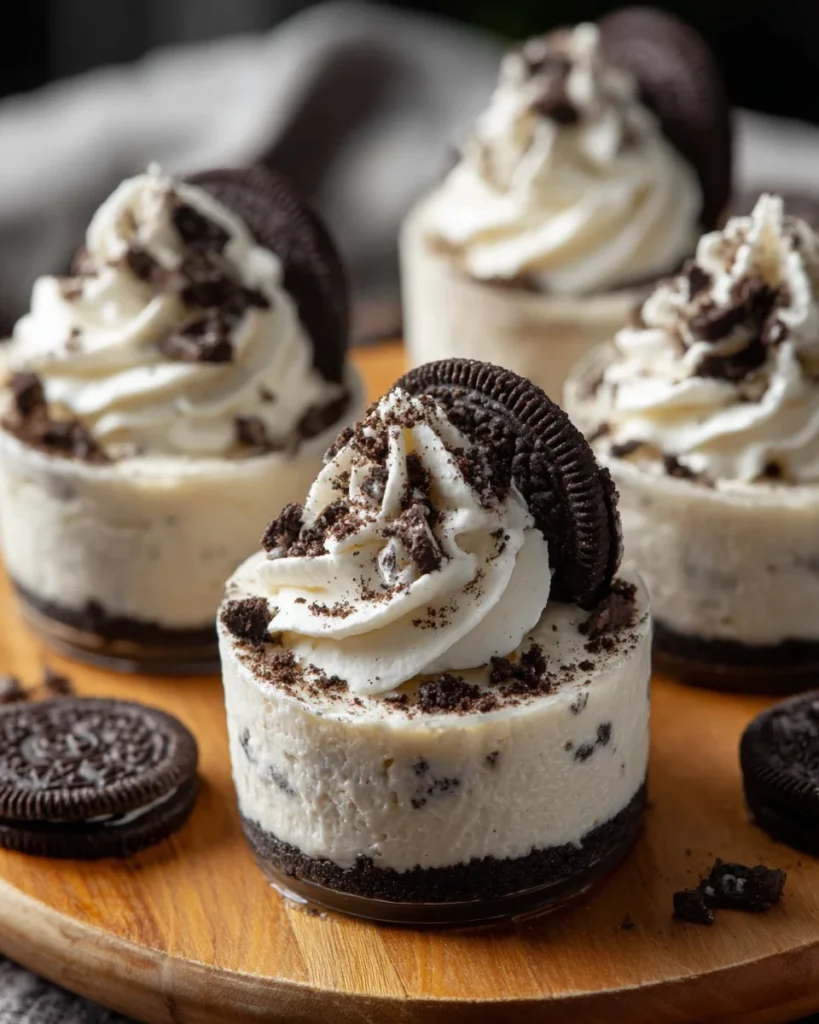
Introduction to No-Bake Oreo Cheesecake Cups
If you’re anything like me, life can sometimes feel like a whirlwind. Between work, family, and just trying to keep up with everything, who has time to bake? That’s where these No-Bake Oreo Cheesecake Cups come in! They’re the perfect quick solution for busy days, packing a delightful punch of flavor without the fuss of an oven. Whether you’re hosting a last-minute gathering or craving something sweet after a long day, these creamy, dreamy cups are sure to impress your loved ones. Let’s dive into making this simple dessert that’s guaranteed to bring smiles all around!
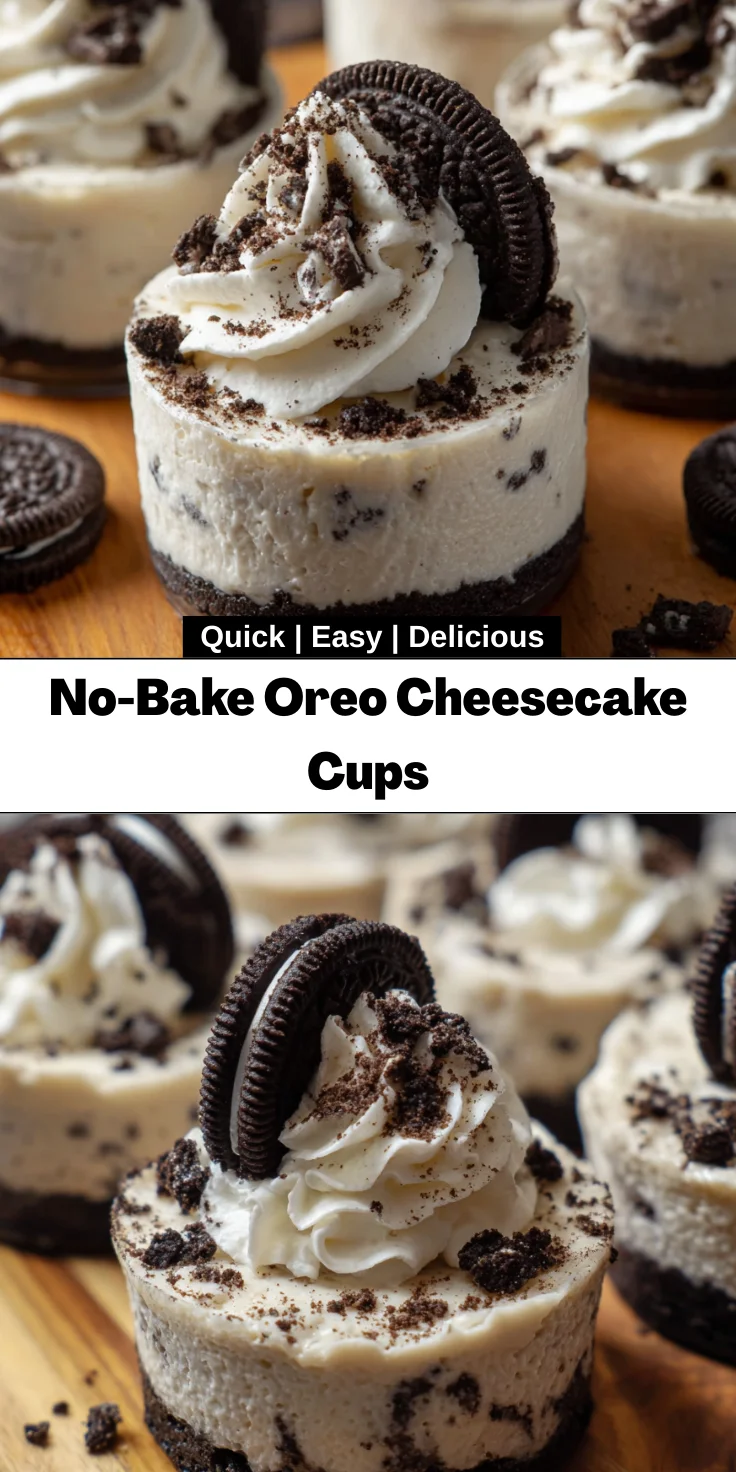
Why You’ll Love This No-Bake Oreo Cheesecake Cups
These No-Bake Oreo Cheesecake Cups are a lifesaver for busy moms and professionals alike! They come together in just 20 minutes, making them a quick and easy dessert option. You don’t need fancy baking skills to create a stunning treat. Plus, the rich, creamy cheesecake paired with crunchy Oreo crumbs delivers a taste sensation that feels indulgent without the effort.
Ingredients for No-Bake Oreo Cheesecake Cups
Let’s gather up some simple yet delightful ingredients for these No-Bake Oreo Cheesecake Cups. You’ll only need a few essentials, most of which you probably have in your kitchen already. Here’s what to whip out:
- Cream cheese: This is the star ingredient. Make sure it’s softened so it blends easily into a smooth filling.
- Whipped topping: You can use Cool Whip or any store-bought whipped topping. It adds fluffiness to the cheesecake that’s irresistible.
- Powdered sugar: This sweet magic ingredient gives the cheesecake that familiar sweetness without the graininess of granulated sugar.
- Vanilla extract: A splash of vanilla elevates the flavors, creating that decadent taste everyone loves. It’s like a warm hug in each bite!
- Oreo cookies: The backbone of this dessert! Crush some for the base and keep a few aside for a crunchy topping—because who can resist more Oreos?
- Optional ingredients: Feel free to try different cookie varieties! Chocolate or peanut butter alternatives can completely change the game in a delicious way.
For exact quantities and a printable version of the recipe, check the bottom of the article. With these ingredients, you’re just a few steps away from pure bliss!
How to Make No-Bake Oreo Cheesecake Cups
Now that we have our ingredients lined up, it’s time to get our hands a little messy and create these No-Bake Oreo Cheesecake Cups. Just follow these simple steps, and I promise you’ll be enjoying your delicious treat in no time!
Step 1: Crushing the Oreos
Grab a sealed plastic bag and toss in the Oreo cookies—about 24 to 26 should do the trick. Then, take a rolling pin or a sturdy wooden spoon and start crushing. You want fine crumbs for the best texture. Just imagine smashing away your stresses from the day; it’s quite therapeutic!
Step 2: Preparing the Oreo Base
Now, take those delightful crushed Oreos and spoon around 1 ½ to 2 tablespoons into the bottom of each dessert cup. Choose cups that hold between ¾ and 1 cup—perfect for just the right portion! Pat them down gently to create a base that’s ready for that creamy cheesecake filling.
Step 3: Making the Cheesecake Filling
In a mixing bowl, combine the softened cream cheese and powdered sugar. I find that using an electric mixer works wonders here, making everything smooth and creamy. Add in the vanilla extract and mix until it’s well blended. This filling is already smelling delightful!
Step 4: Combining Ingredients
Gently fold the whipped topping into the cream cheese mixture. Take your time with this step, as you want to retain that light, airy texture. Once the whipped topping is fully folded in, drop in the remaining crushed Oreos and fold them in too. Deliciousness is just around the corner!
Step 5: Assembling the Cups
Now comes the fun part! Evenly divide your cheesecake filling among the prepared cups. Press it gently onto the Oreo base to ensure it holds together beautifully. Aim for a nice layer that sits proudly above those crumbled cookies.
Step 6: Chilling to Set
Finally, pop those cups into the refrigerator! Let them chill for at least an hour so they can set perfectly. This wait will feel like the longest hour of your life, but trust me—it will be worth it. Once they’re ready, finish off with a dollop of whipped cream and a sprinkle of crushed Oreos before serving!
Tips for Success
- Ensure your cream cheese is at room temperature for a silky-smooth filling.
- Don’t rush the mixing! Take your time folding in the whipped topping to maintain fluffiness.
- For extra flavor, try adding a dash of almond extract along with the vanilla.
- Use a piping bag to make filling the cups easier and more fun!
- Chill overnight for best results if making ahead of time.
Equipment Needed
- Mixing bowl: A large bowl works best, but any bowl can do the trick.
- Electric mixer: Use a hand mixer for ease, or whisk by hand if preferred.
- Sealed plastic bag: A zip-top bag is perfect for crushing Oreos; alternatively, use a food processor.
- Dessert cups: Small cups or mason jars add a fun touch to your serving!
- Spoon: A sturdy spoon is essential for measuring and mixing.
Variations
- Chocolate Lover: Use chocolate wafer cookies instead of Oreos for a rich chocolate flavor that pairs beautifully with the cheesecake.
- Peanut Butter Bliss: Swirl in some peanut butter to the cheesecake filling for a nutty twist that adds depth and richness.
- Fruit Infusion: Incorporate fresh berries like strawberries, raspberries, or blueberries into the filling or as a topping for a fresh burst of flavor.
- Healthier Option: Substitute the whipped topping with Greek yogurt for a lighter version that still packs a creamy punch.
- Gluten-Free Delight: Switch to gluten-free Oreo cookies to make this dessert suitable for those with gluten sensitivities.
Serving Suggestions
- Pair these No-Bake Oreo Cheesecake Cups with a hot cup of coffee or a glass of cold milk for a delightful combo.
- Add fresh fruit, like strawberries or raspberries, for a burst of color and flavor on top!
- Consider garnishing with chocolate shavings or a drizzle of chocolate sauce for extra elegance.
- Serve in cute mason jars for a rustic touch that makes them even more inviting.
FAQs about No-Bake Oreo Cheesecake Cups
You might have a few questions about these delightful No-Bake Oreo Cheesecake Cups. Let’s tackle some common queries to make your dessert-making experience even smoother!
Can I make No-Bake Oreo Cheesecake Cups in advance?
Absolutely! These cups are perfect for prepping a day ahead. Just chill them overnight, and they’ll be ready to impress when you are!
What can I use instead of whipped topping?
If you’re looking for a healthier alternative, Greek yogurt works wonders! It still creates that creamy texture while cutting down on calories.
How do I store leftovers?
Store any leftover No-Bake Oreo Cheesecake Cups in the refrigerator. They’ll stay fresh for about 2 to 3 days, though I doubt they’ll last that long!
Can I freeze these cheesecake cups?
Freezing is an option! Just be aware that the whipped topping may change texture slightly once thawed. It’s best to enjoy them fresh!
What else can I add to customize my cheesecake cups?
Get creative! You can mix in some chopped nuts, chocolate chips, or even a splash of your favorite liqueur to elevate the flavor even more. The possibilities are endless!
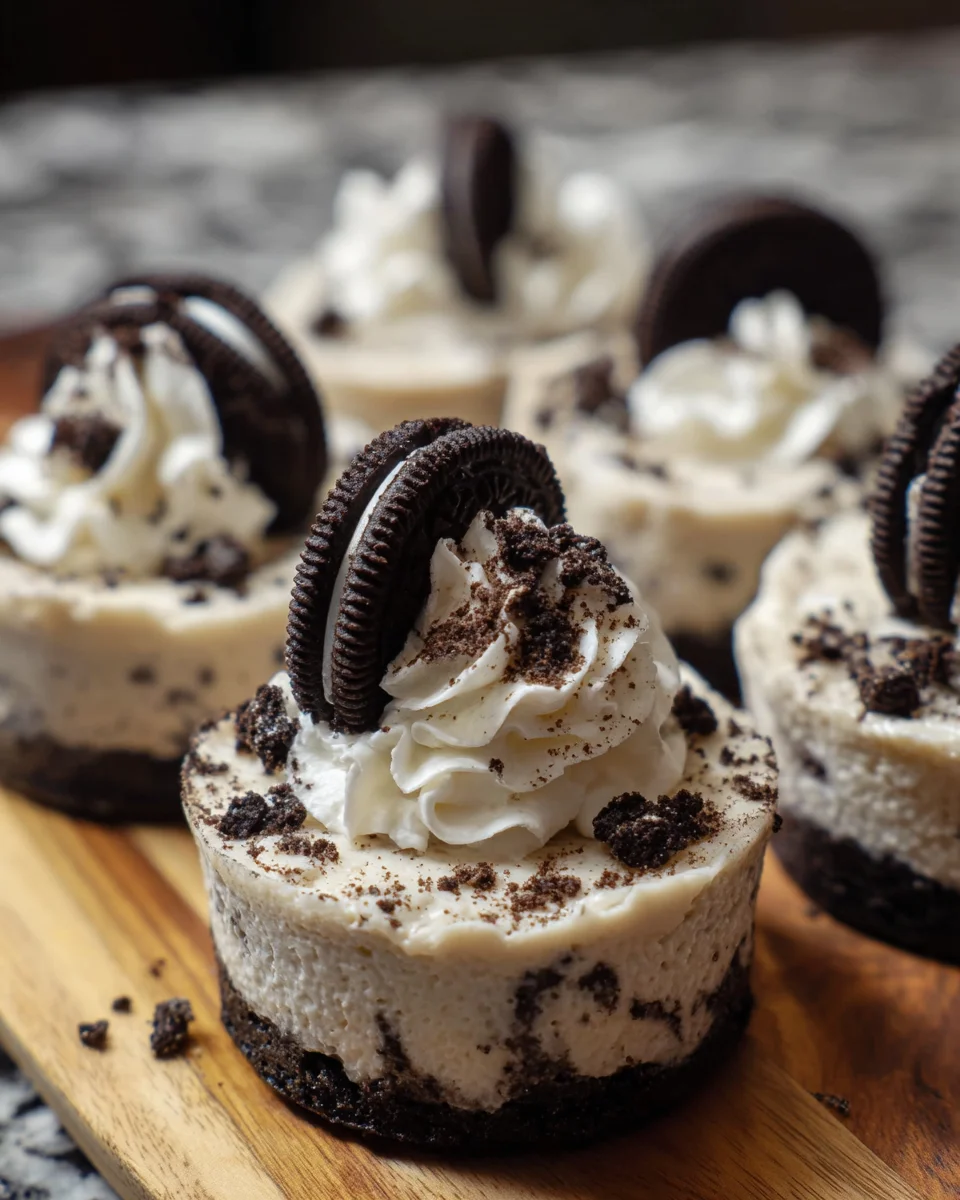
Final Thoughts
Making No-Bake Oreo Cheesecake Cups reminds me that simplicity can lead to remarkable joy. This no-fuss recipe invites even the busiest of us to step into the kitchen and whip up something that tastes as good as it looks. Each bite is a creamy explosion of flavor, topped off with that classic Oreo crunch that brings smiles to faces young and old. Whether you’re celebrating a special occasion or treating yourself after a hectic day, these cups offer a delightful burst of happiness. Try them out, and let the sweet magic unfold in your home!
Print
No-Bake Oreo Cheesecake Cups
- Total Time: 1 hour 20 minutes
- Yield: 6 servings 1x
- Diet: Vegetarian
Description
A delicious and easy-to-make No-Bake Oreo Cheesecake Cups that are perfect for any occasion.
Ingredients
- 8 ounces cream cheese, softened
- 8 ounces whipped topping (such as Cool Whip)
- 2/3 cup powdered sugar
- 1 teaspoon vanilla extract
- 24 to 26 Oreo cookies, plus more for topping
Instructions
- Place Oreo cookies in a sealed plastic bag and use a rolling pin or sturdy wooden spoon to crush them into fine crumbs.
- Spoon 1 1/2 to 2 tablespoons of crushed Oreos into the bottom of each of 6 small dessert dishes (cup capacity between 3/4 and 1 cup). Set aside.
- In a mixing bowl, combine softened cream cheese and powdered sugar. Beat with a hand or stand mixer until smooth. Add vanilla extract and blend to fully incorporate.
- Gently fold whipped topping into the cream cheese mixture until well combined.
- Fold the remaining crushed Oreos into the cheesecake filling to distribute evenly.
- Evenly divide the cheesecake mixture among the prepared dishes, pressing it gently onto the Oreo base. Refrigerate for at least 1 hour or until set.
- Before serving, top each cup with additional whipped cream and a sprinkle of crushed Oreos.
Notes
- This recipe can be made a day in advance for convenience.
- Try using different types of cookies for a unique flavor.
- Prep Time: 20 minutes
- Cook Time: 0 minutes
- Category: Dessert
- Method: No-Bake
- Cuisine: American
Nutrition
- Serving Size: 1 cup
- Calories: 310
- Sugar: 22g
- Sodium: 200mg
- Fat: 20g
- Saturated Fat: 10g
- Unsaturated Fat: 9g
- Trans Fat: 0g
- Carbohydrates: 30g
- Fiber: 1g
- Protein: 3g
- Cholesterol: 30mg


