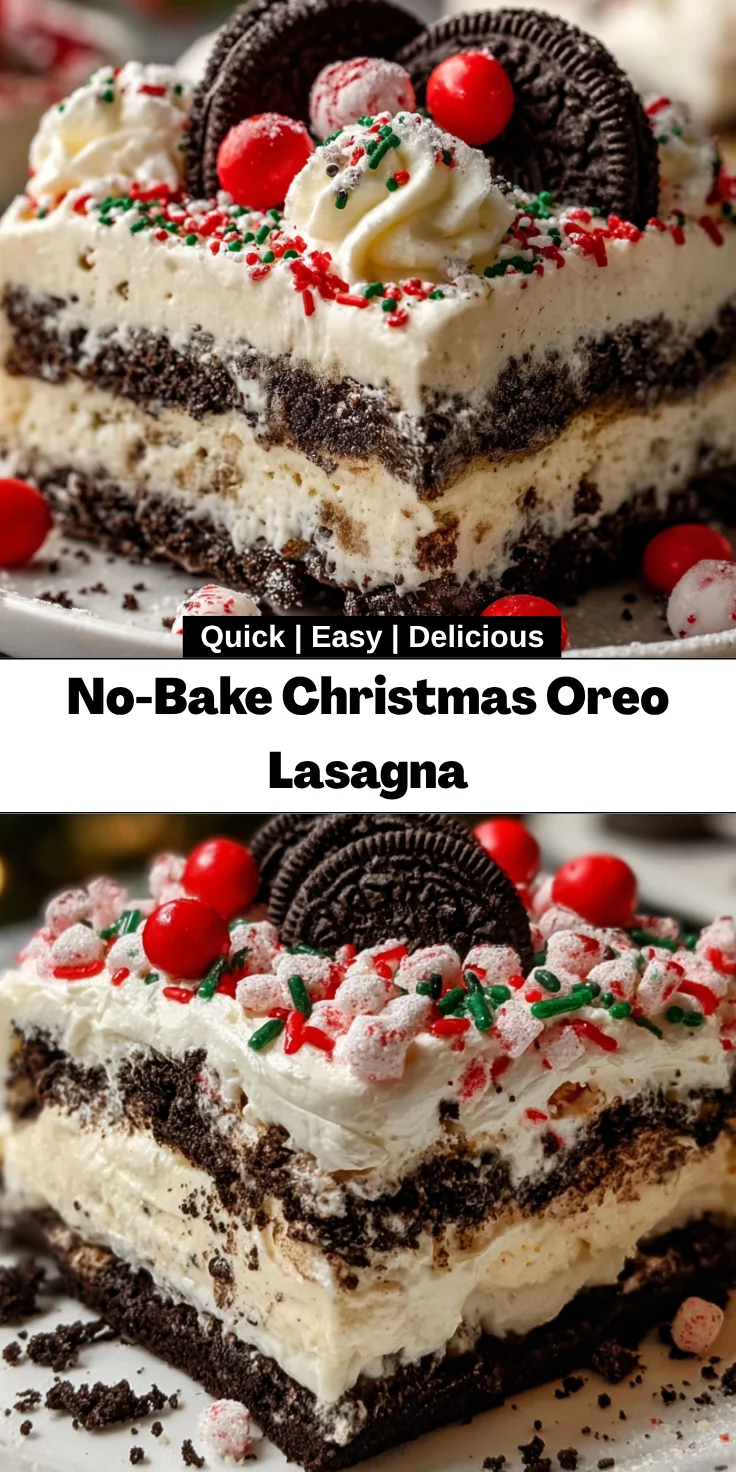
Introduction to No-Bake Christmas Oreo Lasagna
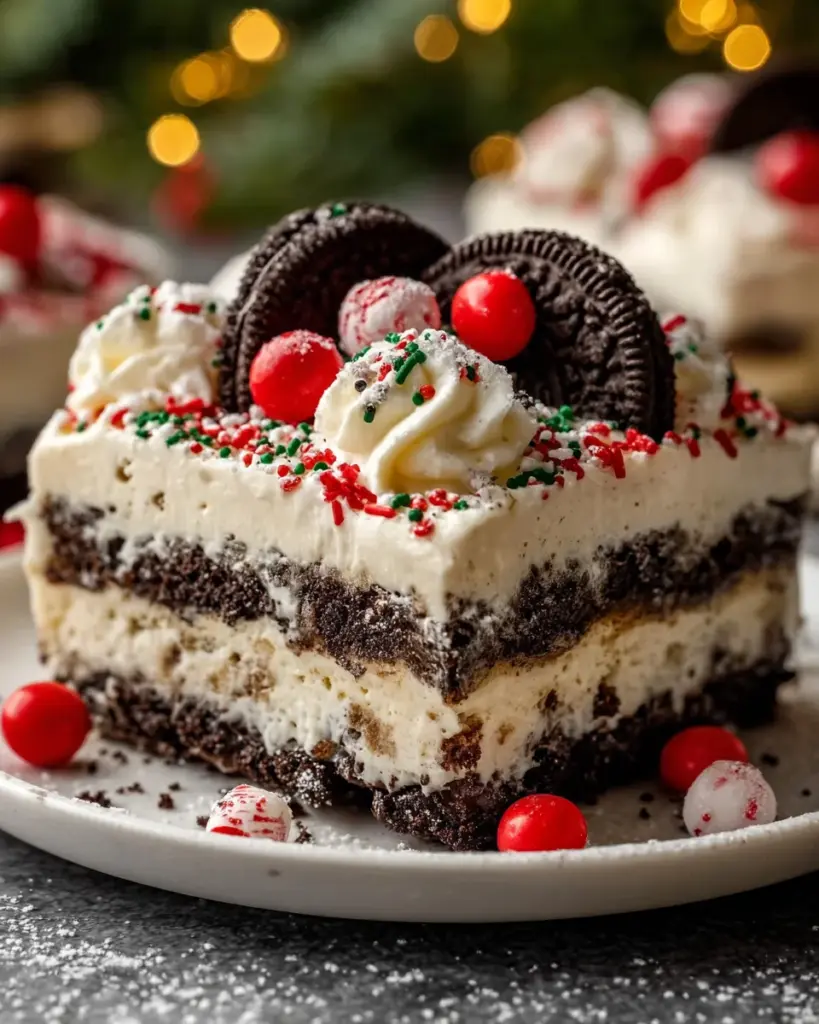
As a busy mom, the holiday season can feel like a whirlwind, can’t it? But that’s why I adore this No-Bake Christmas Oreo Lasagna. It’s a sweet little gem that brings festive cheer without tying me up in the kitchen for hours. Just imagine layers of delightful creamy goodness interspersed with crunchy Oreo cookies, creating a dessert that is as beautiful as it is delicious. The best part? It comes together in a flash. Your guests will be singing your praises, while you enjoy the holiday magic with them!
Why You’ll Love This No-Bake Christmas Oreo Lasagna
This No-Bake Christmas Oreo Lasagna is a lifesaver for busy families. It’s incredibly easy to whip up, taking just 30 minutes of your time. Plus, it requires no oven, which means you can avoid the heat while still creating a stunning dessert. The rich, creamy layers of flavors paired with the crunch of Oreos will have everyone asking for seconds. Trust me, it’s a holiday staple you’ll cherish!
Ingredients for No-Bake Christmas Oreo Lasagna
Let’s gather the magical ingredients that will make this No-Bake Christmas Oreo Lasagna the star of your holiday dessert table!
- Oreo cookies: You can use regular or festive holiday-themed Oreos for that joyful touch.
- Unsalted butter: Just a bit of melted butter holds our crumbly crust together, bringing it to life.
- Cream cheese: Softened cream cheese adds a rich tanginess that cuts through the sweetness beautifully.
- Powdered sugar: This ingredient sweetens the cream cheese layer without adding graininess.
- Heavy whipping cream: Whipping cream creates a light and fluffy texture in the dessert.
- Vanilla extract: It provides that warm, inviting flavor that brings all the components together.
- Instant vanilla pudding mix: This layer adds creaminess and stability to the lasagna.
- Milk: Essential for preparing the pudding; regular or non-dairy alternatives work well.
- Mini marshmallows (optional): For extra fluffiness, these are a delightful addition!
- Candy garnishes: Crushed peppermint candies or mini M&Ms make for a festive finish, while sprinkles add whimsy.
- Whole Oreos for topping: Use these to impress your guests with a beautiful presentation.
You can find the exact quantities of each ingredient at the end of the article for easy printing!
How to Make No-Bake Christmas Oreo Lasagna
Now, let’s dive into the fun part—creating this No-Bake Christmas Oreo Lasagna! I promise you, each step is easier than unwrapping a gift! With a bit of care and playful spirit, you’ll have a delectable dessert waiting for you in no time!
Step 1: Prepare the Oreo Crust
The foundation of our lasagna is the Oreo crust. Start by placing the Oreo cookies in a food processor. Pulse them until they resemble fine crumbs—think sandy beach, not boulders!
Once you have your crumbs, drizzle in the melted butter, mixing it until the crumbs are well-coated. It should feel moist but still crumbly. If it resembles damp sand, you’re on the right track! Press this mixture firmly into the bottom of a 9×13-inch baking dish. Use the back of a measuring cup for even pressure. This crust will provide a delightful crunch that anchors all the creamy layers above.
Step 2: Make the Cream Cheese Layer
Time to create the creamy goodness! In a large mixing bowl, combine the softened cream cheese and powdered sugar. Use an electric mixer on medium speed until the mixture is smooth and free of lumps—around 2 minutes should do the trick.
In another bowl, whip the heavy cream with the vanilla extract until stiff peaks form. This step is like magic—watch as it transforms into a fluffy cloud! Gently fold the whipped cream into the cream cheese mixture. You want a smooth, airy texture that will bring happiness to each bite. Spread this creamy layer over the Oreo crust, using a spatula for a nice even finish.
Step 3: Make the Pudding Layer
Now comes the fun part—our pudding layer! In a clean bowl, whisk together the instant vanilla pudding mix and milk. I like to incorporate it slowly, gradually mixing. Let it sit for about 2 minutes. This gives it time to thicken up to a deliciously creamy consistency.
Once thick, pour the pudding layer over the cream cheese layer, smoothing it out to reach the edges. The layers will start to stack, creating a beautiful, festive treat!
Step 4: Top with Marshmallows (Optional)
If you’re feeling a bit adventurous, sprinkle mini marshmallows over the pudding layer! They add a delightful fluffiness that contrasts beautifully with the smooth pudding. This optional layer makes it even more playful and inviting—like the marshmallows are saying, “Happy Holidays!” Feel free to adjust the amount based on your love for fluff—there’s no wrong way!
Step 5: Chill
Next, we let our beautiful creation chill. This step is crucial. Pop the dish into the refrigerator for at least 3 hours. Trust me, it’s worth the wait. Chilling allows the layers to firm up nicely, making it easy to slice later. Plus, the flavors meld together, creating an explosion of taste in every forkful!
Step 6: Garnish and Serve
Before serving, it’s time to make it pretty! Take your crushed peppermint candies or mini M&Ms and sprinkle them generously on top. Add some festive red and green sprinkles for that holiday cheer. Lastly, finish off with whole Oreos as a crowning touch. It’s like putting a bow on an already perfect gift!
Now, slice into your masterpiece and watch the smiles bloom. It’s bound to delight everyone around your holiday table!
Tips for Success
- Ensure your cream cheese is softened—this makes mixing a breeze!
- Use a food processor for easy cookie crushing, saving time and effort.
- Let the lasagna chill overnight for the best flavor and texture.
- Consider adding crushed Oreos between layers for extra texture.
- Feel free to swap the pudding mix with chocolate for a new twist!
Equipment Needed
Gathering a few simple tools will make the process smooth and enjoyable!
- 9×13-inch baking dish: Perfect for layering your lasagna.
- Mixing bowls: Use a variety of sizes for each layer.
- Electric mixer: Essential for beating the cream cheese and whipped cream.
- Food processor: Ideal for crushing Oreos quickly and evenly.
- Spatula: Handy for spreading and smoothing the layers.
If you don’t have a food processor, a sturdy zip-top bag and rolling pin work wonders, too!
Variations of No-Bake Christmas Oreo Lasagna
If you’re feeling adventurous or need to accommodate dietary preferences, there are plenty of delightful twists to this No-Bake Christmas Oreo Lasagna! Here are some tasty variations you can consider:
- Chocolate Oreos: For a richer flavor, switch to chocolate Oreos. The chocolatey base adds a lovely depth.
- Gluten-Free Option: Use gluten-free Oreo alternatives; many brands offer delicious choices! This way, everyone can enjoy the dessert.
- Dairy-Free Version: Substitute cream cheese with dairy-free cream cheese and use coconut cream instead of whipped cream. It’s just as creamy and delicious!
- Nutty Surprise: Add a layer of chopped nuts, like walnuts or pecans, to the pudding layer for a crunchy twist.
- Fruit Lover’s Delight: Mix in slices of strawberries or raspberries between the layers for a fruity burst of joy. Flavors combine to create a refreshing contrast!
Your dessert can be as unique as your celebration. Have fun mixing and matching!
Serving Suggestions
This No-Bake Christmas Oreo Lasagna shines on its own, but pairing it with delightful sides can enhance the experience. Consider serving it alongside a warm cup of spiced cider or rich hot chocolate. For a festive touch, decorate your serving table with twinkling lights and holiday ornaments!
FAQs about No-Bake Christmas Oreo Lasagna
Have questions about this delightful No-Bake Christmas Oreo Lasagna? You’re not alone! I’ve gathered some common queries to help you navigate this festive treat with confidence.
How long does it take to prepare the No-Bake Christmas Oreo Lasagna?
Preparation takes about 30 minutes, but don’t forget to chill it for at least 3 hours. This allows the layers to set perfectly and meld the flavors together. The wait is worth it!
How should I store leftovers of the lasagna?
To keep your No-Bake Christmas Oreo Lasagna fresh, cover it tightly with plastic wrap or transfer it to an airtight container. It will last in the refrigerator for up to 3-4 days—if it lasts that long, that is!
Can I make this dessert in advance?
Absolutely! This dessert is perfect for making ahead of time. You can prepare it a day in advance, allowing the flavors to develop even more. Just ensure it’s properly stored in the fridge!
What can I use as a substitute for cream cheese?
If you’re looking for a non-dairy option, dairy-free cream cheese works wonderfully. Alternatively, mascarpone cheese adds a luxurious twist while keeping that creamy texture we love!
Can I use different flavored pudding mixes?
Definitely! Feel free to swap the vanilla pudding for chocolate or even pistachio if you’re feeling adventurous. Each variation brings its own unique flavor, making this dessert endlessly adaptable!
Final Thoughts
This No-Bake Christmas Oreo Lasagna is more than just a dessert; it’s a celebration of joy and togetherness. With its creamy layers and delightful crunch, it perfectly captures the festive spirit of the season. Plus, its effortless preparation means you can focus on making memories with loved ones instead of spending hours in the kitchen. Whether it graces your holiday table or becomes a new family tradition, this dessert will undoubtedly impress your guests and leave them asking for the recipe. So, slice away, enjoy every bite, and bask in the warmth of the holiday season!
Print
No-Bake Christmas Oreo Lasagna
- Total Time: 3 hours 30 minutes
- Yield: 12 servings 1x
- Diet: Vegetarian
Description
A delightful and festive no-bake dessert combining layers of creamy goodness and Oreo cookies, perfect for Christmas celebrations.
Ingredients
- 1 package (15.35 oz) Oreo cookies (regular or holiday-themed)
- 1/4 cup unsalted butter, melted
- 1 package (8 oz) cream cheese, softened
- 1/4 cup powdered sugar
- 2 cups heavy whipping cream
- 1 teaspoon vanilla extract
- 1 package (3.4 oz) instant vanilla pudding mix
- 2 cups milk
- 1 cup mini marshmallows (optional, for extra fluffiness)
- 1/2 cup crushed peppermint candies or mini M&Ms (for garnish)
- Red and green sprinkles (optional, for decoration)
- Extra whole Oreos for topping
Instructions
- Prepare the Oreo Crust: In a food processor, pulse the Oreo cookies (reserve some for topping) until finely crushed. Combine the crushed Oreos with melted butter and mix until the crumbs are evenly coated. Press this mixture into the bottom of a 9×13-inch baking dish to form a crust. Set aside.
- Make the Cream Cheese Layer: In a large mixing bowl, beat the softened cream cheese and powdered sugar together until smooth. In a separate bowl, beat the heavy whipping cream and vanilla extract until stiff peaks form. Fold the whipped cream into the cream cheese mixture until fully combined. Spread this mixture over the Oreo crust in the baking dish.
- Make the Pudding Layer: In another bowl, whisk together the instant vanilla pudding mix and milk. Let it sit for about 2 minutes to thicken. Spread the pudding layer evenly over the cream cheese layer in the dish.
- Top with Marshmallows (Optional): For an extra fluffy layer, sprinkle mini marshmallows over the pudding layer.
- Chill: Refrigerate the lasagna for at least 3 hours or until it’s set. The layers should firm up, making it easy to slice.
- Garnish and Serve: Before serving, garnish the lasagna with crushed peppermint candies, sprinkles, and whole Oreo cookies for a festive touch. Slice into squares and enjoy!
Notes
- Make sure the cream cheese is softened for easier mixing.
- Adjust the amount of marshmallows based on preference.
- This dessert can be made a day in advance for convenience.
- Prep Time: 30 minutes
- Cook Time: 0 minutes
- Category: Dessert
- Method: No-Bake
- Cuisine: American
Nutrition
- Serving Size: 1 slice
- Calories: 350
- Sugar: 25g
- Sodium: 180mg
- Fat: 20g
- Saturated Fat: 12g
- Unsaturated Fat: 8g
- Trans Fat: 0g
- Carbohydrates: 40g
- Fiber: 2g
- Protein: 4g
- Cholesterol: 45mg