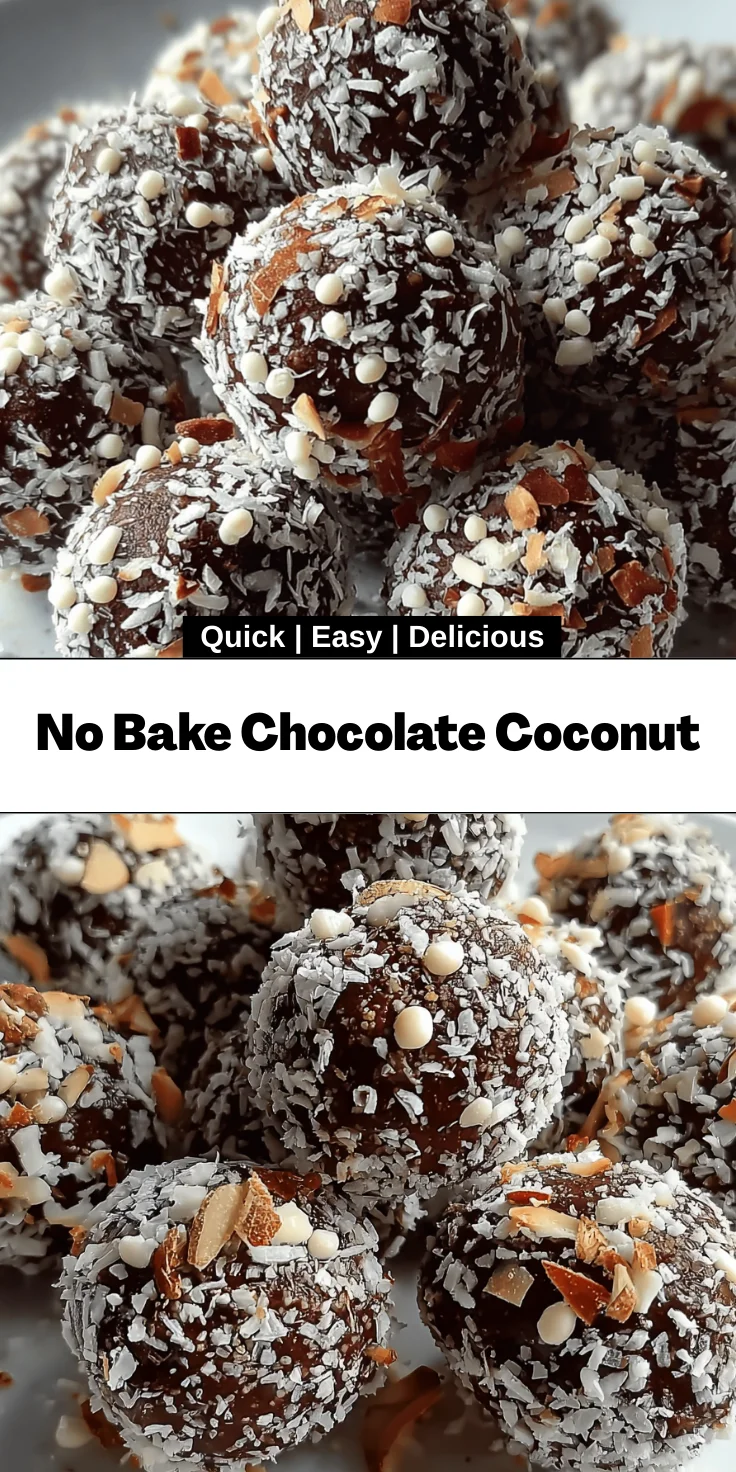
Introduction to No Bake Chocolate Coconut
Hey there, fellow food lovers! If you’re like me, life can sometimes feel like a whirlwind of activities, especially as a busy mom or professional. That’s why I’m excited to share my go-to recipe for No Bake Chocolate Coconut bliss balls! These sweet, chewy treats are perfect for satisfying your sweet tooth without spending ages in the kitchen. Whether you’re looking for a quick solution for an afternoon snack or want something special to impress your loved ones, these bliss balls tick all the right boxes. Trust me; your taste buds will thank you!
Why You’ll Love This No Bake Chocolate Coconut
You’ll adore these No Bake Chocolate Coconut bliss balls for their simplicity and delightful taste. In just about 15 minutes of hands-on time, you create something extraordinary. No oven required! Each bite is a heavenly mix of rich chocolate and coconut, making them a sweet treat suitable for any occasion. Plus, they’re kid-friendly, great for packing in lunchboxes, or perfect for sharing during a cozy movie night!
Ingredients for No Bake Chocolate Coconut
Now that you’re drooling over the thought of those No Bake Chocolate Coconut bliss balls, let’s talk ingredients! Each one plays a vital role in creating that delightful combination of flavors and textures.
- Sweetened condensed milk: This creamy base gives our bliss balls a rich sweetness and a luscious texture that binds everything together.
- Unsalted butter: Melting this adds a touch of richness and helps our mixture combine seamlessly.
- Dried coconut: Whether you go with fine or medium cut, coconut brings that tropical flavor and chewy texture to the mix! You could swap this for ground almonds for a nutty twist if desired.
- Chocolate cookie crumbs: The heart of our bliss balls! These crumbs create that indulgent chocolatey flavor, with Oreos being a popular choice.
- Vanilla extract: Just a splash of this fragrant ingredient elevates the overall taste, making it more aromatic and inviting.
- Mini white chocolate chips: These tiny treasures burst with sweetness, adding little pockets of creamy goodness in every bite.
- Candy sprinkles or extra cookie crumbs: An optional but fun way to roll your bliss balls! Sprinkles add a festive finish, while cookie crumbs intensify the chocolate experience.
For exact measurements, check the bottom of the article where all the specifics are conveniently available for printing!
How to Make No Bake Chocolate Coconut
Ready to dive into the fun? Making these No Bake Chocolate Coconut bliss balls is a breeze! With just a few straightforward steps, you’ll be tantalizing your taste buds in no time. Let’s get started!
Step 1: Melt the Butter and Combine
First things first, let’s melt the unsalted butter. Pop it in the microwave for about 30 seconds, or until it’s completely melted. Now, in a large mixing bowl, pour in the sweetened condensed milk and add a splash of vanilla extract. Give it all a good stir! This thorough mixing ensures a lovely, smooth base for your mixture. Trust me; that rich flavor blend is worth it!
Step 2: Fold in the Dry Ingredients
Next up, it’s time to add the fun stuff! Gently fold in the chocolate cookie crumbs, dried coconut, and mini white chocolate chips. Be careful not to over-mix; you want to maintain that delightful texture. Mixing should create a beautiful, uniform consistency that looks like a party in a bowl! Each ingredient brings its charm, making every bliss ball a flavorful delight.
Step 3: Chill the Mixture
After mixing, it’s crucial to let the mixture chill. Refrigerate it for about 60 minutes. This step helps it firm up, making it easier to shape. If you skip this, you’ll find yourself wrestling with a gooey mess instead of rolling bliss balls. Patience is key, my friends!
Step 4: Shape the Bliss Balls
Once chilled, it’s time to bring these treats to life! Using a small scoop or your hands, scoop the mixture and roll it into small balls, about 3 cm in diameter. Keeping the size small allows for that perfect texture and richness in every bite. Plus, they look so cute when they’re petite!
Step 5: Roll and Set
The fun doesn’t stop there! Now, you can roll each bliss ball in candy sprinkles or extra cookie crumbs. This adds a delightful crunch and an extra burst of flavor. Once rolled, place them back into the fridge to firm up for another little while. The chilling helps them hold their shape, making them ready to impress!
Step 6: Storage Tips
Finally, let’s talk storage. Place your finished bliss balls in a sealed container and keep them in the refrigerator. They’ll stay fresh for about a week! Want them for longer? Pop them in the freezer! They freeze beautifully, so you can have your sweet treats ready for whenever that chocolate craving hits!
Tips for Success
- Use a small ice cream scoop for consistent ball sizes, ensuring even texture.
- For easy cleanup, line your mixing bowl with parchment paper while mixing.
- Chilling the mixture longer can help if it seems a bit too soft.
- Experiment with different cookie crumbs for new flavor profiles.
- Involve your kids! They’ll love rolling the balls and adding sprinkles.
Equipment Needed
- Large mixing bowl – Any bowl will work, just make sure it’s spacious enough for mixing.
- Spoon or spatula – A sturdy spoon or spatula helps with combining ingredients.
- Small scoop or your hands – Perfect for shaping those bliss balls!
- Refrigerator – Essential for chilling your mixture.
- Sealed container – To keep your bliss balls fresh.
Variations
- Nutty Bliss Balls: Swap out some of the dried coconut for finely chopped nuts like almonds or walnuts for an added crunch and protein boost.
- Vegan Version: Replace sweetened condensed milk with a vegan alternative and use coconut oil instead of butter to keep things dairy-free.
- Flavorful Enhancements: Add a tablespoon of cocoa powder for an extra chocolate kick, or mix in some almond extract for a nutty twist.
- Fruit Infusion: Toss in some mini chocolate chips or dried fruit like raisins or cranberries for a burst of flavor in every bite.
- Granola-Style Bliss Balls: Mix in some rolled oats or granola for a delightful texture and chewy finish!
Serving Suggestions
- Pair your No Bake Chocolate Coconut bliss balls with a cup of rich coffee or a glass of almond milk for a delightful afternoon treat.
- Present them on a decorative platter for gatherings, adding a sprinkle of extra coconut for a pop of color.
- Perfect for lunchboxes, pack a few with fresh fruit slices for a balanced snack.
- For a fun twist, skewer them with toothpicks and serve as bite-sized snacks at parties.
FAQs about No Bake Chocolate Coconut
Got questions about these delightful No Bake Chocolate Coconut bliss balls? Don’t worry! I’m here to help you navigate this tasty treat.
Can I use unsweetened coconut instead of sweetened?
Absolutely! Unsweetened coconut will give a different flavor profile, and you might want to adjust the sugar a little to keep that sweetness in check.
How long do these bliss balls last?
Well, in the refrigerator, they’re great for about a week. If you freeze them, you can enjoy them for a couple of months. Perfect for when those cravings hit!
Can I substitute the chocolate cookie crumbs?
Of course! You can use graham cracker crumbs or even digestive biscuits for a different base. Just keep the measurements roughly the same for best results!
Are these bliss balls suitable for kids?
Yes, they are! They are kid-friendly and a fun treat for lunch boxes or after school snacks. Just keep an eye on those mini chocolate chips!
Can I make these dairy-free?
Definitely! Swap the sweetened condensed milk for a dairy-free alternative and use a vegan butter to keep it dairy-free. You’ll still get all that delicious flavor!
Final Thoughts
Creating these No Bake Chocolate Coconut bliss balls is more than just a recipe; it’s a delightful experience! Each bite transports you to a little haven of sweetness and flavor. They’re perfect for sharing, whether it’s a cozy family night or a fun gathering with friends. Plus, I love how simple they are to whip up, even on the busiest days! So, next time you find yourself craving something sweet, remember this easy recipe and the joy it brings. Your loved ones will surely feel the love in each scrumptious bite!
Print
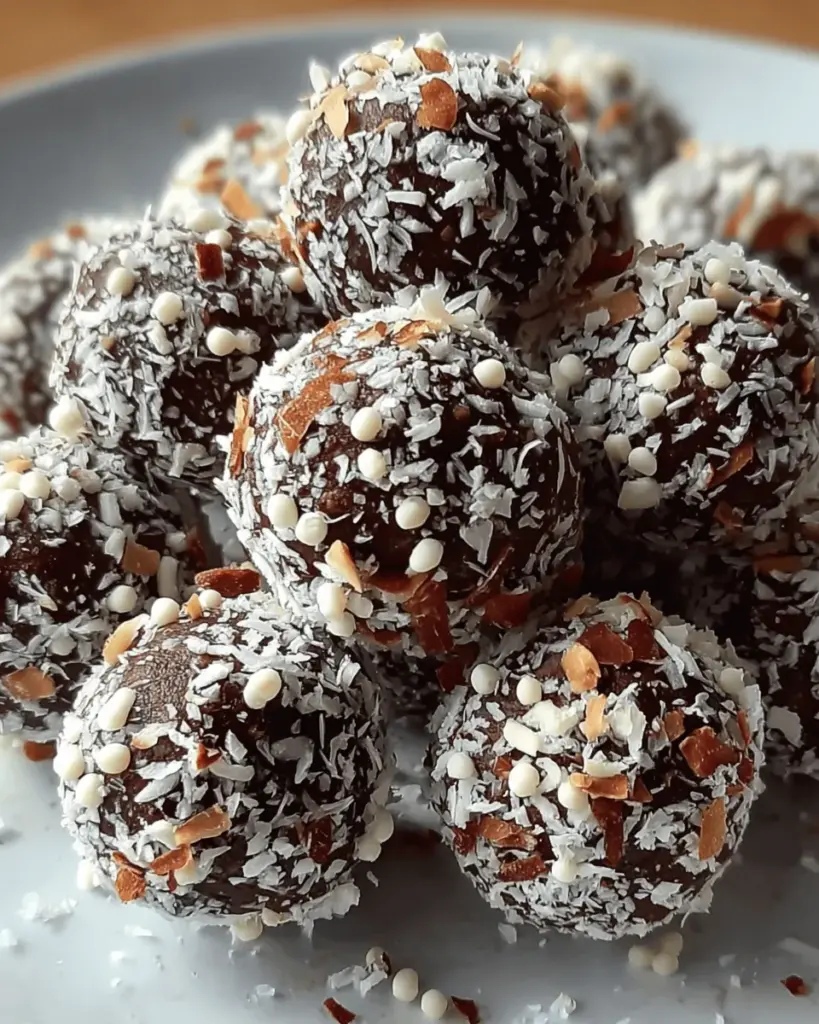
No Bake Chocolate Coconut Bliss Balls
- Total Time: 1 hour 15 minutes
- Yield: Approximately 20 balls 1x
- Diet: Vegetarian
Description
Delicious no-bake chocolate coconut bliss balls that are sweet, chewy, and perfect for any occasion.
Ingredients
- 300 ml sweetened condensed milk
- 60 ml unsalted butter, melted
- 150 g dried coconut, fine or medium cut (or substitute with ground almonds)
- 180 g chocolate cookie crumbs (such as Oreo crumbs)
- 5 ml vanilla extract
- 270 g mini white chocolate chips
- Candy sprinkles or additional cookie crumbs, as desired for rolling
Instructions
- Melt unsalted butter and blend thoroughly with sweetened condensed milk and vanilla extract in a large mixing bowl.
- Fold in chocolate cookie crumbs, dried coconut, and mini white chocolate chips until the mixture is completely combined and uniform.
- Refrigerate the mixture for approximately 60 minutes to firm up before shaping.
- Scoop and roll the chilled mixture into balls, about 3 cm in diameter, keeping them small for optimal texture and richness.
- Roll each ball in candy sprinkles or extra cookie crumbs as preferred, then chill again until firm.
- Store finished balls in a sealed container in the refrigerator. These can also be successfully frozen for longer storage.
Notes
- For a healthier alternative, consider substituting ground almonds for dried coconut.
- Make sure to keep the balls small for the best texture and taste.
- Prep Time: 15 minutes
- Cook Time: 0 minutes
- Category: Dessert
- Method: No-Bake
- Cuisine: American
Nutrition
- Serving Size: 1 ball
- Calories: 120
- Sugar: 10g
- Sodium: 50mg
- Fat: 7g
- Saturated Fat: 4g
- Unsaturated Fat: 2g
- Trans Fat: 0g
- Carbohydrates: 15g
- Fiber: 1g
- Protein: 1g
- Cholesterol: 10mg