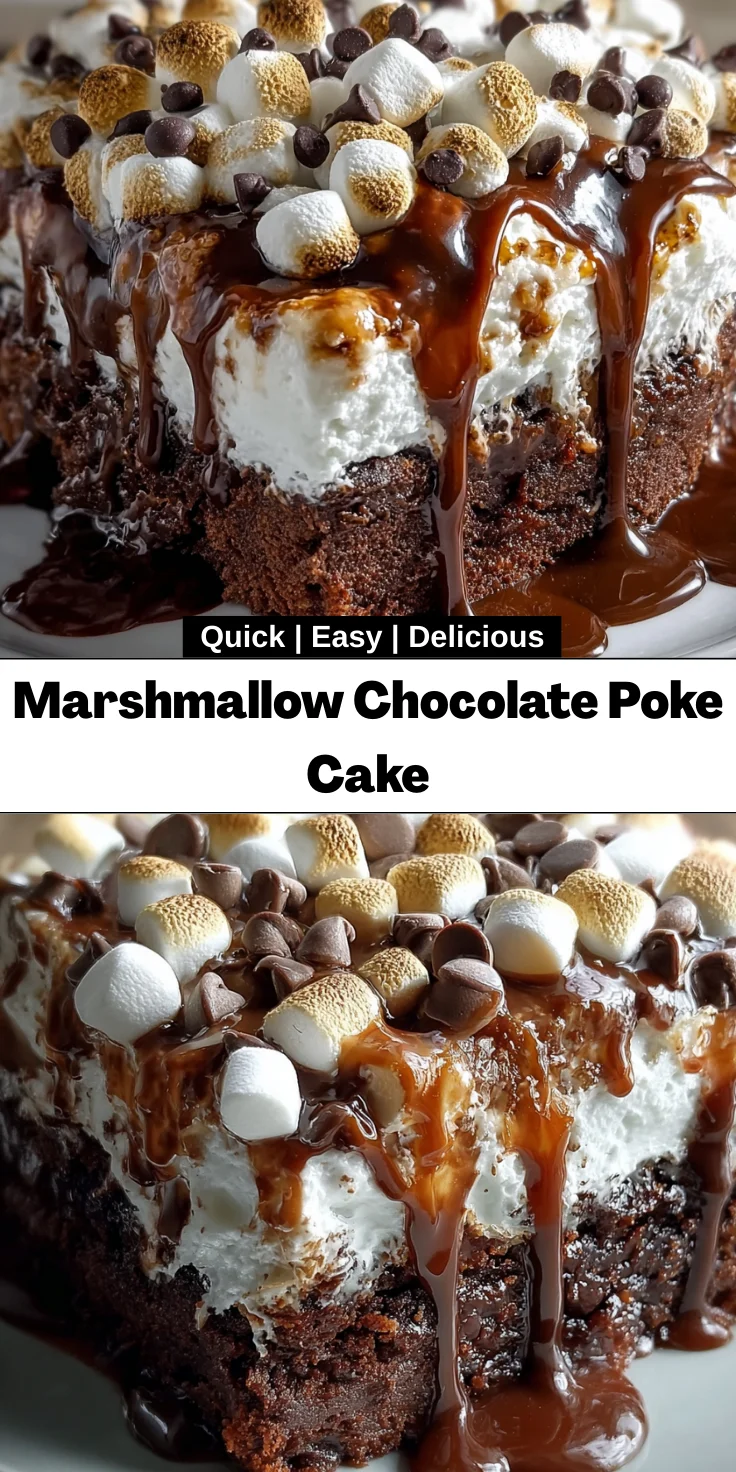
Introduction to Marshmallow Chocolate Poke Cake
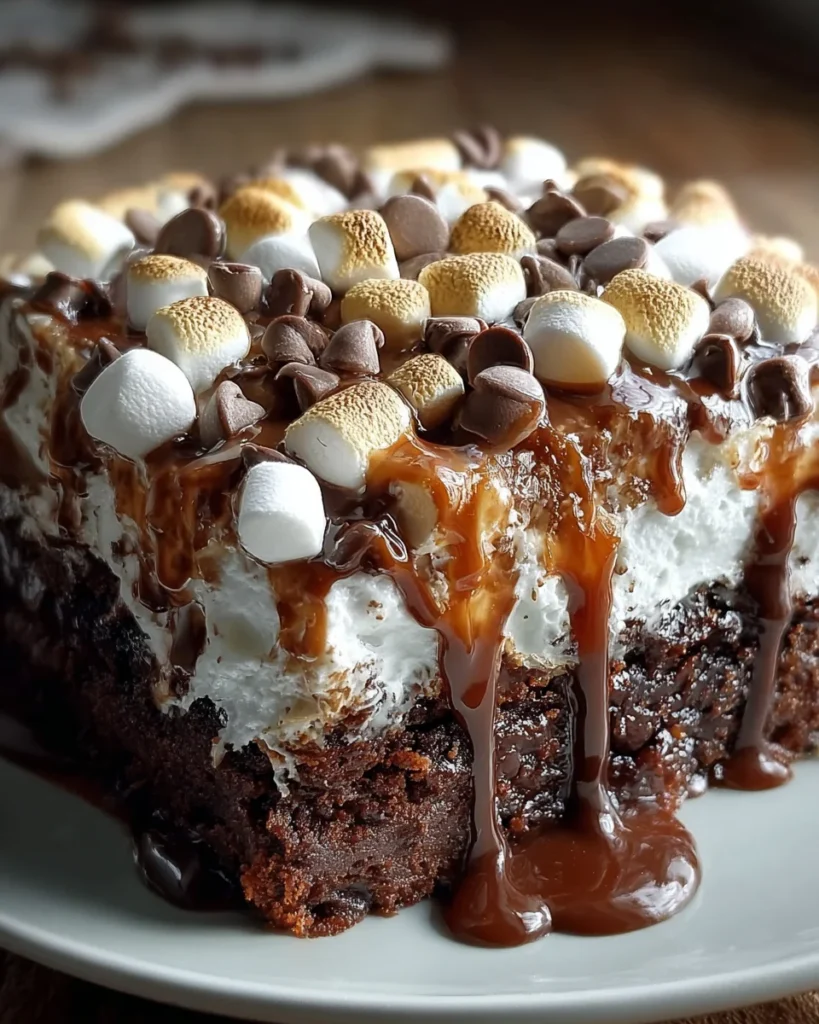
Hey there, fellow dessert lovers! If you’re anything like me, you know that life’s hustle often leaves little time for elaborate baking. Enter the Marshmallow Chocolate Poke Cake: a delightful dessert that’s as easy to make as it is irresistible. This cake is a fluffy chocolate dream, filled with sweetened condensed milk and topped with a cloud of marshmallow fluff. It’s perfect for unexpected guests or those busy weeknights when you crave something sweet but can’t spare hours in the kitchen. Trust me, one bite, and you’ll understand why this dessert is a family favorite!
Why You’ll Love This Marshmallow Chocolate Poke Cake
Let me tell you, this Marshmallow Chocolate Poke Cake is a lifesaver! It’s a one-bowl wonder that comes together in no time. You’ll love how each slice bursts with rich flavors. Plus, the poke cake method ensures that every corner is oozing with sweetness. It’s like receiving a warm hug after a long day. When dessert is this simple and delicious, you’ll find reasons to make it again and again!
Ingredients for Marshmallow Chocolate Poke Cake
Let’s talk about the star players that come together to create this delightful Marshmallow Chocolate Poke Cake. Each ingredient plays a vital role, contributing to the fiesta of flavors that bursts from each slice.
- Sweetened Condensed Milk: This creamy goodness is the secret to keeping the cake moist and infusing it with rich sweetness. It acts as a sponge for that decadent flavor!
- Marshmallow Fluff: A fluffy, sweet topping that adds a delightful texture and hints of nostalgia. It’s like spreading joy on your cake—who can resist?
- Semisweet Chocolate Chips: These little morsels melt beautifully into a silky chocolate ganache. Their balanced sweetness elevates the cake to another level.
- Heavy Cream: The creamy foundation for your ganache, it adds lush richness and ensures a smooth pouring experience. Use fresh cream for the best results!
You can find all the ingredients at your local grocery store. Just remember, if you want a lighter option, there’s always the temptation of substituting the heavy cream with whipping cream. Curious for exact amounts? Don’t fret! You can find them at the end of the article for printing.
How to Make Marshmallow Chocolate Poke Cake
Now comes the fun part! Making the Marshmallow Chocolate Poke Cake is a delightful adventure that’s easy to follow and incredibly satisfying. From poking holes to pouring luscious ganache, every step is part of the magic. Let’s get started!
Step 1: Poke Holes in the Cake
Start by ensuring your cake is completely cooled. This is essential; if it’s warm, it might break apart when you poke holes.
Using the handle end of a wooden spoon or a skewer, gently poke evenly spaced holes in the cake. Aim for about 1 to 2 inches apart. Each hole is like a tiny doorway for flavor, allowing the sweetened condensed milk to seep in and make every bite a dreamy experience.
Step 2: Pour the Sweetened Condensed Milk
This is where the magic starts!
Slowly pour the sweetened condensed milk over the cake, ensuring you cover all the holes. This step is crucial because it allows the cake to soak up that creamy goodness, turning it into a super moist masterpiece.
Take your time! If you rush, the milk won’t soak in properly, and we want maximum flavor!
Step 3: Spread the Marshmallow Fluff
Next up is the marshmallow fluff, which adds that nostalgic sweetness we all adore.
Use a spatula to gently spread the marshmallow fluff over the entire cake, paying special attention to filling those lovely holes.
Aim for an even layer, creating a fluffy surface that’s as inviting as a soft cloud. Isn’t baking fun?
Step 4: Prepare the Chocolate Ganache
For the ganache, start by heating the heavy cream in a small saucepan just until it simmers.
Don’t let it boil! This step is key, as the right temperature helps the chocolate melt smoothly, resulting in a beautiful glaze.
Once simmering, pour the cream over the semisweet chocolate chips in a bowl and let it sit for one minute. This waiting time lets the chocolate soften perfectly. After that, whisk until the mixture is glossy and smooth—pure bliss!
Step 5: Top the Cake with Ganache
Finally, it’s time to top your creation.
Carefully pour the warm ganache over the marshmallow layer, letting it flow down the sides of the cake. Use an offset spatula to spread it evenly if needed.
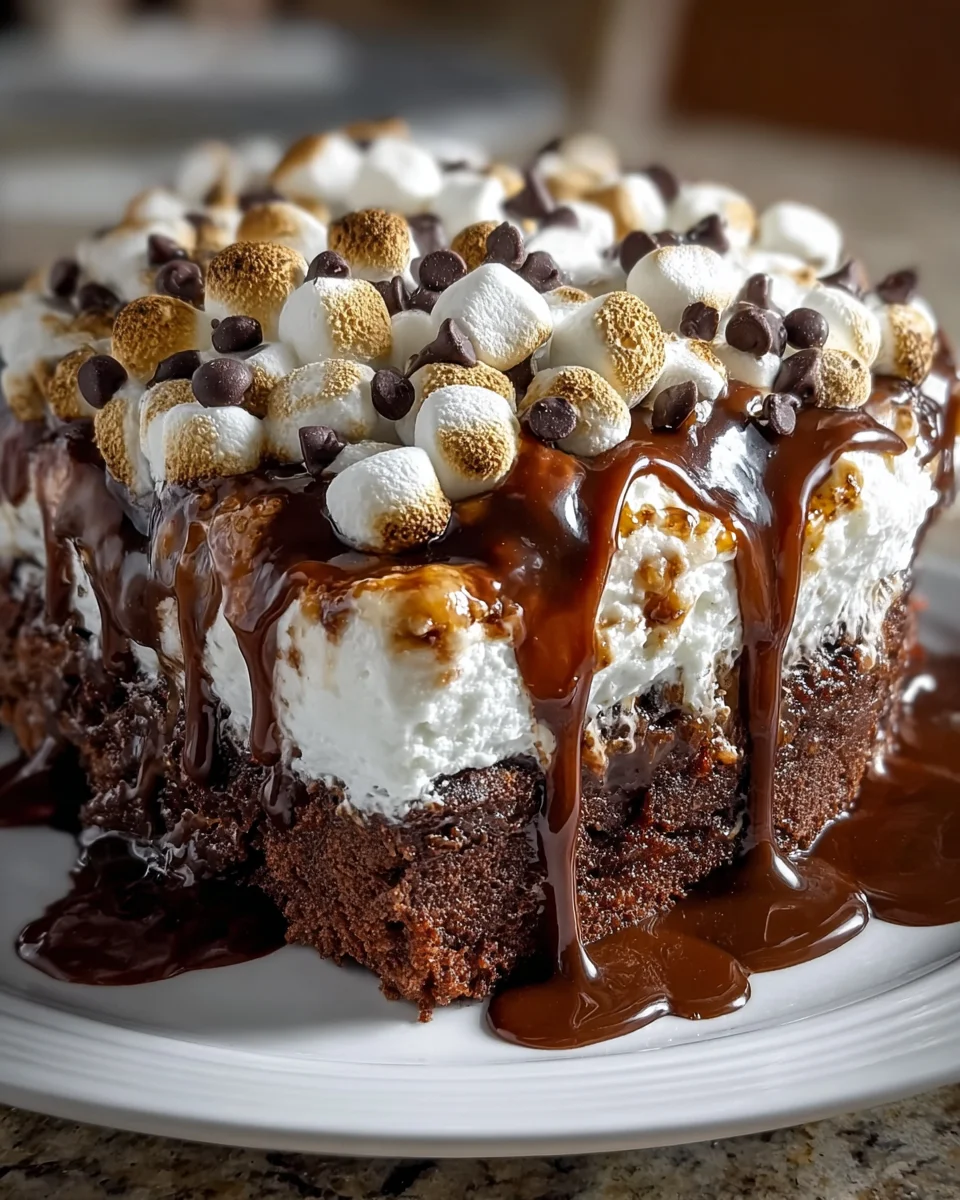
This finishing touch turns your cake into a decadent dessert sensation! The glossy chocolate layer feels like the cherry on top of this delightful cake.
Tips for Success
- Let the cake cool completely before poking holes to avoid crumbling.
- Use a toothpick for smaller holes for more absorption, if preferred.
- Store leftovers in the refrigerator for up to 3 days—if there are any!
- Feel free to adapt flavors with different chocolate or add toppings like crushed nuts.
- Always measure ingredients accurately for the best results!
Equipment Needed
- 9×13-inch baking dish – A classic choice for poke cakes; you can use any similar-sized pan.
- Wooden spoon or skewer – For poking holes; a toothpick also works fine.
- Mixing bowls – Use one for mixing and another for the ganache.
- Whisk – Essential for achieving a smooth ganache.
- Offset spatula – Helpful for spreading the ganache evenly.
Variations of Marshmallow Chocolate Poke Cake
- Peanut Butter Delight: Add a layer of peanut butter between the cake and marshmallow fluff for a nutty twist.
- Minty Fresh: Incorporate 1 teaspoon of peppermint extract into the ganache for a refreshing mint chocolate flavor.
- Caramel Drizzle: Swirl in some caramel sauce with the marshmallow fluff for a sweet touch that complements the chocolate.
- Fruit Fusion: Top the cake with fresh strawberries or raspberries for a fruity contrast that brightens the dessert.
- Gluten-Free Swap: Substitute the chocolate cake mix with a gluten-free version to accommodate dietary needs.
Serving Suggestions for Marshmallow Chocolate Poke Cake
- Pair with a scoop of vanilla ice cream for a delightful contrast in temperature.
- Serve with fresh berries to add a burst of color and tangy flavor.
- Drizzle some chocolate syrup on top for extra indulgence.
- Presentation tip: Garnish with whipped cream and a sprinkle of cocoa powder for a touch of elegance.
FAQs about Marshmallow Chocolate Poke Cake
As a passionate home cook, I often get questions about this delightful Marshmallow Chocolate Poke Cake. Here are some frequent inquiries that pop up, along with my tried-and-true answers!
Can I make this cake ahead of time?
Absolutely! In fact, making it a day in advance can enhance the flavors. Just cover it well and refrigerate.
How should I store leftover cake?
Store any leftover Marshmallow Chocolate Poke Cake in the refrigerator. It can last for up to three days, though it might not last that long in my house!
Can I use a different kind of cake mix?
Totally! While chocolate is classic, feel free to experiment with different flavors like vanilla or even red velvet. The poke method works wonders with any cake!
What if I don’t have heavy cream for the ganache?
If you’re out of heavy cream, you can substitute with half-and-half or whole milk. The texture may vary slightly, but it’ll still be delicious!
Is this cake suitable for kids?
Oh yes! This Marshmallow Chocolate Poke Cake is a hit with kids and adults alike. Just watch out for those sprinkles—little hands will go right for them!
Final Thoughts
Baking this Marshmallow Chocolate Poke Cake feels like a warm embrace on a busy day. It’s more than just a dessert; it’s a sweet way to create memories with family and friends. The smells wafting through your kitchen, the ooey-gooey layers inviting you to dig in—that’s pure joy! Whether it’s a celebration or a simple treat after dinner, each slice brings smiles and laughter. I hope you experience the magic of this cake in your home because every bite is a reminder of love, comfort, and the beauty of sharing something delicious with those you cherish.
Print
Marshmallow Chocolate Poke Cake
- Total Time: 50 minutes
- Yield: 12 servings 1x
- Diet: Vegetarian
Description
A decadent and indulgent dessert featuring a chocolate cake filled with sweetened condensed milk and marshmallow fluff, topped with a rich chocolate ganache.
Ingredients
- 1 can (14 ounces) sweetened condensed milk
- 1 jar marshmallow fluff
- 1 cup semisweet chocolate chips
- 1/2 cup heavy cream
Instructions
- Using the handle end of a wooden spoon or a skewer, poke evenly spaced holes (approximately 1 to 2 inches apart) throughout the cooled cake surface.
- Slowly pour the sweetened condensed milk over the cake, ensuring it infiltrates each hole for thorough absorption.
- Gently spread marshmallow fluff across the cake, focusing on filling the poked holes and achieving an even surface layer.
- Warm 1/2 cup heavy cream just to a simmer. Pour over the chocolate chips in a bowl, allow to stand for one minute, then whisk until completely smooth and glossy.
- Evenly pour the chocolate ganache over the marshmallow layer, using an offset spatula to spread if necessary.
Notes
- Ensure the cake is completely cooled before poking holes to prevent it from breaking.
- You can use a toothpick instead of a skewer if preferred.
- This cake can be stored in the refrigerator for up to 3 days.
- Prep Time: 20 minutes
- Cook Time: 30 minutes
- Category: Dessert
- Method: Baking
- Cuisine: American
Nutrition
- Serving Size: 1 slice
- Calories: 350
- Sugar: 30g
- Sodium: 150mg
- Fat: 18g
- Saturated Fat: 10g
- Unsaturated Fat: 8g
- Trans Fat: 0g
- Carbohydrates: 40g
- Fiber: 1g
- Protein: 5g
- Cholesterol: 50mg


