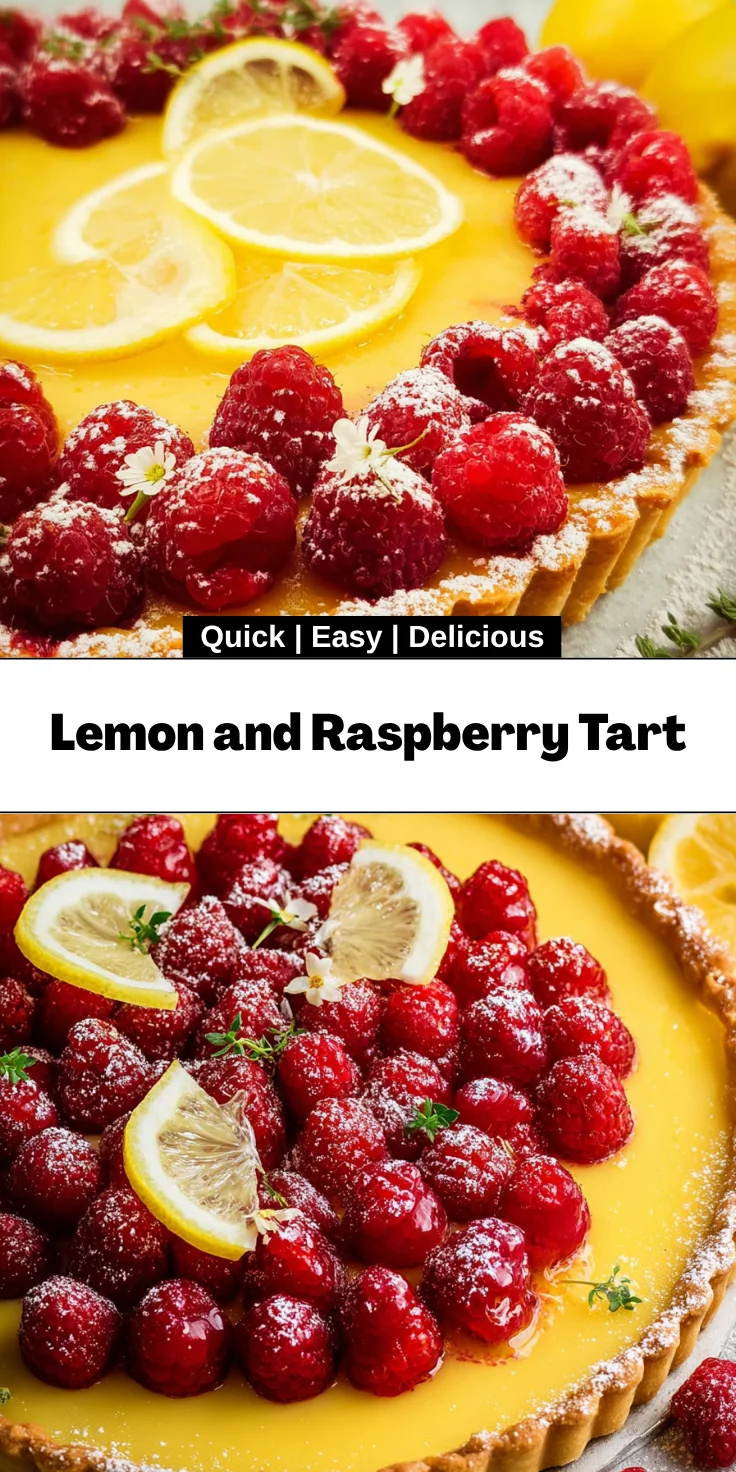
Introduction to Lemon and Raspberry Tart
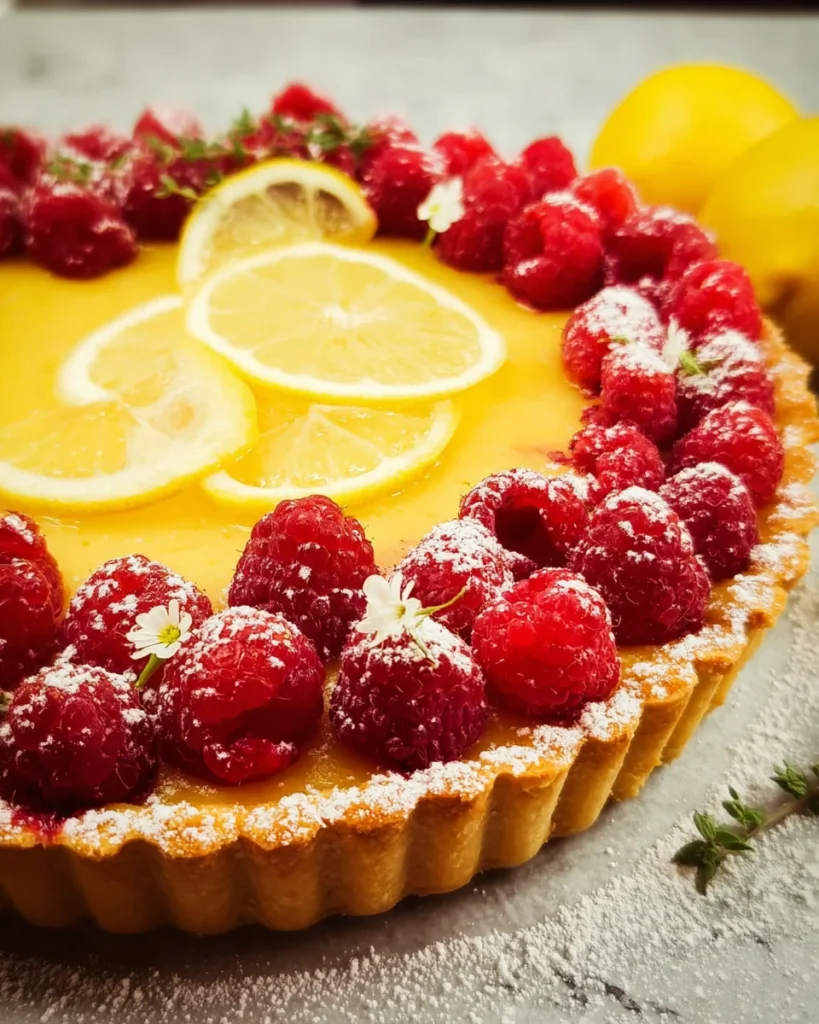
As a passionate home cook, I often find myself yearning for that perfect dessert that can delight my family without consuming an entire afternoon in the kitchen. Enter the Lemon and Raspberry Tart—a mouthwatering treat that strikes the perfect balance between tangy lemon curd and sweet raspberry jam. It’s a quick solution for busy days or a dazzling dish to impress your loved ones at that weekend gathering. Imagine slicing into a beautifully baked tart, the zesty aroma filling the air, while you bask in the compliments from friends and family. Honestly, it just doesn’t get any better!
Why You’ll Love This Lemon and Raspberry Tart
This delightful Lemon and Raspberry Tart is not only easy to make, but it also dazzles with its vibrant flavors. In just under 30 minutes of prep, you’ll have a gorgeous dessert ready to impress. The buttery crust, luscious lemon curd, and sweet raspberry jam combine for a burst of sunshine in every bite. It’s the perfect ending to any meal, and it’s sure to make your loved ones smile!
Ingredients for Lemon and Raspberry Tart
The beauty of this Lemon and Raspberry Tart lies not only in its delightful flavors but also in the quality of its ingredients. Each component plays a vital role in creating that stunning dessert. Here’s what you’ll need:
- All-purpose flour: This forms the base of your tart crust, providing that essential structure.
- Powdered sugar: It adds sweetness and a touch of finesse to the crust, making it melt-in-your-mouth delicious.
- Lemon zest: A fragrant burst of citrus flavor that brightens the dessert and enhances the lemon curd.
- Salt: Just a pinch brings out the flavors, balancing the sweetness beautifully.
- Unsalted butter: Cold and cubed, it creates a rich, flaky texture for your tart crust.
- Egg yolk: This adds richness and helps bind the crust together perfectly.
- Lemon juice: Freshly squeezed is best! It gives the lemon curd that vivid tang that we all crave.
- Ice water: Optional, but can help bring the dough together if it feels too dry.
- Raspberry jam: This sweet layer not only enhances the flavor but adds a beautiful color beneath the lemon curd.
- Granulated sugar: Essential for sweetening the lemon curd, allowing the tartness to shine through.
- Fresh lemons: You’ll need juice and zest, providing that signature lemony kick.
- Large eggs and egg yolks: These are the backbone of the lemon curd, giving it a lovely custardy consistency.
- More unsalted butter: This time, to finish the lemon curd with creaminess.
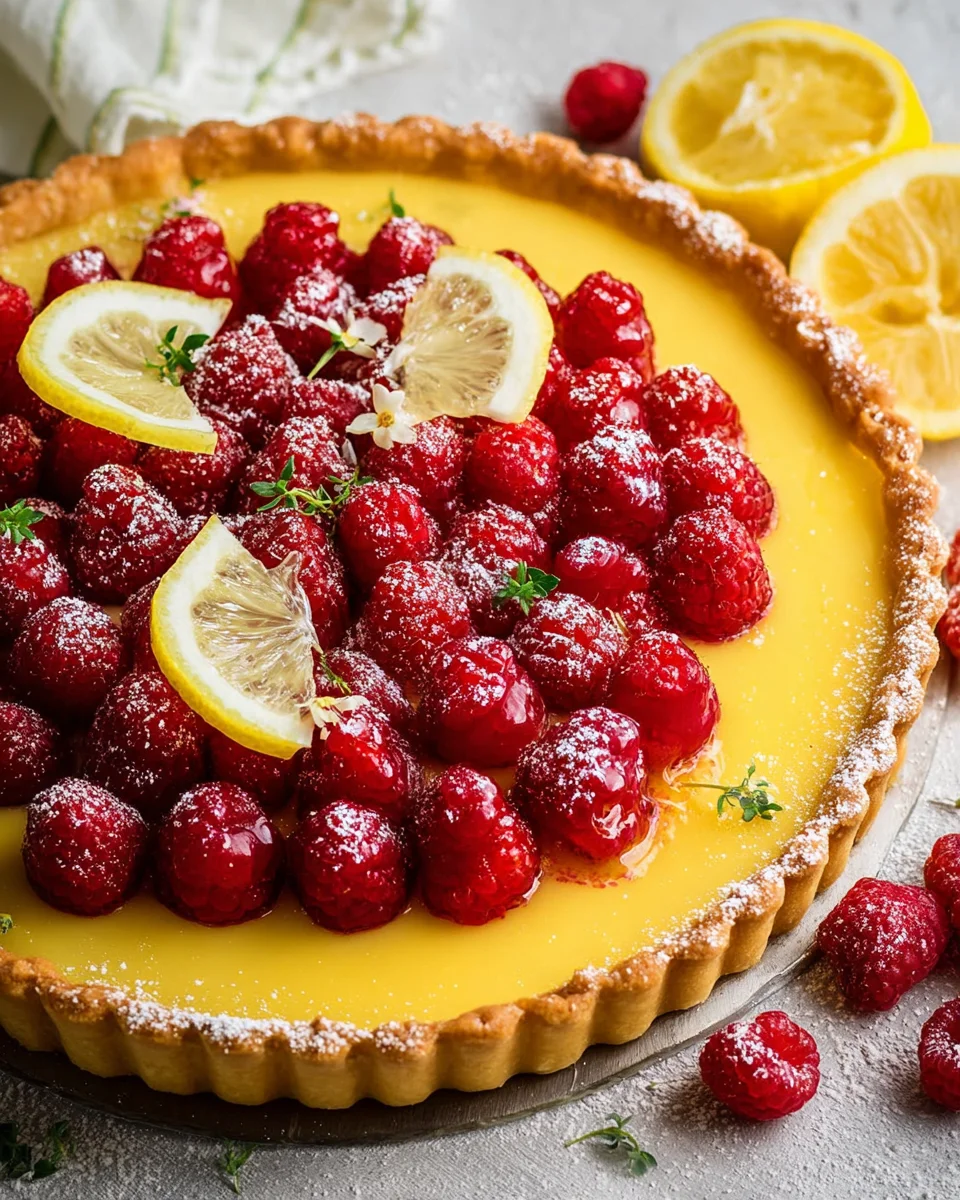
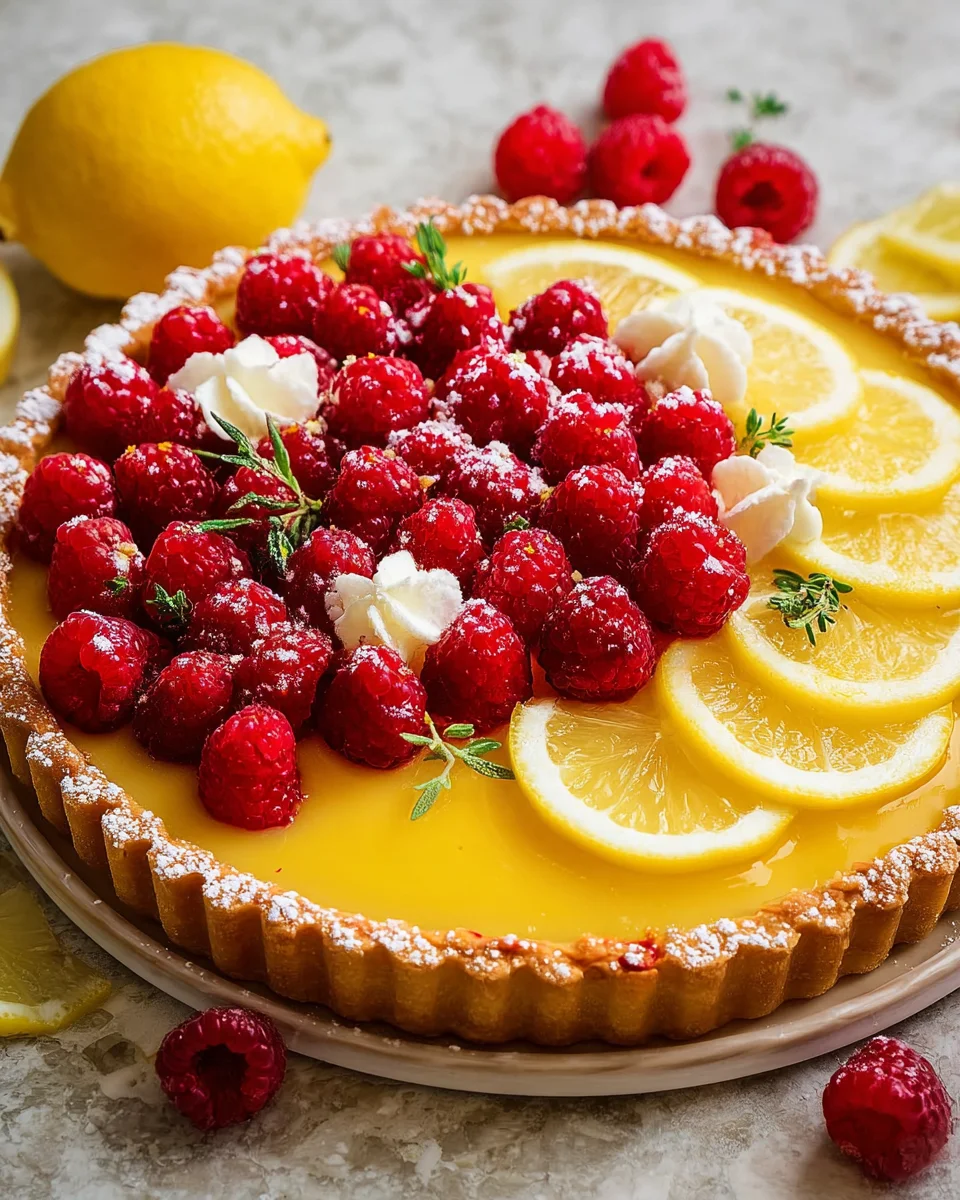
- Optional garnishes: Fresh raspberries, lemon slices, whipped cream, fresh thyme, or edible flowers can elevate the presentation, making each slice Instagram-worthy.
You can find the exact measurements for each ingredient listed at the bottom of this article, perfect for printing when you’re ready to embark on your culinary adventure!
How to Make Lemon and Raspberry Tart
Now, let’s unlock the secret to creating your very own Lemon and Raspberry Tart. It might seem like a culinary challenge, but trust me—follow these simple steps, and you’ll be a tart genius in no time!
Prepare the Tart Crust
First, we need to tackle that buttery crust. Grab a large bowl and combine the all-purpose flour, powdered sugar, lemon zest, and salt. Mix them together until they’re evenly blended.
Next, here comes the fun part—cutting in the unsalted butter! Using a pastry cutter or a fork, blend the cold butter cubes into the flour mixture until it resembles coarse sand. Think of it as creating sandy beach vibes in your kitchen!
Then stir in the egg yolk and lemon juice. If the dough seems too crumbly, don’t fret! A tablespoon of ice water can help bring it all together. Gather the dough into a ball, wrap it tightly in plastic wrap, and let it rest in the fridge for about 15 minutes. This resting time is crucial for a flaky crust.
Bake the Tart Crust
With the crust chilling, it’s time to show it some heat! Preheat your oven to 375°F and lightly spray your tart pan with cooking spray. Roll the dough out on a floured surface. Aim for a 1/4-inch thickness to make it just right.
Transfer your dough circle into the tart pan and gently press it into the edges, trimming off any excess. Don’t forget to prick the crust with a fork! This allows steam to escape and prevents a puffy crust.
Then, to ensure our crust is perfectly crisp, line it with parchment paper and fill it with pie weights (or dried beans will work in a pinch). Bake for 20 minutes, then remove the weights. Let it cool for 20 minutes. Your crust should start smelling heavenly by now!
Make the Lemon Curd Filling
Let’s unleash the zesty goodness of the lemon curd! In a saucepan, take your granulated sugar, fresh lemon juice, eggs, egg yolks, lemon zest, and salt. Cook over medium heat while whisking continuously. This helps prevent scrambled eggs, which is not the goal here!
Keep whisking until the mixture thickens, and you can see the bottom of the pan as you stir. A great test? It should coat the back of a spoon perfectly.
Now, remove it from the heat and stir in your cubes of unsalted butter until they melt into a smooth, creamy filling. Finally, strain the curd through a fine-mesh sieve to catch any pesky bits of egg. Let it cool for about 15 minutes while you daydream about your accomplished baking skills!
Assemble the Tart
With everything prepared, it’s time for the grand assembly. Preheat your oven to 350°F again, and place the cooled tart shell on a baking sheet for easy handling.
Spread that luscious raspberry jam evenly over the cooled crust, creating a sweet barrier beneath the tart lemon curd. Then pour the creamy lemon curd over the top, filling your tart shell to the brim.
Bake the tart for just 10 minutes, then let it cool on a wire rack. After the tantalizing aroma fills your kitchen, pop it in the fridge for at least 2 hours before serving. The wait will be worth every moment!
Tips for Success
- Chill your butter and egg yolk for a flakier crust.
- Use fresh lemons for zest and juice—it’s a game changer!
- Don’t skip straining the lemon curd; it ensures a silky smooth texture.
- Keep your oven calibrated to achieve the best baking results.
- Allow your tart to set in the fridge to optimize flavor and consistency.
Equipment Needed
- Tart pan: A fluted or regular tart pan works, but a pie plate is a great alternative.
- Pie weights: Dried beans or rice can serve as effective substitutes if you don’t have weights.
- Whisk: A regular wire whisk does the job, but an electric mixer can save time.
- Fine-mesh sieve: A regular strainer will work if you don’t have a sieve handy.
Variations
- Berry Bliss: Swap out the raspberry jam for other berry preserves like strawberry or blueberry for a unique twist.
- Citrus Medley: Add more zest! Incorporate orange or grapefruit zest into the lemon curd for a burst of flavor.
- Gluten-Free Option: Use a gluten-free all-purpose flour blend to create a delightful gluten-free crust.
- Vegan Take: Substitute eggs with aquafaba (chickpea brine) and use a plant-based butter for a vegan version.
- Herbal Infusion: Add a hint of rosemary or basil to the lemon curd for an unexpected but delicious herbal note.
Serving Suggestions
- Whipped Cream: Consider serving with a dollop of freshly whipped cream to add a creamy finish.
- Mint Leaves: Garnish each slice with fresh mint leaves for a pop of color and freshness.
- Coffee or Tea: Pair with a cup of coffee or herbal tea to balance the tartness.
- Berries on the Side: Fresh berries make a lovely side that complements the tart’s flavors.
- Presentation: Arrange slices on a cake stand and sprinkle edible flowers for a stunning display.
FAQs about Lemon and Raspberry Tart
As you embark on your journey to create the perfect Lemon and Raspberry Tart, you might have a few questions pop up. Don’t worry; I’ve been there! Here are some common inquiries I’ve gathered that can help guide your baking adventure.
Can I make the tart crust in advance?
Absolutely! You can prepare the tart crust a day ahead. Just wrap it tightly in plastic wrap and refrigerate. Then, when you’re ready, simply roll it out and bake as directed. It saves time on busy days!
How do I store leftovers?
If you have any tart left (which is rare in my house!), store it covered in the refrigerator. It stays delicious for up to three days. Just remember to bring it to room temperature before serving for the best flavor experience.
What can I substitute for raspberry jam?
Raspberry jam is delightful, but if you prefer something else, feel free to use any berry jam you fancy! Strawberry, blueberry, or even peach preserves can work wonders under the lemon curd, creating a new taste sensation.
Can I freeze the lemon and raspberry tart?
You sure can! After the tart has cooled completely, wrap it tightly with plastic wrap and then foil. It can stay in the freezer for up to two months. Just thaw it in the fridge overnight before serving.
What other garnishes can I use?
Don’t hesitate to get creative! Fresh raspberries and lemon slices are classics, but you can also try edible flowers, sprigs of thyme, or even a dusting of powdered sugar for that extra flair. The sky’s the limit!
Final Thoughts
Creating this Lemon and Raspberry Tart is truly a labor of love that brings joy to both the cook and the fortunate eaters. The vibrant flavors and stunning presentation never fail to impress, making it a dessert that’s perfect for any occasion—be it a family dinner or an elegant gathering. When I see my loved ones savoring each bite, it warms my heart. Remember, baking is about making memories and sharing happiness. So, roll up your sleeves, embrace the mess, and enjoy the sweet adventure of crafting this delightful tart!
Print
Lemon and Raspberry Tart
- Total Time: 2 hours 30 minutes (including refrigeration)
- Yield: 8 servings 1x
- Diet: Vegetarian
Description
A delightful dessert featuring a buttery tart crust filled with a luscious lemon curd and a layer of raspberry jam.
Ingredients
- 1 ¼ cups all-purpose flour
- ½ cup powdered sugar
- 1 tablespoon lemon zest
- ¼ teaspoon salt
- 8 tablespoons unsalted butter, cold, cut into cubes
- 1 egg yolk, room temperature
- 1 teaspoon lemon juice
- 2 tablespoons ice water (optional)
- 5 tablespoons raspberry jam
- 1 cup granulated sugar
- 1 cup fresh lemon juice
- 4 large eggs
- 4 large egg yolks
- 1 tablespoon lemon zest
- ¼ teaspoon salt
- ¾ cup unsalted butter, cut into tablespoons
- Fresh raspberries, lemon slices, whipped cream, fresh thyme, and/or edible flowers (optional garnishes)
Instructions
- In a large bowl, combine the flour, powdered sugar, lemon zest, and salt. Toss together until evenly combined.
- Using a pastry cutter or fork, blend the butter into the flour until it resembles coarse sand. Stir in the egg yolk and lemon juice. Gather the dough into a ball, adding ice water if needed.
- Wrap the dough in plastic wrap and refrigerate for 15 minutes.
- Preheat the oven to 375° and lightly spray a tart pan with cooking spray.
- Roll out the dough on a floured surface to a 1/4-inch thick circle and transfer it to the tart pan.
- Press the dough into the pan, trimming any excess. Prick the crust with a fork.
- Line the crust with parchment paper and fill with pie weights. Bake for 20 minutes.
- Remove the weights and parchment, and cool for 20 minutes.
- In a saucepan, combine sugar, lemon juice, eggs, egg yolks, zest, and salt. Cook over medium heat, whisking continually until thickened.
- Stir in butter until melted and smooth, then strain the curd and let cool for 15 minutes.
- Preheat the oven to 350° and place the tart shell on a baking sheet.
- Spread raspberry jam over the cooled crust, then pour the lemon curd on top.
- Bake for 10 minutes, then cool on a wire rack. Refrigerate for 2 hours before serving.
Notes
- The dough can be pressed directly into the tart pan instead of rolling it out.
- Ensure the filling is thick enough to coat the back of a spoon for the best texture.
- Additional garnishes enhance presentation and flavor.
- Prep Time: 30 minutes
- Cook Time: 30 minutes
- Category: Dessert
- Method: Baking
- Cuisine: American
Nutrition
- Serving Size: 1 slice
- Calories: 300
- Sugar: 20g
- Sodium: 150mg
- Fat: 18g
- Saturated Fat: 10g
- Unsaturated Fat: 2g
- Trans Fat: 0g
- Carbohydrates: 30g
- Fiber: 1g
- Protein: 4g
- Cholesterol: 90mg