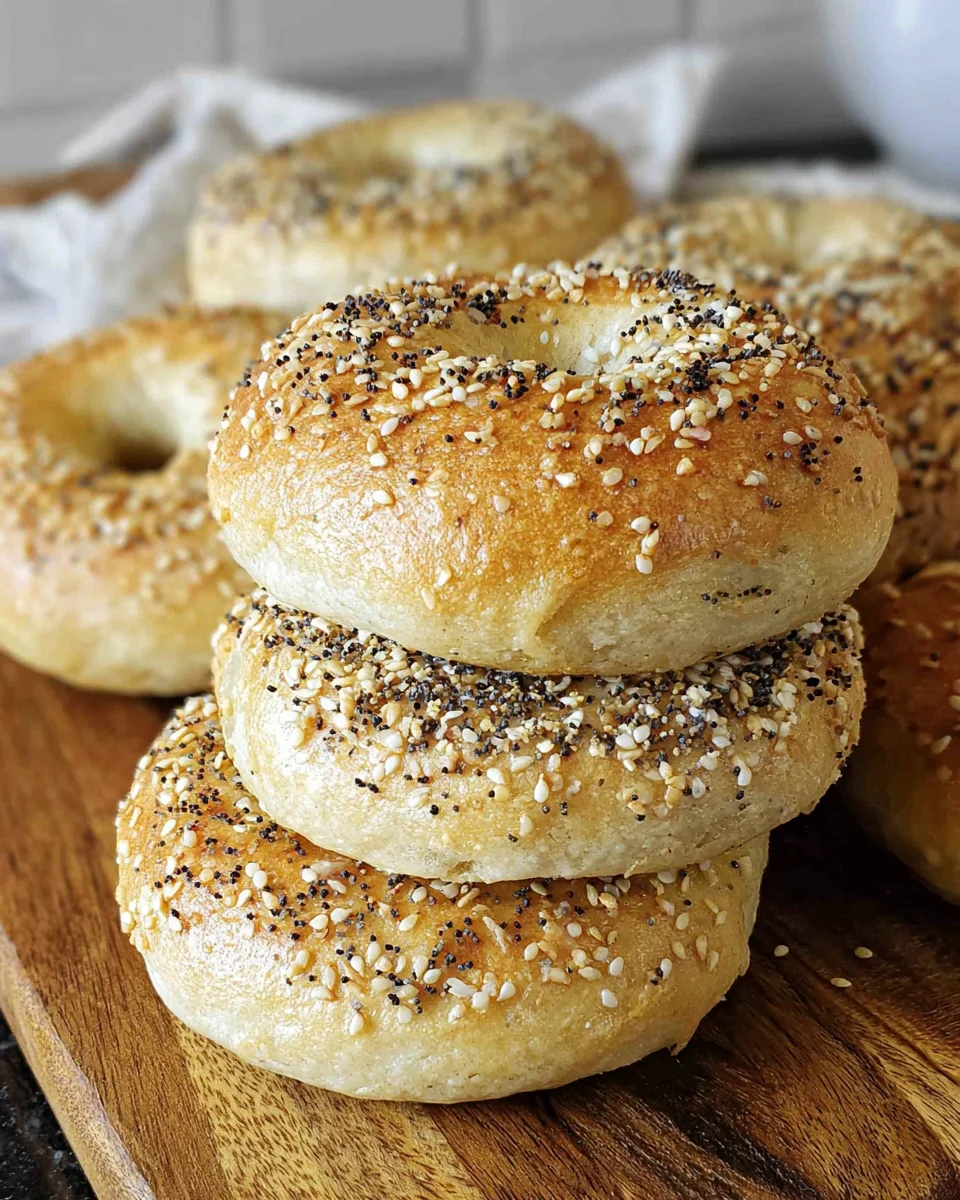
Introduction to Honey Oat Sourdough Bread
Welcome to the comforting world of baking, where a loaf of Honey Oat Sourdough Bread can transform your day! As a busy mom balancing countless tasks, I often crave simple pleasures that bring joy to my family. This recipe is my little secret—it’s not just easy; it’s a wholesome way to elevate any meal. Whether it’s paired with soup or enjoyed with a spread of butter, this bread is sure to become a favorite in your home. Let’s dive into this delightful baking adventure together!
Why You’ll Love This Honey Oat Sourdough Bread
This Honey Oat Sourdough Bread is a game-changer for busy lives. It’s incredibly easy to make and the taste is downright heavenly! The sweet touch of honey paired with the nutty oats will make your kitchen smell like a warm hug. Plus, this wholesome loaf is packed with nutrients, making it a fantastic choice for your family’s health. You’ll love how simple it is to impress your loved ones with homemade goodness!
Ingredients for Honey Oat Sourdough Bread
Gathering the right ingredients is the first step in creating your Honey Oat Sourdough Bread. Here’s what you’ll need:
- Bread flour: This forms the foundation of your dough, giving it structure and chewiness. You can use all-purpose flour in a pinch, but bread flour is best for that perfect rise.
- Active sourdough starter: This fermented mixture of flour and water is your natural leavening agent. If you don’t have one, you can easily make your own or source it from a local bakery.
- Salt: A vital ingredient that enhances all the flavors in your bread. It also helps strengthen the dough’s gluten, giving it a beautiful texture.
- Water: Hydration is key! It activates the sourdough starter and helps the flour proteins develop. Use filtered or bottled water for the best results.
- Honey: This sweet nectar adds a subtle sweetness and helps create a lovely golden crust. You can swap it for maple syrup or agave if needed.
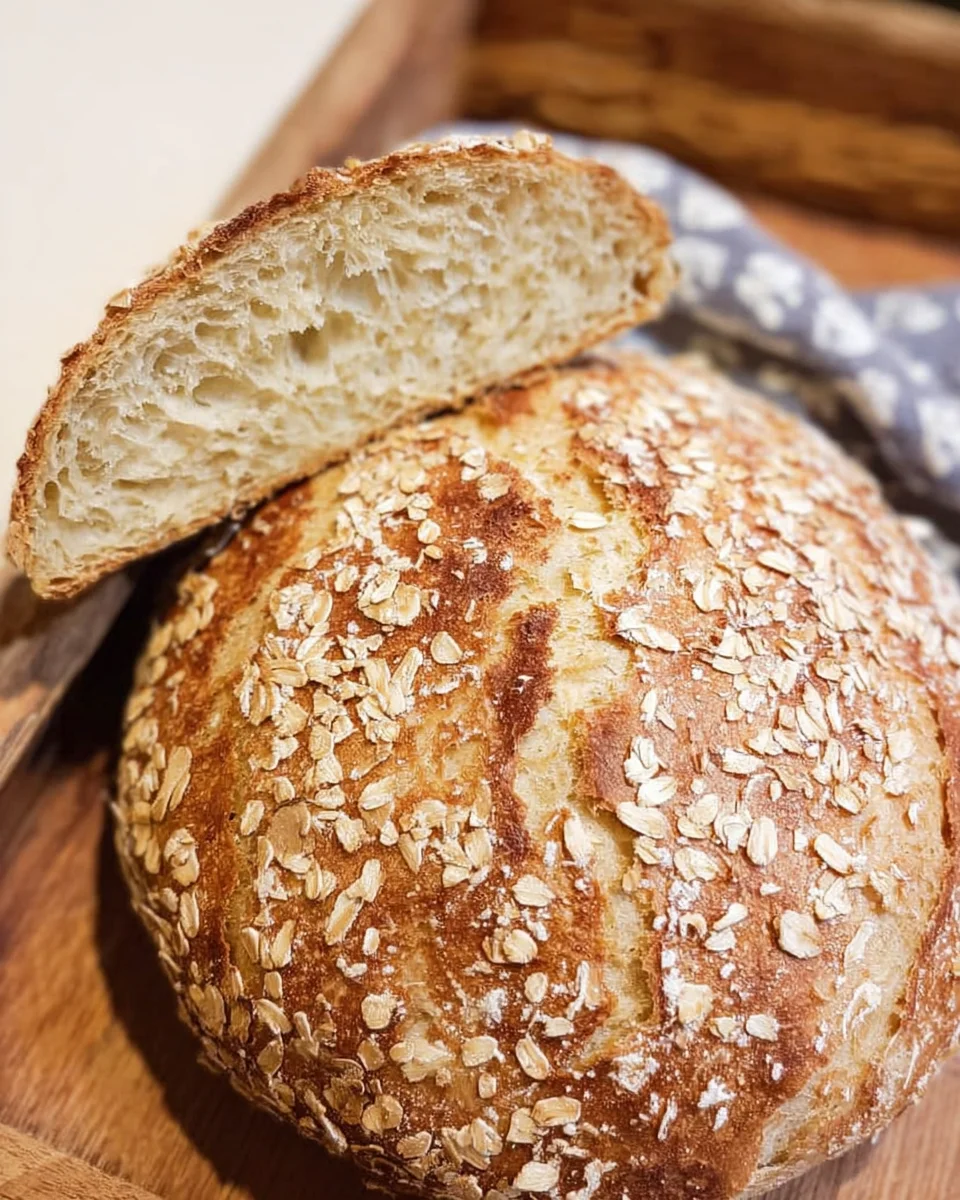
- Rolled oats: They add heartiness and nutrition to the bread. Plus, using extra oats to top your loaf creates a rustic feel. Feel free to substitute with other grains like flaxseed or sunflower seeds for a fun twist.
For exact measurements, you’ll find them at the bottom of the article, ready for you to print out and take to the kitchen!

How to Make Honey Oat Sourdough Bread
Making Honey Oat Sourdough Bread is a journey full of simplicity and delight. Follow these easy steps and you’ll soon be the proud baker of a delicious loaf!
Step 1: Combine Ingredients
Start by mixing your sourdough starter, water, and flour in a large mixing bowl. I love using a wooden spoon for this; it feels more rustic and connects me to the process. Stir until the mixture forms a dense dough. You want everything combined without any dry bits hanging around. It’s like gathering friends to share a warm meal—everyone should feel welcomed!
Step 2: Autolyse Stage
Now, let your mixture sit for one hour. This is the autolyse stage, which helps the flour absorb the water and start forming gluten. Think of it as letting the dough take a little nap, which allows it to wake up full of potential. This will give your bread that lovely chewy texture we all adore!
Step 3: Adding Salt, Honey, and Oats
After the hour, it’s time to enhance our dough! Sprinkle in the salt, honey, and oats. The salt adds flavor, while honey introduces a sweet depth that makes this bread memorable. Oats contribute to the texture and health factor. Mix everything in until well integrated. It’s a team effort—just like parenting!
Step 4: Stretch and Fold
Let’s strengthen that dough! Use the stretch and fold method to build gluten structure. Grab the dough from one side, stretch it up, and fold it over to the other side. Repeat this for about 30 seconds. It’s a nice workout for your hands and helps create a gorgeous crumb. Fold with love!
Step 5: Resting and Folding Process
Rest your dough for 30 minutes, then repeat the stretch and fold process. Do this every half hour for about 2 to 3 hours. Each time you fold, you’ll feel the dough becoming stronger, like a supportive hug that builds confidence. This gives the dough time to rise and develop flavors.
Step 6: Shaping the Dough
Once your dough has doubled in size, it’s shaping time! Gently turn it out onto a floured surface. Shape it into a ball by tucking the edges towards the center. This is crucial for creating a nice round loaf. Now it’s ready for the fridge. You want that fancy proofing basket or bowl lined with a towel for later!
Step 7: Proofing the Dough
Cover your dough with plastic wrap and let it chill in the fridge for at least 12 hours, or up to 24. This overnight adventure is magical; the flavors develop even more. It’s like a fine wine—you just have to let it age a little before serving!
Step 8: Preheating and Baking
On baking day, preheat your oven to 425°F. Place your Dutch oven inside at the same time. This makes getting that crunchy crust easier! When you’re ready, flip the dough onto parchment paper, then spritz it with water and sprinkle oats on top. Create slashes or designs with a sharp knife to help it rise beautifully in the oven.
Step 9: Cooling
Once baked, I know it’s tempting, but resist the urge to slice it immediately! Let your loaf cool on a rack for at least an hour. This is crucial for letting the crumb set properly and enhances the final texture. Patience truly pays off when it comes to bread!
Tips for Success
- Use a kitchen scale for accurate measurements—precision makes a difference!
- Keep your sourdough starter active for best results; feed it regularly.
- Use wet hands when handling the dough; it helps prevent sticking.
- Invest in a good Dutch oven; the heat retention is key for that perfect crust.
- Be patient during the resting times; flavor develops beautifully over time.
Equipment Needed
- Large mixing bowl: Any deep bowl will do, but a wooden or stainless steel bowl is ideal.
- Wooden spoon: Perfect for mixing; a spatula can also work in a pinch.
- Kitchen scale: For precision in measuring ingredients; measuring cups can be used as an alternative.
- Proofing basket or bowl: A simple bowl lined with a clean towel can serve just as well.
- Dutch oven: Essential for achieving that crispy crust; you could use a regular baking tray covered with foil if needed.
Variations
- Herbed Honey Oat Sourdough: Add fresh herbs like rosemary or thyme to the dough for a savory twist.
- Nutty Delight: Mix in chopped nuts or seeds, such as walnuts or sunflower seeds, for extra crunch and flavor.
- Dried Fruit Addition: Fold in dried cranberries or raisins for a hint of sweetness that pairs beautifully with the honey.
- Gluten-Free Option: Substitute bread flour with a gluten-free blend, ensuring you add a binding agent like xanthan gum.
- Multigrain Twist: Replace some of the bread flour with whole wheat flour or spelt flour for a heartier loaf.
Serving Suggestions
- Serve warm slices with butter and a drizzle of honey for a delightful breakfast treat.
- Pair with a hearty soup like creamy tomato or chicken noodle for a comforting meal.
- Add fresh fruit preserves alongside for a touch of sweetness during brunch.
- Create a beautiful sandwich with turkey, cheese, and arugula for lunch.
- Enjoy with a cup of herbal tea or coffee to elevate your afternoon snack.
FAQs about Honey Oat Sourdough Bread
As you embark on the journey of making Honey Oat Sourdough Bread, you might have some questions. Let’s tackle a few common inquiries to help answer those burning questions!
Can I use instant yeast instead of sourdough starter?
Absolutely! If you’re short on time or don’t have a sourdough starter, you can substitute instant yeast. However, the flavor and texture will differ slightly. Just mix a teaspoon of yeast with your water before combining it with flour. This way, you can still enjoy a lovely loaf!
What can I do if my dough isn’t rising?
Don’t panic! Ensure your sourdough starter is active and bubbly. Also, consider the temperature. Dough rises best in a warm environment. Try placing it near a sunny window or in a warm oven (turned off) to encourage some action!
Can I freeze Honey Oat Sourdough Bread?
Yes, it freezes beautifully! Once your loaf is completely cool, wrap it tightly in plastic wrap and then in aluminum foil. It can stay in the freezer for up to 3 months. When you’re ready to enjoy it, simply thaw it at room temperature, then warm it in the oven for that fresh-baked taste!
How do I know when my bread is done baking?
Perfectly baked bread should have a deep golden-brown crust and sound hollow when tapped on the bottom. If you’re still unsure, use a thermometer; the internal temperature should be around 200°F when fully cooked. It’s the little tricks that make a big difference!
Can I use different types of oats?
Yes, feel free to play with different oat varieties! Quick oats or steel-cut oats can be substituted, but they could alter the texture slightly. Rolled oats give the best results for a balanced bread with that hearty feel. So, use what you enjoy!
Final Thoughts
There’s a special joy in creating your Honey Oat Sourdough Bread. It’s not just about the aroma wafting through the kitchen or the lovely crust that crackles when you slice into it. This bread represents connection—a way to bring your family together around the table, sharing stories and warmth. Whether you’re slathering it with butter or pairing it with a hearty soup, each bite is a celebration of your hard work. Baking this loaf will not only fill your home with love but also nourish your soul. So, roll up those sleeves and let’s bake some memories!
Print
Honey Oat Sourdough Bread
- Total Time: Minimum 12 hours for refrigeration + baking time
- Yield: 1 large loaf or 2 smaller loaves 1x
- Diet: Vegetarian
Description
A delicious and wholesome Honey Oat Sourdough Bread, perfect for any meal.
Ingredients
- 625 grams bread flour (about 4 cups)
- 100 grams active sourdough starter (about 1 cup)
- 10 grams salt (about 1 3/4 teaspoon)
- 450 grams water (about 1 1/2 cups)
- 30 grams honey
- 50 grams rolled oats (extra for topping)
Instructions
- Combine sourdough starter, water, and flour in a large mixing bowl and mix with a wooden spoon until dense.
- Let the mixture sit for one hour (autolyse stage).
- Add salt, honey, and oats and let sit for another 30 minutes.
- Perform the first stretch and fold or coil fold method on the dough.
- Rest the dough for another 30 minutes and repeat the folding process; repeat 3-4 more times at 30 minute intervals.
- Once the dough has doubled in size, shape it into a ball and prepare for the fridge.
- Line a bowl with a towel or use a proofing basket, flour the surface, and place the dough smooth side down inside.
- Cover with plastic wrap and let it sit in the fridge for at least 12 hours (up to 24 hours).
- Preheat the oven to 425 degrees Fahrenheit with a dutch oven inside.
- Gently flip the dough onto parchment paper, spray with water, and sprinkle oats on top.
- Cut slits or designs in the dough for rising and transfer it into the hot dutch oven.
- Add ice cubes outside the parchment for a bubbly crust if desired.
- Bake for 35 minutes, checking at 30 minutes; remove the lid to brown if necessary.
- Cool the bread completely on a rack before slicing.
Notes
- Using wet hands can make folding the dough easier.
- Wheat flour can be used to flour the towel to prevent dough sticking.
- For best results, use a preheated dutch oven for baking.
- Prep Time: 1 hour
- Cook Time: 35-55 minutes
- Category: Bread
- Method: Baking
- Cuisine: Bread baking
Nutrition
- Serving Size: 1 slice
- Calories: 150
- Sugar: 1 g
- Sodium: 200 mg
- Fat: 1 g
- Saturated Fat: 0 g
- Unsaturated Fat: 0 g
- Trans Fat: 0 g
- Carbohydrates: 30 g
- Fiber: 2 g
- Protein: 5 g
- Cholesterol: 0 mg