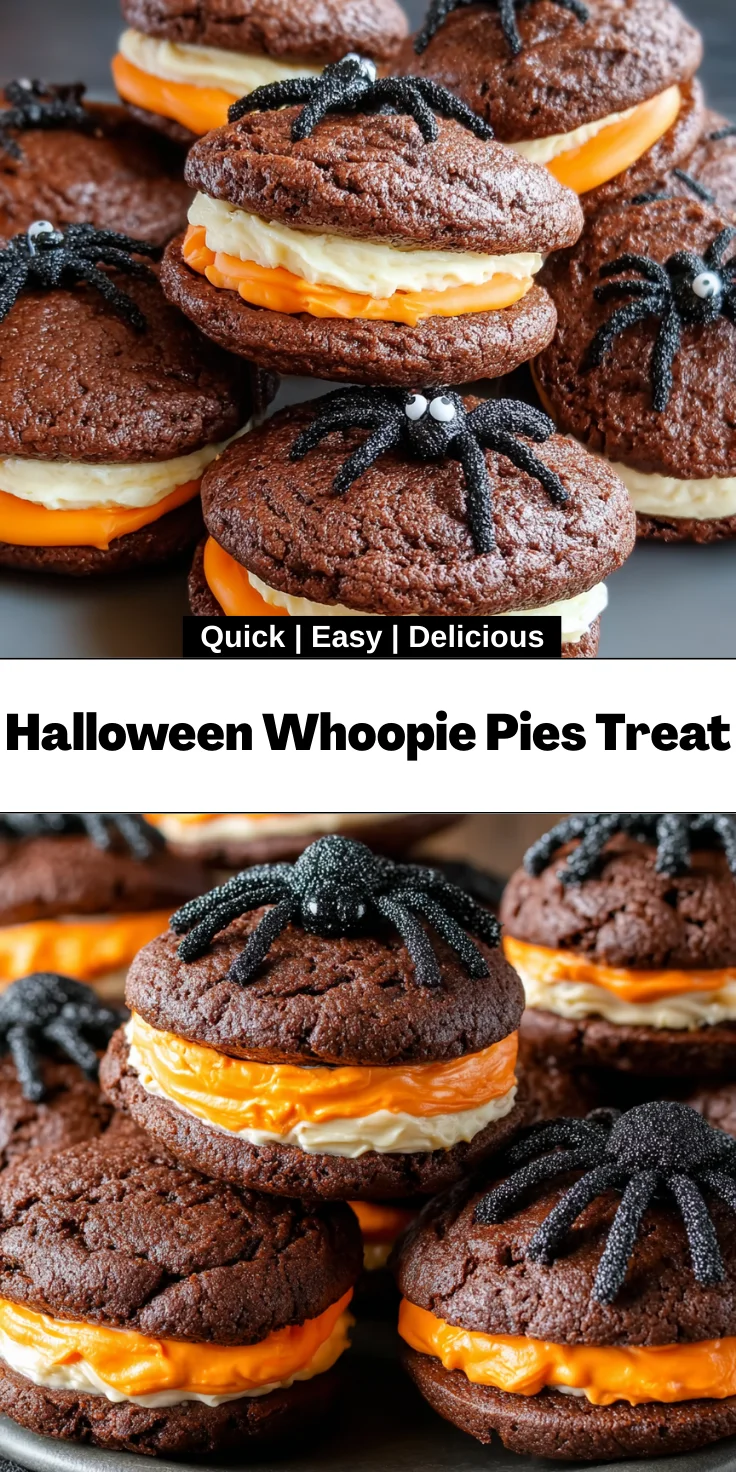
Introduction to Halloween Whoopie Pies Treat
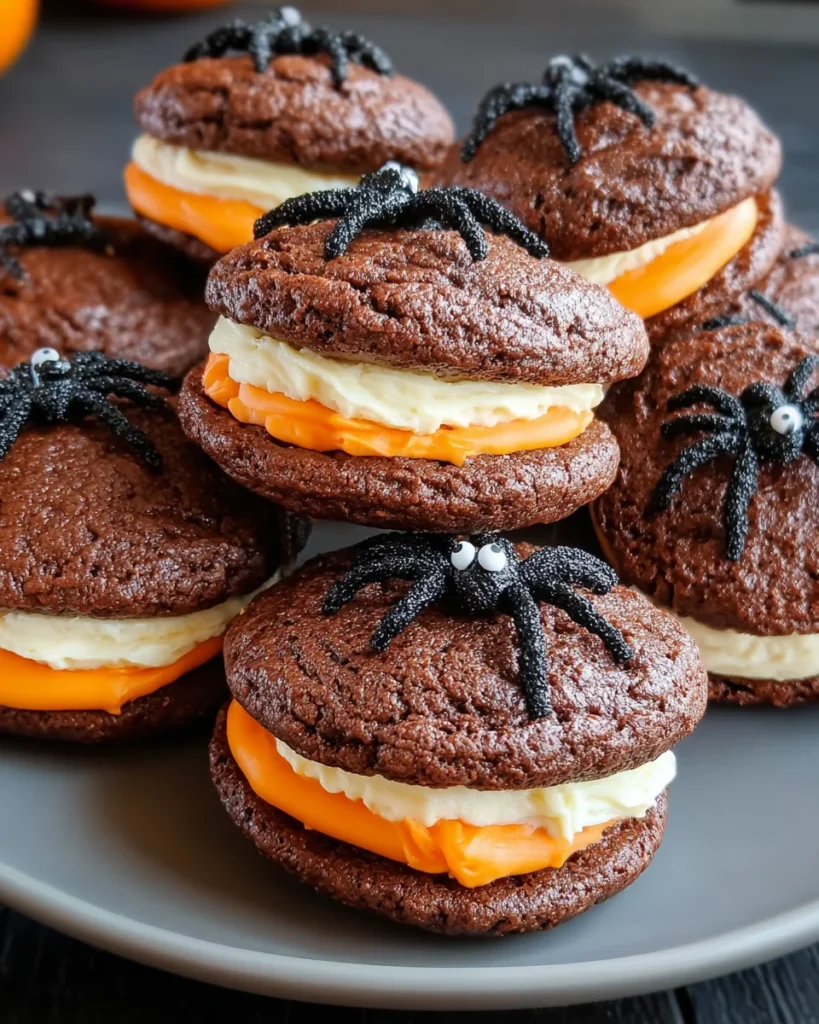
As the leaves turn and the air gets crisper, it’s the perfect time to indulge in festive treats. These Halloween Whoopie Pies Treat are a delightful way to celebrate the season and impress your family and friends! With their vibrant orange icing and playful spider decorations, they’re not just a dessert—they’re a conversation starter. Plus, they’re quick and easy to whip up, making this recipe a lifesaver for busy days. Whether you’re gearing up for a party or just want to bring some spooky fun into your kitchen, these whoopie pies are the perfect choice!
Why You’ll Love This Halloween Whoopie Pies Treat
You’re going to love these Halloween Whoopie Pies Treat for so many reasons! First, they come together in just 30 minutes, making them an ideal solution for those hectic days. Their rich chocolate flavor combined with the sweet, vibrant orange icing? Pure bliss! Plus, you can let your creativity shine with fun decorations. Whether for a gathering or a sweet treat at home, they bring smiles all around!
Ingredients Halloween Whoopie Pies Treat
Gathering the right ingredients is key to making these Halloween Whoopie Pies Treat a success! Here’s what you’ll need:
- Devil’s Food cake mix – This chocolatey mix brings rich, decadent flavor to the whoopie pies.
- Cold water – This helps achieve the perfect batter consistency. Cold is essential to give the cakes that delightful texture!
- Vegetable oil – Adds moisture and richness, ensuring your whoopie pies are soft and tender.
- Large eggs – They bind the ingredients together, creating that fluffy cake we’ve all come to love.
- Instant chocolate pudding mix – This secret ingredient enhances the chocolate flavor and adds an extra layer of creaminess.
- Vanilla cake icing – This will be transformed with a pop of color for our spooky touch, making it fun and festive.
- Orange gel food coloring – A little goes a long way to give your icing that eye-catching Halloween hue.
- Black edible sprinkles or black sugar sparkles – These add a dash of magic and can transform your whoopie pies into spooky treats!
- Optional: black rope licorice pieces – These can be used for creating spider legs, offering a fun Halloween twist.
- Optional: candy eyes – The finishing touch for your spider decorations, adding personality to your creations!
The ingredient measurements and specifics can be found at the bottom of the article for your convenience and ready for printing!
How to Make Halloween Whoopie Pies Treat
Step 1: Preheat and Prepare
To kick off this delicious journey, preheat your oven to 350°F. I like to set a timer so I don’t forget this crucial step. Meanwhile, prepare your baking sheets by lining them with either Silpat or parchment paper. This prevents sticking, ensuring your whoopie pies come out seamlessly. Trust me, it’s a joy to peel them off without a fight! Gathering all your ingredients beforehand will make the whole process smoother and trouble-free. A tip from my kitchen: it helps to have everything in one spot.
Step 2: Mix the Batter
Now for the fun part! In a large bowl, combine the Devil’s Food cake mix, cold water, vegetable oil, and eggs. Make sure to add the instant chocolate pudding mix to elevate the flavor. I recommend using an electric mixer at medium speed to blend everything until it’s fully combined and thickened. You want to see those bubbles forming! Don’t rush things. This batter is rich and creamy, and it’s going to transform into something special. If you see lumps, don’t panic; just keep mixing until smooth. You’ll want to savor each bite of these Halloween Whoopie Pies Treat!
Step 3: Shape the Cookies
Grab your trusted cookie scoop and start dropping batter onto the prepared baking sheets. I usually drop 18 evenly sized scoops, about 2 tablespoons each. Space them apart so they have room to spread. If you’re feeling mini, you can opt for 36 smaller scoops, or pipe the batter for uniform circles. This makes your whoopie pies look elegant and professional! If you find yourself with extra batter, consider making a few bonus pies to satisfy any unexpected cravings. Who could resist?
Step 4: Bake to Perfection
Slide those baking sheets into the preheated oven. Bake for 7 to 10 minutes until they feel spongy and cooked through. The aroma wafting through your kitchen will be irresistible! Be sure to keep an eye on them, as every oven behaves differently. Once they’re baked to perfection, take them out and let them cool completely on a wire rack. Patience is key here; we don’t want any melting icing disaster!
Step 5: Color the Icing
While the cakes are cooling, it’s time to jazz up that vanilla cake icing! In a small bowl, mix your vanilla icing with a few drops of orange gel food coloring. Stir until you achieve a vibrant, uniform color that screams Halloween! This step adds a festive touch, turning ordinary icing into a spooky delight. Remember, a little gel goes a long way, so add it gradually until you reach your desired shade.
Step 6: Assemble the Whoopie Pies
It’s assembly time! Once the cakes are completely cool, spread or pipe a generous amount of your bright orange icing onto the flat side of one cake. Then, gently press the flat side of another cake on top. Be careful not to squish them too much; nobody wants an icing explosion! This is where the magic happens. The pairing of rich chocolate and sweet orange icing will have everyone begging for the recipe!
Step 7: Decorate Creatively
Now for some creative fun! Sprinkle black edible sprinkles or sugar sparkles over the icing for that spooky charm. If you want to take it a step further, use black rope licorice pieces to create spider legs on the icing, and don’t forget those candy eyes! Position them carefully, bringing your little creatures to life. This adds not only a decorative twist but also makes your Halloween Whoopie Pies Treat a great talking point at your party!
Tips for Success
- Always let your cakes cool completely before assembling. This prevents the icing from melting.
- Adjust the amount of orange gel food coloring to match your desired Halloween vibe.
- Use an ice cream scoop for evenly sized cookies; it makes dropping batter a breeze.
- Get creative with your decorations—switch things up to impress!
- Store assembled whoopie pies in an airtight container to keep them fresh.
Equipment Needed
- Mixing bowl – A large bowl is essential; a glass or stainless steel one works great.
- Electric mixer – If you don’t have one, a whisk and some elbow grease will do the trick!
- Baking sheets – You can use regular baking sheets or silicone mats.
- Cookie scoop – A tablespoon works just as well for portioning batter.
- Wire rack – You can also use the back of another baking sheet for cooling.
Variations
- Add a touch of mint by incorporating mint extract into the batter for a refreshing twist.
- Try a gluten-free version with a gluten-free cake mix and ensure all other ingredients are gluten-free.
- For a pumpkin spice flavor, swap out the Devil’s Food cake mix for a spice cake mix.
- Use cream cheese frosting instead of vanilla icing for a tangy contrast.
- Incorporate colorful sprinkles or edible glitter for an extra festive touch.

Serving Suggestions
- Pair these Halloween Whoopie Pies Treat with a cup of hot apple cider for a cozy autumn experience.
- Serve alongside spooky-themed snacks like ghost-shaped cheese or veggie platters.
- For a festive presentation, arrange them on a decorative platter with Halloween decorations.
- Garnish the serving plate with fake spider webs for an eerie touch!
FAQs about Halloween Whoopie Pies Treat
If you’re wondering about these delicious Halloween Whoopie Pies Treat, you’re not alone! Here are some frequently asked questions to help you out:
Can I make these whoopie pies ahead of time?
Absolutely! You can prepare the cakes a day in advance. Store them in an airtight container until you’re ready to assemble.
How should I store leftovers?
Keep your assembled whoopie pies in the refrigerator in an airtight container. They remain fresh for 2 to 3 days—if they last that long!
Can I make variations of this recipe?
Yes! Feel free to experiment with flavors or decorations. For instance, swap the chocolate mix for a vanilla or spice cake mix for a fun twist.
Are these Halloween Whoopie Pies Treat suitable for vegetarians?
Yes! This recipe is vegetarian-friendly, making them a delightful treat for everyone.
Final Thoughts
Creating these Halloween Whoopie Pies Treat is more than just baking; it’s an enchanting journey filled with laughter and creativity. The thrill of mixing vibrant icing, the aroma of chocolate filling the air, and the joy of decorating each pie brings warmth to any home. Whether you’re celebrating with family or sharing them with friends, these delightful treats spark joy and create lasting memories. So, roll up your sleeves, embrace the fun, and let these tasty creations add a sprinkle of magic to your Halloween festivities!
Print
Halloween Whoopie Pies Treat
- Total Time: 30 minutes
- Yield: 18 whoopie pies 1x
- Diet: Vegetarian
Description
Delicious Halloween-themed Whoopie Pies filled with vibrant orange icing and decorated with spider-like features.
Ingredients
- 1 (18.25 oz) Devil’s Food cake mix
- 1 cup cold water
- 1/3 cup vegetable oil
- 2 large eggs
- 1 (3.4 oz) instant chocolate pudding mix
- 16 oz vanilla cake icing
- Orange gel food coloring, to desired shade
- Black edible sprinkles or black sugar sparkles, for garnish
- Optional: black rope licorice pieces and candy eyes for spider decoration
Instructions
- Preheat the oven to 350°F and line baking sheets with Silpat or parchment paper. Gather all ingredients and necessary equipment.
- In a large bowl, combine Devil’s Food cake mix, cold water, vegetable oil, eggs, and chocolate pudding mix. Beat on medium speed until fully blended and thickened.
- For larger whoopie pies, drop 18 evenly sized scoops (about 2 tablespoons each) of batter onto prepared sheets, spacing them apart. For smaller pies, use 36 scoops of half that size or pipe batter with a large tip for uniform circles.
- Bake for 7 to 10 minutes until the cakes are spongy and cooked through. Remove from oven and let cool completely on a wire rack.
- In a small bowl, mix vanilla cake icing with orange gel food coloring until a vibrant, uniform color is achieved.
- Spread or pipe the orange-colored icing onto the flat side of one cooled cake. Top gently with a second cake, avoiding too much pressure to prevent icing from squeezing out.
- Sprinkle black edible sprinkles or sugar sparkles over the icing. For spider variations, position four pieces of black rope licorice as legs on the icing before topping with the second cake and attach candy eyes with a small amount of extra icing.
- Store assembled whoopie pies in an airtight container in the refrigerator. Consume within 2 to 3 days for best freshness.
Notes
- Ensure cakes are completely cooled before assembling to avoid melting the icing.
- Experiment with the amount of orange gel food coloring to achieve your desired shade.
- The optional spider decorations add a fun touch for Halloween!
- Prep Time: 20 minutes
- Cook Time: 10 minutes
- Category: Dessert
- Method: Baking
- Cuisine: American
Nutrition
- Serving Size: 1 whoopie pie
- Calories: 250
- Sugar: 20g
- Sodium: 200mg
- Fat: 10g
- Saturated Fat: 2g
- Unsaturated Fat: 8g
- Trans Fat: 0g
- Carbohydrates: 36g
- Fiber: 1g
- Protein: 2g
- Cholesterol: 30mg


