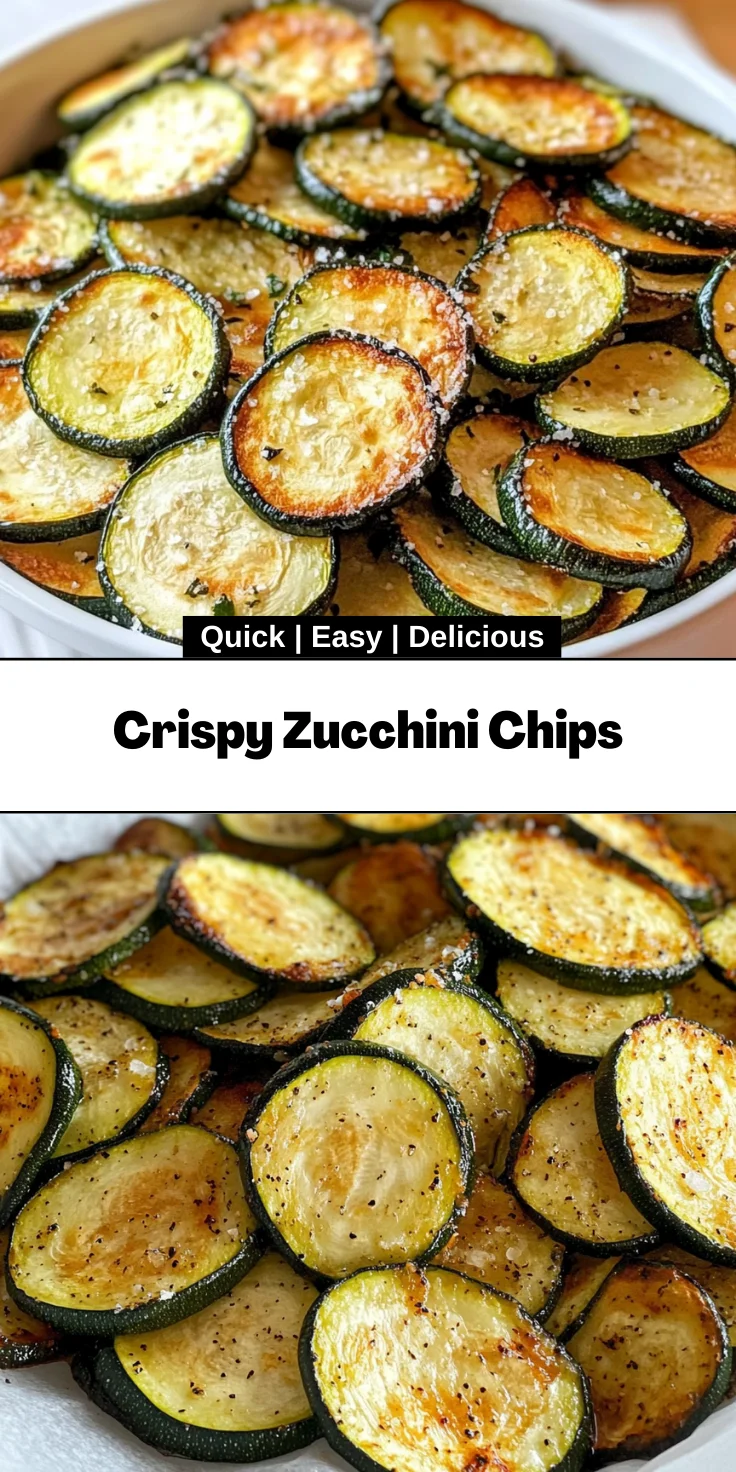
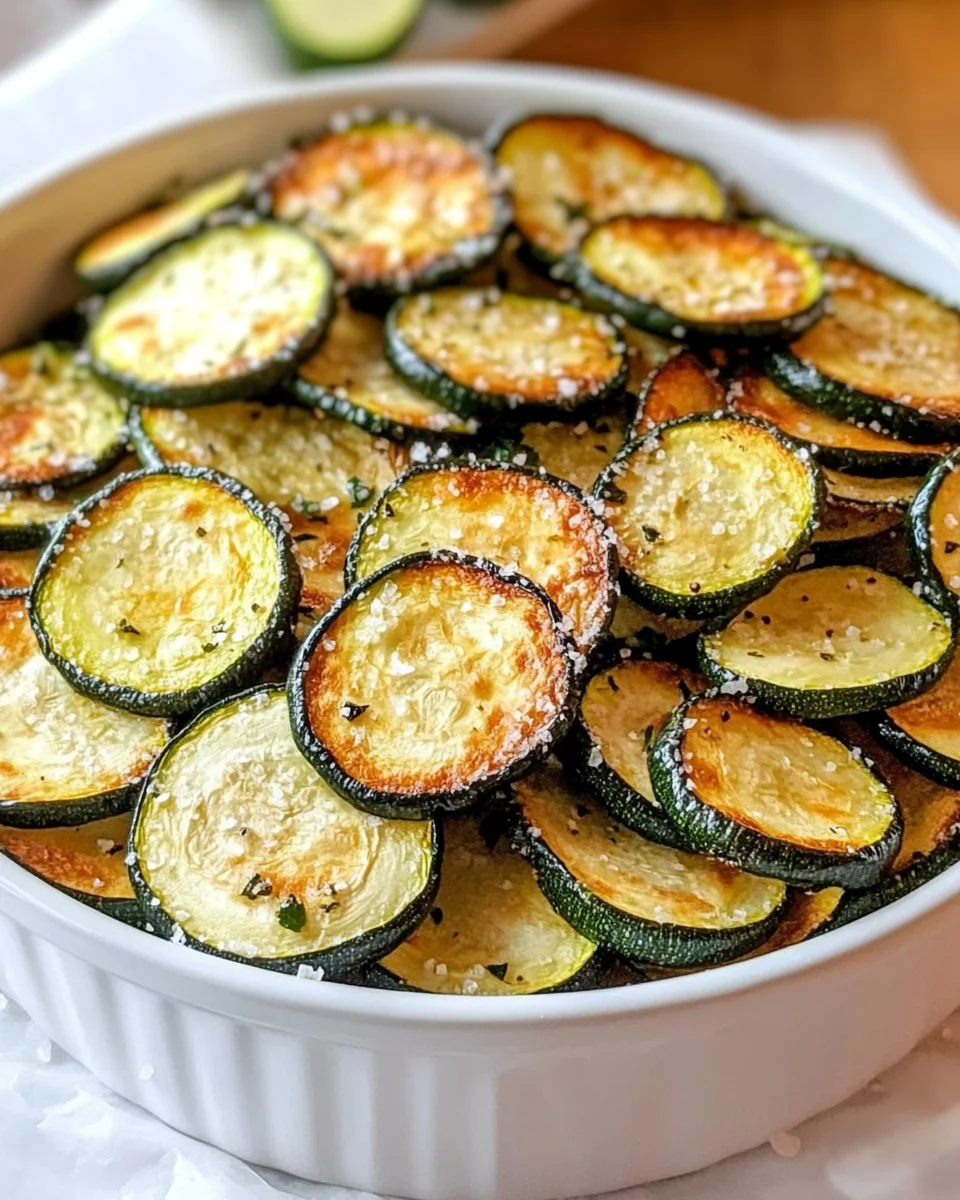
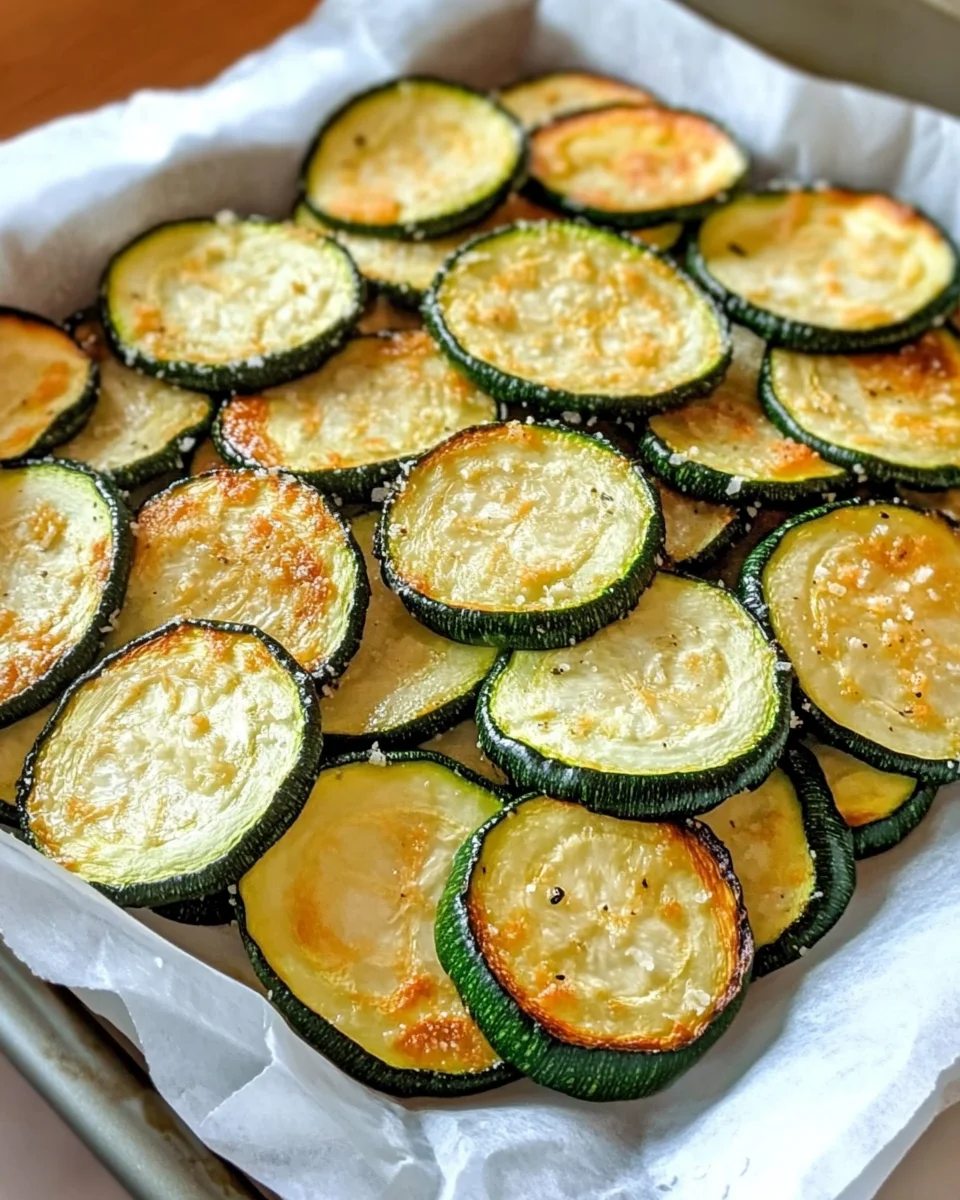
Introduction to Crispy Zucchini Chips
As a busy mom, I know how challenging it can be to find healthy snacks that everyone in the family will love. That’s where these Crispy Zucchini Chips come in! They’re not just a quick solution for a busy day; they’re a delightful way to sneak in some veggies without anyone noticing. Imagine the satisfying crunch as you munch on these golden, baked delights. Plus, they’re low in calories, making them a guilt-free treat. Trust me, once you try these, they’ll become a staple in your kitchen!
Why You’ll Love This Crispy Zucchini Chips
These Crispy Zucchini Chips are a game-changer for busy families! They’re incredibly easy to make, requiring just a handful of ingredients and minimal prep time. In about two hours, you’ll have a delicious, crunchy snack that’s perfect for movie nights or after-school munchies. Plus, they’re a fantastic way to satisfy those salty cravings without the guilt. Who knew healthy could taste this good?
Ingredients for Crispy Zucchini Chips
Gathering the right ingredients is key to making the perfect Crispy Zucchini Chips. Here’s what you’ll need:
- Zucchinis: Choose medium-sized zucchinis for the best texture. They should be firm and free of blemishes.
- Olive Oil: This adds a lovely richness. You can also use avocado oil for a healthier twist.
- Sea Salt: A must for enhancing flavor. It helps draw out moisture, making your chips crispier.
- Garlic Powder: This adds a savory kick. It’s a simple way to elevate the taste without extra effort.
- Smoked Paprika: Optional, but it brings a delightful smokiness. Perfect for those who love a bit of flair!
- Black Pepper: Just a pinch adds a subtle heat that balances the flavors beautifully.
- Grated Parmesan: Another optional ingredient, but it gives an extra layer of flavor and crunch. Who can resist cheese?
For exact measurements, check the bottom of the article where you can find everything listed for easy printing. Feel free to experiment with different seasonings to make these chips your own!
How to Make Crispy Zucchini Chips
Making Crispy Zucchini Chips is a straightforward process that yields delicious results. Follow these simple steps, and you’ll be snacking on crunchy goodness in no time!
Step 1: Preheat the Oven
Start by preheating your oven to 250°F (120°C). This low temperature is crucial for achieving that perfect crispiness. If the oven is too hot, your chips may burn before they dry out. Patience is key here!
Step 2: Prepare the Zucchini
Next, wash your zucchinis thoroughly under cool water. Dry them well with a clean towel. Slice them into thin rounds, about 1/8-inch thick. The thinner the slices, the crispier they’ll be. A mandoline slicer can be a handy tool for this, ensuring even cuts.
Step 3: Draw Out Moisture
Now, lay the zucchini slices on a paper towel and sprinkle them lightly with sea salt. Let them sit for about 10 minutes. This step is essential as it draws out excess moisture, which helps your chips become crispy. You’ll be amazed at how much water comes out!
Step 4: Pat Dry and Season
After the zucchini has sat, gently pat the slices with another paper towel to soak up the moisture. This step is vital for crispiness! If you’re feeling adventurous, sprinkle some garlic powder or grated parmesan on top for added flavor.
Step 5: Arrange on Baking Sheet
Line a baking sheet with parchment paper. Arrange the zucchini slices in a single layer, making sure they don’t overlap. This spacing allows for even cooking and ensures that every chip gets that delightful crunch.
Step 6: Bake to Perfection
Place the baking sheet in the oven and bake for about 1.5 to 2 hours. Flip the slices halfway through to ensure they crisp evenly. Start checking for doneness around the 90-minute mark. They should be golden brown and crispy. Let them cool for about 5 minutes before diving in!
Tips for Success
- Ensure your zucchini slices are uniform in thickness for even cooking.
- Don’t rush the drying process; it’s key to achieving that perfect crunch.
- Experiment with different seasonings to find your favorite flavor combination.
- Store leftover chips in an airtight container to keep them crispy.
- Keep an eye on them towards the end of baking to prevent burning.
Equipment Needed
- Baking Sheet: A standard baking sheet works well. You can also use a cooling rack for better air circulation.
- Parchment Paper: This prevents sticking. If you don’t have it, a silicone baking mat is a great alternative.
- Mandoline Slicer: For even slices, but a sharp knife will do just fine!
Variations
- Spicy Zucchini Chips: Add a pinch of cayenne pepper or chili powder for a kick of heat.
- Herb-Infused Chips: Sprinkle dried herbs like oregano, thyme, or rosemary for a fragrant twist.
- Cheesy Zucchini Chips: Use nutritional yeast instead of parmesan for a vegan-friendly cheesy flavor.
- Sweet Zucchini Chips: Drizzle with a bit of honey or sprinkle with cinnamon for a sweet treat.
- Asian-Inspired Chips: Toss with sesame oil and a sprinkle of sesame seeds for an umami flavor.
Serving Suggestions
- Pair your Crispy Zucchini Chips with a refreshing dip like hummus or tzatziki for a delightful contrast.
- Serve them alongside a crisp salad for a light lunch or dinner.
- Enjoy with a chilled glass of sparkling water or iced tea for a perfect snack.
- For a fun presentation, stack them in a mason jar for a charming display.
FAQs about Crispy Zucchini Chips
As I’ve shared my love for Crispy Zucchini Chips, I often get questions from fellow home cooks. Here are some of the most common queries I’ve encountered:
Can I use other vegetables for chips?
Absolutely! While zucchini is a favorite, you can experiment with other veggies like sweet potatoes, carrots, or even kale. Just adjust the cooking time as needed.
How do I store leftover chips?
To keep your healthy snack crispy, store any leftovers in an airtight container. They’ll stay fresh for a few days, but trust me, they might not last that long!
Can I make these chips in an air fryer?
Yes! An air fryer is a fantastic option for making low-calorie chips. Just set it to a lower temperature and keep an eye on them to avoid burning.
What can I dip these chips in?
These chips pair wonderfully with dips like hummus, guacamole, or even a tangy yogurt sauce. The options are endless!
Are these chips suitable for meal prep?
Definitely! You can make a big batch ahead of time. Just store them properly, and you’ll have a crunchy snack ready whenever you need it.
Final Thoughts
Making Crispy Zucchini Chips has been a delightful journey for me, and I hope it becomes one for you too! There’s something incredibly satisfying about creating a healthy snack that everyone enjoys. The joy of watching my family crunch away on these chips, all while knowing they’re eating something nutritious, warms my heart. Plus, the versatility of this recipe means you can customize it to fit your family’s tastes. So, roll up your sleeves, embrace the kitchen adventure, and enjoy the delicious crunch of these guilt-free treats. Happy snacking!
Print
Crispy Zucchini Chips
- Total Time: 2 hours 15 minutes
- Yield: 4 servings 1x
- Diet: Low Calorie
Description
As a busy mom, I know how challenging it can be to find healthy snacks that everyone in the family will love. That’s where these Crispy Zucchini Chips come in! They’re not just a quick solution for a busy day; they’re a delightful way to sneak in some veggies without anyone noticing. Imagine the satisfying crunch as you munch on these golden, baked delights. Plus, they’re low in calories, making them a guilt-free treat. Trust me, once you try these, they’ll become a staple in your kitchen!
Ingredients
- 2 medium zucchinis
- 1–2 tablespoons of olive oil (or avocado oil for a healthier option)
- ½ teaspoon of sea salt
- ½ teaspoon of garlic powder
- ½ teaspoon of smoked paprika (optional for a little extra flavor)
- ¼ teaspoon of black pepper
- Grated parmesan (optional for added flavor and crunch)
Instructions
- Preheat your oven to 250°F (120°C).
- Wash and dry your zucchinis thoroughly, then slice them into thin rounds about 1/8-inch thick.
- Lay the zucchini slices on a paper towel, sprinkle lightly with salt, and let sit for about 10 minutes to draw out moisture.
- Gently pat the slices with another paper towel to soak up the moisture. Optionally, sprinkle grated parmesan for extra flavor.
- Line a baking sheet with parchment paper and arrange the zucchini slices in a single layer without overlapping.
- Bake for about 1.5 to 2 hours, flipping the slices halfway through for even crisping.
- Check for crispiness around the 90-minute mark; they should be golden brown and crispy. Let cool for 5 minutes before serving.
Notes
- Ensure zucchini slices are evenly cut for consistent cooking.
- Experiment with different seasonings to customize flavors.
- Store any leftovers in an airtight container to maintain crispiness.
- Prep Time: 15 minutes
- Cook Time: 2 hours
- Category: Snack
- Method: Baking
- Cuisine: American
Nutrition
- Serving Size: 1 serving (about 1 ounce)
- Calories: 100
- Sugar: 2g
- Sodium: 200mg
- Fat: 7g
- Saturated Fat: 1g
- Unsaturated Fat: 6g
- Trans Fat: 0g
- Carbohydrates: 8g
- Fiber: 2g
- Protein: 3g
- Cholesterol: 0mg