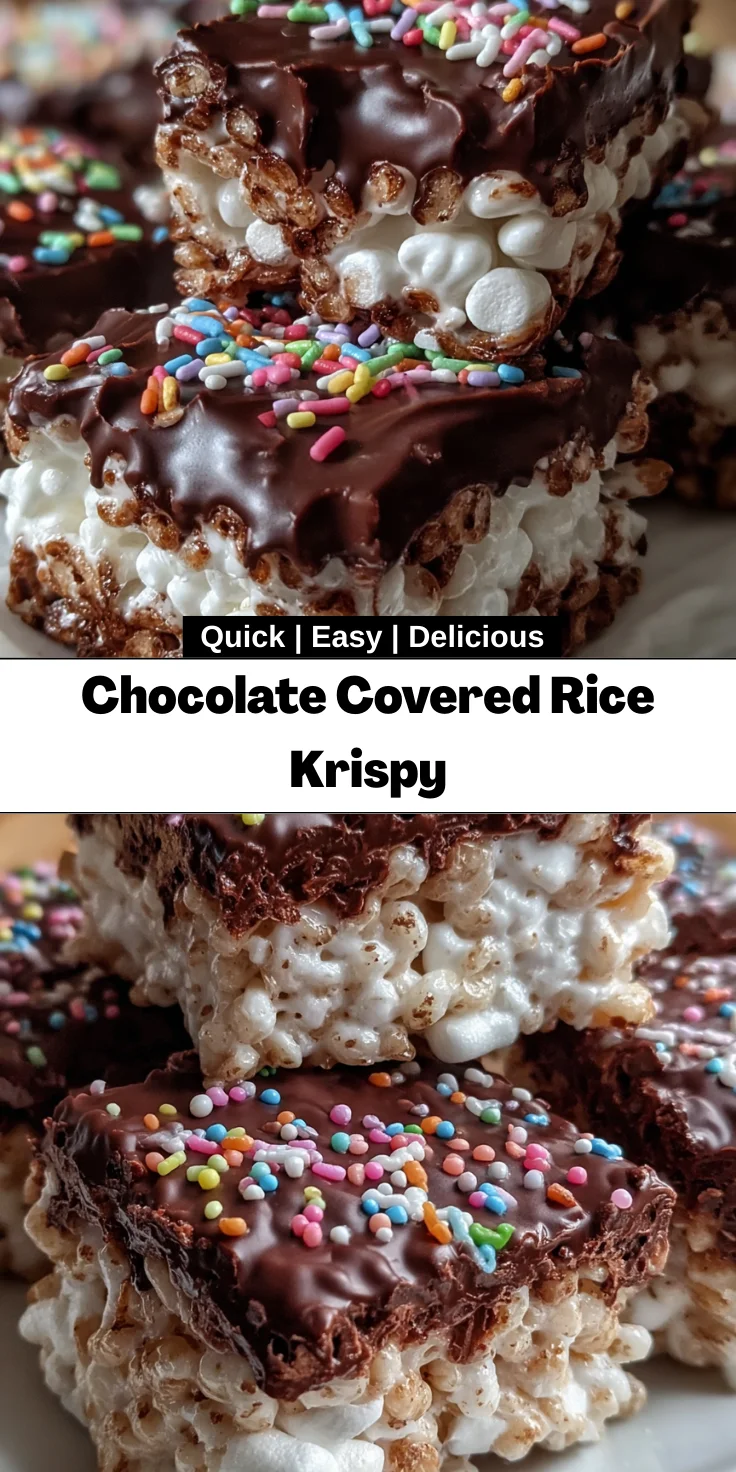
Introduction to Chocolate Covered Rice Krispy
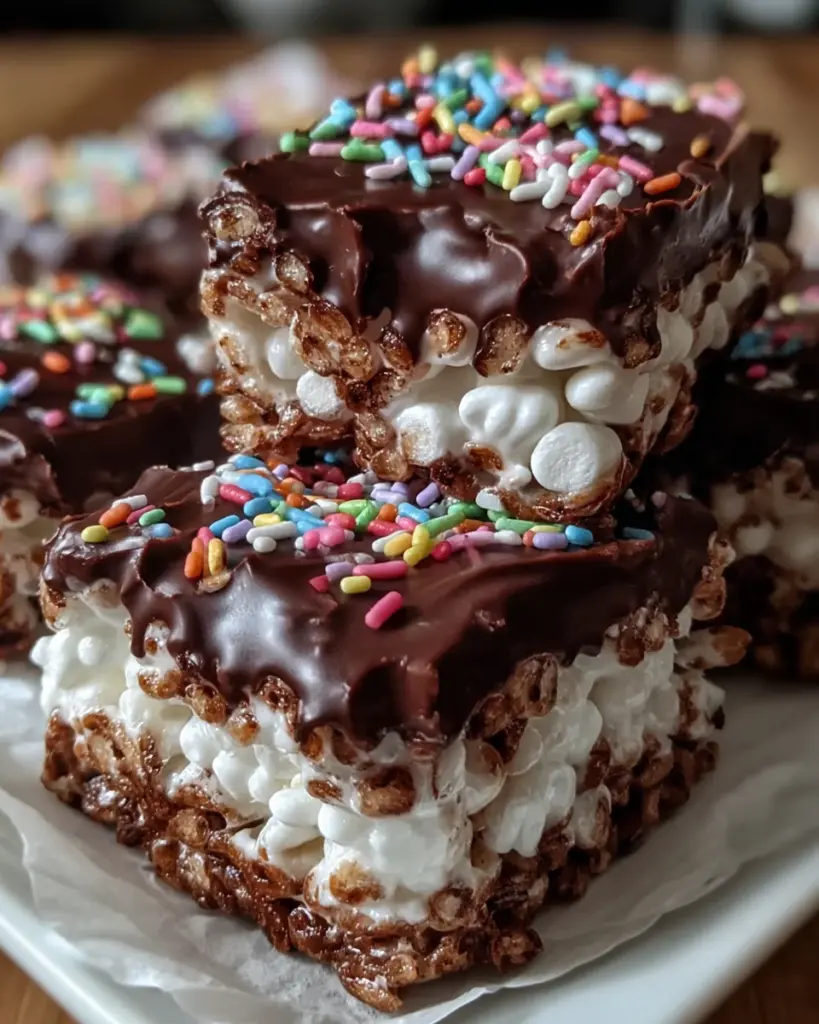
Welcome to my kitchen, where I believe every sweet treat can spark joy! Today, I’m excited to share my delightful recipe for Chocolate Covered Rice Krispy treats. These irresistible snacks are perfect for those busy days when you need something quick and satisfying.
Whether you’re racing against the clock after school pick-up or searching for a sweet surprise to brighten someone’s day, these treats have got you covered. They combine the nostalgia of classic Rice Krispy treats with a rich layer of chocolate, making them a hit with both kids and adults alike. Let’s dive into this easy-to-make indulgence!
Why You’ll Love This Chocolate Covered Rice Krispy
You’ll adore the simplicity of my Chocolate Covered Rice Krispy treats. They require minimal time and effort, making them a lifesaver for busy parents and professionals. With just a few ingredients, you’ll enjoy a deliciously sweet snack that will bring smiles to your family. Plus, the rich chocolate layer adds a luxurious touch that elevates this classic treat. It’s pure happiness wrapped in chocolate!
Ingredients for Chocolate Covered Rice Krispy
To whip up these delectable Chocolate Covered Rice Krispy treats, you’ll need just a handful of ingredients. Each one plays a vital role in crafting the perfect bite. Here’s what you’ll gather:
- Unsalted butter: This adds richness and helps bind the mixture. It’s best to have some extra for greasing the pan too.
- Mini marshmallows: They melt into a sweet, gooey goodness, making the treats chewy and delightful. Choose mini to ensure a smooth texture!
- Rice Krispies cereal: The classic crunch that’s the backbone of this recipe. It holds everything together while providing that signature crispy bite.
- Fine sea salt (optional): Just a pinch can enhance the flavor, balancing the sweetness beautifully.
- Semisweet or dark chocolate chips: This is where the magic happens! The chocolate layer adds a decadent coating that transforms the treats. Dark chocolate brings an intense flavor, while semisweet offers a classic sweetness.
- Vegetable or coconut oil: A touch of oil ensures the chocolate melts smoothly, giving it that glossy finish we all love.
- Rainbow sprinkles or chopped nuts (optional): These are fun toppings! Sprinkles add color, while nuts introduce a satisfying crunch for those who love texture.
For exact quantities, check the bottom of the article or print the recipe for easy reference. Now, gather your ingredients, and let’s get cooking!
How to Make Chocolate Covered Rice Krispy
Prepare the Pan
Start by greasing your baking pan with a little butter. This step is essential! A well-greased pan ensures easy removal of those delightful treats later on, so don’t skip this part.
Melt the Butter
In a large saucepan over low heat, melt the butter gently. Stir it constantly, keeping a close eye to prevent it from browning. You want it smooth and creamy, adding that yummy richness to your Rice Krispy base without burning!
Add Marshmallows
Once the butter is melted, it’s time to add those mini marshmallows! They create that beloved gooey texture. Stir continuously until they’re completely melted and the mixture is smooth. Using mini marshmallows helps achieve that perfect consistency, making the treats extra chewy!
Season the Mixture
If you like a touch of flavor complexity, sprinkle in some fine sea salt. This is optional, but a little salt can beautifully counterbalance the sweetness, elevating your Chocolate Covered Rice Krispy treats to the next level.
Incorporate Cereal
Now, gently fold in the Rice Krispies cereal. Use a spatula and be careful not to crush the cereal. You want to maintain that classic crunch! This is where the magic happens—the combination of gooey marshmallow and crispy cereal creates pure bliss.
Press into Pan
Transfer the mixture into your prepared pan. Use a buttered spatula or your hands to press it down firmly and evenly. A well-pressed base is crucial for holding everything together when it’s time to cut.
Cool the Base
Allow the Rice Krispy mixture to cool at room temperature for about 10 minutes. This step is important! Cooling ensures that the chocolate won’t melt the marshmallow layer, keeping everything nice and intact.
Melt Chocolate
In a microwave-safe bowl, combine the chocolate chips with a bit of oil. Microwave on medium power in 30-second intervals, stirring each time. This prevents burning and ensures that the chocolate melts smoothly, resulting in that shiny finish everyone loves!
Spread Chocolate Layer
Once your chocolate is melted and glossy, pour it over the cooled Rice Krispy base. Use an offset spatula or the back of a spoon to spread it evenly. This adds a rich chocolate layer that will have everyone coming back for more!
Add Garnish
While the chocolate is still warm and melty, add your rainbow sprinkles or chopped nuts. Sprinkles add a pop of color, while nuts give a delightful crunch. This is where you can get creative with your toppings!
Set the Treats
To set the treats, allow them to sit at room temperature for at least 1 hour. If you want to speed things up, refrigerate for about 20-30 minutes. Just ensure the chocolate is firm before cutting into bars.
Cut into Bars
Once set, gently lift the block out of the pan. If you used parchment paper, it should come out easily. Use a sharp knife to cut into 12-16 bars, depending on how generous you want to be with those servings!
Tips for Success
- Always use a non-stick cooking spray or butter for greasing the pan effectively.
- When melting chocolate, avoid high heat. Low and slow is the key to silky smooth chocolate.
- For added flavor, mix in a dash of vanilla extract into the marshmallow mixture.
- Pop any leftovers in an airtight container to keep them fresh longer.
- Feel free to get creative with toppings—try crushed cookies or dried fruit for a twist!
Equipment Needed
- 8×8 or 9×9-inch square baking pan: A regular cake pan works too!
- Large saucepan: Any heavy-bottomed pot will do.
- Spatula: You can also use a wooden spoon for mixing.
- Microwave-safe bowl: A regular glass bowl works perfectly.
- Sharp knife: A pizza cutter can simplify cutting into bars.
Variations of Chocolate Covered Rice Krispy
- Peanut Butter Lovers: Swirl in some creamy peanut butter into the marshmallow mixture for a nutty twist. This adds both flavor and richness.
- Dark Chocolate Delight: Use dark chocolate chips for a more intense and sophisticated flavor. It’s a perfect option for those who enjoy a less sweet treat.
- White Chocolate Bliss: Swap out the regular chocolate for white chocolate chips. This creates a stunning contrast and a sweeter finish!
- Fruit-Filled Fun: Mix in some dried fruits, like cranberries or raisins, to give your treats a chewy texture and fruity flavor.
- Fun with Flavors: Experiment by adding a dash of flavored extracts, such as almond or mint, to the melted chocolate for an exciting flavor boost.
- Healthier Options: For a lighter version, use brown rice cereal or incorporate seeds like chia or flax to add nutrition without sacrificing taste.
Serving Suggestions for Chocolate Covered Rice Krispy
- Pair these treats with a cold glass of milk or a warm cup of hot cocoa for a perfect sweet duo.
- Serve them alongside fresh fruit like strawberries or bananas to balance the sweetness.
- For a fun presentation, stack the bars high on a colorful platter and sprinkle with extra toppings!
- Wrap individual bars in clear plastic wrap with a cheerful ribbon for delightful party favors.
- Crush extra bars and use them as a topping for ice cream sundaes.
FAQs about Chocolate Covered Rice Krispy
I often get a few common questions when it comes to making my beloved Chocolate Covered Rice Krispy treats. Here are some frequently asked questions that might help you whip up the perfect batch!
Can I use different types of chocolate for this recipe?
Absolutely! You can use semisweet, dark, or even white chocolate chips. Each type will create a unique flavor profile. Dark chocolate, for instance, adds a rich depth, while white chocolate provides a sweeter finish.
How do I store Chocolate Covered Rice Krispy treats?
To keep your treats fresh, store them in an airtight container at room temperature for up to a week. If you want to extend their life, you can refrigerate them, but they might lose some of their soft texture.
Can I freeze Chocolate Covered Rice Krispy bars?
Yes, freezing is a great option! Wrap the bars individually in plastic wrap, then place them in a freezer-safe container. They can last up to three months. Just allow them to thaw at room temperature before enjoying!
Why did my marshmallow mixture turn out sticky?
If your marshmallow mixture is too sticky, it might be due to not adding enough butter or not cooking the marshmallows long enough to fully melt. Make sure everything is combined smoothly for that perfect consistency.
Can I substitute the Rice Krispies with other cereals?
You can! Feel free to use other crispy cereals. Just ensure they’re similar in texture to maintain that delightful crunch. Some alternatives could be cornflakes or puffed rice for a fun twist.
Final Thoughts
Making Chocolate Covered Rice Krispy treats brings back fond memories of childhood, wrapped in the warmth of family kitchens. This recipe is not just about satisfying a sweet tooth; it’s about creating simple, joyful moments with loved ones. Whether you’re preparing them for a school event or a cozy night in, each bite is a delightful blend of crunch and chocolatey goodness. So, roll up your sleeves, gather your ingredients, and embark on this delicious adventure. As you share these treats, you’ll spread smiles and laughter, making every moment spent together a little sweeter!
Print
Chocolate Covered Rice Krispy
- Total Time: 1 hour 25 minutes
- Yield: 12-16 bars 1x
- Diet: Vegetarian
Description
A delicious treat combining the classic Rice Krispies with a rich chocolate coating for an irresistible snack.
Ingredients
- 6 tablespoons unsalted butter, plus extra for greasing
- 1 package (10 ounces) mini marshmallows
- 6 cups Rice Krispies cereal
- 1/4 teaspoon fine sea salt (optional)
- 1 1/2 cups semisweet or dark chocolate chips
- 1 teaspoon vegetable oil or coconut oil
- 2 tablespoons rainbow sprinkles or chopped nuts (optional)
Instructions
- Prepare the Pan: Lightly grease an 8×8-inch or 9×9-inch square baking pan with butter.
- Melt the Butter: In a large saucepan over low heat, melt the butter, stirring constantly to prevent browning.
- Add Marshmallows: Add mini marshmallows and continue stirring until completely melted and smooth.
- Season the Mixture: Remove from heat and stir in sea salt if using.
- Incorporate Cereal: Add Rice Krispies cereal and gently fold with a spatula until evenly coated.
- Press into Pan: Transfer the mixture to the prepared pan. Using a buttered spatula or hands, press the mixture evenly and firmly into the pan.
- Cool the Base: Let sit at room temperature for about 10 minutes.
- Melt Chocolate: In a microwave-safe bowl, combine chocolate chips and oil. Microwave on medium power in 30-second intervals, stirring after each, until melted and glossy.
- Spread Chocolate Layer: Pour the melted chocolate over the cooled Rice Krispy layer. Spread evenly with an offset spatula or the back of a spoon.
- Add Garnish: Immediately sprinkle with rainbow sprinkles or chopped nuts if desired.
- Set the Treats: Allow the treats to set at room temperature for at least 1 hour, or refrigerate for 20-30 minutes until the chocolate is firm.
- Cut into Bars: Once set, lift the block from the pan using parchment overhang (if used) or invert onto a cutting board. Cut into 12-16 bars with a sharp knife.
Notes
- For a richer flavor, use dark chocolate chips.
- For a nut-free version, omit any nut garnishes.
- Prep Time: 15 minutes
- Cook Time: 10 minutes
- Category: Dessert
- Method: No-Bake
- Cuisine: American
Nutrition
- Serving Size: 1 bar
- Calories: 180
- Sugar: 14g
- Sodium: 50mg
- Fat: 8g
- Saturated Fat: 4g
- Unsaturated Fat: 2g
- Trans Fat: 0g
- Carbohydrates: 25g
- Fiber: 1g
- Protein: 1g
- Cholesterol: 15mg