Introduction to Butterfinger Cupcakes
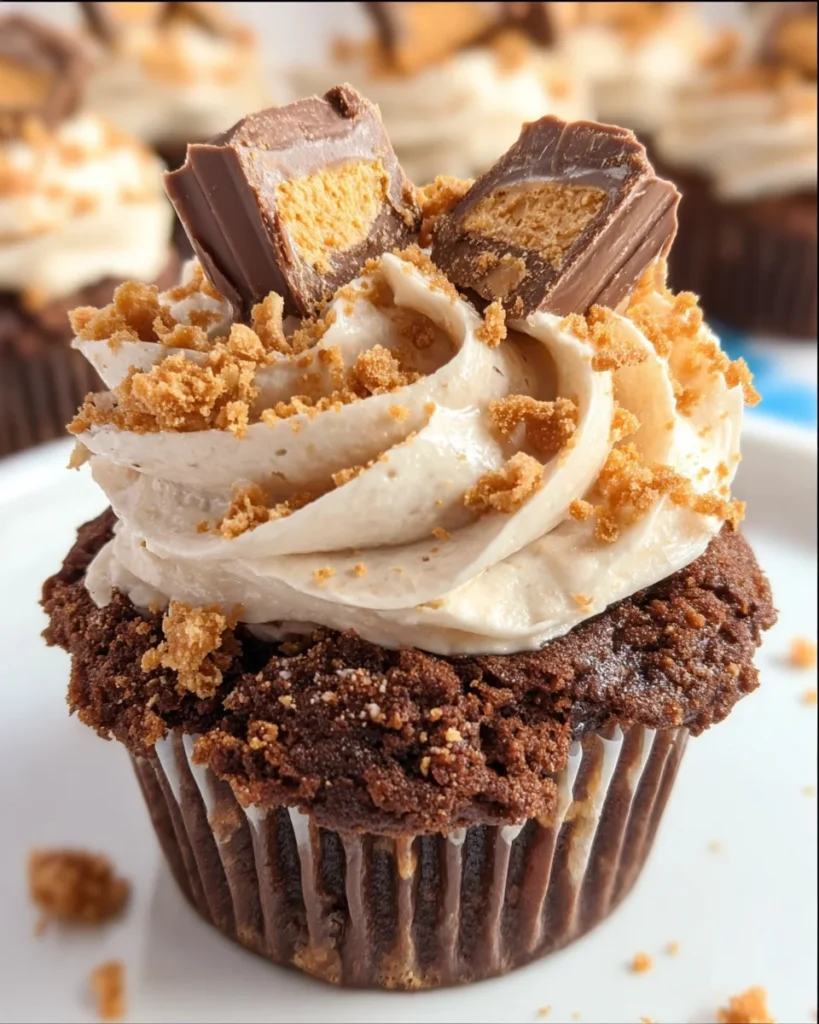
Sometimes you just need a little indulgence in your life, and these Butterfinger Cupcakes are the perfect answer! Imagine the rich, chocolate brownie base paired with creamy peanut butter frosting—heavenly, right? As a busy mom, finding time to create something special can be a challenge. That’s why I love this recipe! It’s not only a quick fix for a sweet craving but also a delightful treat that will impress your loved ones. Whether it’s a family gathering or a quiet night in, these cupcakes will surely bring joy to your day!
Why You’ll Love This Butterfinger Cupcakes
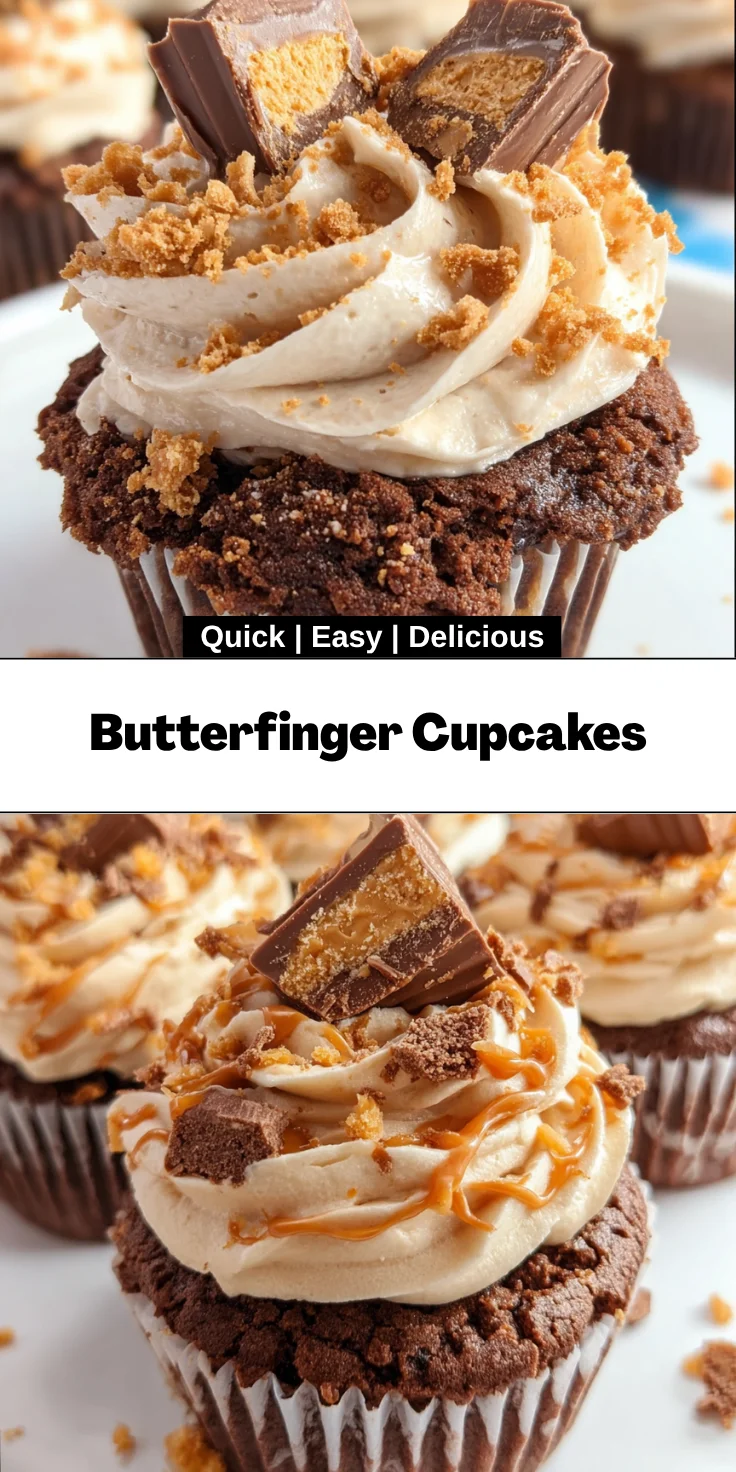
These Butterfinger Cupcakes are incredibly easy to whip up, even on the busiest of days. You only need about 30 minutes of prep time, making them a fantastic choice for last-minute gatherings. Plus, the combination of rich chocolate and creamy peanut butter creates a flavor explosion that will satisfy any sweet tooth. Trust me, it’s the kind of treat that can turn an ordinary day into something special!
Ingredients for Butterfinger Cupcakes
To create these delightful Butterfinger Cupcakes, you’ll need a handful of ingredients that come together to make pure magic. Here’s the rundown:
- Salted sweet cream butter: Adds richness and flavor to both the cupcake base and frosting.
- Chopped semi-sweet chocolate baking bar: A must for that deep chocolate flavor that complements the cupcakes beautifully. You can use chocolate chips if that’s what you have on hand.
- Granulated sugar: Sweetens the cupcake while working in harmony with the brown sugar.
- Light brown sugar: The molasses in brown sugar gives the cupcakes that soft, chewy texture we all love.
- Large eggs: Eggs help bind everything together and add moisture, essential for that perfect cupcake. Just make sure they’re at room temperature for the best results!
- Pure vanilla extract: Enhances all the flavors in your cupcakes, making them irresistible.
- All-purpose flour: This helps provide structure to the cupcakes. Spoon and level it for accuracy!
- Milk chocolate chips: These little gems bring extra chocolatey goodness, making each bite decadent.
- Creamy peanut butter: The star of the show in the frosting! Use a quality brand for rich flavor.
- Powdered sugar: Essential for frosting, it sweetens and thickens, creating that smooth texture we adore.
- Heavy cream: Adds just the right amount of creaminess to the frosting, ensuring it pipes beautifully.
- Crushed Butterfinger candy: A sprinkle on top adds a crunchy finish and extra flavor to your cupcakes.
- Halved fun-size Butterfinger candies: Perfect for garnishing your cupcakes, they’re a fun surprise with every bite!
For exact quantities, check the bottom of the article where they are detailed and available for printing. Enjoy gathering these ingredients; each one plays its part in creating your delightful Butterfinger Cupcakes!
How to Make Butterfinger Cupcakes
Making these Butterfinger Cupcakes is a joyous adventure that anyone can undertake! Follow these straightforward steps and watch as your kitchen fills with the delightful aroma of chocolate and peanut butter.
Step 1: Preheat and Prepare
Before diving in, preheat your oven to 350°F. This is an essential first step, as it ensures your cupcakes will bake evenly. Line a standard muffin pan with cupcake liners, which not only makes clean-up a breeze but also adds a touch of fun! If you’re feeling fancy, choose colorful liners that match the mood of your occasion.
Step 2: Melt the Chocolate and Butter
Now, let’s get decadent! In a microwave-safe bowl, combine the butter and chopped chocolate baking bar. Heat this mixture in 30-second intervals, stirring well between each. This method prevents scorching the chocolate and helps it melt evenly. The goal is a smooth, shiny mixture—almost like a warm hug!
Step 3: Mix in the Sugars
Once your chocolate and butter are melted, it’s time to add the granulated and light brown sugars. Stir them in until fully incorporated, and watch as they blend with that luscious chocolate. This is where the sweetness starts to take shape, creating that mouthwatering base to your Butterfinger Cupcakes!
Step 4: Incorporate the Eggs and Vanilla
Add the eggs next, one at a time, mixing well after each addition. This ensures a rich, fluffy batter. Then, stir in the vanilla extract. It’s amazing how just a splash can elevate flavors! The batter should be looking creamy and inviting—perfectly smooth and ready for the next step.
Step 5: Add the Dry Ingredients
Time to bring in the flour! Gently fold the all-purpose flour into the batter until just combined. Remember, overmixing can lead to dense cupcakes, and we’re aiming for light and fluffy here. A few small lumps are perfectly okay!
Step 6: Fold in the Chocolate Chips
Now, let’s add an extra punch of sweetness with the milk chocolate chips. Gently fold them into the batter, ensuring they’re evenly distributed. This delicate folding keeps your batter airy and allows those chocolate nuggets to shine in every bite!
Step 7: Bake the Cupcakes
Scoop the batter evenly into your lined muffin cups, filling them about two-thirds full. Bake for 22 to 25 minutes, or until a toothpick inserted into the center comes out with just a few moist crumbs. While they bake, get ready—the aroma will have your family flocking to the kitchen!
Step 8: Prepare the Peanut Butter Frosting
While your cupcakes cool, let’s whip up that creamy peanut butter frosting! In a mixing bowl, beat together the creamy peanut butter, softened butter, and vanilla extract for about 1 to 1½ minutes. Add the powdered sugar and heavy cream gradually, mixing until smooth. The frosting should be thick yet spreadable, like a soft cloud of deliciousness!
Step 9: Frost the Cupcakes
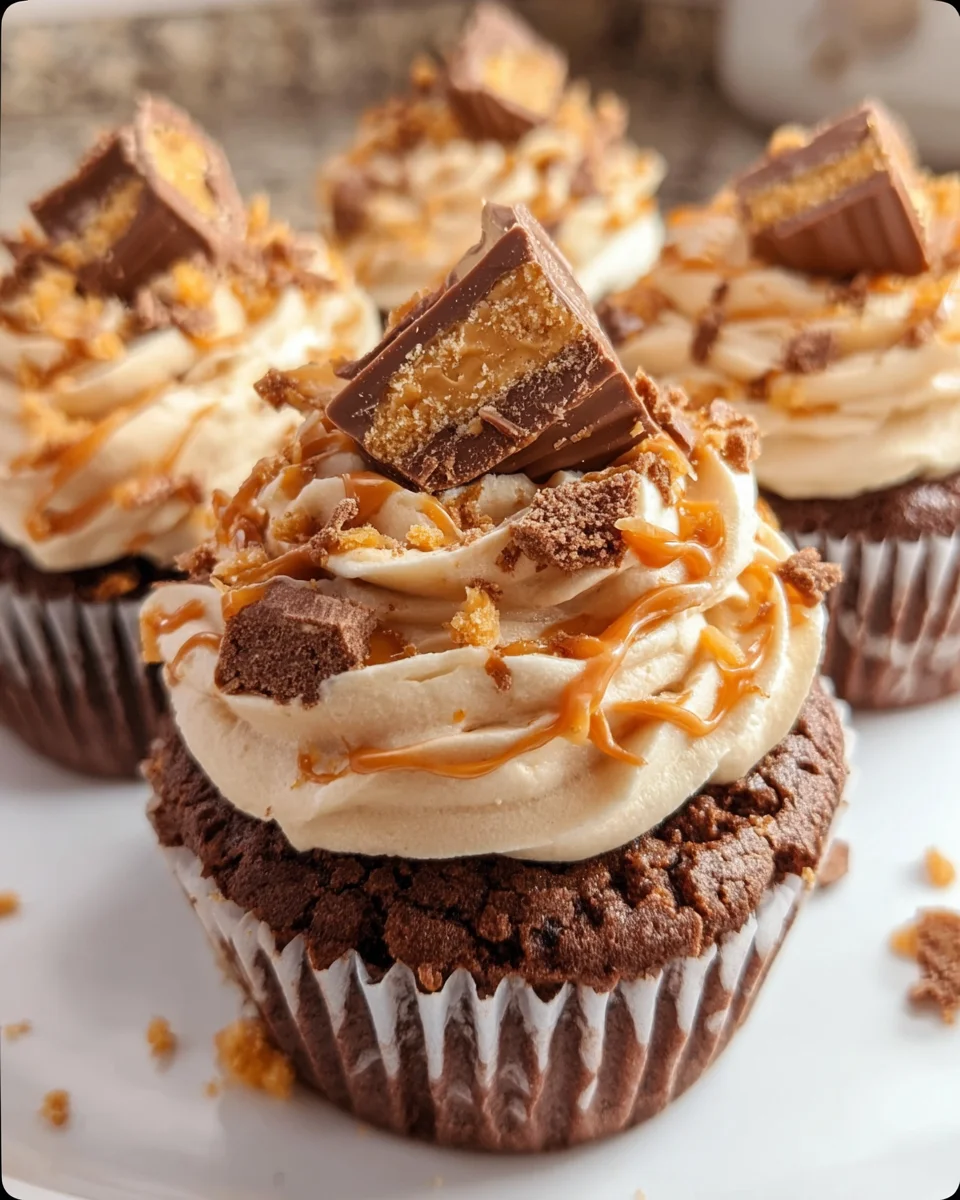
Once the cupcakes have cooled completely, it’s time for the fun part—frosting! Fill a piping bag fitted with a star tip or use a ziplock bag with the corner snipped off. Hold the bag about ½ inch from the cupcake’s center, squeeze, and swirl. Make it as fancy or simple as you like! Finally, sprinkle on some crushed Butterfinger candy and top with a halved fun-size Butterfinger for that perfect finishing touch.
Tips for Success
- Always use room temperature ingredients for a smoother batter.
- Don’t overmix the batter; a few lumps are okay.
- Consider using parchment paper liners for easy removal.
- If you’re short on time, make the frosting while the cupcakes are baking!
- Taste your frosting! Adjust sweetness as needed.
- Experiment with different toppings—try crushed nuts or drizzle chocolate!
Equipment Needed for Butterfinger Cupcakes
- Standard muffin pan: You can also use a silicone cupcake mold for easy release.
- Microwave-safe bowl: A regular mixing bowl works too, just use a stovetop method to melt the chocolate and butter.
- Piping bag & tip: A ziplock bag with a snipped corner will do the trick!
- Mixing spoons: Use a rubber spatula for folding in ingredients.
Variations of Butterfinger Cupcakes
- Gluten-Free Option: Substitute all-purpose flour with a 1:1 gluten-free flour blend for a delicious gluten-free treat. Just make sure your baking powder is also gluten-free!
- Healthier Frosting: Swap out the creamy peanut butter for a natural nut butter or Greek yogurt for a lighter frosting option. You’ll still get that creamy texture with a twist!
- Chocolate Lovers: Use dark chocolate instead of semi-sweet for an extra rich flavor. Dark chocolate pairs beautifully with peanut butter!
- Nutty Twist: Add chopped nuts like pecans or walnuts into the batter to create a delightful crunch throughout the cupcakes.
- Mini Cupcakes: Adjust the baking time and make these treats mini-sized for bite-sized indulgence! They’re perfect for parties or school events.
- Dairy-Free Version: Use dairy-free chocolate and nut butter to cater to lactose-intolerant or vegan friends, ensuring everyone can enjoy these sweet bites!
Serving Suggestions for Butterfinger Cupcakes
- Pair with a glass of cold milk for a classic combination that never fails.
- Serve alongside fresh berries for a tart contrast to the sweetness.
- For a festive touch, display on a tiered cupcake stand at parties.
- Garnish with chocolate drizzle for an extra indulgent finish.
FAQs about Butterfinger Cupcakes
Can I use other candies instead of Butterfinger?
Absolutely! While Butterfinger adds a unique flavor and crunch, feel free to experiment with other candies. Snickers or Milky Way bars would work wonderfully, giving a delightful twist to your cupcakes!
How do I store leftover Butterfinger Cupcakes?
If you have any leftovers (which is rare!), store your cupcakes in an airtight container at room temperature for up to 3 days. If the weather is warm, refrigerate them for longer freshness. Just bring them to room temperature before serving!
Can I freeze Butterfinger Cupcakes?
Yes, you can freeze these cupcakes! It’s best to freeze them without frosting. Wrap them tightly in plastic wrap and store them in a freezer-safe bag for up to 2 months. Thaw overnight in the fridge when you’re ready to enjoy!
What can I substitute for heavy cream in frosting?
If you need a substitute for heavy cream, try whole milk or a milk alternative mixed with a little cornstarch to thicken it. It won’t be quite as rich, but it’ll still create a delicious frosting!
Why are my cupcakes dense?
Dense cupcakes can happen for several reasons. Most commonly, it’s from overmixing the batter or using cold ingredients. Make sure everything is at room temperature and mix until just combined for the fluffiest results!
Final Thoughts on Butterfinger Cupcakes
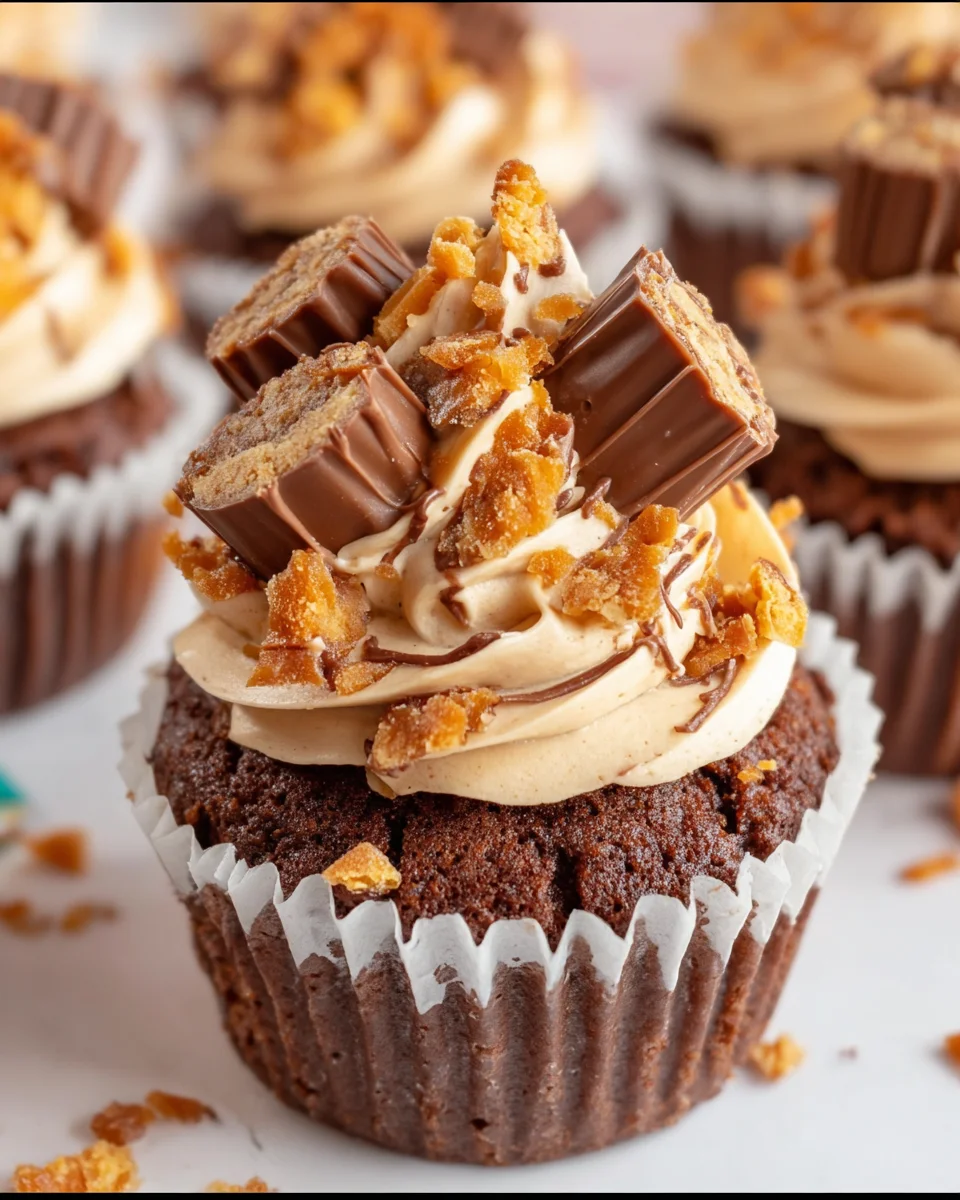
There’s something truly special about crafting these Butterfinger Cupcakes. They encapsulate comfort, joy, and a hint of nostalgia, reminiscent of childhood treats. Every bite is a glorious combination of rich chocolate and creamy peanut butter, topped with the delightful crunch of Butterfinger candies. Whether you’re preparing for a family gathering or just indulging yourself, these cupcakes effortlessly bring smiles to faces. They’re more than just a dessert; they’re a sweet moment to share. I hope you find as much happiness in baking and enjoying them as I do. Trust me, your taste buds will thank you!
Print
Butterfinger Cupcakes
- Total Time: 55 minutes
- Yield: 12 cupcakes 1x
- Diet: Vegetarian
Description
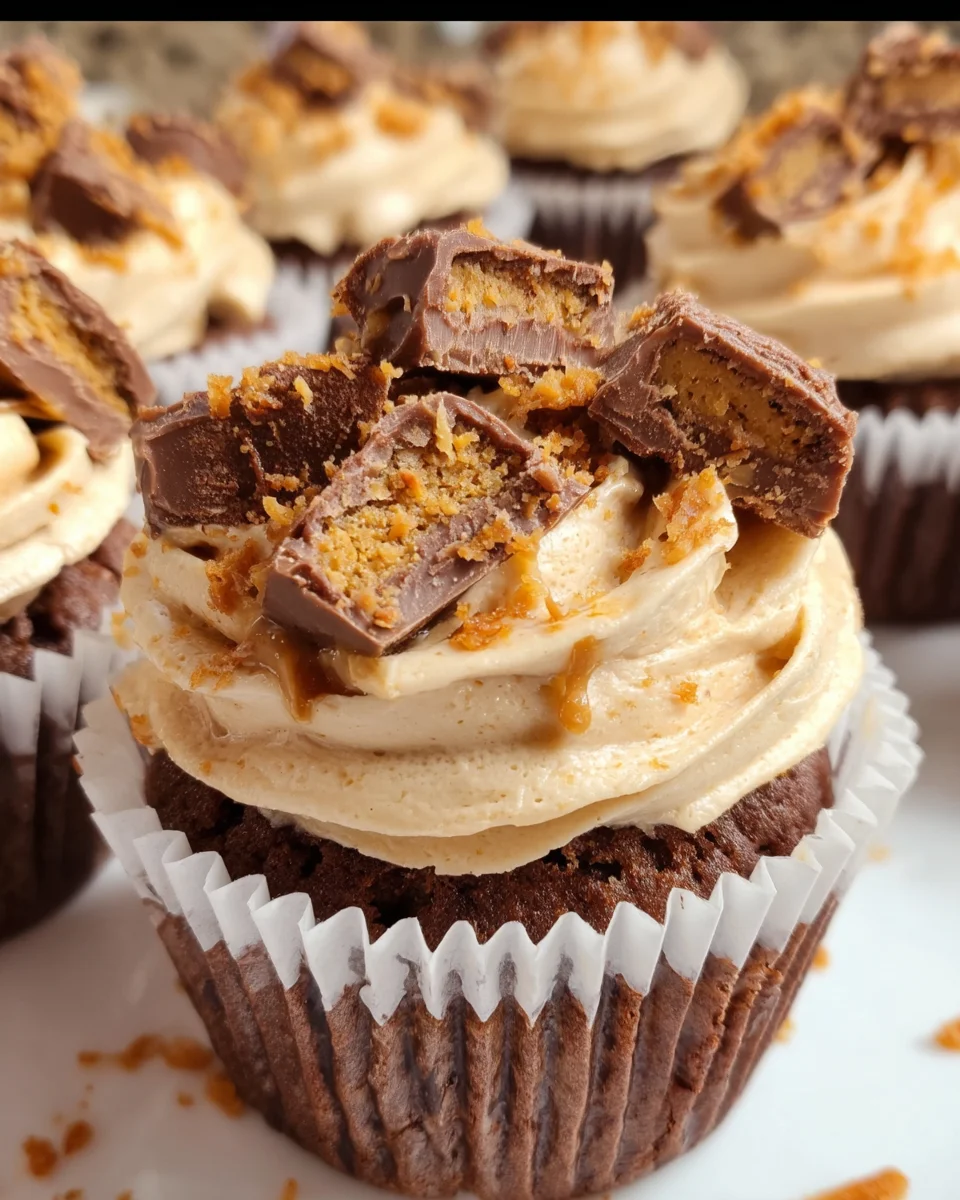
Indulge in a decadent treat with these rich Butterfinger Cupcakes, featuring a chocolate brownie base and creamy peanut butter frosting topped with crushed Butterfinger candies.
Ingredients
- ½ cup salted sweet cream butter
- 2 tablespoons salted sweet cream butter
- 4 ounces chopped semi-sweet chocolate baking bar
- ½ cup granulated sugar
- ½ cup light brown sugar (tightly packed)
- 2 large eggs (room temperature)
- 2 teaspoons pure vanilla extract
- ½ cup all-purpose flour (spooned and leveled)
- 2 tablespoons all-purpose flour
- 1¼ cups milk chocolate chips
- 1 cup creamy peanut butter
- ⅔ cup salted sweet cream butter (softened)
- 1 teaspoon pure vanilla extract
- 2 cups powdered sugar
- 3 tablespoons heavy cream
- ½ cup crushed Butterfinger candy (garnish)
- 6 halved fun-size Butterfinger candies (garnish)
Instructions
- Preheat the oven to 350°F. Line a standard muffin pan with cupcake liners. Set it aside.
- Add the butter and chopped chocolate baking bar to a microwave-safe bowl. Heat in 30-second intervals, stirring well after each interval, until the butter and chocolate are melted and smooth.
- Stir in the granulated and light brown sugar.
- Stir in the eggs, mixing well after each egg, until well incorporated.
- Stir in the vanilla extract.
- Add the flour and stir just until combined. Be sure not to overmix the batter.
- Fold in the chocolate chips. Divide the batter evenly between the lined muffin cups. Bake for 22 to 25 minutes, or until a toothpick inserted comes away with a few moist crumbs. Allow the cupcakes to cool completely.
- Using either a stand mixer or a medium-sized mixing bowl and a handheld mixer on medium-high speed, beat together the creamy peanut butter, softened butter, and vanilla extract for 1 to 1½ minutes until smooth.
- Add the powdered sugar ½ cup at a time, alternating with the heavy cream until completely incorporated and smooth.
- Once the cupcakes are completely cooled, fill a piping bag fitted with an open star tip or a gallon-size ziplock bag with the corner snipped off with the frosting.
- To frost the cupcakes, hold the piping bag about ½ inch from the center surface of the cupcake. Use even pressure, and squeeze to form the center of the star swirl. Keeping the tip elevated and using the same pressure, follow the outer line of the star-swirl, making a C shape around the star-swirl until the outer swirl lines connect. Repeat for the remaining cupcakes. Sprinkle the frosting with the crushed Butterfinger candy and top with a halved fun-size Butterfinger.
Notes
- Ensure all ingredients are at room temperature before starting.
- Do not overmix the batter to keep the cupcakes light and fluffy.
- Use a good quality peanut butter for the frosting for the best flavor.
- Prep Time: 30 minutes
- Cook Time: 25 minutes
- Category: Dessert
- Method: Baking
- Cuisine: American
Nutrition
- Serving Size: 1 cupcake
- Calories: 350
- Sugar: 25g
- Sodium: 210mg
- Fat: 18g
- Saturated Fat: 7g
- Unsaturated Fat: 9g
- Trans Fat: 0g
- Carbohydrates: 45g
- Fiber: 2g
- Protein: 5g
- Cholesterol: 45mg