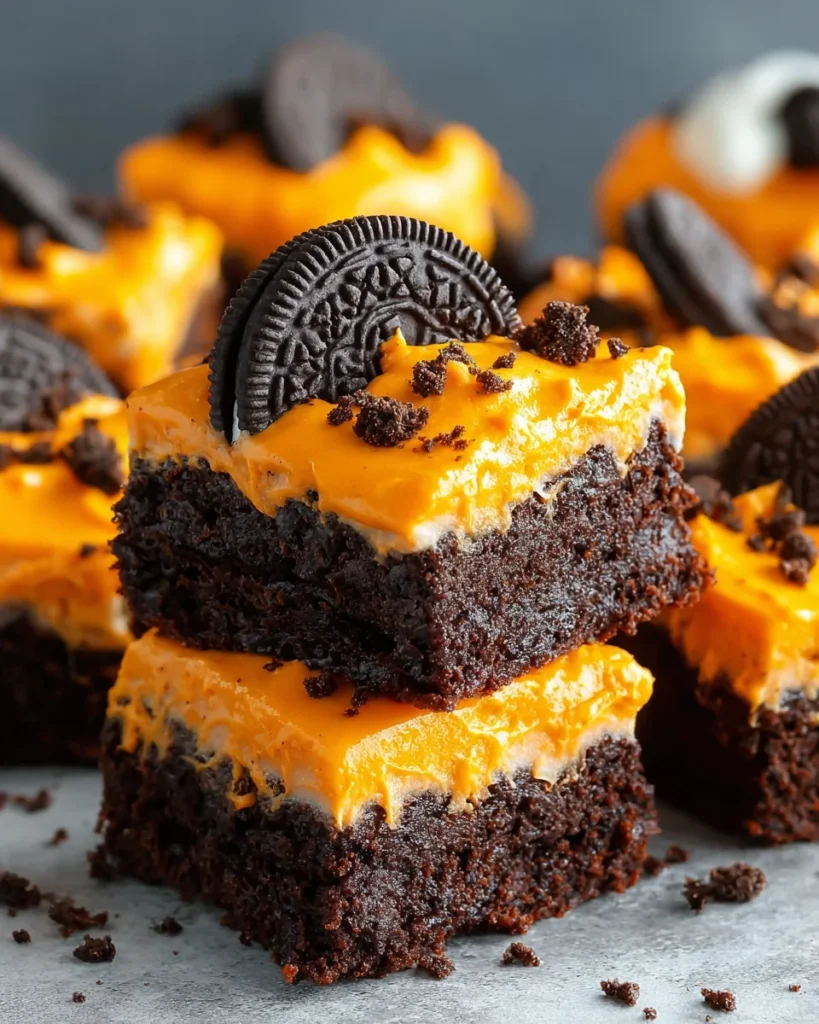
Introduction to Oreo Layered Halloween Brownies
As a busy mom, I know all too well the hustle of juggling work, kids, and life’s little surprises. That’s why I can’t wait to share my recipe for Oreo Layered Halloween Brownies. These brownies are not just a treat; they’re a decadent addition to your holiday gatherings!
Combining rich chocolate and festive Oreo cookies with orange filling, this recipe is a quick solution for a busy day. It’s perfect for impressing friends or sweetening family moments. Trust me; once you serve these, they’ll disappear faster than you can say, “Boo!”
Why You’ll Love This Oreo Layered Halloween Brownies
These Oreo Layered Halloween Brownies come together in a flash, making them an enjoyable project even on the busiest days. They’re deliciously indulgent, with rich brownie layers and creamy frostings that are simply irresistible. Plus, the vibrant orange from the Oreo cookies adds a festive flair that everyone will adore. Whether for a family gathering or a quick treat, these brownies are sure to please both kids and adults alike!
Ingredients for Oreo Layered Halloween Brownies
Let’s dive into the tasty components of these Oreo Layered Halloween Brownies! Each ingredient plays a crucial role in creating that decadent treat. Here’s what you’ll need:
- Brownie mix: The base for your brownies. It brings chocolatey goodness with minimal effort.
- Large eggs: Eggs help bind everything together, giving the brownies that perfect fudgy texture.
- Vegetable oil: This adds moisture and richness to the brownie mix. Feel free to use melted butter for a richer flavor!
- Whole milk: Enhances moisture and ensures a soft, chewy bite. You can substitute with almond or oat milk if preferred.
- Oreo cookies with orange filling: The star of the show! Their festive flavor and crunch create layers of fun. Regular Oreos can work in a pinch.
- Milk chocolate frosting: Adds a creamy and sweet layer that complements the brownies. You can DIY chocolate frosting for a homemade touch.
- White or vanilla frosting: This frosting makes the lovely orange layer pop, adding sweetness and vibrancy.
- Orange food coloring gel: Makes your frosting festive and spooky. Gel food coloring gives you rich color without altering the consistency.
For exact measurements, you can find them at the bottom of the article, which are also available for printing. Let’s get cooking and bring these vibrant brownies to life!
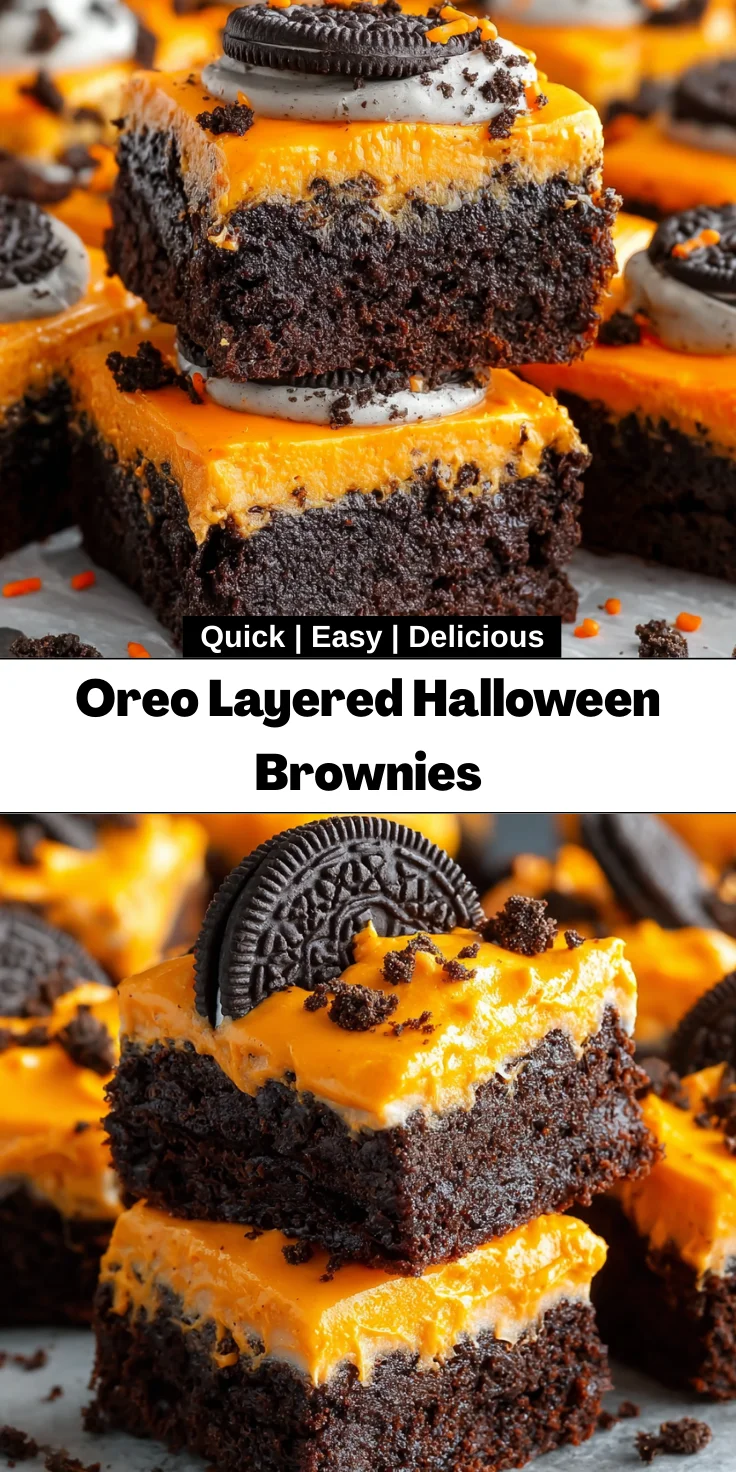
How to Make Oreo Layered Halloween Brownies
Preheat and Prepare
First things first, let’s preheat that oven to 350°F. This step is crucial. Preheating ensures that your brownies bake evenly. While it warms up, grab a 9×9-inch baking pan and line it with parchment paper. If you don’t have parchment, just spray the pan with non-stick cooking spray. Trust me; this will save you a lot of hassle when it comes to serving. You’ll want those brownies to slide right out without a fight!
Making the Brownie Batter
Now, let’s whip up that brownie batter. In a large bowl, combine the brownie mix, eggs, vegetable oil, and whole milk. I like to use a whisk; it’s simple and gets the job done. Mix until everything is smooth and well combined. You want to avoid any lumps. If you’re feeling adventurous, a stand mixer can be a great help here. Just make sure to scrape the sides to catch any rogue dry mix! Once your batter is ready, it should have a luscious consistency—a bit thick but pourable. It’s going to be delicious!
Baking the Brownies
Next up is baking! Pour your brownie batter into the prepared pan, spreading it evenly. Don’t forget the fun part—pressing those Oreo cookies with orange filling right into the surface. This is what turns an ordinary brownie into a themed treat! Bake for 25 to 30 minutes. To check if they’re done, insert a toothpick in the center. If it comes out clean or with just a few moist crumbs, you’re golden. After baking, let them cool completely before frosting.
Frosting the Brownies
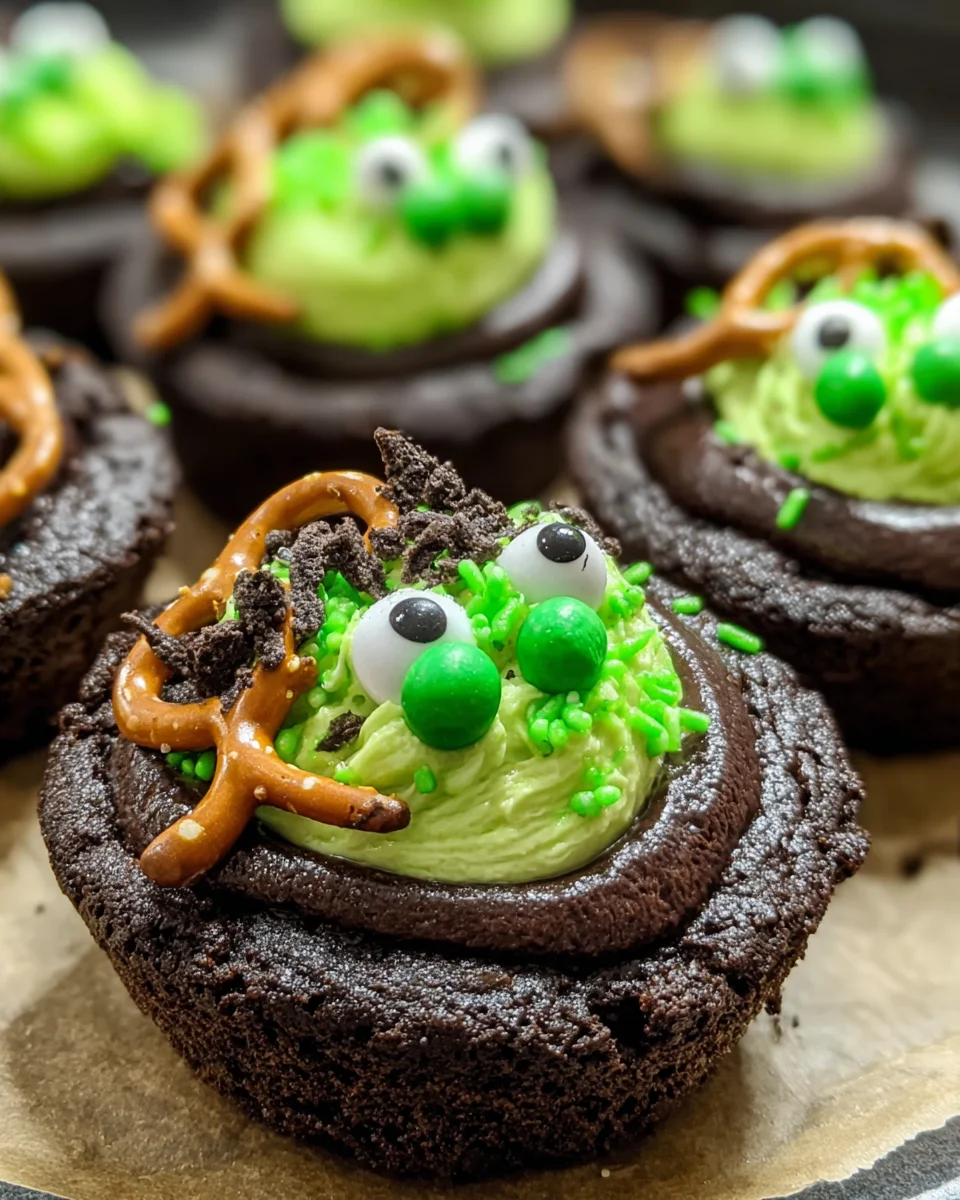
Once your brownies are cool, it’s time to frost! Start by mixing the white or vanilla frosting with the orange centers of about 10 Oreo cookies. Add a teaspoon of orange food coloring gel and blend until smooth and vibrant. Spread this orange frosting evenly over your cooled brownies. Let it set in the refrigerator for about 30 minutes to solidify. After that, slather on the milk chocolate frosting for that extra layer of decadence, and sprinkle crumbled Oreos on top for added crunch and decoration. These layered beauties are coming together!
Serving Suggestions
When it comes to cutting and serving your Oreo Layered Halloween Brownies, aim for 3×2-inch squares. They’re easier to handle and perfect for sharing! I suggest serving them chilled for a firmer texture or at room temperature for a softer, gooier bite. Either way, these brownies are bound to impress! Pair them with a glass of cold milk or a scoop of vanilla ice cream for an unforgettable treat. Happy sharing!
Tips for Success
- Ensure your eggs are at room temperature for better mixing.
- Don’t overmix the brownie batter; a few lumps are okay.
- For cleaner cuts, use a hot knife to slice the brownies.
- Experiment with different Oreo flavors for a unique twist.
- Allow brownies to cool completely to prevent frosting from melting.
Equipment Needed
- 9×9-inch baking pan: Line with parchment paper or use a non-stick spray.
- Mixing bowl: A large bowl is essential for combining ingredients easily.
- Whisk or stand mixer: Use a whisk for simple mixing, or a stand mixer for ease.
- Spatula: Helpful for spreading frosting evenly.
- Toothpick: Perfect for checking brownie doneness.
Variations
- For a gluten-free option, use a gluten-free brownie mix and ensure your Oreo cookies are gluten-free.
- Substitute half the vegetable oil with applesauce for a lighter brownie with added moisture.
- Add crushed candy corn or spooky sprinkles into the frosting for extra festive flair.
- Experiment with different Oreo flavors such as mint or pumpkin spice to switch up the taste.
- Try layering in a cream cheese frosting in addition to the chocolate for a rich twist.
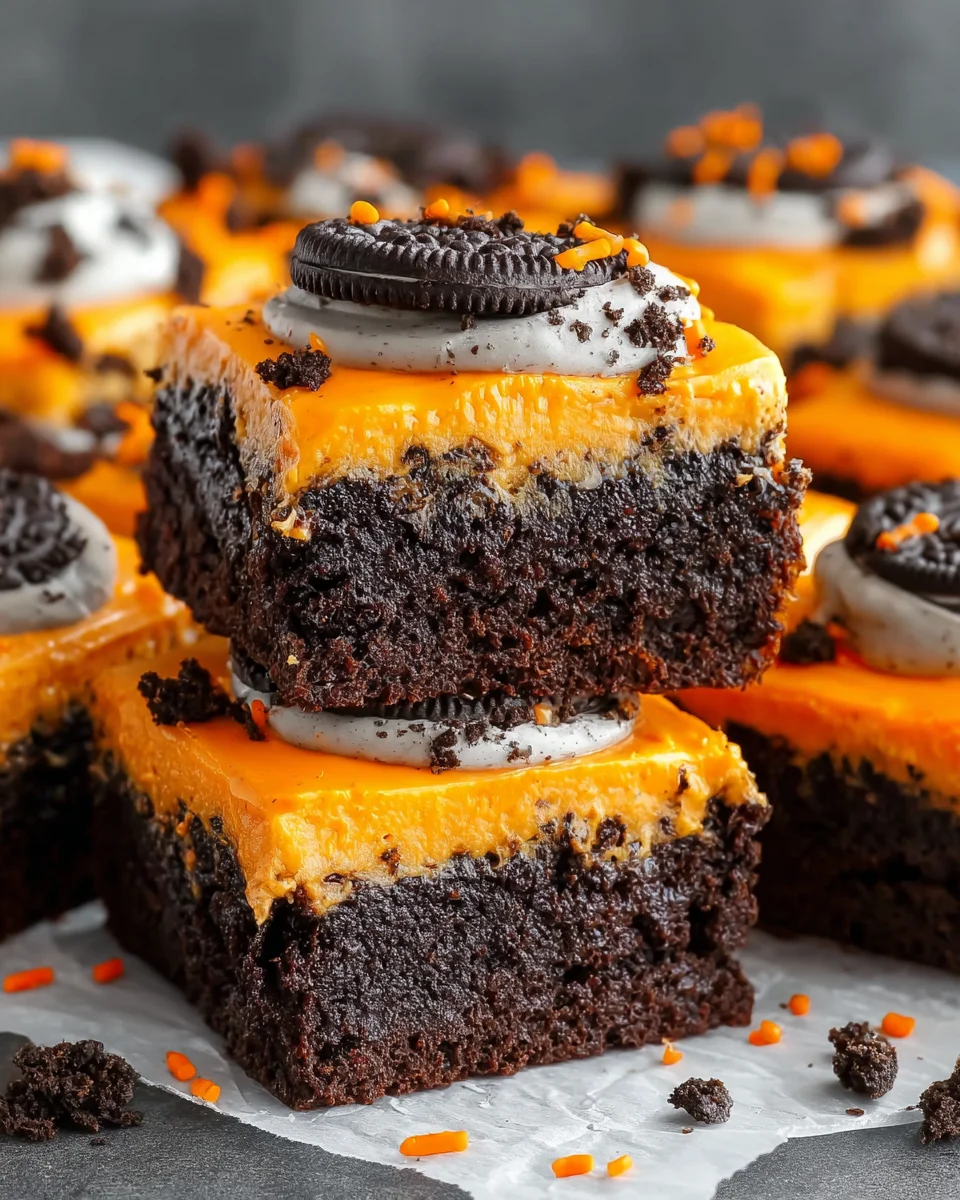
Serving Suggestions
- Pair your Oreo Layered Halloween Brownies with a glass of cold milk for the ultimate indulgence.
- Serve alongside a scoop of vanilla ice cream to create a delightful contrast of flavors.
- Garnish with festive sprinkles for an eye-catching presentation at your Halloween gatherings.
- Arrange on a colorful platter for a spooky dessert table centerpiece.
FAQs about Oreo Layered Halloween Brownies
Can I make these brownies ahead of time?
Absolutely! You can prepare the brownies a day in advance. Just make sure to store them in an airtight container to keep them fresh. Frost them right before serving for the best taste and texture.
What can I use if I can’t find orange Oreos?
No worries! If you can’t find those festive orange-filled Oreos, regular Oreos will do just fine. You can also use any Halloween-themed cookies to capture that spooky essence!
How can I make the frosting less sweet?
If you want a less sweet frosting, mix the milk chocolate frosting with some cream cheese frosting. This combo adds a tangy flavor that balances the sweetness perfectly!
What else can I add for texture?
For extra crunch, sprinkle in some chopped nuts or use crushed pretzels before pouring the brownie batter into the pan. They add a delightful layer of flavor!
Are these brownies suitable for different dietary needs?
Yes! You can easily modify the recipe for gluten-free and vegan diets. Just use a gluten-free brownie mix and replace the eggs with applesauce or flaxseed meal. Enjoying these delightful treats is possible for everyone!
Final Thoughts
These Oreo Layered Halloween Brownies are more than just a dessert; they’re a celebration of the festive spirit! The joy of creating these delightful treats in your kitchen brings warmth to any gathering, transforming ordinary moments into sweet memories. Whether you’re cooking for your family or mingling with friends, these brownies will surely be a hit. Let the vibrant colors and delicious layers inspire laughter and delight, reminding you that baking can be a fun, shared experience. So roll up your sleeves, get your ingredients out, and let the magic of these brownies unfold!
Print
Oreo Layered Halloween Brownies
- Total Time: 50 minutes
- Yield: 12 servings 1x
- Diet: Vegetarian
Description
These Oreo Layered Halloween Brownies are a decadent treat combining rich chocolate brownies, creamy frostings, and festive Oreo cookies.
Ingredients
- 1 package brownie mix
- 2 large eggs
- 1/3 cup vegetable oil
- 1/3 cup whole milk
- 1 package Oreo cookies with orange filling
- 1 can milk chocolate frosting
- 1 can white or vanilla frosting
- 1 teaspoon orange food coloring gel
Instructions
- Preheat oven to 350°F and line a 9×9-inch baking pan with parchment paper.
- In a large bowl, combine brownie mix, eggs, vegetable oil, and milk. Mix thoroughly until smooth using a whisk or stand mixer.
- Pour batter into prepared pan and spread evenly. Press Oreo cookies with orange filling gently into the surface to cover.
- Bake for 25-30 minutes, or until a toothpick inserted in the center comes out clean. Remove from oven and let cool completely before frosting.
- Mix white or vanilla frosting with the orange centers of about 10 Oreo cookies and orange food coloring gel until vibrant and smooth.
- Spread orange frosting evenly over cooled brownies. Refrigerate for 30 minutes to allow frosting to set.
- Spread milk chocolate frosting over set orange frosting. Top with crumbled remaining Oreos for garnish.
- Cut into 3×2-inch squares and serve chilled or at room temperature for softer texture.
Notes
- For a more intense orange color, add additional food coloring as needed.
- Store any leftovers in an airtight container.
- Prep Time: 20 minutes
- Cook Time: 30 minutes
- Category: Dessert
- Method: Baking
- Cuisine: American
Nutrition
- Serving Size: 1 brownie
- Calories: 250
- Sugar: 20g
- Sodium: 180mg
- Fat: 12g
- Saturated Fat: 5g
- Unsaturated Fat: 7g
- Trans Fat: 0g
- Carbohydrates: 35g
- Fiber: 2g
- Protein: 3g
- Cholesterol: 30mg

