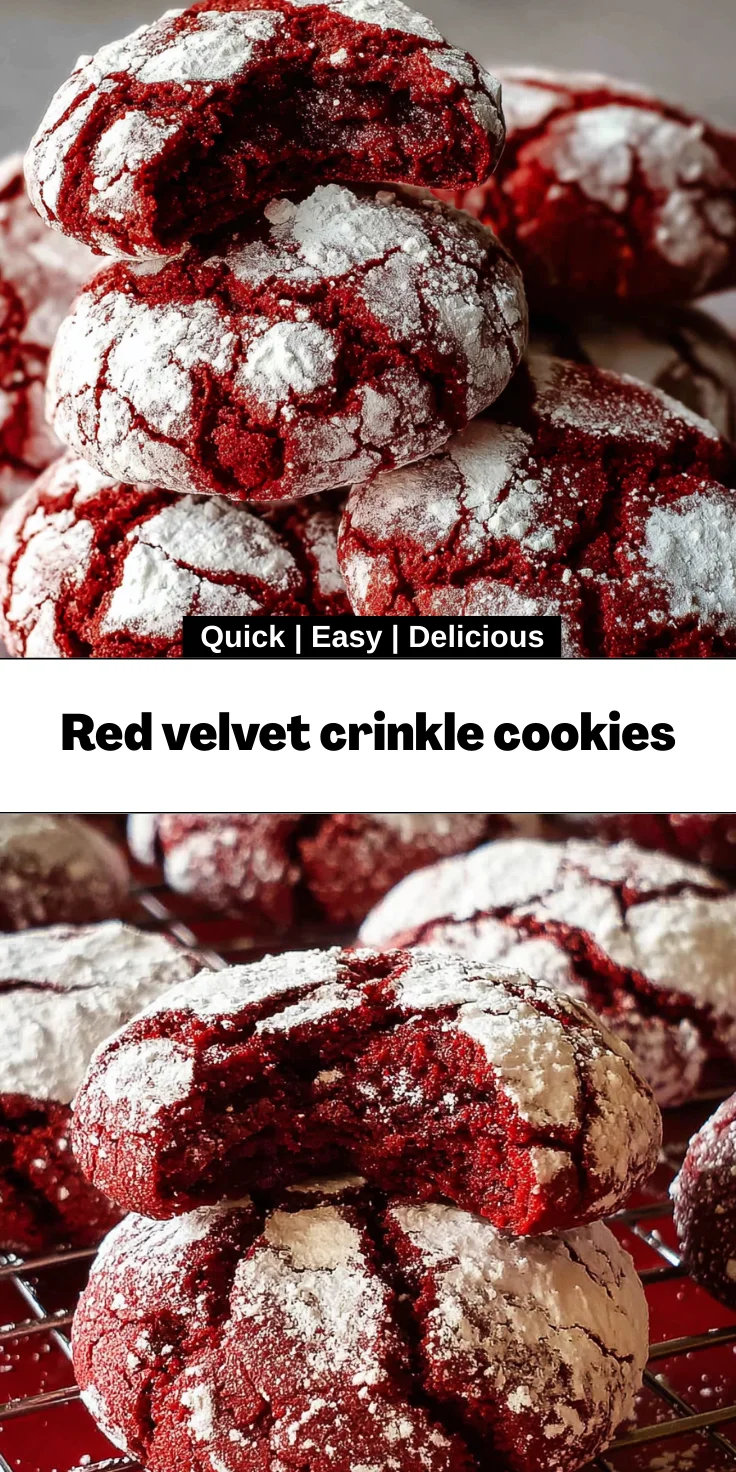
Introduction to Red Velvet Crinkle Cookies
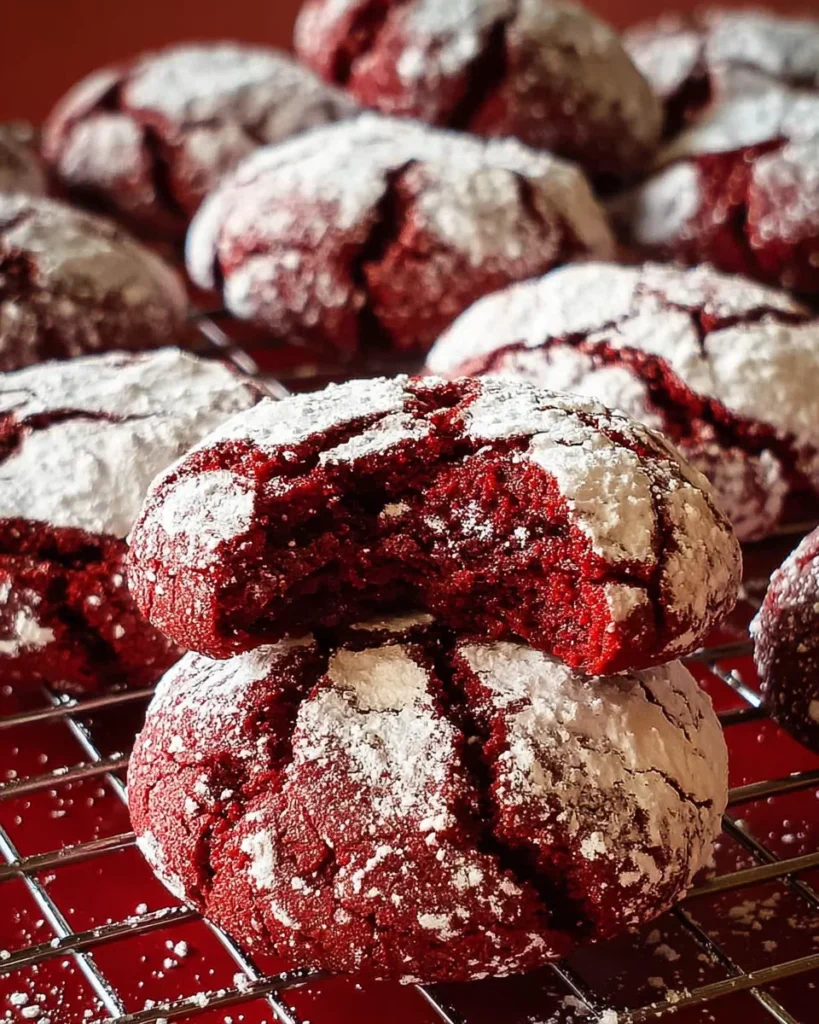
When life gets busy, we all need a little something special to brighten our day. That’s where red velvet crinkle cookies come in! These delightful treats not only satisfy your sweet tooth, but they also add a pop of color and flair to any occasion. Picture this: a quick evening with friends or a last-minute gathering, and you’re set to wow everyone in no time. Trust me, these cookies are soft, chewy, and irresistibly fun. Plus, they make you look like a baking superstar without needing hours in the kitchen!
Why You’ll Love This Red Velvet Crinkle Cookies
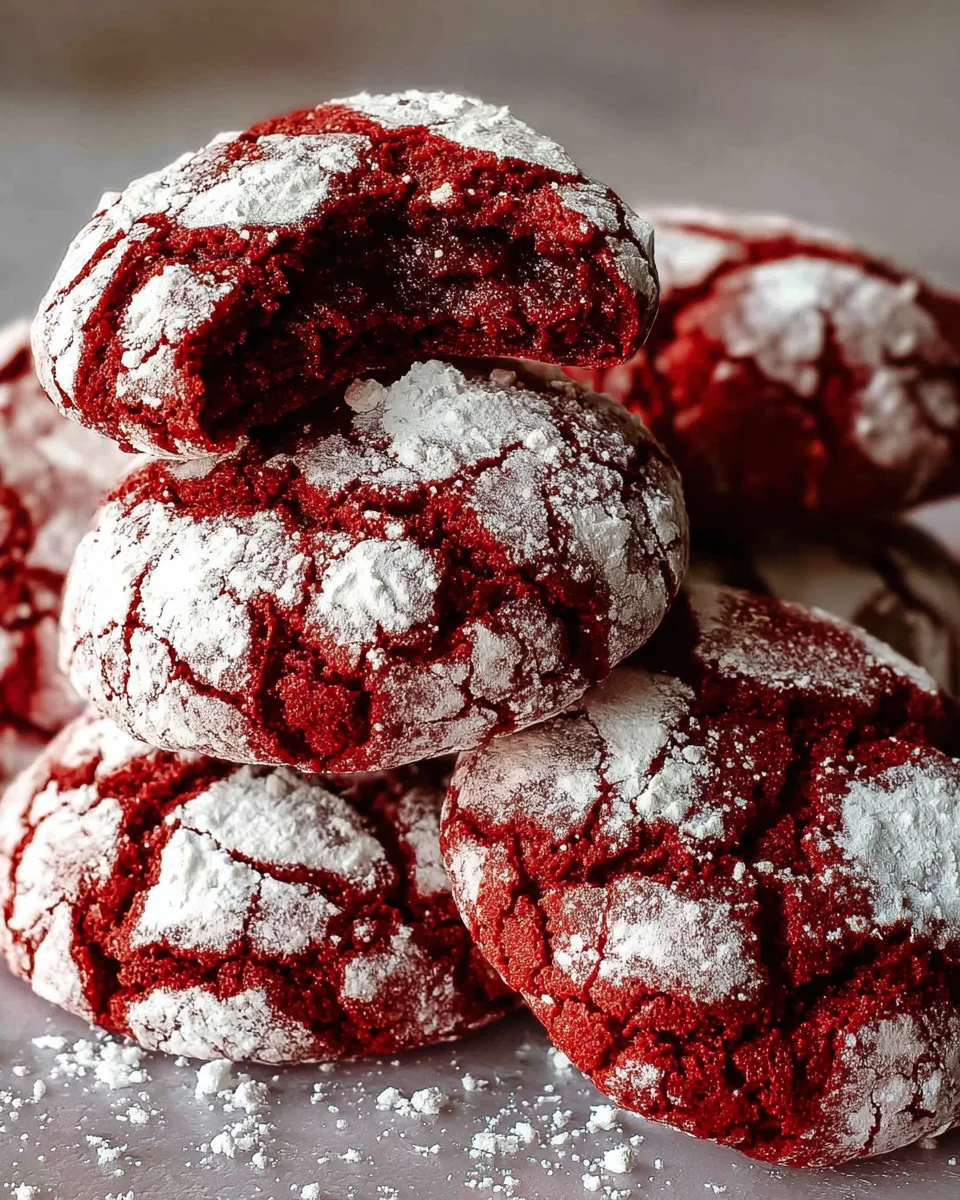
These red velvet crinkle cookies are a busy mom’s dream! They come together quickly, meaning you won’t have to spend your entire afternoon in the kitchen. The rich, chocolatey flavor combined with their vibrant red hue makes them a stunning addition to any dessert table. Plus, their soft, chewy texture is sure to delight kids and adults alike. Trust me, these cookies are not just tasty; they’re a total showstopper!
Ingredients for Red Velvet Crinkle Cookies
Gathering the right ingredients is key to creating these scrumptious red velvet crinkle cookies. Here’s what you’ll need:
- All-purpose flour: This is the backbone of your cookies, providing structure.
- Unsweetened cocoa powder: Adds that rich chocolate flavor without the sweetness.
- Baking powder: Helps the cookies rise and gives them a fluffy texture.
- Salt: Just a pinch enhances all the sweet flavors.
- Unsalted butter: Gives your cookies a rich, creamy taste; just remember to melt it for better mixing.
- Granulated sugar: Sweetens your cookies to perfection.
- Light brown sugar: Adds moisture and a subtle caramel flavor.
- Eggs: They bind everything together, adding richness.
- Vanilla extract: A classic flavor booster that brings warmth.
- Red gel food coloring: This is what gives the cookies that iconic red hue! Gel is best for vibrant color without extra liquid.
- Granulated sugar (for coating): Adds texture and sweetness to the outside of each cookie.
- Powdered sugar (for coating): For that classic crinkle finish that looks fabulous!
If you’re feeling adventurous, you can swap the granulated sugar with coconut sugar for a hint of caramel flavor. The quantities for each of these ingredients are available at the bottom of this article for easy printing. Happy baking!
How to Make Red Velvet Crinkle Cookies
Making red velvet crinkle cookies is a delightful journey, and I’m excited to share the steps with you! Each part is crucial to ensure your cookies are soft, chewy, and eye-catching. Let’s dive in!
Step 1: Prepare the Dry Ingredients
In a medium bowl, whisk together the all-purpose flour, cocoa powder, baking powder, and salt. This step is vital for your cookies’ texture. Mixing them ensures that the leavening agent is well dispersed, so your cookies rise evenly. You want a smooth, lump-free blend to guarantee perfect cookies!
Step 2: Mix the Wet Ingredients
Now, let’s move to the wet ingredients! Melt your butter in the microwave for about 45 seconds. Make sure to stir well, allowing any small unmelted pieces to dissolve. Cooling the butter slightly is essential. It should be warm but not hot. Then, whisk the melted butter with granulated sugar and light brown sugar until creamy. Next, add the eggs, vanilla extract, and red gel food coloring. This combination adds richness and vibrant color to our cookie dough!
Step 3: Combine the Mixtures
With a flexible spatula or a spoon, gently mix the dry ingredients into the wet ones. Be careful not to over-mix! You want just enough blending to combine everything smoothly without developing the gluten too much. This ensures your cookies stay tender and chewy!
Step 4: Chill the Dough
Once your dough is combined, cover it with plastic wrap and pop it in the fridge for at least 60 minutes, or even overnight if time allows. Chilling the dough helps deepen the flavors and improves the texture of the cookies. Plus, it makes it easier to scoop out later.
Step 5: Bake the Cookies
When you’re ready to bake, preheat your oven to 350°F (177°C) and line two baking sheets with parchment paper. Scoop out tablespoon-sized balls of dough. Roll them first in granulated sugar, then in powdered sugar for that signature crinkle effect! Space them about 2 inches apart on the baking sheets. Bake for 11-14 minutes, keeping an eye on them. You want the edges set and the tops dry, but don’t let them overbake! They’ll continue to cook slightly as they cool.
Tips for Success
- Chill the dough for at least an hour; it makes for better texture.
- Don’t skip the sugar coating! It creates that fabulous crinkle crust.
- Keep an eye on your baking time; underbaked cookies are soft and chewy.
- Try using gel food coloring for vibrant results without altering the dough.
- Don’t be afraid to get creative with flavor extracts for a unique twist!
Equipment Needed for Red Velvet Crinkle Cookies
- Mixing bowls: Use glass or stainless steel; plastic works too!
- Whisk: A standard or balloon whisk will do the trick.
- Spatula: A flexible rubber or silicone spatula makes mixing easy.
- Baking sheets: Parchment-lined or non-stick baking sheets are ideal.
- Cookie scoop: A tablespoon-sized scoop simplifies portioning!
Variations of Red Velvet Crinkle Cookies
- Chocolate Chips: Add a handful of semi-sweet or white chocolate chips to the dough for an extra layer of sweetness.
- Nutty Flavor: Mix in chopped walnuts or pecans for a delightful crunch and nutty taste.
- Gluten-Free Option: Substitute the all-purpose flour with a gluten-free baking blend to accommodate dietary needs.
- Vegan Twist: Replace the eggs with flaxseed meal mixed with water and use vegan butter for a plant-based treat.
- Minty Fresh: A few drops of peppermint extract can transform your cookies into a refreshing delight!
Serving Suggestions for Red Velvet Crinkle Cookies
- Pair with Milk: A classic pairing! Dunk these cookies in a cold glass of milk for pure bliss.
- Serve with Ice Cream: Warm cookies atop a scoop of vanilla or mint ice cream create a decadent dessert.
- Elegant Presentation: Stack them on a cake stand or tiered platter for a gorgeous visual display.
- Festive Garnish: Sprinkle some edible glitter or colored sprinkles on top for special occasions!
FAQs about Red Velvet Crinkle Cookies
Can I freeze red velvet crinkle cookies? Absolutely! Once baked, let the cookies cool completely. Then, place them in a single layer on a baking sheet and freeze until solid. Transfer them to an airtight container or freezer bag for up to three months. Just thaw at room temperature when you’re ready to enjoy!
What can I substitute for eggs in this recipe? If you’re looking for an egg substitute, try using flaxseed meal mixed with water. Simply combine 1 tablespoon of flaxseed meal with 2.5 tablespoons of water to replace one egg. It works wonders and keeps your cookies vegan!
How can I make the cookies more chocolatey? If you’re a chocolate lover, you can increase the unsweetened cocoa powder by an extra tablespoon. Just remember to adjust the flour a bit to keep the consistency right. These adjustments will leave you with an even richer flavor!
What’s the secret to achieving that perfect crinkle effect? The secret lies in rolling the cookie dough in both granulated and powdered sugar before baking. The sugar coating dissolves while baking, creating those beautiful cracks on the surface—just like a winter wonderland!
Can I use regular food coloring instead of gel? While you can use regular food coloring, gel food coloring is recommended for vibrant, deeper colors without adding too much liquid to the dough. If using liquid coloring, start with a smaller amount and build up to your desired color!
Final Thoughts
Baking red velvet crinkle cookies is not just about creating a tasty treat; it’s about sharing joy and creating lasting memories. Each bite transports you to a cozy space filled with laughter and love. Whether you’re whipping up a batch for family or impressing guests, these cookies are a delightful addition to any occasion. They radiate happiness with their vibrant color and melt-in-your-mouth texture. So, gather your ingredients, embrace the process, and watch as these cookies turn an ordinary day into something extraordinary. Happy baking, and may your kitchen always be filled with sweet aromas!
Print
Red velvet crinkle cookies
- Total Time: 1 hour 29 minutes
- Yield: 24 cookies 1x
- Diet: Vegetarian
Description
Delicious red velvet crinkle cookies that are soft, chewy, and perfect for impressing guests.
Ingredients
- 2 cups (240 g) all purpose flour
- ¼ cup (20 g) unsweetened cocoa powder
- 1½ teaspoons baking powder
- ¼ teaspoon salt
- 6 tablespoons (85 g) unsalted butter, melted and slightly cooled
- ¾ cup (150 g) granulated sugar
- ¼ cup (50 g) light brown sugar
- 2 large eggs, room temperature
- 1 teaspoon vanilla extract
- 2 teaspoons (10 ml) red gel food coloring
- ½ cup (100 g) granulated sugar (for coating)
- ½ cup (60 g) powdered sugar (for coating)
Instructions
- In a medium bowl, whisk the flour, cocoa powder, baking powder, and salt together until well combined. Set aside.
- Melt the butter in the microwave for 45 seconds. Stir well to mix the melted butter with the smaller unmelted pieces. Cool the butter until warm and no longer hot. Whisk the melted and slightly cooled butter with the granulated and light brown sugar until smooth and well combined. Whisk in the eggs, vanilla extract, and red gel food coloring until creamy and well combined. Scrape the sides and bottom of the mixing bowl as needed.
- With a flexible spatula or spoon, mix in the dry ingredients until just combined. Cover the dough with plastic wrap. Chill the dough in the fridge for 60 minutes or up to overnight.
- Preheat the oven to 350°F (177°C) for 30 minutes. Line two large baking sheets with parchment paper. Pour granulated sugar in one bowl and powdered sugar in another small shallow bowl.
- Using a small, tablespoon-sized cookie scoop, scoop tablespoon (15 g) sized balls of red velvet cookie dough. Roll the cookie dough ball into the granulated sugar first and powdered sugar second until well coated in both sugars.
- Place the cookie balls on the parchment-lined baking sheet about 2 inches apart.
- Bake the cookies for 11 – 14 minutes until the edges are set and the cookies no longer look wet on top.
- Remove the cookie sheet to cool on a cooling rack for 5 minutes, then remove the cookies from the warm cookie sheet to fully cool on the cooling rack.
Notes
- For best results, chill the dough overnight.
- Store leftovers in an airtight container.
- For a stronger red color, use more gel food coloring.
- Prep Time: 15 minutes
- Cook Time: 14 minutes
- Category: Dessert
- Method: Baking
- Cuisine: American
Nutrition
- Serving Size: 1 cookie
- Calories: 130
- Sugar: 10g
- Sodium: 50mg
- Fat: 5g
- Saturated Fat: 3g
- Unsaturated Fat: 2g
- Trans Fat: 0g
- Carbohydrates: 18g
- Fiber: 0g
- Protein: 2g
- Cholesterol: 25mg