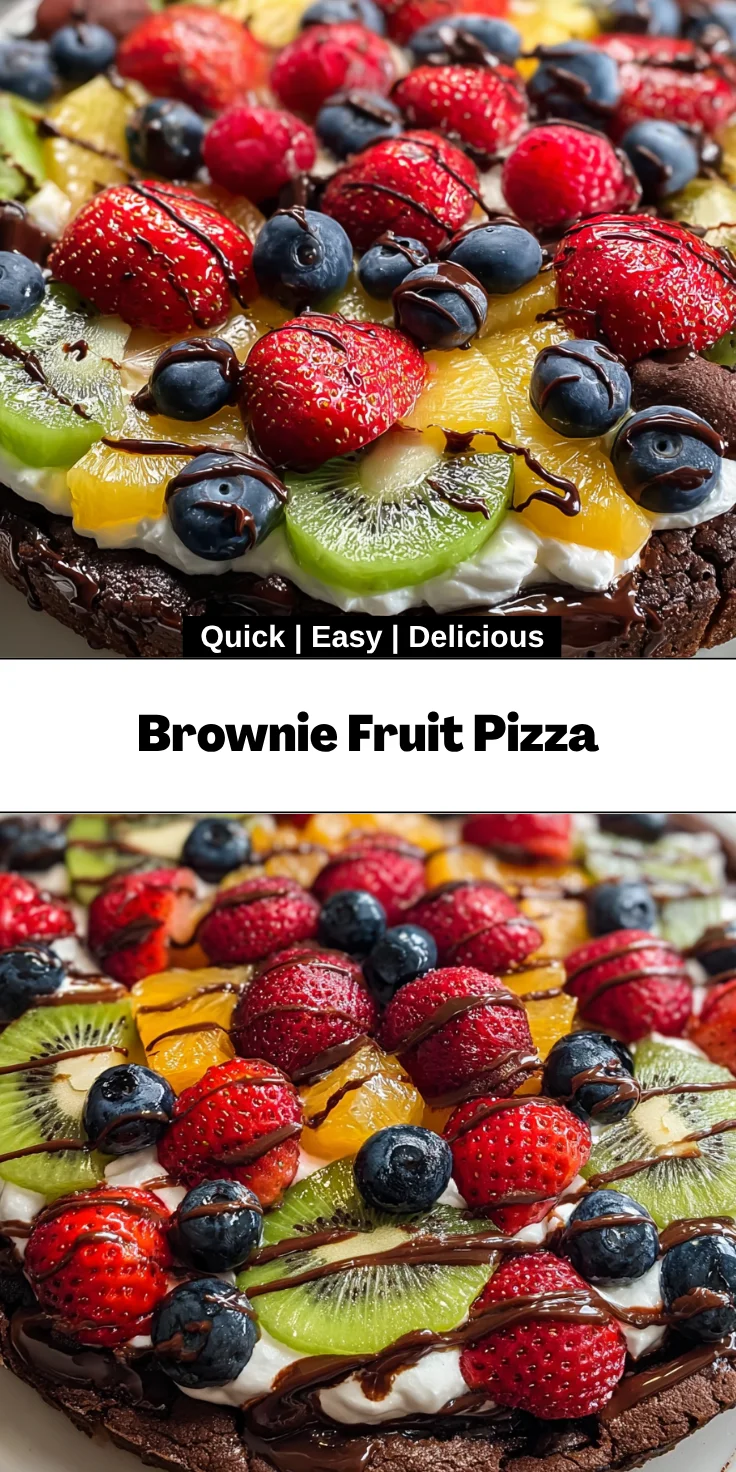
Introduction to Brownie Fruit Pizza
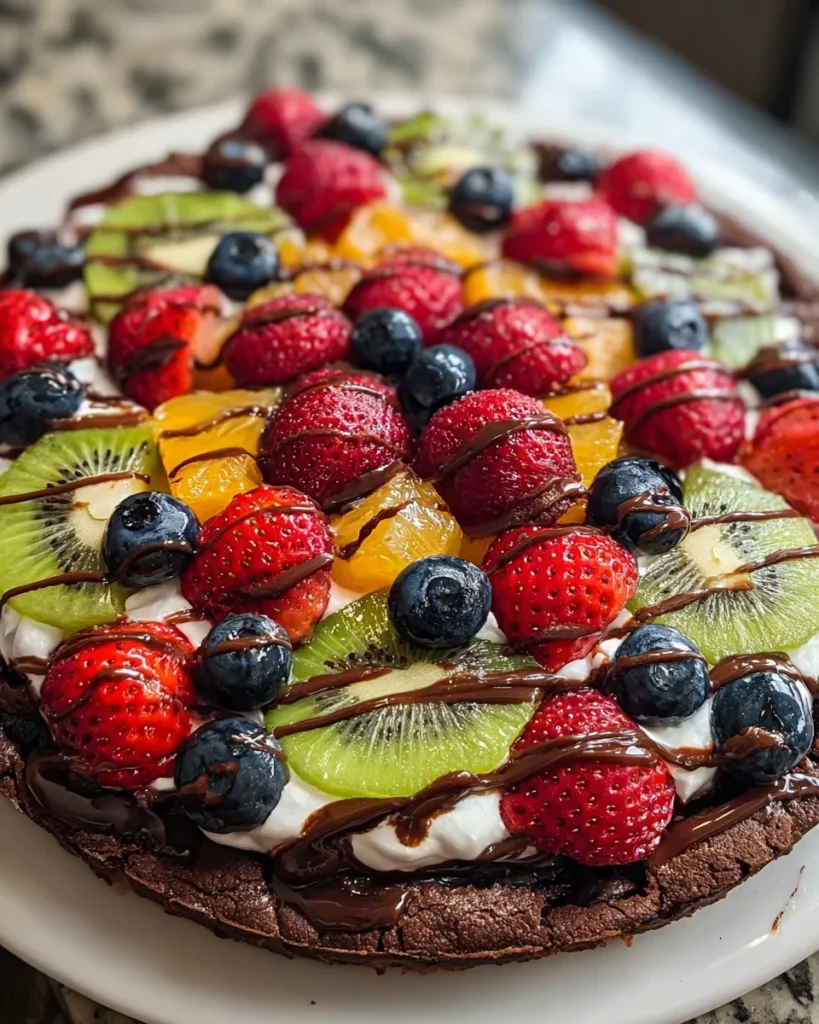
Welcome to a sweet treat that’s sure to delight: Brownie Fruit Pizza! As a busy mom, I know how challenging it can be to whip up desserts that impress without taking up too much time. This recipe combines the richness of brownies with the freshness of fruits, creating a stunning dish that looks as good as it tastes. Imagine it as the perfect solution for a spontaneous gathering, or just a fun way to bring smiles to your family’s faces after dinner. Trust me, this dessert will quickly become a favorite!
Why You’ll Love This Brownie Fruit Pizza
If you’re looking for a dessert that’s both easy and delicious, look no further! Brownie Fruit Pizza comes together in no time, making it a lifesaver for busy days. It’s foolproof, so even if baking isn’t your strong suit, you’ll shine like a star. The combination of fudgy brownie and vibrant fruits makes every bite a burst of happiness. Plus, it’s a fun way to bond with kids in the kitchen!
Ingredients for Brownie Fruit Pizza
Let’s gather the delightful ingredients for our Brownie Fruit Pizza! This list includes everything you need to bring this sweet masterpiece to life. You can find the exact measurements at the bottom of the article, perfect for printing!
- Brownie mix: The heart of our dessert! It adds that rich, chocolatey goodness that everyone loves.
- Large eggs: Essential for binding the brownie mix and giving it that chewy texture we’re all after.
- Unsalted butter: Melted butter brings richness to the brownie base, enhancing the flavors without any salty surprises.
- Fresh strawberries: Sweet and juicy, they add color and a fresh taste to balance the chocolatey brownie.
- Fresh blueberries: These little gems provide a burst of sweetness and a delightful pop of color.
- Kiwi: This tangy fruit adds a unique flavor and eye-catching green slices, making your pizza stand out.
- Whipped cream: Whether store-bought or homemade, it creates a luscious layer that ties it all together.
- Chocolate sauce: Drizzled on top, it not only looks gorgeous but elevates the dessert with a touch of extra chocolatey goodness.
Feeling adventurous? Feel free to swap in your favorite fruits like bananas or peaches. The possibilities are endless. Get creative and tailor it to your family’s tastes!
How to Make Brownie Fruit Pizza
Preheat and Prepare the Pan
First things first, let’s get our oven warmed up! Preheat it to 350°F (175°C). This step is crucial for ensuring that our Brownie Fruit Pizza bakes evenly and rises perfectly. While the oven is heating, grease a pizza pan or baking dish with a bit of butter or cooking spray. This will help our brownie pop right out of the pan later, making cleanup a breeze. Remember, safety is key—don’t forget to keep an eye on your hot oven!
Make the Brownie Batter
Now it’s time to create that luscious brownie batter! In a large mixing bowl, combine your brownie mix with two large eggs and a half-cup of melted unsalted butter. I like to use a whisk for this—it mixes everything together beautifully. When you’re blending, make sure to incorporate all the dry mix thoroughly. No one wants a clump of brownie mix! The batter should be smooth and glossy, a promise of the deliciousness that’s about to unfold. Just looking at it makes my heart happy!
Bake the Brownie Base
Pour the brownie batter into your prepared pan, spreading it out evenly with a spatula. This helps to ensure that it bakes uniformly. Pop it into the preheated oven and let it bake for about 20 to 25 minutes. To check if it’s ready, insert a toothpick into the center. If it comes out clean or with just a few moist crumbs, you’re good to go! If not, give it a little more time, but keep a watchful eye. Your home will smell incredible during these moments!
Cool the Brownie
Once your brownie is baked to perfection, let it cool completely before moving on to the next step! Cooling is crucial to avoid a melty disaster with the whipped cream. A wire rack works wonders here, allowing air to circulate all around. In just a short while, you’ll have a perfectly cooled base, ready for all those delightful toppings.
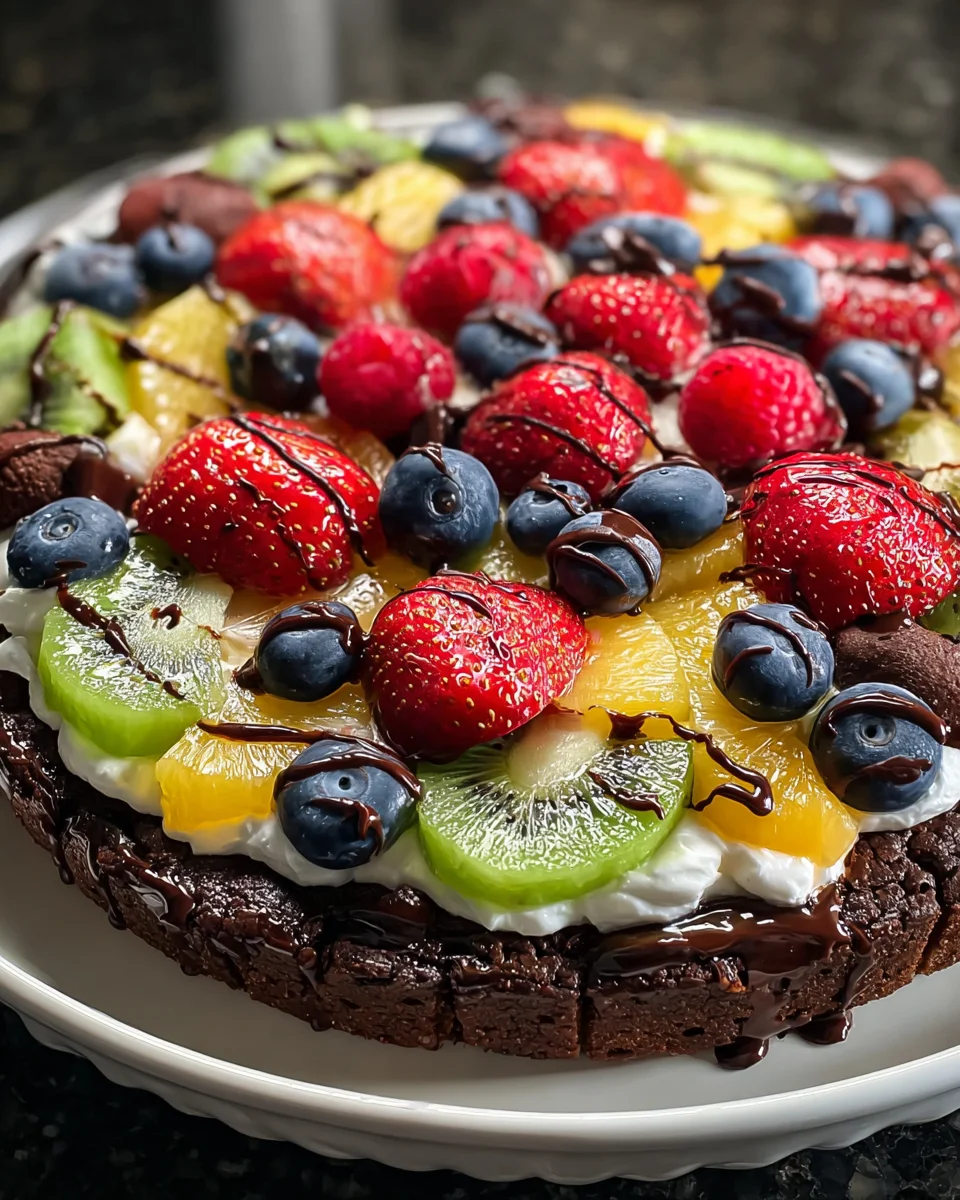
Add the Whipped Cream
Now comes one of my favorite parts: spreading the whipped cream! Grab your chilled whipped cream and gently spread it over the cooled brownie using an offset spatula or the back of a spoon. Aim for an even layer—the more creamy goodness, the better! Make sure to cover the entire surface, creating a fluffy white canvas for our fruity masterpiece. Trust me, it’s going to look stunning!
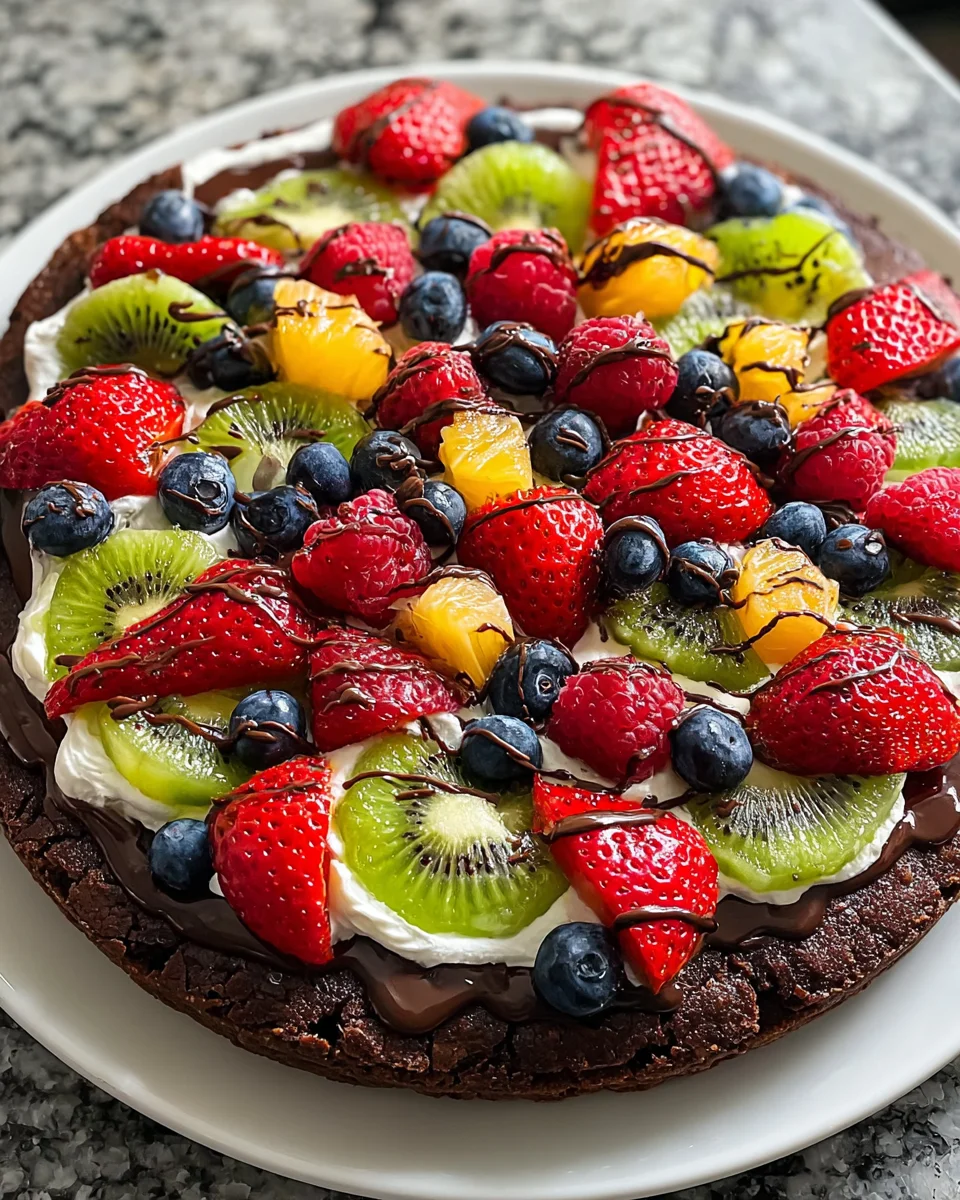
Arrange the Fresh Fruits
Alright, it’s time to get creative with our fruits! Start with the sliced strawberries, then add a sprinkle of fresh blueberries, and finally, place the kiwi slices beautifully on top. Don’t be shy—arrange them however you like! Imagine each slice as a piece of art, creating a rainbow of colors and flavors on your Brownie Fruit Pizza. You can even swap out fruits based on the season or what’s in your fridge. The fun is in the customization!
Drizzle with Chocolate Sauce
To finish, let’s drizzle on some chocolate sauce! Using a spoon or squeeze bottle, make artistic swoops across the top of your fruit-covered pizza. This final touch not only looks fabulous but pulls the whole dish together with an added layer of chocolatey flavor. Just picture it: vibrant fruits atop a rich brownie, all crowned with luscious chocolate. I guarantee it will be hard to resist digging in!
Tips for Success
- Always check the brownie with a toothpick to avoid overbaking—it should come out clean.
- Let the brownie cool completely to keep the whipped cream from melting.
- For a fun twist, try using flavored whipped cream or yogurt instead!
- Experiment with different fruits and toppings for seasonal variations.
- Make it ahead of time; just add the toppings closer to serving for freshness!
Equipment Needed
- Pizza pan or baking dish: A round pizza pan works best, but a square baking dish is a great alternative.
- Mixing bowl: Any large bowl will do; I love using glass for easy visibility.
- Whisk or spatula: A whisk for batter and a spatula for spreading whipped cream!
- Toothpick: Essential for checking brownie doneness; you can also use a knife.
- Wire rack: Helps cool the brownies quickly; however, a plate can suffice in a pinch.
Variations of Brownie Fruit Pizza
- Nutty Delight: Add chopped nuts such as walnuts or pecans to the brownie batter for a crunchy texture.
- Chocolate Chip Twist: Mix in a handful of chocolate chips into the batter before baking for extra chocolatey goodness.
- Berry Medley: Swap in raspberries or blackberries for a different fruity experience.
- Vegan Option: Use a vegan brownie mix and substitute eggs with flaxseed meal and water.
- Seasonal Flavors: Experiment with fruits like peaches in summer or apples in fall!
Serving Suggestions
- Pair your Brownie Fruit Pizza with a scoop of vanilla ice cream for an indulgent treat.
- For a refreshing drink, serve it alongside iced tea or a fruity lemonade.
- To elevate presentation, slice it into wedges and serve on colorful plates.
- Garnish with extra fruits or mint leaves for an eye-catching look!
FAQs about Brownie Fruit Pizza
Can I store leftover Brownie Fruit Pizza?
Absolutely! You can store leftover Brownie Fruit Pizza in an airtight container in the refrigerator for up to three days. Just keep in mind that the whipped cream may lose some of its fluffiness over time.
What fruits can I use for my Brownie Fruit Pizza?
Feel free to mix and match your favorite fruits! Besides strawberries, blueberries, and kiwi, bananas, peaches, and even pineapple can add delicious flavors. The beauty of this dessert is its versatility!
Can I make the brownie base ahead of time?
Yes! You can bake the brownie base a day in advance and store it wrapped in plastic wrap at room temperature. Just add the whipped cream and fruits when you’re ready to serve.
Is Brownie Fruit Pizza suitable for parties?
Definitely! Brownie Fruit Pizza is a showstopper at any gathering. Its stunning appearance and delightful taste will impress your guests, making it an ideal dessert for celebrations.
Can I use a gluten-free brownie mix?
Absolutely! Many grocery stores carry gluten-free brownie mixes, so you can easily adapt this recipe to suit your dietary needs without compromising flavor.
Final Thoughts
Creating Brownie Fruit Pizza is more than just making a dessert; it’s about bringing joy and connection to those we love. Whether it’s a quick treat for a busy weeknight or the star attraction of a festive gathering, this recipe promises smiles all around. The perfect marriage of rich chocolate and fresh fruits creates a delightful explosion of flavors. Plus, it’s a wonderful way to encourage creativity in the kitchen, especially with kids. Trust me, you’ll find yourself wanting to make this again and again—a true crowd-pleaser that warms the heart and the belly!
Print
Brownie Fruit Pizza
- Total Time: 40 minutes
- Yield: 8 servings 1x
- Diet: Vegetarian
Description
A delicious dessert that combines the rich taste of brownie with fresh fruits and whipped cream, perfect for any occasion.
Ingredients
- 1 box (18.3 oz) brownie mix
- 2 large eggs
- 1/2 cup unsalted butter, melted
- 1 cup fresh strawberries, sliced
- 1 cup fresh blueberries
- 1 medium kiwi, peeled and sliced
- 1 cup whipped cream (store-bought or homemade)
- 1/4 cup chocolate sauce (for drizzling)
Instructions
- Preheat your oven to 350°F (175°C) and grease a pizza pan or baking dish.
- In a mixing bowl, combine brownie mix, eggs, and melted butter until well blended.
- Pour the brownie batter into the prepared pan and spread evenly; bake for 20-25 minutes until a toothpick comes out clean.
- Allow the brownie to cool completely on a wire rack.
- Spread whipped cream over the cooled brownie base.
- Arrange sliced strawberries, blueberries, and kiwi on top of the whipped cream.
- Drizzle with chocolate sauce before serving.
Notes
- Make sure the brownie is completely cooled before adding whipped cream and fruits to prevent them from melting.
- Feel free to use any other fruits you prefer, such as bananas or peaches.
- Prep Time: 15 minutes
- Cook Time: 25 minutes
- Category: Dessert
- Method: Baking
- Cuisine: American
Nutrition
- Serving Size: 1 slice
- Calories: 280
- Sugar: 20g
- Sodium: 150mg
- Fat: 12g
- Saturated Fat: 7g
- Unsaturated Fat: 5g
- Trans Fat: 0g
- Carbohydrates: 38g
- Fiber: 3g
- Protein: 4g
- Cholesterol: 40mg