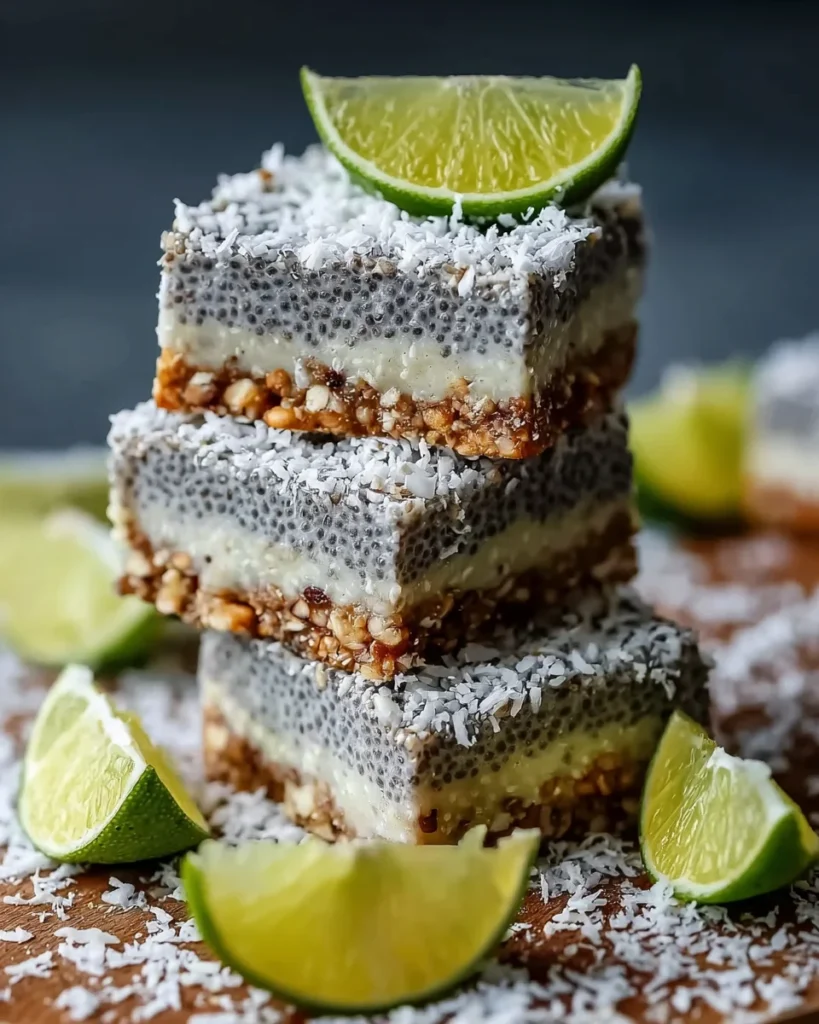
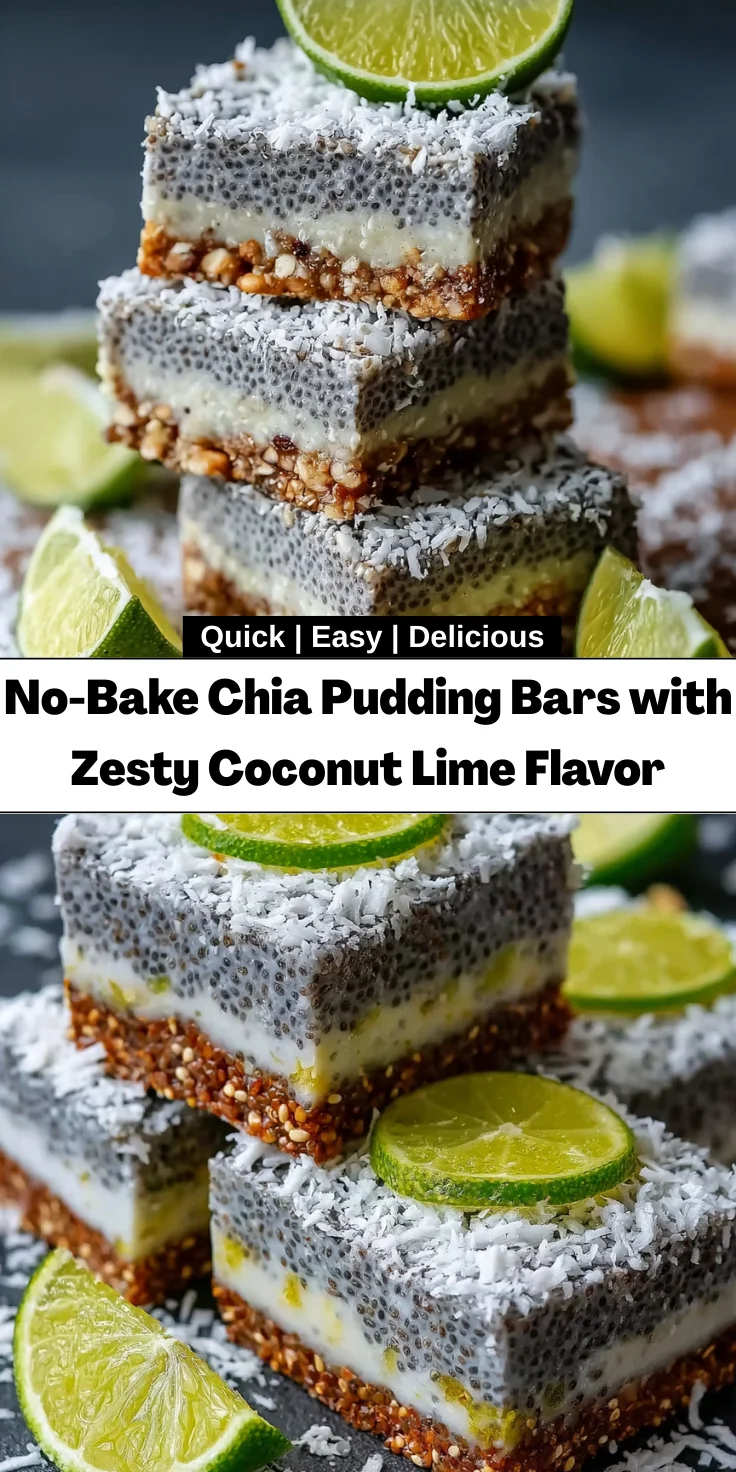
Introduction to No-Bake Chia Pudding Bars with Zesty Coconut Lime Flavor
As a busy mom myself, I often find myself juggling tasks and racing against time. That’s why No-Bake Chia Pudding Bars with Zesty Coconut Lime Flavor have become my go-to treat! They’re not just refreshing; they’re an effortless way to indulge while keeping things healthy. Imagine a creamy, coconutty delight tantalizing your taste buds, all without turning on the oven. Whether you’re prepping a quick snack for the kids or planning a gathering, these bars are sure to impress. Plus, they bring a burst of zesty lime to brighten up any day!
Why You’ll Love This No-Bake Chia Pudding Bars with Zesty Coconut Lime Flavor
These No-Bake Chia Pudding Bars with Zesty Coconut Lime Flavor are a delightfully hassle-free dessert! They come together in just a few minutes, leaving you more time to relax or tackle that endless to-do list. Plus, the creamy texture and refreshing lime kick will make your taste buds dance with joy. It’s a healthy treat the whole family will love, and even picky eaters won’t resist!
Ingredients for No-Bake Chia Pudding Bars with Zesty Coconut Lime Flavor
Let’s get a little creative with our ingredients! The beauty of these No-Bake Chia Pudding Bars with Zesty Coconut Lime Flavor lies in their simplicity and flexibility.
- Coconut Milk: This luscious ingredient gives the bars their creamy base. I prefer the full-fat version for that rich texture, but you can choose light coconut milk if you want something a tad lighter.
- Chia Seeds: The secret to the pudding’s texture! They expand and soak up all that coconut milk, creating a delightful, gel-like consistency. Incorporating fiber and omega-3s, they also contribute to a healthier dessert option.
- Maple Syrup or Agave Nectar: Our natural sweeteners! They add that touch of sweetness without any refined sugars. If you’re feeling adventurous, you could even use honey for a different flavor.
- Lime Zest and Juice: This dynamic duo works wonders! The zest adds intense fragrance, while the juice imparts brightness. Perfect for that zingy flavor that elevates the whole bar.
- Vanilla Extract: A splash of this adds warmth and depth. It’s like a cozy hug in your bite, balancing the tartness of the lime.
- Pinch of Salt: Never underestimate salt! It elevates flavors and brings out the best in all your ingredients.
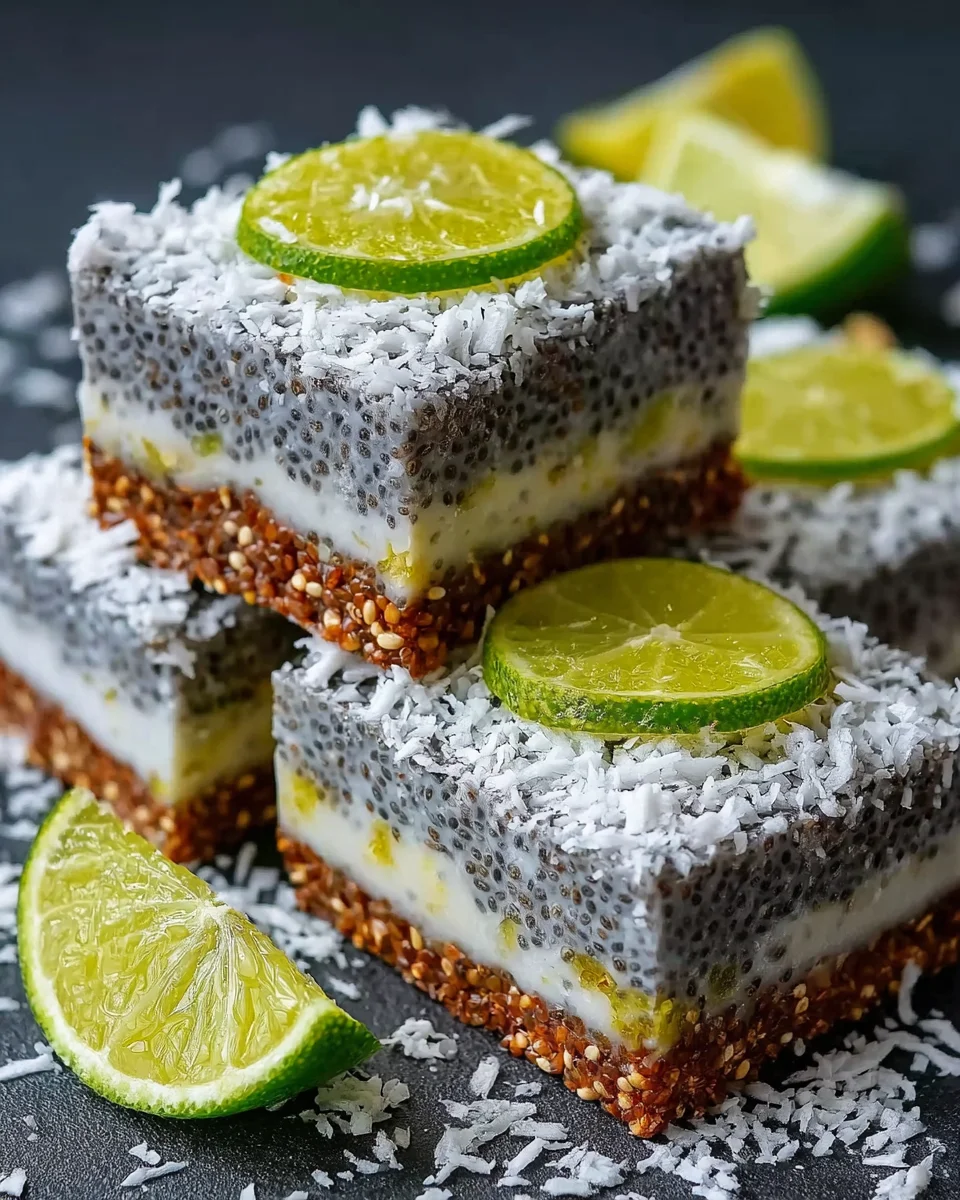
- Optional Crust: For those wanting a little extra crunch, a crust made from nuts, shredded coconut, dates, and a hint of coconut oil can be simply delightful. It’s a no-bake winner that enhances texture and flavor.
- Toppings: Think toasted coconut flakes and extra lime zest for a gorgeous finish. You can also add fresh berries or granola for an extra pop of color and crunch!
For exact measurements, check the bottom of the article, where you can find them available for printing. Happy cooking!
How to Make No-Bake Chia Pudding Bars with Zesty Coconut Lime Flavor
Making No-Bake Chia Pudding Bars with Zesty Coconut Lime Flavor is an absolute breeze! I love how effortless this recipe is, and I know you will, too. Let’s dive in!
Step 1: Prepare the Optional Crust
If you’re craving a crunchy base, the optional crust is the way to go. Just toss the almonds or cashews, shredded coconut, Medjool dates, melted coconut oil, and a pinch of salt into a food processor. Pulse until everything is finely chopped and starts sticking together. This no-bake crust not only adds texture but also a delightful nuttiness to your bars!
Once mixed, press this mixture firmly into an 8×8-inch square pan lined with parchment paper. Pop it in the refrigerator while you prepare the pudding. That way, it firms up beautifully and enhances the overall flavors.
Step 2: Mix the Pudding Ingredients
Now for the star of the show! In a medium bowl, whisk together the coconut milk, chia seeds, maple syrup or agave nectar, lime zest, lime juice, vanilla extract, and a pinch of salt. Make sure everything is well combined to avoid clumps of chia seeds later. Mixing thoroughly is key to achieving that creamy, uniform pudding consistency.
Step 3: Chill the Mixture
After mixing, let the pudding sit for about 5 minutes. This allows the chia seeds to start absorbing the liquid. Then, whisk it again to keep everything blended harmoniously. Cover the bowl and refrigerate the mixture for at least 3 hours, or even overnight if you’re planning ahead. It should thicken up nicely—don’t worry, that’s perfectly normal!
Step 4: Assemble the Bars
Next, it’s time for assembly. If you made the crust, retrieve it from the fridge. Carefully spoon the thickened pudding mixture over the crust. The bars can also be poured straight into the dish if you’re skipping the crust. Smooth the top with a spatula to create an even layer, which will make for great presentation later.
Step 5: Final Chill
Return the assembled bars to the refrigerator, letting them chill for at least another 2 hours to fully set. This final chill time is essential; it allows all the flavors to meld and the pudding to firm up. You’ll want to be patient—it’s worth the wait for that perfect texture!
Step 6: Serve and Enjoy
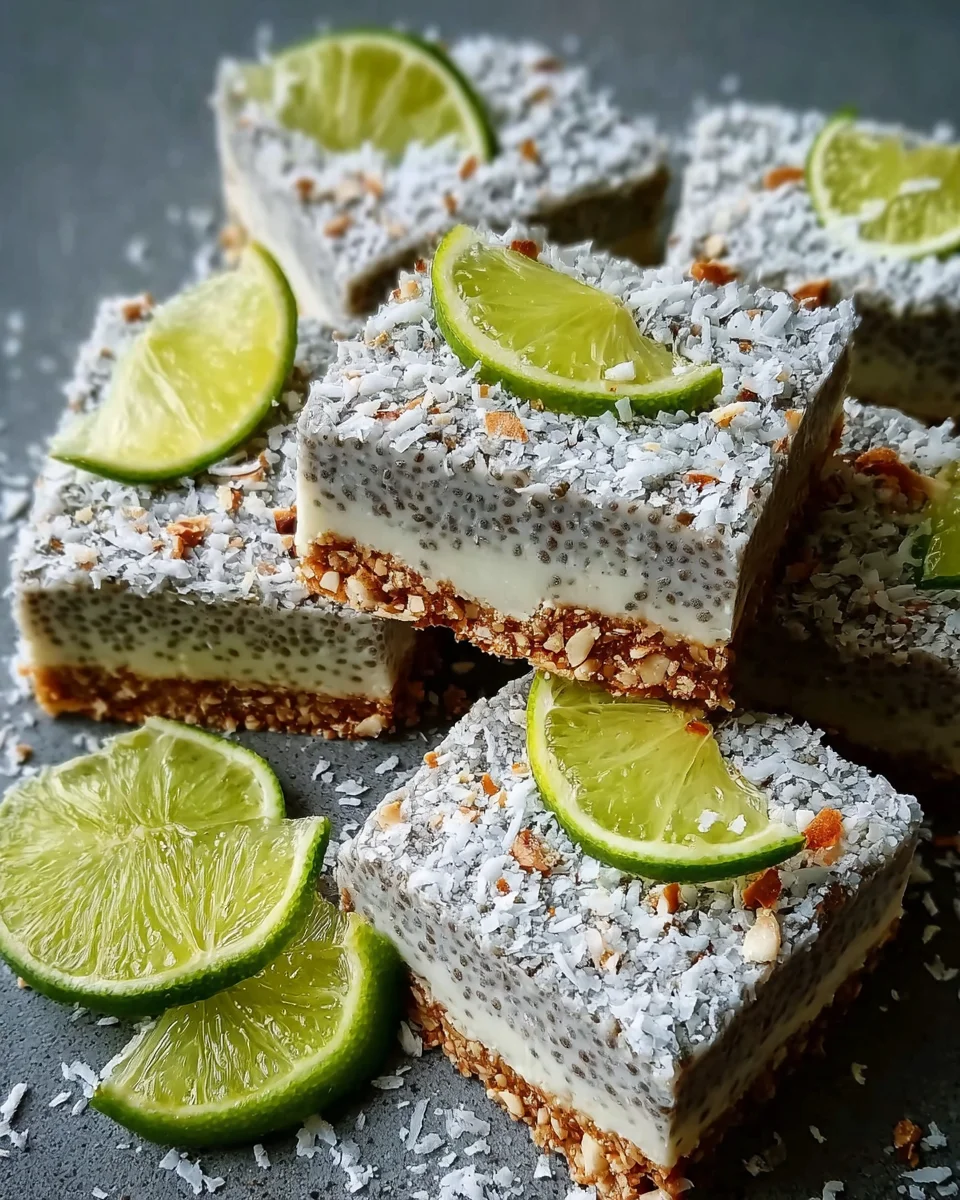
Once set, it’s showtime! Carefully slice the pudding into squares or bars. For a lovely touch, sprinkle on some toasted coconut flakes and extra lime zest before serving. You can also get creative with toppings like fresh fruit or granola. No matter how you present them, these bars are sure to be a hit!
Tips for Success
- Make sure to whisk the pudding mixture well to prevent clumping of chia seeds.
- For extra creaminess, let the pudding chill overnight.
- If using the crust, press it down firmly for stability.
- Experiment with various toppings like berries or nuts for added flavor.
- Store any leftovers in an airtight container for up to 5 days.
Equipment Needed
- Food Processor: Essential for making the optional crust; a blender works, too!
- Medium Mixing Bowl: Use this for combining all pudding ingredients; any large bowl will suffice.
- Parchment Paper: Helpful for lining your pan to avoid sticking; aluminum foil is a suitable alternative.
- Whisk: Perfect for mixing; a fork can do the trick in a pinch.
- 8×8-Inch Square Pan: Ideal for shaping your bars; use any similar-sized dish if you don’t have one.
Variations of No-Bake Chia Pudding Bars with Zesty Coconut Lime Flavor
- Berry Bliss: Swap out the lime zest and juice for fresh berries like strawberries or blueberries for a fruity twist.
- Chocolate Delight: Add cocoa powder or melted dark chocolate to the pudding mixture for a rich, indulgent flavor.
- Nut-Free Option: Replace almonds or cashews in the crust with sunflower seeds for a nut-free variant that’s equally delicious!
- Minty Fresh: Mix in a touch of mint extract along with the lime for a refreshing mint-lime combo that’s perfect for summer.
- Protein Boost: Sprinkle in some protein powder while mixing the pudding to make it an even more nutritious snack.
Serving Suggestions for No-Bake Chia Pudding Bars with Zesty Coconut Lime Flavor
- Pair these bars with a glass of refreshing coconut water for a tropical twist.
- Serve alongside a scoop of dairy-free yogurt for a creamy contrast.
- Add a handful of fresh berries for a burst of color and flavor.
- Present with a sprig of mint to elevate the visual appeal.
- Enjoy with a cup of herbal tea for a soothing after-dinner treat.
FAQs about No-Bake Chia Pudding Bars with Zesty Coconut Lime Flavor
Can I make the No-Bake Chia Pudding Bars ahead of time?
Absolutely! In fact, these bars are perfect for meal prep. You can make them two to three days in advance and store them in the refrigerator. Just keep them covered, so they stay fresh and delicious.
How do I know when the pudding has thickened enough?
After chilling, the chia seeds will have absorbed the liquid, creating a gel-like consistency. If it’s thick enough to hold its shape when you spoon it, you’re all set! The pudding should also be creamy and smooth.
Can I use different sweeteners instead of maple syrup?
Of course! Feel free to swap in agave nectar, honey, or even coconut sugar if that’s your preference. Just remember that the sweetness level may vary, so adjust to taste.
Are these bars suitable for vegan diets?
Yes, these No-Bake Chia Pudding Bars with Zesty Coconut Lime Flavor are completely vegan! All the ingredients work together to provide a delicious and satisfying treat without any animal products.
What other toppings can I use?
The sky’s the limit! You can top your bars with fresh fruit like strawberries, kiwi, or mango. For an added crunch, consider granola or some chopped nuts. Get creative and make them your own!
Final Thoughts
As I wrap up my culinary adventure with these No-Bake Chia Pudding Bars with Zesty Coconut Lime Flavor, I can’t help but smile. They not only satisfy a sweet tooth but also deliver a healthy twist the whole family can enjoy. Each bite brings a delightful balance of creamy coconut and zesty lime, making them perfect for any occasion. Plus, the quick prep time means more moments spent with loved ones rather than in the kitchen. So, why not give these bars a try? They might just become your new favorite treat!
Print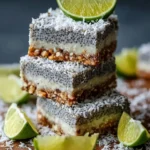
No-Bake Chia Pudding Bars with Zesty Coconut Lime Flavor
- Total Time: 5 hours 15 minutes (including chilling time)
- Yield: 16 bars 1x
- Diet: Vegan
Description
No-Bake Chia Pudding Bars with Zesty Coconut Lime Flavor are a refreshing treat that combines the creaminess of coconut with the zesty brightness of lime.
Ingredients
- 1 can (13.5 oz / 400ml) full-fat coconut milk
- 1/2 cup (80g) chia seeds
- 1/4 cup (60ml) maple syrup or agave nectar
- Zest of 1 large lime
- Juice of 1/2 large lime (about 2 tbsp / 30ml)
- 1 teaspoon (5ml) vanilla extract
- Pinch of salt
- For the optional crust:
- 1 cup (140g) almonds or cashews
- 1/2 cup (45g) shredded unsweetened coconut
- 1/4 cup (45g) Medjool dates, pitted
- 1 tablespoon (15ml) melted coconut oil
- Pinch of salt
- For the topping:
- Toasted coconut flakes
- Extra lime zest
Instructions
- If you’re using the optional crust, place the almonds or cashews, shredded coconut, Medjool dates, melted coconut oil, and a pinch of salt in a food processor. Pulse until finely chopped and the mixture begins to stick together. Press into a lined 8×8-inch square pan and refrigerate.
- In a medium bowl, combine coconut milk, chia seeds, maple syrup or agave nectar, lime zest, lime juice, vanilla extract, and a pinch of salt. Whisk until well combined. Let sit for 5 minutes, then whisk again.
- Cover and refrigerate the pudding mixture for at least 3 hours or overnight until thickened.
- Once thickened, remove the crust (if made) from the fridge and spoon the pudding mixture over it. If no crust is made, just pour the pudding into a dish.
- Return to the refrigerator to chill for at least 2 more hours until set.
- Before serving, top with toasted coconut flakes and extra lime zest.
- Slice the pudding into squares or bars and serve chilled.
Notes
- For a nut-free version, use sunflower seeds instead of almonds or cashews.
- Can be stored in the refrigerator for up to 5 days.
- Experiment with different toppings such as fresh fruit or granola.
- Prep Time: 15 minutes
- Cook Time: 0 minutes
- Category: Dessert
- Method: No-Bake
- Cuisine: Vegan, Healthy
Nutrition
- Serving Size: 1 bar
- Calories: 150
- Sugar: 5g
- Sodium: 20mg
- Fat: 10g
- Saturated Fat: 8g
- Unsaturated Fat: 2g
- Trans Fat: 0g
- Carbohydrates: 13g
- Fiber: 5g
- Protein: 3g
- Cholesterol: 0mg