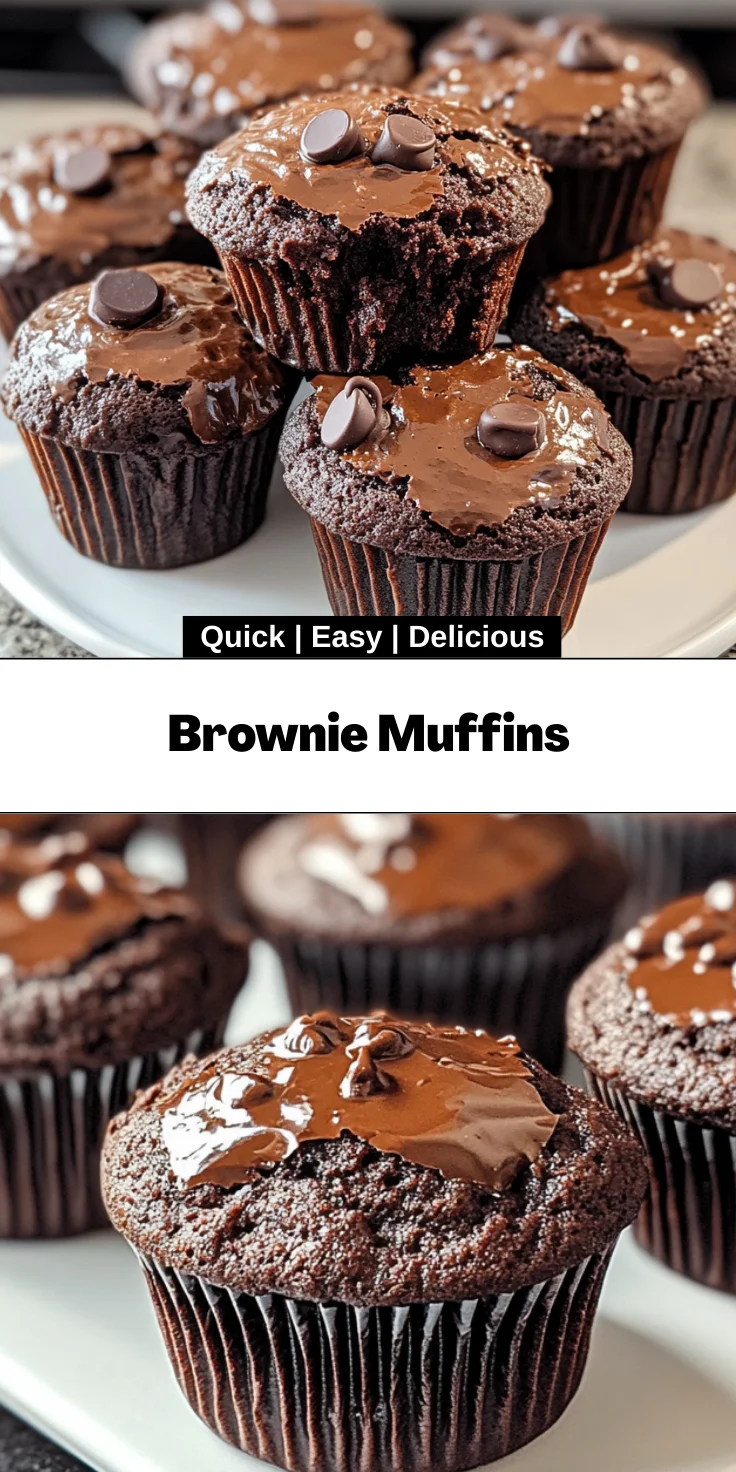
Introduction to Brownie Muffins
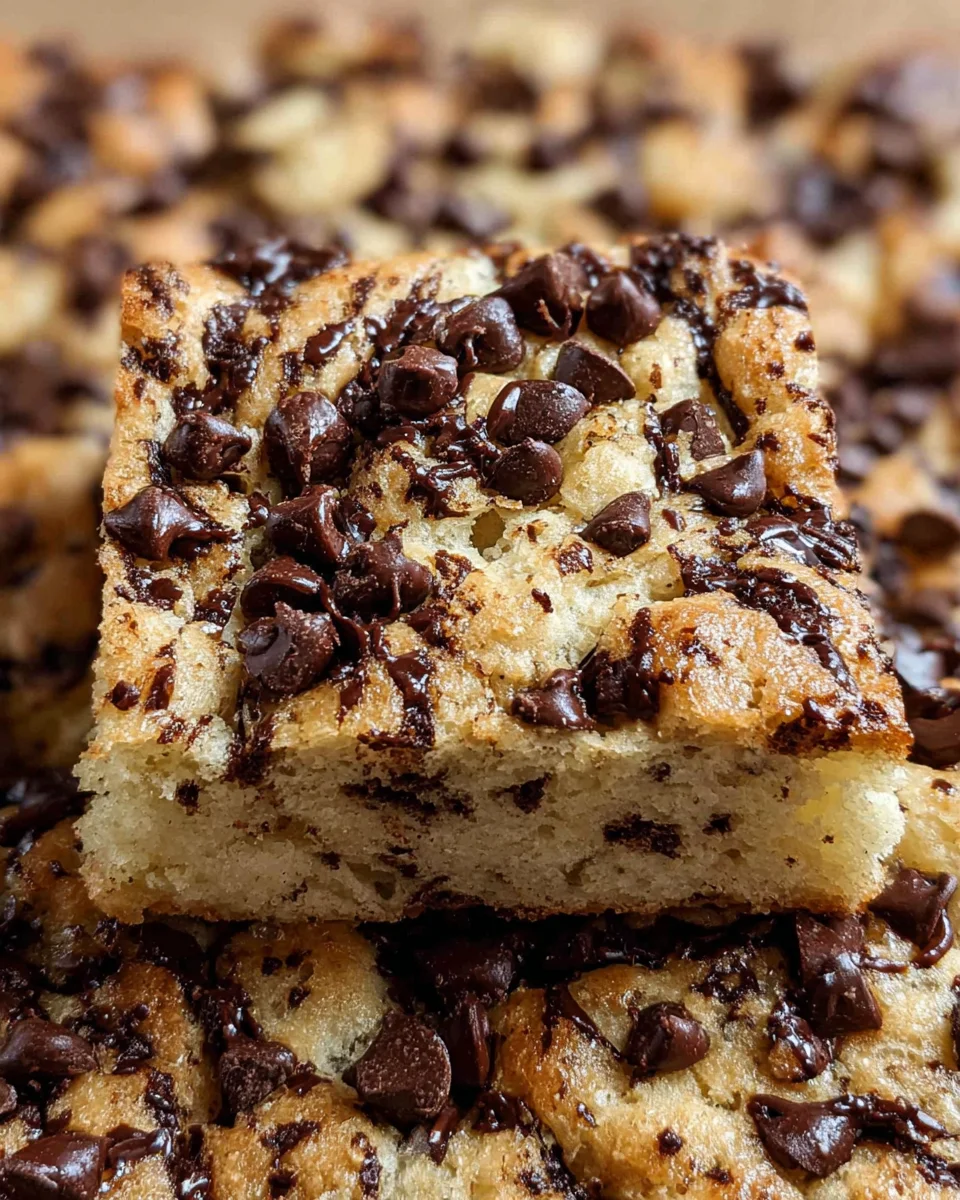
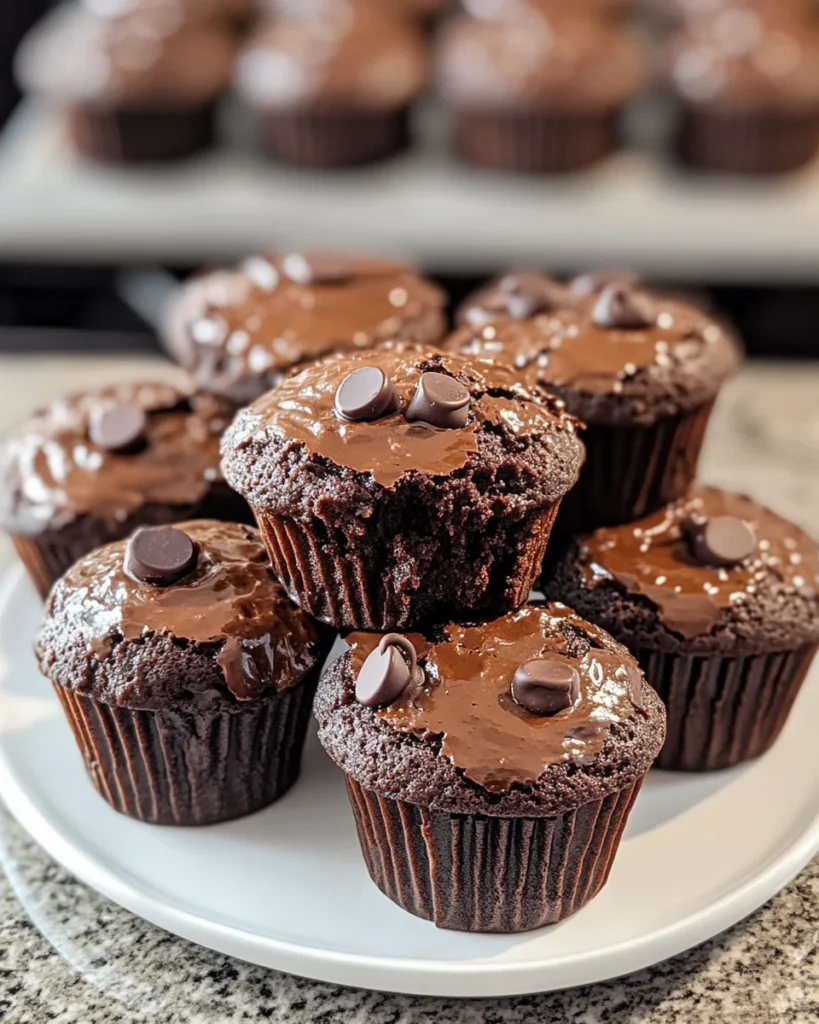
There’s nothing quite like the smell of freshly baked goodies wafting through the kitchen, is there? For busy moms and professionals like you, brownie muffins are the perfect solution when you’re short on time but still crave something indulgent. These fudgy treats combine the rich chocolate flavor we all love with the grab-and-go convenience of a muffin. They’re not only a delightful dessert but also a fantastic way to brighten up your day or surprise your loved ones. So, let’s dive into this easy and delightful recipe that can bring a little joy to your busy schedule!
Why You’ll Love This Brownie Muffins
There’s no denying the pure joy that brownie muffins bring! They’re incredibly easy to whip up, making them a go-to choice for those hectic weekday mornings. You’ll love how quickly they come together—perfect for surprising the family without spending hours in the kitchen. And let’s be honest; who can resist that fudgy, chocolatey goodness? This quick treat is sure to become a favorite in your household!
Ingredients for Brownie Muffins
Gather your pantry staples and prepare for deliciousness! Here’s what you’ll need for these irresistible brownie muffins:
- Bittersweet chocolate chips: Rich cocoa flavor is a must! Choose chips with 60-70% cacao for the best fudginess.
- Butter: The secret to moistness! I recommend unsalted butter, so you can control the saltiness.
- Eggs: These help bind everything together, creating that delightful, gooey texture.
- Granulated sugar: This adds sweetness to balance the bittersweet chocolate.
- Brown sugar: Opt for packed brown sugar to enhance the chewiness of the muffins.
- Vanilla extract: A splash of vanilla elevates the overall flavor and rounds it out beautifully.
- Salt: Just a pinch will enhance all the other flavors, making them even more delicious!
- All-purpose flour: This helps give structure while keeping it soft. If you’re gluten-free, there are great flour alternatives!
- Unsweetened cocoa powder: Not Dutch-processed! This adds extra chocolatey goodness and richness.
- Mini semisweet chocolate chips: These are the magical little bursts of chocolate that elevate every bite!
For a creative twist, consider adding chopped nuts or a sprinkle of sea salt on top for that perfect finish. Don’t worry about memorizing the amounts; you can find the exact quantities at the bottom of this article, along with a convenient printable option!
How to Make Brownie Muffins
Preheat and Prepare
First things first, let’s get that oven ready! Preheat it to a cozy 350°F if you’re making mini muffins, or 375°F for standard ones. While the oven heats up, grab your muffin tins. Greasing them with butter or non-stick spray is essential to avoid any sticky situations later. You can also dust a bit of flour on the greased tins, just to be safe! A little prep goes a long way in ensuring perfect brownie muffins.
Melt the Chocolate
Next, it’s time for the star of the show—the chocolate! In a small saucepan, melt the bittersweet chocolate chips with the butter over low heat. Stir it gently until everything transforms into a luscious, smooth mixture. It’s like magic watching chocolate melt! Once melted, remove it from the heat and let it cool slightly. This step is crucial; if the chocolate is too hot, it can cook the eggs later. Trust me, you want that rich flavor without any scrambled surprises.
Mix the Wet Ingredients
Now, grab your trusty mixer! Crack those eggs into a mixing bowl, and add both the granulated and brown sugars. Mix on high speed for about 5 minutes. You want to achieve a thick, creamy consistency that almost doubles in size. This step not only adds sweetness, but it also incorporates air for a lighter muffin texture. Don’t forget to add the vanilla extract and salt, which perks up the whole mix! Once it’s glossy and inviting, you’re ready for the next step!
Combine Wet and Dry Ingredients
Time to bring the magic together! Reduce the mixer speed to low, and gently fold in the melted chocolate mixture. Be careful—too much mixing can toughen up your brownies! Just mix until it’s almost combined. Then, sift the all-purpose flour and cocoa powder into the chocolate-egg mixture. This is where the true fudginess comes to life! Mix until you see no dry flour, but don’t overdo it. The goal is a thick, rich batter that’s slightly lumpy.
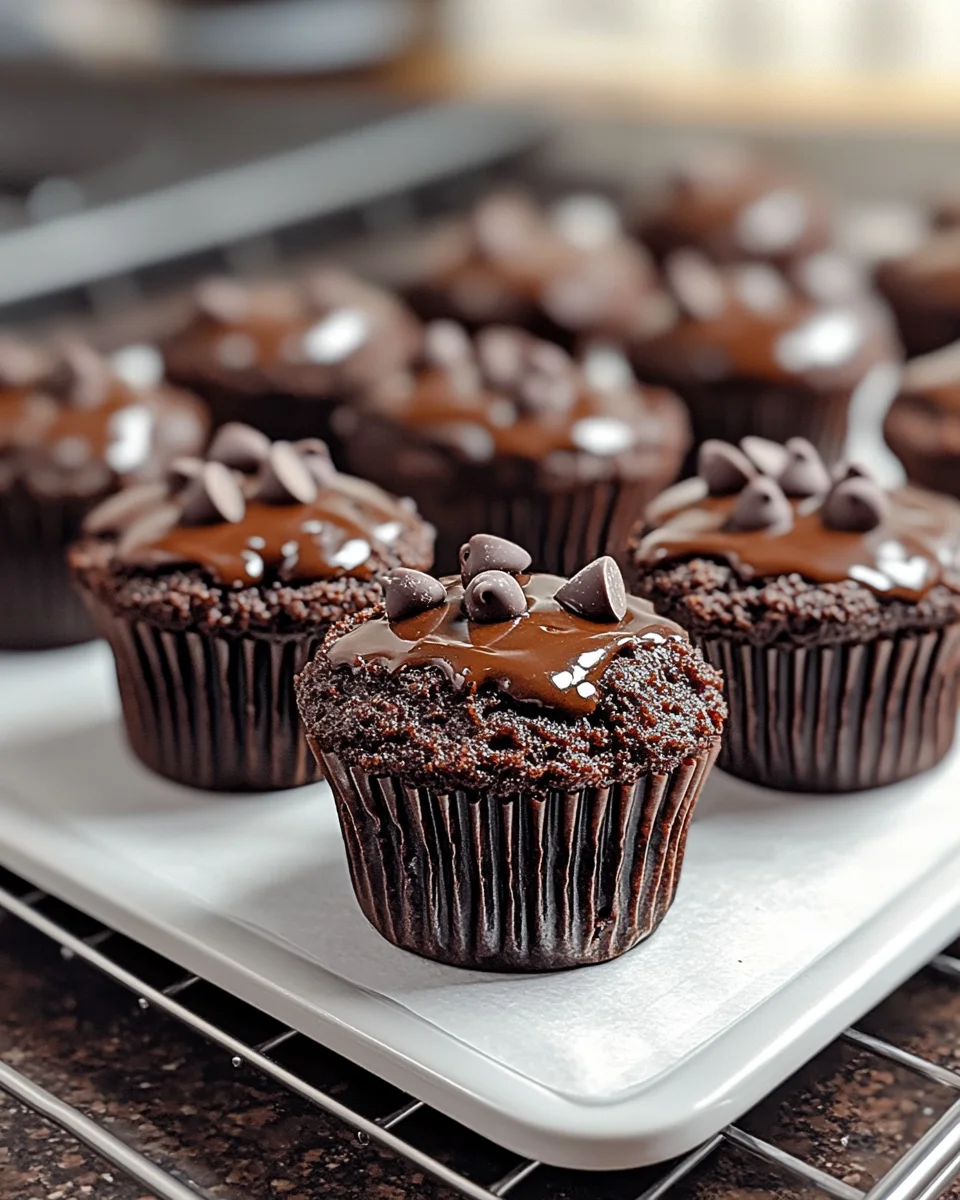
Fold in Chocolate Chips
With everything combined, it’s chocolate chip time! Gently fold in those mini semisweet chocolate chips, ensuring they’re evenly distributed throughout the batter. These little gems add that extra pop of chocolate you just can’t resist!
Fill Muffin Tins and Bake
Now comes the fun part—filling the muffin tins! Use a scoop or spoon to divide the batter evenly among the muffin cups, filling them about ¾ full. This allows space for them to rise beautifully without overflowing. Bake in the preheated oven for 11 to 15 minutes for mini muffins, or 15 to 25 minutes for standard ones. Keep an eye on them; the key is shiny, slightly cracked tops! A toothpick should come out with a few moist crumbs for perfect fudginess.
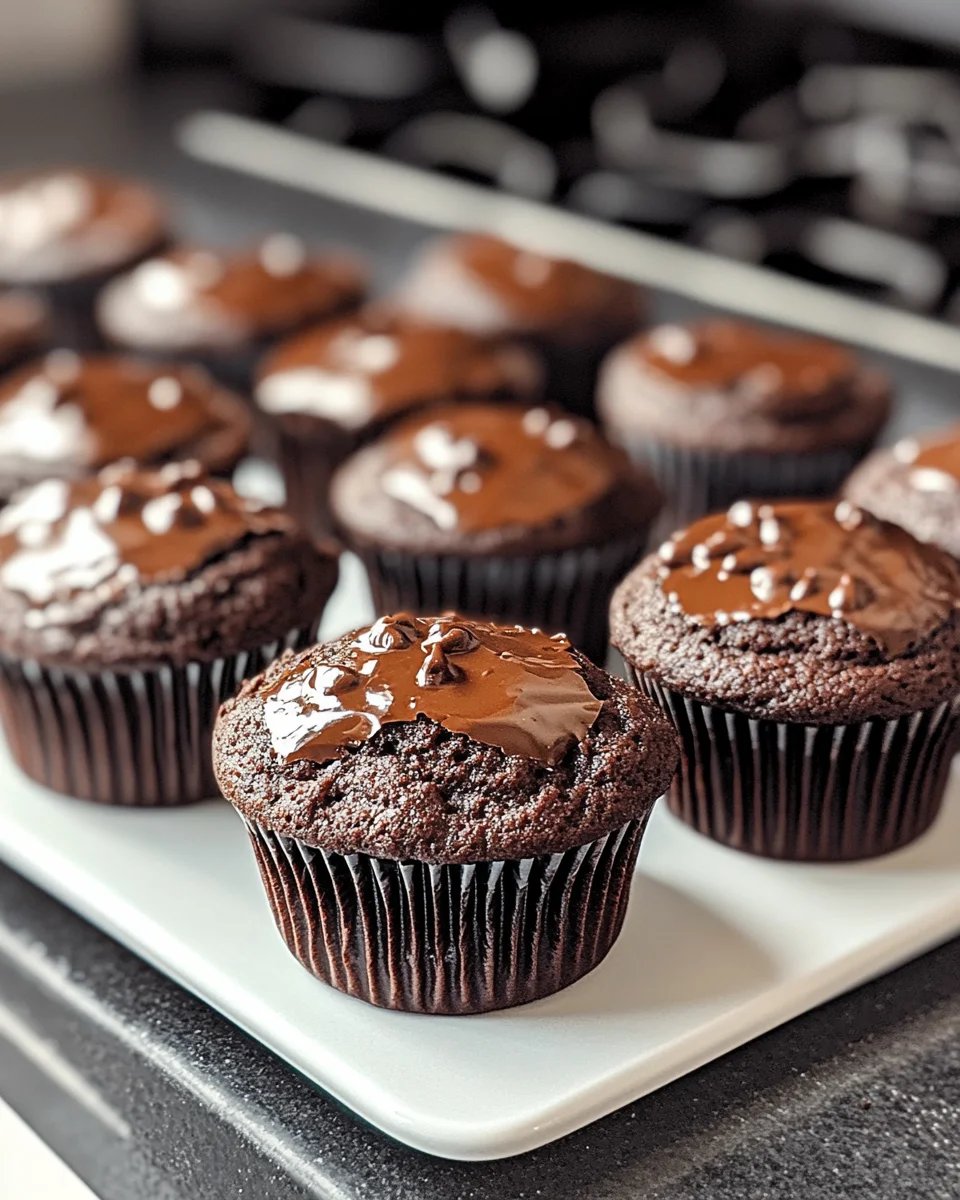
Let Them Cool
Once baked, remove the muffins from the oven and let them cool in the pan for about 10 minutes. This resting time makes them easier to handle later. Then, transfer to a wire rack to cool completely. To check for doneness, give a gentle press on the tops—if they spring back, they’re ready! Let the sweet aroma fill your home as you anticipate a scrumptious bite of fudgy brownie muffins!
Tips for Success
- Use high-quality chocolate for the richest flavor.
- Don’t overmix the batter; a few lumps are okay!
- For extra fudginess, underbake just a minute or two.
- Let the muffins cool completely before storing to maintain texture.
- Change things up with spices like cinnamon or a dash of espresso powder!
Equipment Needed
- Muffin tins: Standard or mini, depending on your preference. Silicone tins are great for easy removal!
- Mixing bowls: A large bowl for wet ingredients and a medium for dry.
- Hand or stand mixer: A handheld whisk can work in a pinch!
- Spatula: Perfect for folding in those chocolate chips!
- Measuring cups and spoons: Essential for accurate ingredient amounts.
Variations
- Nutty Brownie Muffins: Add chopped walnuts or pecans for a delightful crunch!
- Gluten-Free Option: Substitute all-purpose flour with a gluten-free blend or almond flour for a different texture.
- Vegan Twist: Replace eggs with flax eggs (1 tablespoon ground flaxseed + 2.5 tablespoons water) and use dairy-free chocolate.
- Mint Chocolate Brownie Muffins: Add a few drops of peppermint extract for a refreshing flavor.
- Spicy Kick: Incorporate a pinch of cayenne pepper or chili powder for a subtle heat that complements the chocolate!
Serving Suggestions
- Pair with Ice Cream: Serve warm brownie muffins with a scoop of vanilla or mint chocolate chip ice cream for a decadent treat.
- Garnish with Whipped Cream: A dollop of fresh whipped cream or a drizzle of chocolate sauce adds an elegant touch.
- Hot Chocolate: Enjoy with a cup of rich hot chocolate, especially on chilly nights!
- Fresh Berries: Add a side of fresh raspberries or strawberries for a pop of color and tartness.
FAQs about Brownie Muffins
Can I use different types of chocolate chips?
Absolutely! While bittersweet chocolate chips give the best flavor, you can use semisweet or even white chocolate chips. Just remember that using dark chocolate chips will enhance the richness of your brownie muffins!
How do I store leftover brownie muffins?
To keep your brownie muffins fresh, store them in an airtight container at room temperature for up to three days. If you want to keep them longer, freeze them individually wrapped in plastic wrap, then in a freezer bag.
Can I make these brownie muffins ahead of time?
Definitely! You can prepare the batter the night before and refrigerate it. When you’re ready to bake, just scoop it into the muffin tins and bake them fresh in the morning. It’s a great time-saver!
What if my brownie muffins turn out too cakey?
If your brownie muffins seem more cake-like than fudgy, it’s likely they were overbaked. Keep a close eye on them during the last few minutes, and remember that they should have shiny, slightly cracked tops when done.
Can I add other ingredients to the batter?
Of course! Feel free to mix in extras like chocolate chunks, peanut butter, or even a swirl of caramel for an indulgent twist. Experimenting is part of the fun!
Final Thoughts
As you savor these brownie muffins, you’ll find that they’re more than just a dessert; they’re a little celebration of life’s sweet moments. Each bite is a warm hug, full of fudgy goodness that wraps you in joy. Whether you’re delighting your kids or treating yourself after a long day, these muffins are the perfect answer to any chocolate craving. So, gather your ingredients, embrace the wonderful aroma that fills your home, and let this recipe bring happiness to your kitchen. Trust me, they’ll become a cherished favorite in no time!
Print
Brownie Muffins
- Total Time: 30-40 minutes
- Yield: 12 standard muffins or 24 mini muffins 1x
- Diet: Vegetarian
Description
There’s nothing quite like the smell of freshly baked goodies wafting through the kitchen, is there? For busy moms and professionals like you, brownie muffins are the perfect solution when you’re short on time but still crave something indulgent. These fudgy treats combine the rich chocolate flavor we all love with the grab-and-go convenience of a muffin. They’re not only a delightful dessert but also a fantastic way to brighten up your day or surprise your loved ones. So, let’s dive into this easy and delightful recipe that can bring a little joy to your busy schedule!
Ingredients
- 12 ounces bittersweet chocolate chips (60-70% cacao)
- 1/2 cup butter
- 3 large eggs
- 1 cup granulated sugar
- 1/4 cup brown sugar, packed
- 1 teaspoon vanilla extract
- 1/2 teaspoon salt
- 3/4 cup all-purpose flour
- 1/4 cup unsweetened cocoa powder (not Dutch-processed)
- 1/2 cup mini semisweet chocolate chips
Instructions
- Preheat oven to 350°F (177°C) for mini muffins or 375°F (190°C) for standard muffins. Grease and flour the muffin tins.
- Melt the bittersweet chocolate chips with butter in a saucepan over low heat, stirring until smooth, and let cool slightly.
- In a stand mixer or with a hand mixer, beat eggs, granulated sugar, brown sugar, vanilla, and salt on high for 5 minutes until thick and creamy.
- Reduce mixer speed to low and blend in the melted chocolate mixture until just combined.
- Gently stir in the flour and cocoa powder until just incorporated; do not overmix.
- Fold in mini chocolate chips to the batter.
- Divide the batter evenly among the prepared muffin cups, filling them about 3/4 full.
- Bake for 11-15 minutes for mini muffins or 15-25 minutes for standard muffins.
- Look for puffed tops that are shiny and slightly cracked. Adjust baking time for desired fudginess or cakiness.
- Let muffins cool in the tin for 10 minutes before transferring them to a wire rack to cool completely.
Notes
- Ensure the muffin tins are greased well to prevent sticking.
- Adjust baking time based on your preferred texture.
- For best results, use high-quality bittersweet chocolate.
- Prep Time: 15 minutes
- Cook Time: 15-25 minutes
- Category: Dessert
- Method: Baking
- Cuisine: American
Nutrition
- Serving Size: 1 muffin
- Calories: 200
- Sugar: 15g
- Sodium: 150mg
- Fat: 10g
- Saturated Fat: 6g
- Unsaturated Fat: 3g
- Trans Fat: 0g
- Carbohydrates: 28g
- Fiber: 2g
- Protein: 3g
- Cholesterol: 60mg