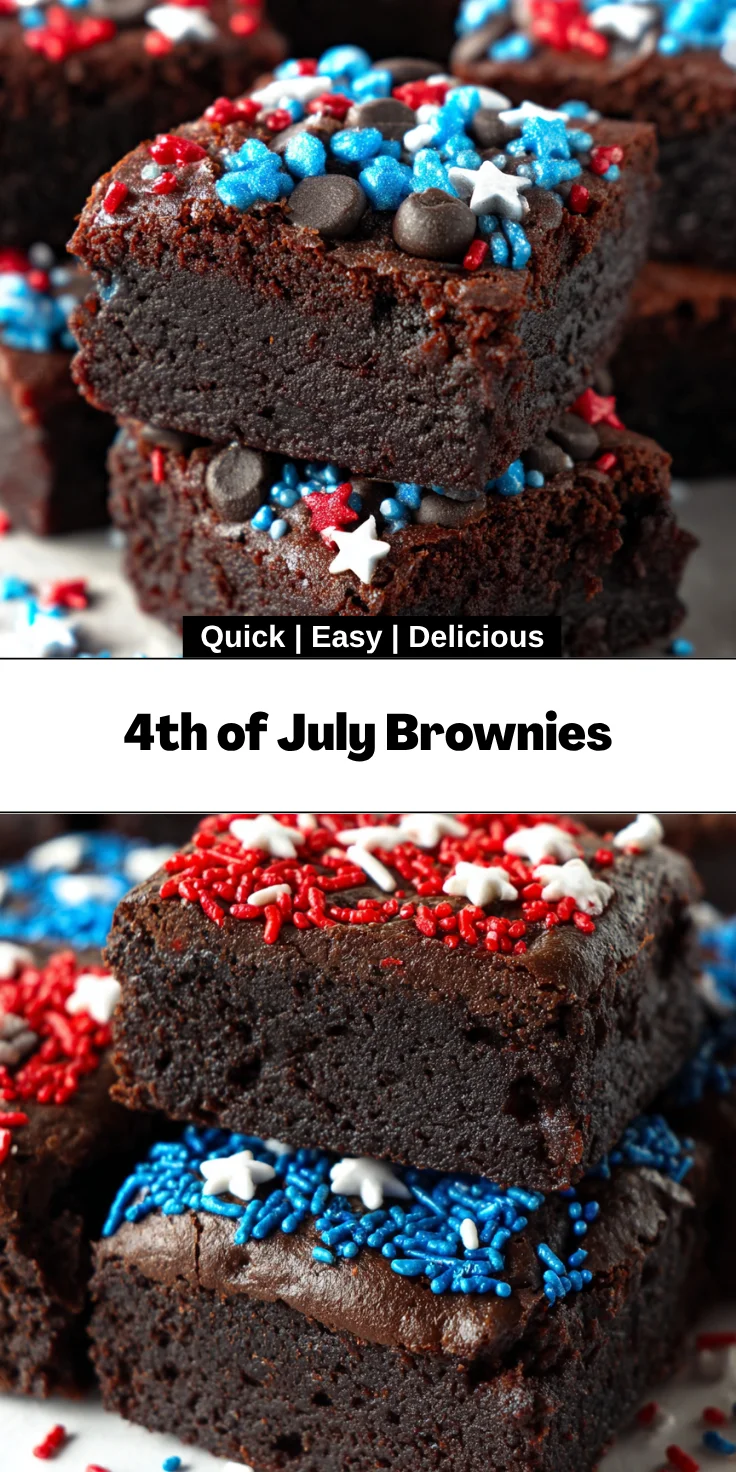
Introduction to 4th of July Brownies
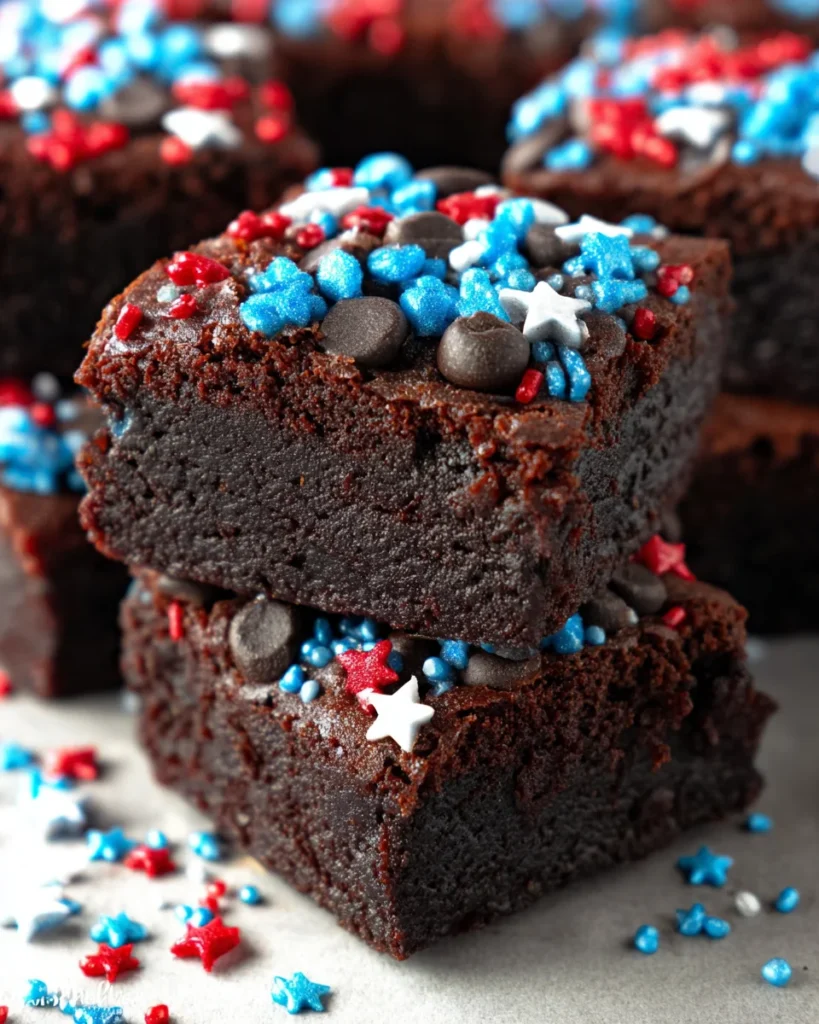
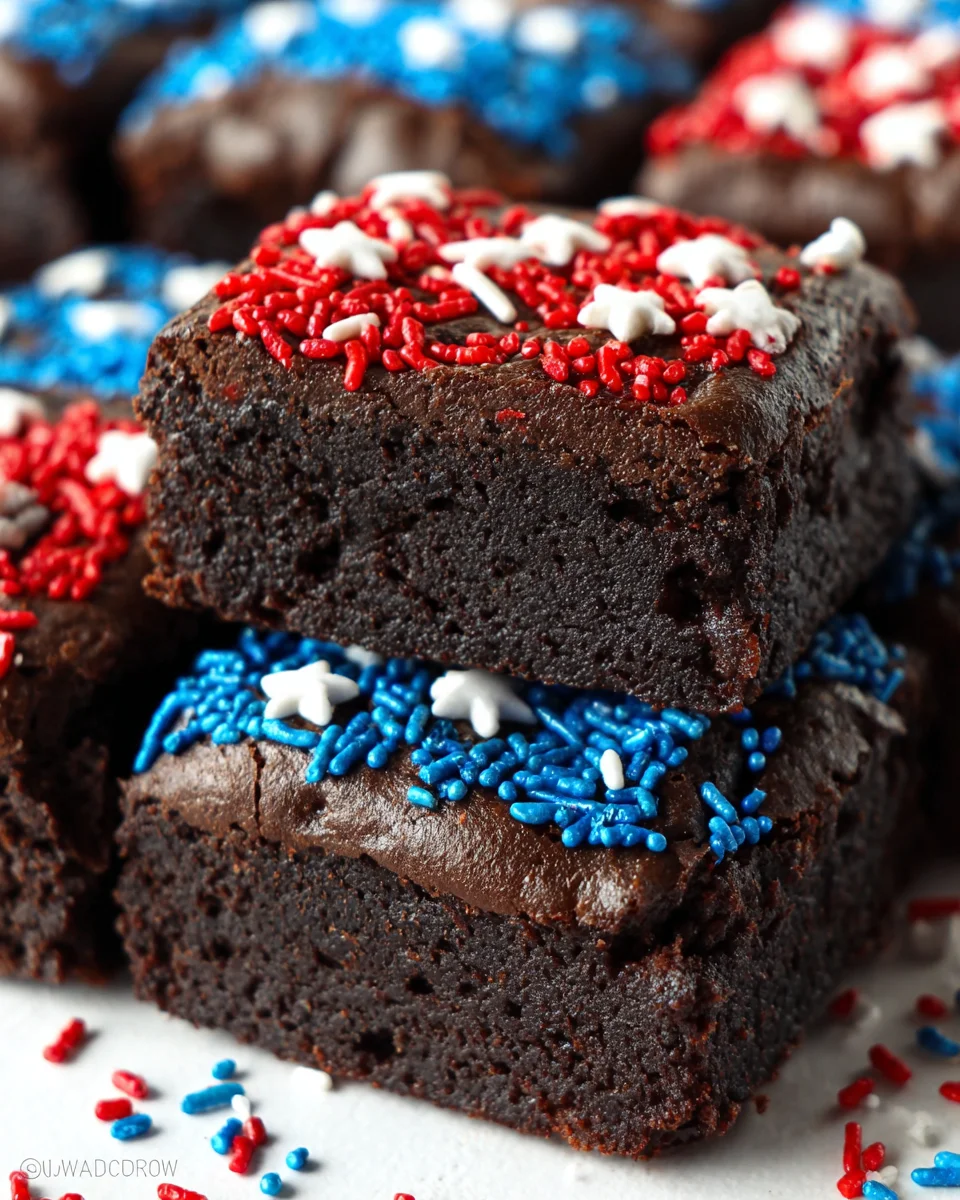
As the 4th of July approaches, I find myself reminiscing about the gatherings filled with laughter and sparkles. It’s that time of year when I whip up my famous 4th of July Brownies to impress friends and family. These delightful treats aren’t just delicious; they’re a quick solution for busy days when you want to create something special without spending hours in the kitchen. With vibrant colors and a rich chocolatey flavor, these brownies are bound to become a crowd favorite and a new tradition at your celebrations.
Why You’ll Love This 4th of July Brownies
These 4th of July Brownies are truly a game-changer for those busy summer days. They combine ease and speed without compromising on taste. The rich chocolate and festive colors make them visually stunning, ensuring they grab attention at your gatherings. Plus, the kids can help with the colorful cookie fillings, turning baking into a delightful family activity. What’s not to love about that?
Ingredients for 4th of July Brownies
Gathering the right ingredients is half the fun of making these festive brownies! Here’s what you’ll need for your delicious creation:
- All-purpose flour: This is the backbone of your brownies, providing the right structure. You can use gluten-free flour if needed.
- Baking cocoa powder: For that rich chocolate flavor! Opt for high-quality cocoa for the best taste.
- Baking powder and salt: These elevate your brownies and enhance the flavor, making them rise perfectly.
- Espresso powder: A secret weapon that intensifies chocolate flavor. Don’t worry; it won’t make them taste like coffee!
- Butter-flavored vegetable shortening: This adds a creaminess to your brownies. If you prefer, you can swap it for unsalted butter.
- Granulated white sugar: Sweetness is key here! You can use coconut sugar if you’re looking for a slightly healthier alternative.
- Large eggs: They bind everything together and help achieve that fudgy texture we all love.
- Mini chocolate chips: Adding these gives you delightful pockets of melted chocolate in each bite.
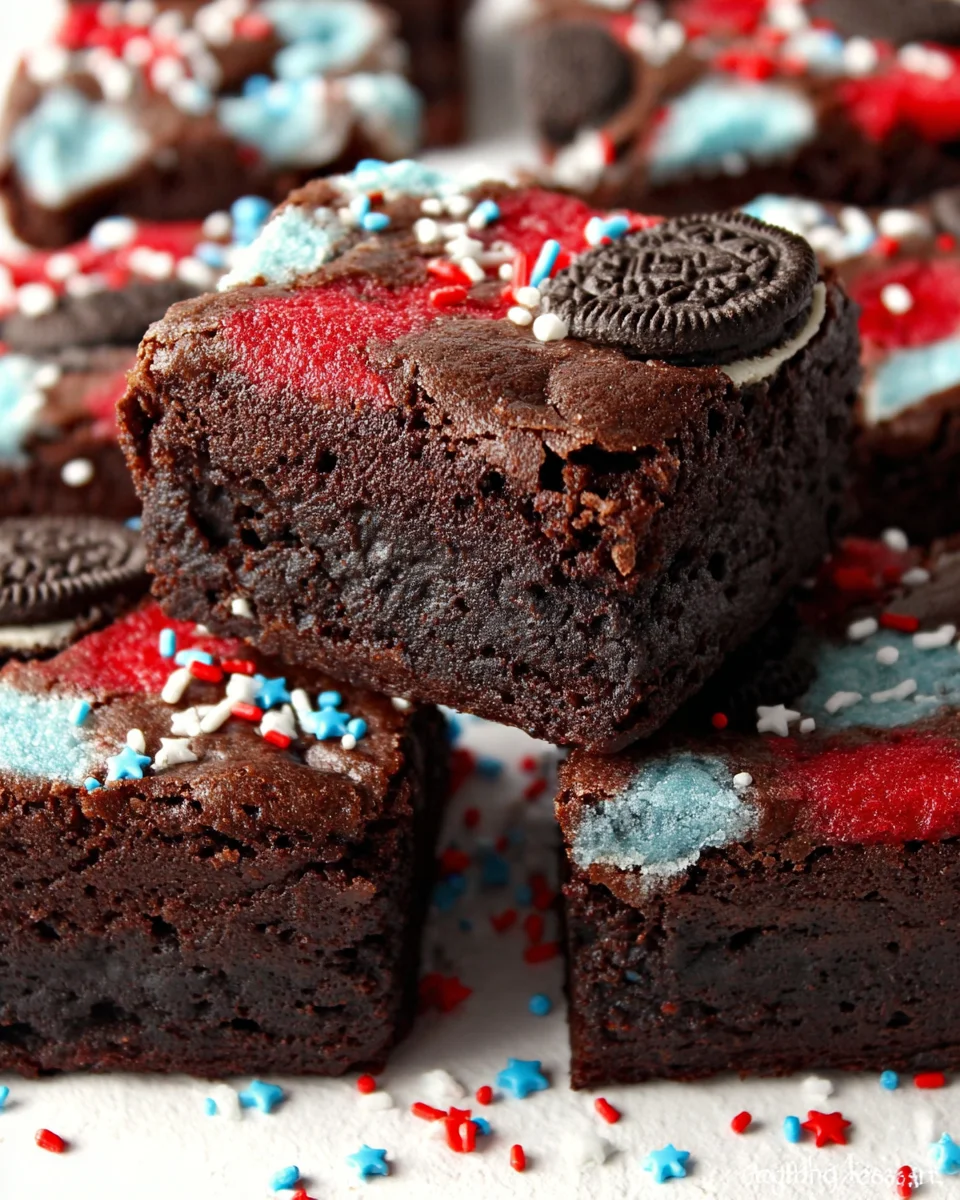
- Chocolate sandwich cookies: Newman’s Own or Oreos work beautifully here for the color and crunch! Feel free to use any brand you love.
- Food coloring gel: Americolor Sky Blue and True Red are perfect for those festive hues. You can opt for natural colors if preferred.
- Decorative sugar or sprinkles: These are optional but add a fun and celebratory touch to your brownies.
For exact quantities, check the end of the article where I have provided a printable version of the recipe. Now, let’s get our hands dirty and start baking!
How to Make 4th of July Brownies
Prepare the Cookie Fillings
Let’s kick things off with those colorful cookie fillings that add a festive flair! First, twist apart the chocolate sandwich cookies, being careful not to break them. Carefully scrape the creamy white filling into three small bowls. One bowl will stay white, while you’ll tint the others with a drop of red and blue food coloring gel. Using the back of a spoon, mash the fillings until they’re smooth and vibrant. This not only adds color but also purity to our 4th of July Brownies. Once colored, transfer each filling into a separate small sandwich bag, and you’re ready for the fun part!
Combine the Brownie Mix
Now, it’s time to create that luscious brownie batter. Start by preheating your oven to 350°F. In a medium-sized bowl, whisk together all-purpose flour, cocoa powder, baking powder, salt, and espresso powder. Set this dry mixture aside. In the bowl of an electric mixer, combine the butter-flavored shortening, granulated sugar, and large eggs. Beat this mixture for about three minutes until it’s light and fluffy, achieving a lovely pale color that will set the stage for a delightful brownie. Gradually add the dry ingredients into the wet mix, stirring gently until just combined. Fold in mini chocolate chips for those glorious pockets of melty chocolate. Now that everything comes together, you’ll have a thick and rich batter that’s simply irresistible!
Assemble the Brownies
Let’s bring the magic together! Take about two tablespoons of brownie batter and scoop it into each individual brownie cup—trust me, they’ll be filled with joy. Smooth it out for an even base. Next, gently press one of your colorful sandwich cookies into the center of the batter. Careful now; we want the batter to hug that cookie, not overpower it! Spoon another tablespoon of brownie batter over the cookie, smoothing it out until the cookie is completely covered. The cups should be almost full, so don’t be afraid to get a little messy! Alternatively, if you’re using a 9″x 13″ pan, spread half the batter evenly, press in the cookies, then top with the remaining batter. The anticipation is real!
Bake to Perfection
It’s showtime! Place your brownie pan in the preheated oven and bake. If you’re using the brownie bar pan, aim for 12-15 minutes. For the 9″x 13″ pan, plan on baking for about 20-25 minutes. For the ultimate test of doneness, watch for a firm top. The edges might start to pull away slightly from the sides, which is a great sign! If you’re confused, a toothpick inserted in the center should come out with a few moist crumbs—perfect! Once baked, remove the brownies from the oven, and allow them to cool completely in the pan on a wire rack. This is the hardest part—trust me, the wait is worth it for those rich, fudgy bites!
Tips for Success
- Measure your ingredients precisely for consistent results.
- Don’t overmix the batter; stir until just combined, or your brownies may turn out cake-like.
- Let the brownies cool completely in the pan to achieve that fudgy texture.
- Use high-quality cocoa powder for the best flavor.
- Experiment with different cookie brands for varying textures!
Equipment Needed for 4th of July Brownies
- Mixing bowls: Any medium-sized bowl will do—glass or plastic works great!
- Electric mixer: A hand mixer is perfect, but a whisk can work if you’re feeling strong!
- Brownie pan or 9″x 13″ baking dish: A cupcake pan is ideal for individual servings.
- Spatula: A rubber spatula is your best friend for scraping batter.
- Wire rack: A cooling rack helps your brownies set perfectly.
Variations of 4th of July Brownies
- Nutty Delight: Add chopped walnuts or pecans for a crunchy surprise in each bite.
- Vegetarian Delight: Swap eggs with mashed bananas or unsweetened applesauce for a plant-based treat.
- Gluten-Free Option: Use a gluten-free all-purpose flour blend to make these brownies suitable for everyone.
- Minty Fresh: Add a few drops of peppermint extract to the batter for a refreshing twist.
- Fruit Fusion: Toss in some fresh raspberries or strawberries for a fruity burst that complements the chocolate.
Serving Suggestions for 4th of July Brownies
- Serve with a scoop of vanilla ice cream for indulgence.
- Pair with fresh berries like strawberries or blueberries for a burst of freshness.
- Drizzle with chocolate sauce for an extra decadent touch.
- Display on a festive platter, garnished with sprinkles for visual appeal.
FAQs about 4th of July Brownies
Can I make 4th of July Brownies ahead of time?
Absolutely! You can bake the brownies a day in advance. Just store them in an airtight container at room temperature. This way, you’ll have one less thing to worry about on the holiday!
What if I can’t find the colorful cookies?
No worries! If you can’t find Newman’s Own or Oreos, you can use any chocolate sandwich cookies you like. Just make sure they’re filled for that vibrant flair!
How do I know when the brownies are done baking?
To test for doneness, look for a firm top and edges starting to pull away from the pan. A toothpick inserted in the center should come out with a bit of chocolate crumb on it. This ensures fudgy perfection!
Can I use different types of chocolate chips?
Definitely! Feel free to mix it up with semisweet, milk chocolate, or even dark chocolate chips for a deeper flavor. You could even toss in some white chocolate for extra sweetness!
What’s the best way to store leftovers?
Store any leftover brownies in an airtight container or zip lock bag at room temperature for up to two weeks. If they last that long, you’ll be pleasantly surprised!
Final Thoughts
There’s something truly magical about baking together, especially when it comes to my 4th of July Brownies. These delicious treats bring smiles, laughter, and a splash of color to any holiday gathering. As we dive into each fudgy piece, it’s not just about the flavors; it’s about creating memories with loved ones, sharing stories, and celebrating our freedom. Whether you’re enjoying them at a backyard barbecue or a family picnic, these brownies are bound to steal the show. So grab your apron, gather the family, and let the festivities begin! After all, nothing says “celebration” like brownies!
Print
4th of July Brownies
- Total Time: 55 minutes
- Yield: 24 brownies 1x
- Diet: Vegetarian
Description
Delicious 4th of July Brownies featuring cookie-filled centers and festive colors.
Ingredients
- 1 ½ cups all-purpose flour
- 1 cup baking cocoa powder
- ½ teaspoon baking powder
- ½ teaspoon salt
- 1 teaspoon espresso powder
- ⅔ cup butter-flavored vegetable shortening
- 2 cups granulated white sugar
- 4 large eggs
- 1 cup mini chocolate chips
- 27 chocolate sandwich cookies (Newman’s Own or Oreos)
- Food coloring gel (Americolor Sky Blue and True Red)
- Decorative sugar or sprinkles
Instructions
- Twist apart the cookies and scrape the filling into three small bowls.
- Mash the white filling with the back of a spoon until smooth. Add a drop of red or blue food coloring gel to the other filling bowls and mix until smooth and evenly colored.
- Transfer each filling into the corner of a separate small sandwich bag.
- Snip a small piece of the corner off each bag, then pipe alternating colors of rows of frosting back onto a cookie half.
- Top with the other half of the cookie to form a sandwich, pressing gently to adhere.
- Preheat the oven to 350° F. Coat a 12-cup pan (or 9″x 13″ pan) with non-stick cooking spray.
- In a medium bowl, whisk together the flour, cocoa, baking powder, salt and espresso powder. Set aside.
- In the bowl of an electric mixer, combine the shortening, sugar, and eggs. Beat until light in color and fluffy (about 3 minutes).
- Gradually add in the flour mixture, until combined.
- Stir in the mini chocolate chips.
- Scoop about 2 tablespoons of batter into each individual brownie cup. Gently press a sandwich cookie into the center of each cup so that the batter comes up around the edges of the cookie.
- Top each cookie with a tablespoon of batter and smooth to cover the Oreo completely. The cup will be almost, but not quite, full.
- FOR A 9” x13” PAN: Spread half of the batter evenly into the prepared pan. Gently press the sandwich cookies into the batter. Top with the remaining batter. Use a spatula or spoon to smooth the surface.
- Bake the brownie bar pan for 12-15 minutes or the 9″ x 13″ pan for 20-25 minutes. The toothpick test doesn’t work very well because of the cookie center. If the top is firm, the brownies are done.
- Remove from the oven and cool completely in the pan on a wire rack.
- Store brownies at room temperature in an airtight container or zip lock bag for up to 2 weeks.
Notes
- Use gel food coloring for vibrant hues.
- Ensure brownies are cooled completely before storing.
- Prep Time: 30 minutes
- Cook Time: 25 minutes
- Category: Dessert
- Method: Baking
- Cuisine: American
Nutrition
- Serving Size: 1 brownie
- Calories: 250
- Sugar: 18g
- Sodium: 150mg
- Fat: 12g
- Saturated Fat: 3g
- Unsaturated Fat: 8g
- Trans Fat: 0g
- Carbohydrates: 35g
- Fiber: 2g
- Protein: 3g
- Cholesterol: 45mg