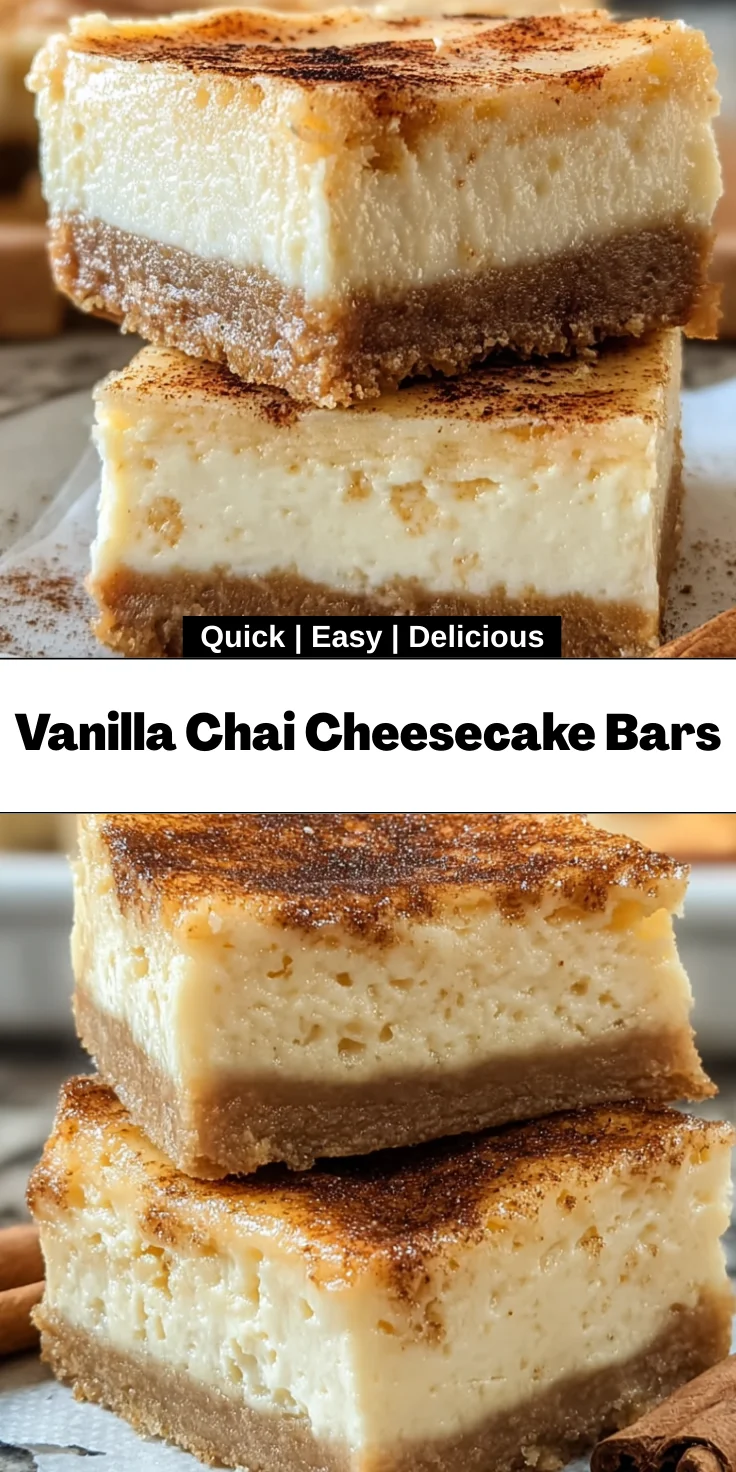
Introduction to Vanilla Chai Cheesecake Bars
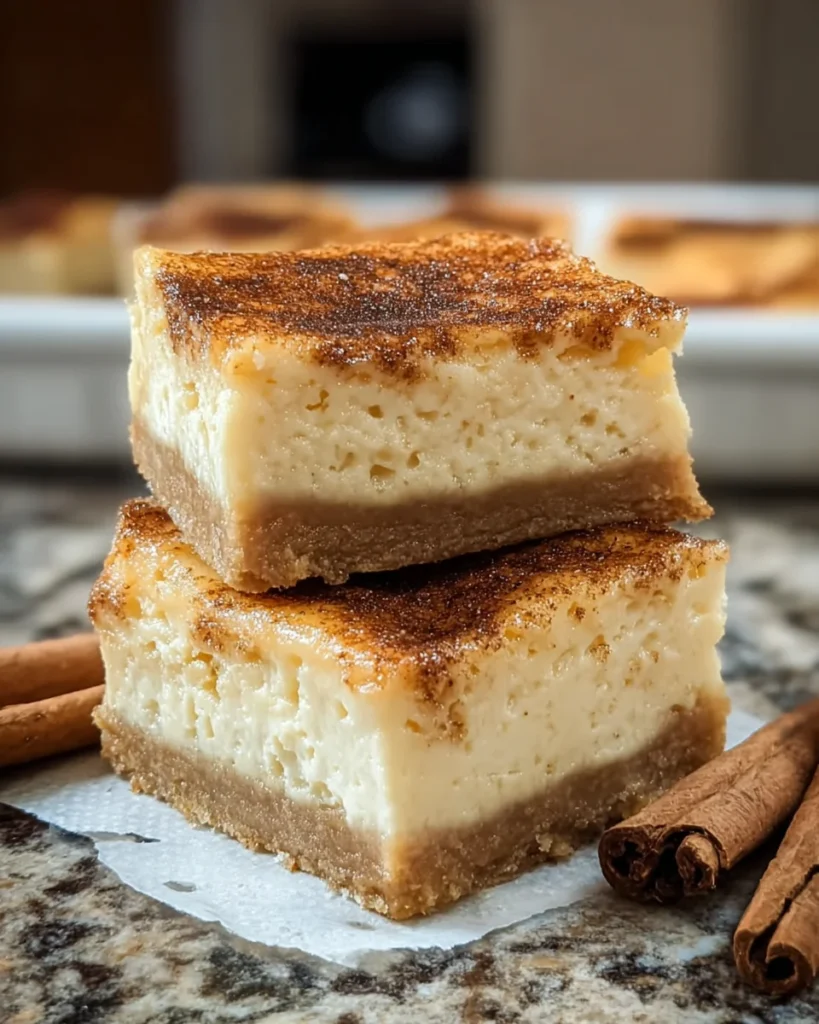
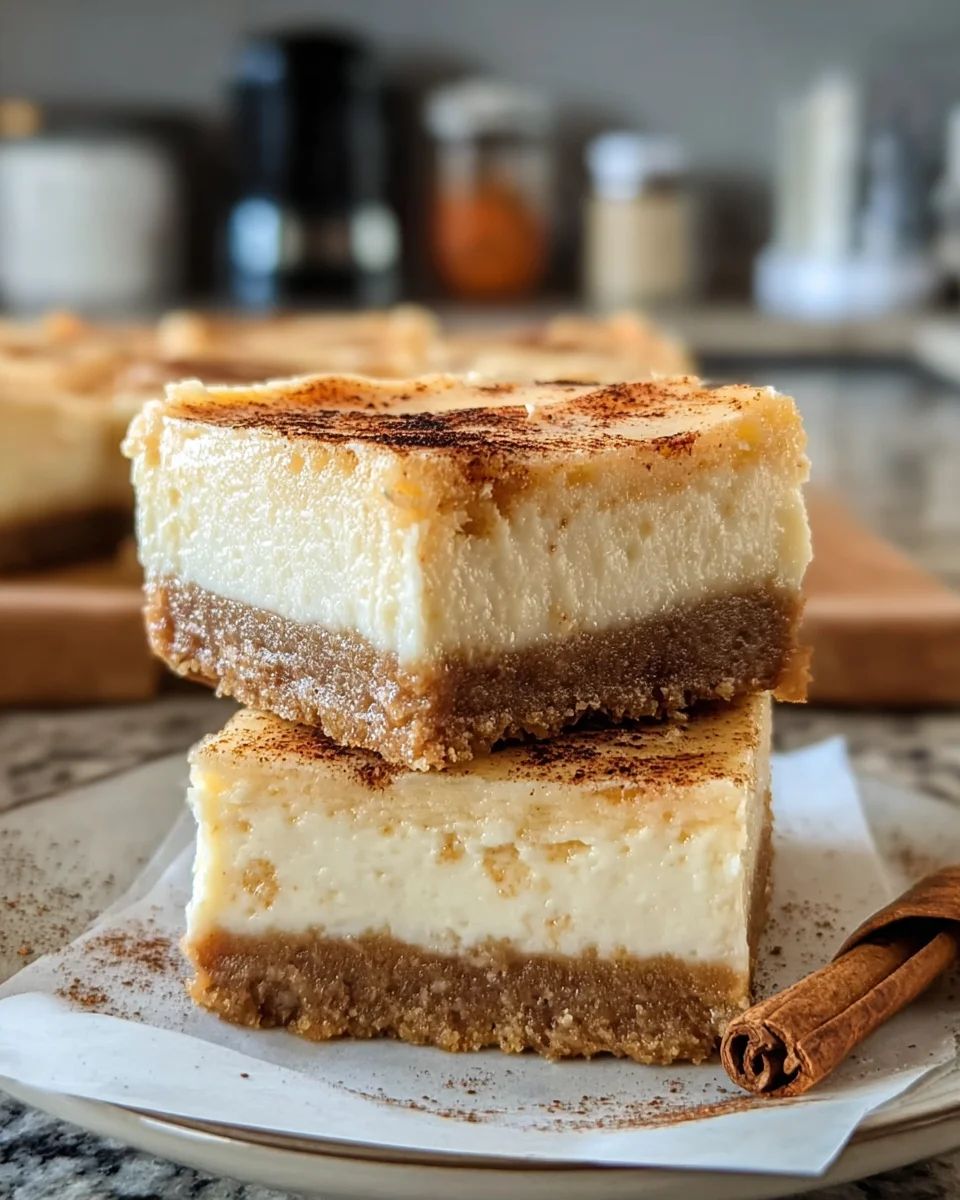
Hey there, fellow home cooks! If you’re anything like me, you often find yourself squeezed between a busy schedule and the desire to whip up something special for your loved ones. That’s why I am excited to share my beloved Vanilla Chai Cheesecake Bars recipe with you! These luscious treats combine creamy cheesecake and warm chai spices, all resting on a buttery crust. Perfect for a gathering or a cozy night in, they’ll wrap your family in a delicious hug. Let’s dive in together and bring a little sweetness into our lives!
Why You’ll Love This Vanilla Chai Cheesecake Bars
These Vanilla Chai Cheesecake Bars are the perfect blend of ease and flavor. They come together in no time, making them a fantastic choice for busy moms or professionals like us. The creamy filling combined with aromatic chai spices will enchant your taste buds and impress your family or guests. Plus, they’ll make your kitchen smell like a warm hug on a chilly day. What’s not to love?
Ingredients for Vanilla Chai Cheesecake Bars
Ready to gather a scrumptious lineup of ingredients for your Vanilla Chai Cheesecake Bars? Here’s what you’ll need:
- Unsalted butter: The star of the buttery crust. It adds richness and flavor. If you’re out of unsalted butter, feel free to use salted butter, but be cautious with adding extra salt.
- Brown sugar: This lends a delightful caramel touch to the crust. You can substitute it with granulated sugar if needed, but the flavor might be a tad less rich.
- Vanilla extract: A must-have for enhancing sweetness and depth. Make sure to choose high-quality vanilla for the best flavor.
- Salt: Just a pinch! It helps balance the sweetness and brings all the flavors together.
- Ground cinnamon: This adds warmth to the crust, evoking the cozy sensation of the chai spices to come.
- All-purpose flour: The backbone of your crust. You can use whole wheat flour for a nuttier flavor, though the texture may differ slightly.
- Cream cheese: The heart of the cheesecake filling—make sure it’s at room temperature for a silky-smooth blend!
- Granulated sugar: It sweetens up your filling beautifully. If you prefer a healthier version, consider using coconut sugar for a hint of extra flavor.
- Sour cream or heavy cream: This contributes to the creaminess of the filling. Heavy cream gives a richer taste, while sour cream offers a slightly tangy profile.
- Eggs: They provide structure and help set your cheesecake. Use large-sized eggs for best results.
- Vanilla bean paste or more vanilla extract: This boosts that dreamy vanilla flavor. If you’ve got real vanilla beans lying around, feel free to scrape them in!
- Chai seasoning or chai tea: This is where the magic happens! You can use chai spice blend or the contents of an unbrewed chai tea bag for that warm hug in every bite.
If you’re curious about measurements, don’t worry! You can find the exact quantities at the bottom of the article for easy printing. Let’s get cooking!
How to Make Vanilla Chai Cheesecake Bars
Now that we’ve gathered our ingredients, it’s time to bring this delightful dessert to life! Follow these step-by-step instructions for your Vanilla Chai Cheesecake Bars. Let’s get started!
Prepare Your Baking Pan
First, take your baking pan, either a 9×9″ or an 8×8″ one will do. Line the bottom with parchment paper, allowing it to hang over the sides. This little trick will make it so much easier to lift out your cheesecake bars later. Give the parchment a light spray with cooking spray to prevent sticking.
Make the Crust
In a mixing bowl, stir together the melted butter, brown sugar, vanilla extract, salt, and ground cinnamon. You want to mix until it’s all combined. Then, gradually add in the all-purpose flour and mix until a soft dough forms. Once combined, press the mixture evenly into the bottom of your prepared pan using your fingers or the back of a measuring cup. Make sure it’s nice and compact!
Bake the Crust
Now it’s time to bake that crust! Preheat your oven to 300°F. Bake the crust for about 15 minutes until it’s golden and set. Once it’s done, take it out and let it cool for about 5-10 minutes while you adjust your oven temperature to 325°F.
Prepare the Cheesecake Filling
In the bowl of a stand mixer, or with a handheld mixer, beat the room-temperature cream cheese and granulated sugar together until it’s super smooth. I like to scrape the sides of the bowl to make sure everything is combined. Then, add in the sour cream (or heavy cream), eggs, vanilla bean paste, and chai seasoning. Mix until everything is well combined and velvety. It should look dreamy!
Combine Filling and Crust
Now for the fun part! Carefully pour the cheesecake filling over the cooled crust, smoothing it out with a spatula. Try to get an even layer. This will help with the overall texture, ensuring every bite is delicious!
Bake the Cheesecake Bars
Put your masterpiece in the oven and bake for 30-35 minutes. The filling should be set but a touch soft in the center. To make sure it’s just right, insert an instant-read thermometer about 1 inch from the edge. It should read around 180°F. If it’s not quite there, just bake for a few more minutes but keep an eye on it!
Cool and Refrigerate
Once baked, remove the bars from the oven and let them cool at room temperature for about 30 minutes. After that, cover them and pop them in the fridge. Let them chill for a few hours or overnight if you can resist them that long. This step is crucial for the flavors to develop and for the filling to perfectly set!
Tips for Success
- Ensure your cream cheese is at room temperature for a smooth filling.
- Use a light touch when pressing down the crust; it shouldn’t be too compact.
- If you prefer a less sweet bar, reduce the sugar slightly.
- Check your bars a few minutes early for the perfect texture.
- Let the bars cool completely before slicing for clean edges.
Equipment Needed
- Baking pan: A 9×9″ or 8×8″ pan works best. If you don’t have one, a round cake pan can also do the trick!
- Parchment paper: Essential for easy removal. If you’re out, just grease the pan well with cooking spray.
- Mixing bowls: Use two—one for the crust and one for the filling.
- Electric mixer: A stand or handheld mixer will make whipping the filling a breeze.
- Spatula: Great for smoothing the cheesecake filling and scraping down the sides of the bowl.
Variations for Vanilla Chai Cheesecake Bars
- Spiced Pumpkin Chai: Swap in pumpkin puree for half of the sour cream to create a spiced pumpkin version. Adjust the chai seasoning to enhance that fall flavor.
- Chocolate Swirl: Melt some dark chocolate and swirl it into the cheesecake filling before baking for a decadent twist. Chocolate and chai are a match made in heaven!
- Coconut Cream: Use coconut cream instead of heavy cream or sour cream for a dairy-free option. This adds a tropical flair to your bars.
- Nutty Crust: Add crushed nuts, like almonds or pecans, to the crust mixture for an added crunch and flavor boost. Just be cautious about allergies.
- Ginger Snap Crust: Substitute some or all of the all-purpose flour in the crust with crushed ginger snaps for an extra zing that pairs wonderfully with chai.
Serving Suggestions for Vanilla Chai Cheesecake Bars
- Serve with a dollop of lightly sweetened whipped cream for an elegant touch.
- Pair with a hot chai latte or spiced tea to complement the flavors.
- Dust with a sprinkle of cinnamon or nutmeg for a beautiful presentation.
- Serve alongside fresh fruit, like berries, for a refreshing contrast.
- Place the bars on a decorative platter for a visually appealing dessert display.
FAQs about Vanilla Chai Cheesecake Bars
As we embark on this delicious journey together, you may have a few questions about these Vanilla Chai Cheesecake Bars. Let’s dive into some common queries that might pop up:
Can I make Vanilla Chai Cheesecake Bars ahead of time?
Absolutely! These bars can be made up to three days in advance. Just keep them covered in the fridge until you’re ready to serve. They taste even better after chilling!
What can I use instead of chai seasoning?
If you’re in a pinch, you can use the contents of an unbrewed chai tea bag, or mix some ground ginger, cardamom, and cloves for a homemade blend. It’ll still give you that lovely chai flavor.
How do I know when my cheesecake bars are done baking?
You’ll want to check for a slight jiggle in the center, and it should read around 180°F when tested with a thermometer. Remember, they’ll firm up as they cool!
Can I freeze these cheesecake bars?
Yes, you can freeze them! Wrap the bars well in plastic wrap and then in foil to prevent freezer burn. They’ll last for up to two months. Thaw in the fridge before serving.
What’s the best way to cut cheesecake bars for neat slices?
Use a sharp knife dipped in hot water for clean cuts. Wipe the knife between slices for the best results. It’s all about presentation, right?
Final Thoughts
Creating these Vanilla Chai Cheesecake Bars is more than just baking; it’s about crafting moments of joy for our families. Each layer creates a delightful harmony of creamy cheesecake and warm chai spices that truly embrace you with every bite. Whether you’re serving them for a cozy family gathering or enjoying a quiet evening with a cup of tea, these bars add a sprinkle of happiness to your day. So, roll up your sleeves, and let’s relish the sweet, spicy journey together—because these delightful bars are bound to become a cherished favorite in your home!
Print
Vanilla Chai Cheesecake Bars
- Total Time: 1 hour 5 minutes
- Yield: 16 bars 1x
- Diet: Vegetarian
Description
Delicious Vanilla Chai Cheesecake Bars with a buttery crust and creamy filling featuring chai spices.
Ingredients
- 1/2 cup unsalted butter, melted
- 1/4 cup brown sugar
- 1 tsp vanilla extract
- 1/4 tsp salt
- 1/2 tsp ground cinnamon
- 1 cup all-purpose flour
- 16 ounces cream cheese, room temperature
- 1 cup granulated sugar
- 1/4 cup sour cream or heavy cream
- 3 large eggs
- 2 1/2 tsp vanilla bean paste or vanilla extract
- 1 – 1 1/2 tsp chai seasoning or contents of an unbrewed chai tea bag
Instructions
- Line a 9×9″ or 8×8″ baking pan with parchment paper, spray lightly with cooking spray, and set aside. Preheat oven to 300°F.
- In a mixing bowl, stir together melted butter, brown sugar, vanilla, salt, and ground cinnamon. Add flour and stir until thoroughly combined. Press mixture into the prepared pan.
- Bake for 15 minutes, then set aside to cool for 5-10 minutes. Adjust oven temperature to 325°F.
- In the bowl of a stand mixer or using a handheld mixer, beat cream cheese and granulated sugar until smooth.
- Add sour cream (or heavy cream), eggs, vanilla, and chai seasoning. Beat until fully combined, scraping the sides and bottom of the bowl as needed.
- Pour the filling over the cooled crust and smooth into an even layer with a spatula.
- Bake the bars at 325°F for 30-35 minutes, or until the filling is set but slightly soft in the center. To check doneness, insert an instant-read thermometer into the filling about 1 inch from the edge; it should read approximately 180°F.
- Remove from the oven and cool at room temperature for 30 minutes. Cover and refrigerate until ready to serve.
- Before serving, optionally sprinkle the tops of the bars with a pinch of ground cinnamon.
Notes
- Store leftover bars in the refrigerator for up to 4 days.
- For extra flavor, top with whipped cream or a drizzle of caramel.
- Prep Time: 20 minutes
- Cook Time: 45 minutes
- Category: Dessert
- Method: Baking
- Cuisine: American
Nutrition
- Serving Size: 1 bar
- Calories: 250
- Sugar: 18g
- Sodium: 150mg
- Fat: 16g
- Saturated Fat: 10g
- Unsaturated Fat: 5g
- Trans Fat: 0g
- Carbohydrates: 22g
- Fiber: 1g
- Protein: 4g
- Cholesterol: 70mg


