Introduction to Peanut Butter Sandwich Cookies
There’s something magical about the aroma of freshly baked cookies wafting through the house.
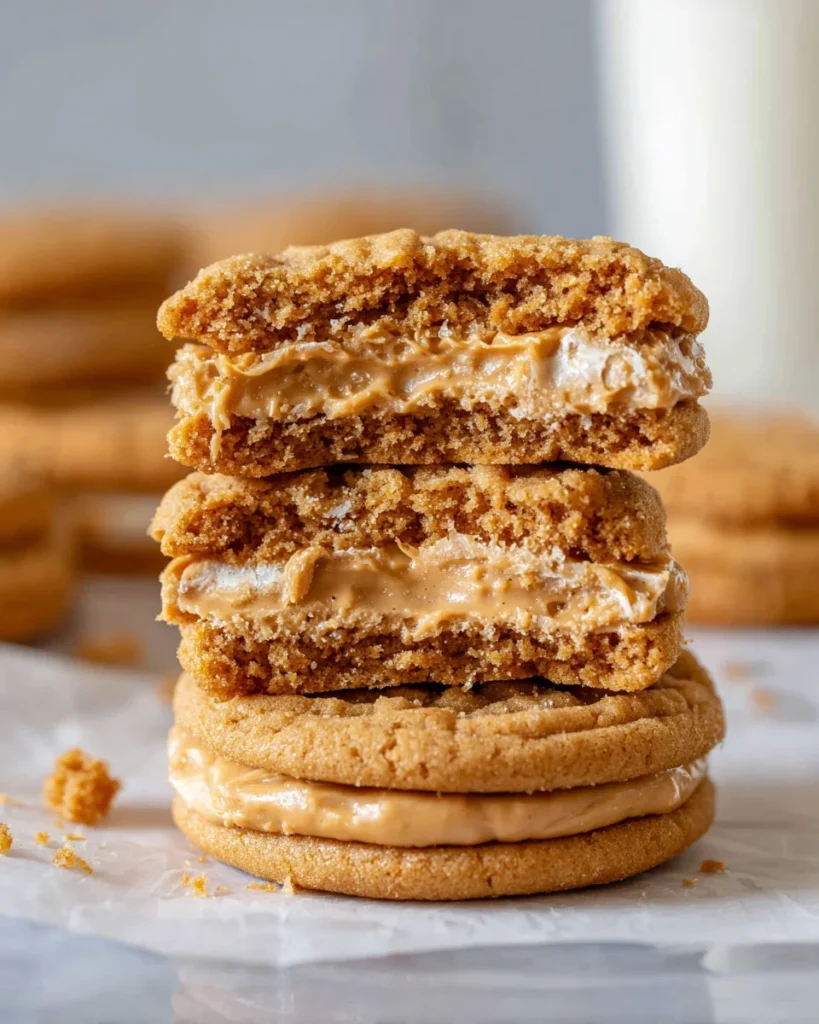
These Peanut Butter Sandwich Cookies are my go-to treat when I want to indulge my family without spending hours in the kitchen.
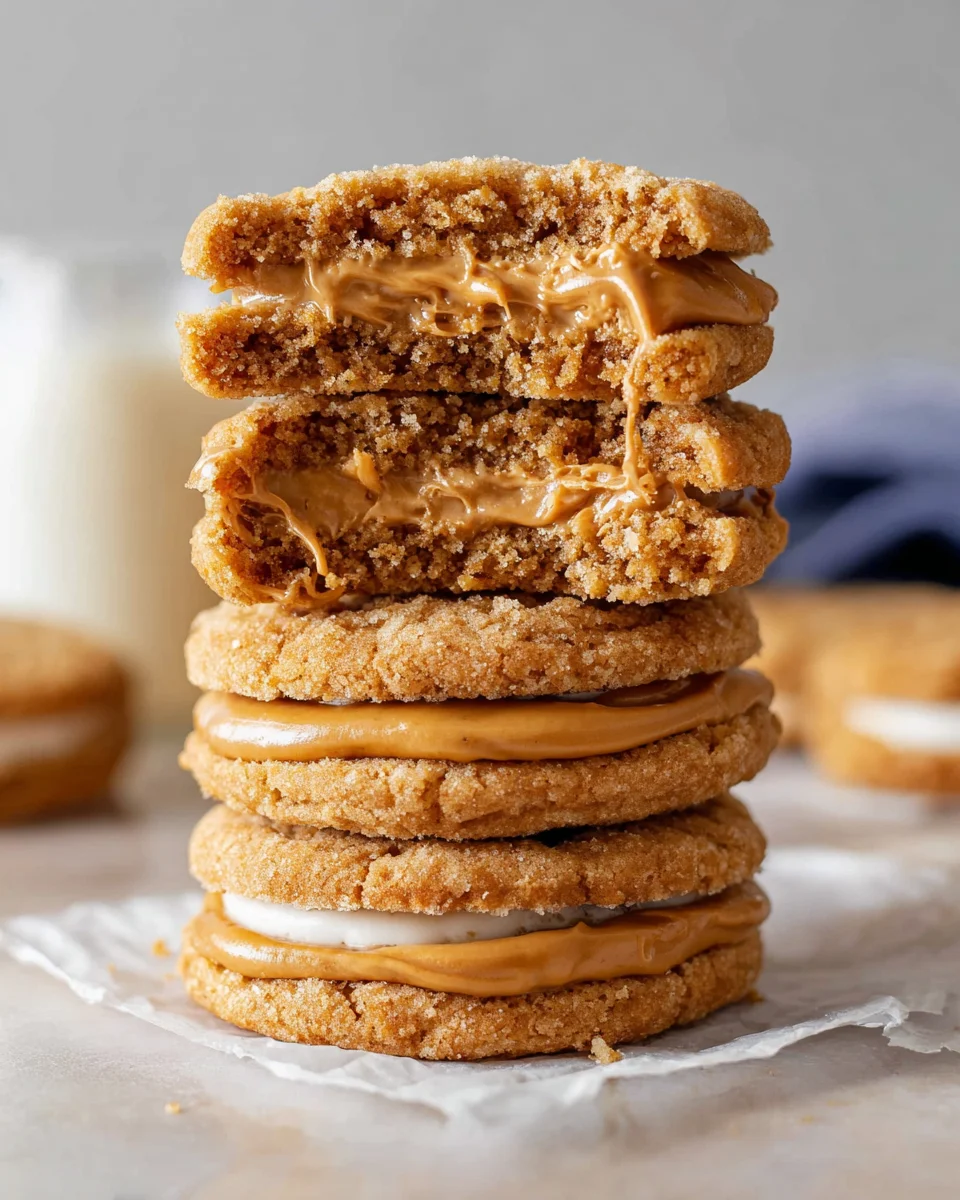
Soft, delectable, and stuffed with a creamy filling, they’re perfect for those busy evenings when you want a quick solution to a snack craving.
Trust me, whether you’re a frazzled mom after a long day or a professional looking for a little pick-me-up,
this recipe will earn you some serious “wow” points. Let’s dive into this delightful adventure!
Why You’ll Love This Peanut Butter Sandwich Cookies
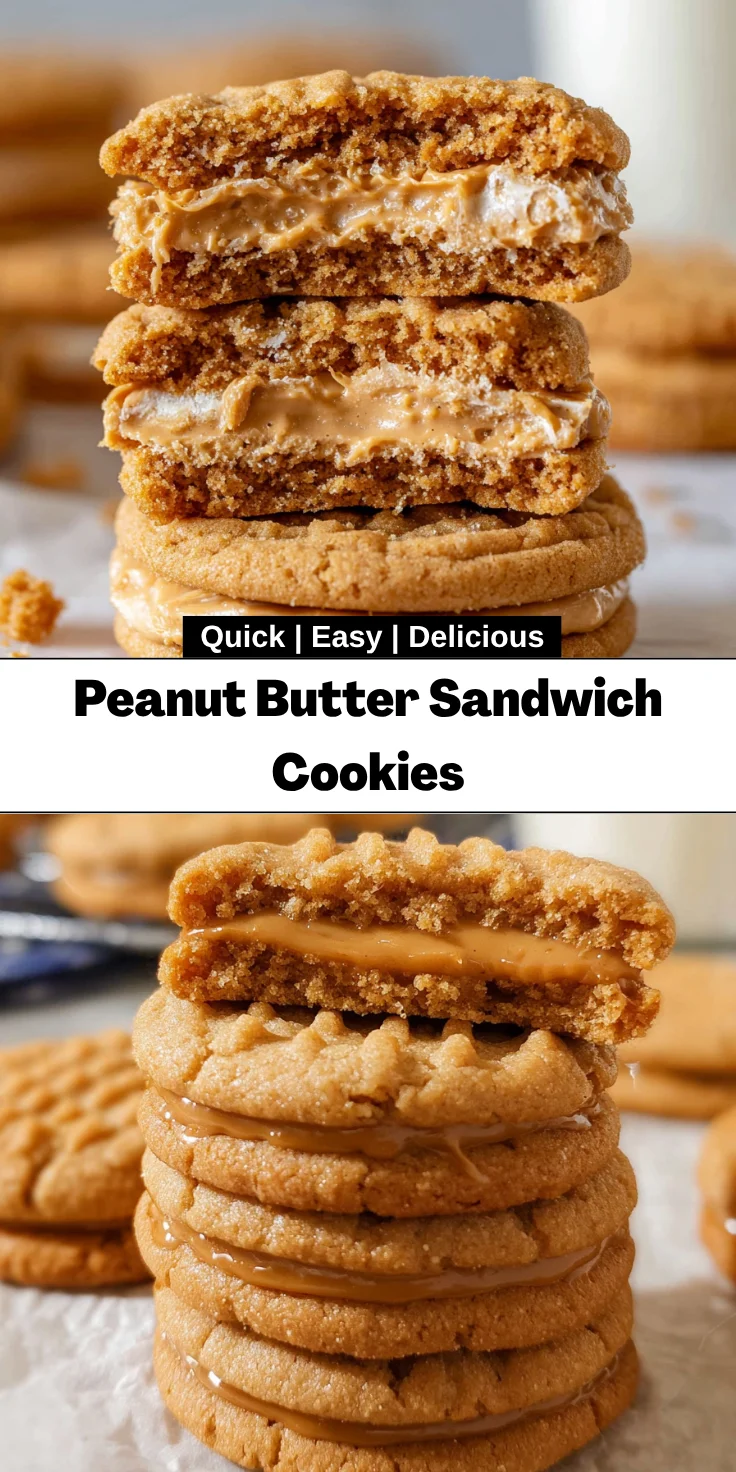
What’s not to love about a cookie that embodies comfort and nostalgia? These Peanut Butter Sandwich Cookies come together in a snap, making them ideal for busy days. With their chewy texture and rich flavor, they’ll satisfy even the pickiest eaters in your family. Plus, the creamy filling is like a hug in dessert form. In just over half an hour, you can whip up a batch that will truly impress!
Ingredients for Peanut Butter Sandwich Cookies
Gathering the ingredients is the first step toward cookie bliss. Here’s what you’ll need for these delightful Peanut Butter Sandwich Cookies:
- Unsalted Butter: Softened butter adds richness and flavor. You can substitute with margarine if you’re in a pinch.
- Brown Sugar: This gives the cookies a lovely moisture and depth of flavor. Use light or dark according to your preference.
- Granulated Sugar: It balances the sweetness and helps with the cookie’s texture.
- Smooth Peanut Butter: Your nutty superstar! You can opt for crunchy if you enjoy a bit of texture or even almond butter for something different.
- Large Egg: This binds everything together while providing a touch of moisture. If you’re egg-free, a flaxseed meal substitute can work.
- Vanilla Extract: A little splash of vanilla enhances the flavors of the other ingredients. No extract? Vanilla essence will do!
- All-Purpose Flour: This forms the base of the cookies, aiding in structure. Whole wheat flour works too if you’re feeling health-conscious.
- Baking Soda: Essential for leavening, it helps the cookies rise. Don’t skip this; your cookies will miss the lift!
- Salt: Just a pinch to elevate the sweet flavors and balance the taste.
- Quick Oats: These add texture and chewiness. You can swap them for rolled oats, just pulse them a bit into smaller bits.
- For the Filling:
- Unsalted Butter: Again, for smoothness in your filling.
- Smooth Peanut Butter: Bring this back for a double dose of peanutty goodness!
- Powdered Sugar: This creates a sweet and creamy filling. Feel free to adjust to your taste for a sweeter or milder finish.
- Whipping Cream or Milk: To achieve that perfect creamy consistency. Use what you have on hand!
You can find the exact measurements for these ingredients toward the bottom of the article, ready for printing. Let’s get cooking!
How to Make Peanut Butter Sandwich Cookies
Step 1: Preheat and Prepare
Let’s kick things off by preheating your oven to 350°F (180°C). While that’s warming up, grab your cookie sheets and line them with parchment paper or a baking mat. This will prevent sticking and make cleanup a breeze. Trust me, using parchment paper is a game-changer! It gives your cookies a lovely base to sit on. Also, be sure to set your space up for success. A tidy kitchen makes all the difference!
Step 2: Cream the Base Ingredients
In a large mixing bowl, combine the softened butter, light brown sugar, and granulated sugar. Using an electric mixer, beat them together until they become light and fluffy—about 3-4 minutes. Don’t rush this step; the fluffiness will help your cookies rise and maintain that soft texture we all adore. Once mixed, add in smooth peanut butter. This nutty wonder adds the irresistible flavor that makes these Peanut Butter Sandwich Cookies so delicious!
Step 3: Incorporate the Egg and Vanilla
Now, it’s time to elevate our mixture! Crack in one large egg and pour in a teaspoon of vanilla extract. Give everything a good mix until well-combined. This step helps bind our cookie dough together while enhancing that classic cookie flavor. The sweet aroma of the vanilla is already hinting at what’s to come!
Step 4: Combine Dry Ingredients
In a separate bowl, whisk together the all-purpose flour, baking soda, and salt. Once that’s done, gradually add this flour mixture to your creamed ingredients. Mix on low speed to avoid a cloud of flour in your face! Lastly, fold in the quick oats—I like to mix until just combined for a smooth texture, ensuring no flour streaks remain. This creates a delightful chewiness that’s essential for our cookies.
Step 5: Form and Bake Cookie Dough
Let’s bring those cookies to life! Using a tablespoon, scoop out dough and roll into balls. Aim for about 1 to 1.5 tablespoons each. Place them about 2 inches apart on your prepared baking sheets. A slightly wet hand helps to flatten them gently; this way, they’ll bake evenly. Bake in your preheated oven for 8-11 minutes until the tops look set. Your kitchen will be filled with the most delightful smell as they bake!
Step 6: Cool the Cookies
After baking, let the cookies cool on the baking sheets for about 10-15 minutes. This cooling time is crucial! It allows them to firm up, making them easier to transfer to a wire rack without falling apart. After that, let them cool completely before frosting; this keeps the filling from melting. Patience, friends, it’s so worth it!
Step 7: Prepare the Peanut Butter Filling
While your cookies cool, let’s whip up that creamy peanut butter filling! In a separate bowl, beat the softened butter until it’s smooth. Then, blend in the smooth peanut butter until well mixed. Gradually add powdered sugar, starting on low speed to avoid a sugary explosion. Finally, mix in whipping cream or milk, a tablespoon at a time, until you achieve that divine creamy consistency. It should be thick but spreadable—a true dream come true!
Step 8: Assemble the Sandwich Cookies
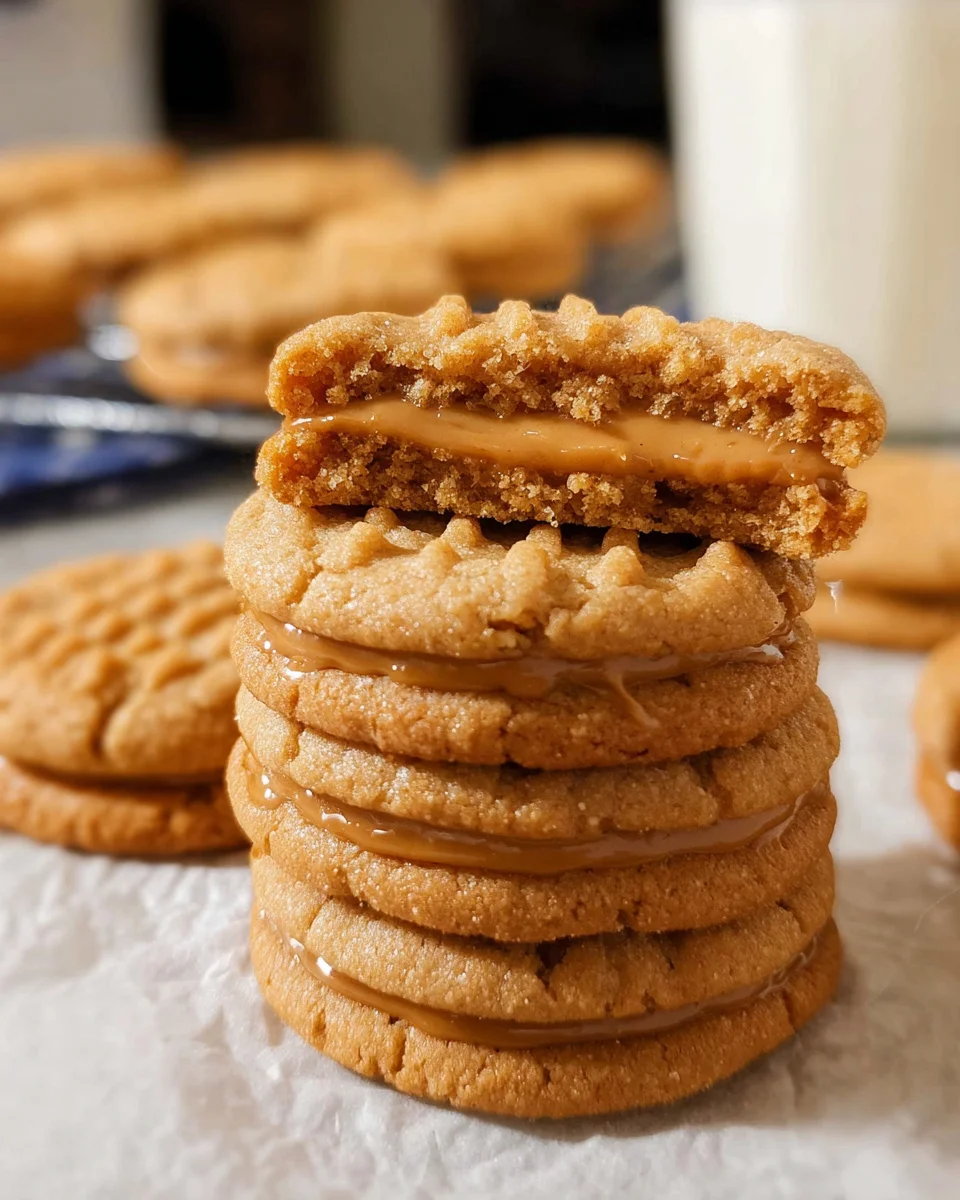
The moment of truth has arrived—assembly time! Take one cookie and spread about a tablespoon of the luscious peanut butter filling on the bottom. Top it off with another cookie and gently press down to create your sandwich. Repeat until all your cookies are filled. You’ve created a delectable treat that your family will absolutely adore!
Tips for Success
- Always use room temperature ingredients for better mixing and fluffiness.
- Measure flour accurately; spoon it into the cup and level it off.
- Chill the dough for 30 minutes if it’s too sticky to handle.
- Experiment with add-ins like chocolate chips or nuts for extra flavor.
- For a crunchier texture, bake a minute longer.
Equipment Needed
- Mixing Bowls: Use a large bowl for mixing; any bowl will do in a pinch!
- Electric Mixer: A hand mixer is great; a sturdy whisk works too with a bit more effort.
- Baking Sheets: Cookie sheets are ideal; you can use any flat baking dish.
- Parchment Paper: This helps prevent sticking; silicone mats are a neat alternative.
- Cooling Rack: Essential for cooling; a simple plate can work if you’re in a hurry.
Variations on Peanut Butter Sandwich Cookies
- Chocolate Peanut Butter Sandwich Cookies: Add cocoa powder to the dough for a chocolatey twist. Use dark chocolate for the filling.
- Nutty Oatmeal Filling: Replace half of the peanut butter in the filling with almond or cashew butter for a new flavor profile.
- Gluten-Free Option: Substitute all-purpose flour with a gluten-free flour blend to enjoy these cookies without the gluten.
- Vegan Adaptation: Use a plant-based butter substitute and replace the egg with a flax egg or applesauce for a delicious vegan treat.
- Spiced Cookies: Add cinnamon or nutmeg to the cookie dough for a warm flavor that dances on your taste buds.
Serving Suggestions for Peanut Butter Sandwich Cookies
- Pair with a cold glass of milk for that classic combo!
- Serve alongside a hot cup of coffee or tea for a cozy afternoon treat.
- For an extra touch, dust with powdered sugar before serving.
- Wrap them in decorative parchment paper for a lovely gift presentation.
FAQs about Peanut Butter Sandwich Cookies
Can I use crunchy peanut butter instead of smooth?
Absolutely! Crunchy peanut butter adds an extra layer of texture to your Peanut Butter Sandwich Cookies. It’s a fun twist that many love!
How should I store these cookies?
To maintain freshness, store your Peanut Butter Sandwich Cookies in an airtight container at room temperature. They’ll stay soft and delicious for up to a week. If you prefer, you can refrigerate them for a longer shelf life—just let them come to room temperature before enjoying!
Can I freeze the cookies?
Yes, you can! Just freeze the assembled cookies between layers of parchment paper in a freezer-safe container. They can last for up to three months. To enjoy, simply let them thaw at room temperature.
What can I substitute for the egg?
If you’re looking for an egg substitute in these cookies, a flaxseed meal mixed with water works wonderfully! Use 1 tablespoon of ground flaxseed mixed with 2.5 tablespoons of water, let it sit for a few minutes, and you’re good to go.
How can I make the filling sweeter?
If you like your filling extra sweet, simply increase the amount of powdered sugar in the peanut butter filling. Start by adding an extra tablespoon and taste until it reaches your desired level of sweetness.
Final Thoughts
There’s something undeniably special about sharing these Peanut Butter Sandwich Cookies with loved ones. Each bite, filled with creamy goodness, evokes memories of childhood and warmth. Not only do they come together quickly, but they also deliver a burst of happiness with every nibble. Whether it’s a safe haven after a busy day or an unexpected treat for a friend, these cookies effortlessly bring smiles. So, roll up your sleeves, mix your ingredients, and embark on this delightful baking journey. You’ll find that the joy of creating and sharing these cookies is the sweetest treat of all!
Print
Peanut Butter Sandwich Cookies
- Total Time: 31 minutes
- Yield: 28 cookies 1x
- Diet: Vegetarian
Description
These Peanut Butter Sandwich Cookies are a delightful treat, combining two soft peanut butter cookies with a creamy filling.
Ingredients
- 1/2 cup unsalted butter (112 grams), softened
- 1/2 cup brown sugar (100 grams), light or dark
- 1/3 cup granulated sugar (66 grams)
- 1/2 cup smooth peanut butter
- 1 large egg
- 1 teaspoon vanilla extract
- 3/4 cup all-purpose flour (94 grams)
- 1/2 teaspoon baking soda
- 1/4 teaspoon salt
- 1 1/4 cup quick oats
- 2 tablespoons unsalted butter (28 grams) for filling
- 1/2 cup smooth peanut butter for filling
- 1 cup powdered sugar (110 grams) for filling
- 4–5 tablespoons whipping cream (50–75 ml), or milk for filling
Instructions
- Preheat the oven to 350F (180C) degrees. Line cookie sheets with parchment paper or baking mats.
- In a large bowl, beat the butter, brown sugar, and white sugar until fluffy. Mix in the peanut butter.
- Mix in the egg and vanilla extract.
- With the mixer on low speed, mix in the flour, baking soda, and salt. Then mix in the oats.
- Spoon the dough into balls with about 1 – 1.5 tablespoons of dough each. Place 2 inches apart on the lined cookie sheets and flatten just slightly.
- Bake in the preheated oven for 8-11 minutes, or until the tops look set.
- Remove from the oven. Cool for 10-15 minutes on the cookie sheet, then transfer to a cooling rack.
- For the Peanut Butter Filling, beat the butter until smooth, then mix in the peanut butter.
- Mix in the powdered sugar starting with the mixer on low speed.
- Beat in the cream (or milk) about 1 tablespoon at a time until the mixture is a smooth consistency.
- Frost the bottom of 1 cookie with about 1 tablespoon of filling, then sandwich a second cookie on top.
Notes
- You can adjust the amount of powdered sugar in the filling to your taste.
- Store cookies in an airtight container to maintain freshness.
- Prep Time: 20 minutes
- Cook Time: 11 minutes
- Category: Dessert
- Method: Baking
- Cuisine: American
Nutrition
- Serving Size: 1 cookie
- Calories: 150
- Sugar: 10g
- Sodium: 60mg
- Fat: 7g
- Saturated Fat: 3g
- Unsaturated Fat: 4g
- Trans Fat: 0g
- Carbohydrates: 18g
- Fiber: 1g
- Protein: 4g
- Cholesterol: 20mg


