Introduction to Peanut Butter Sandwich Bars
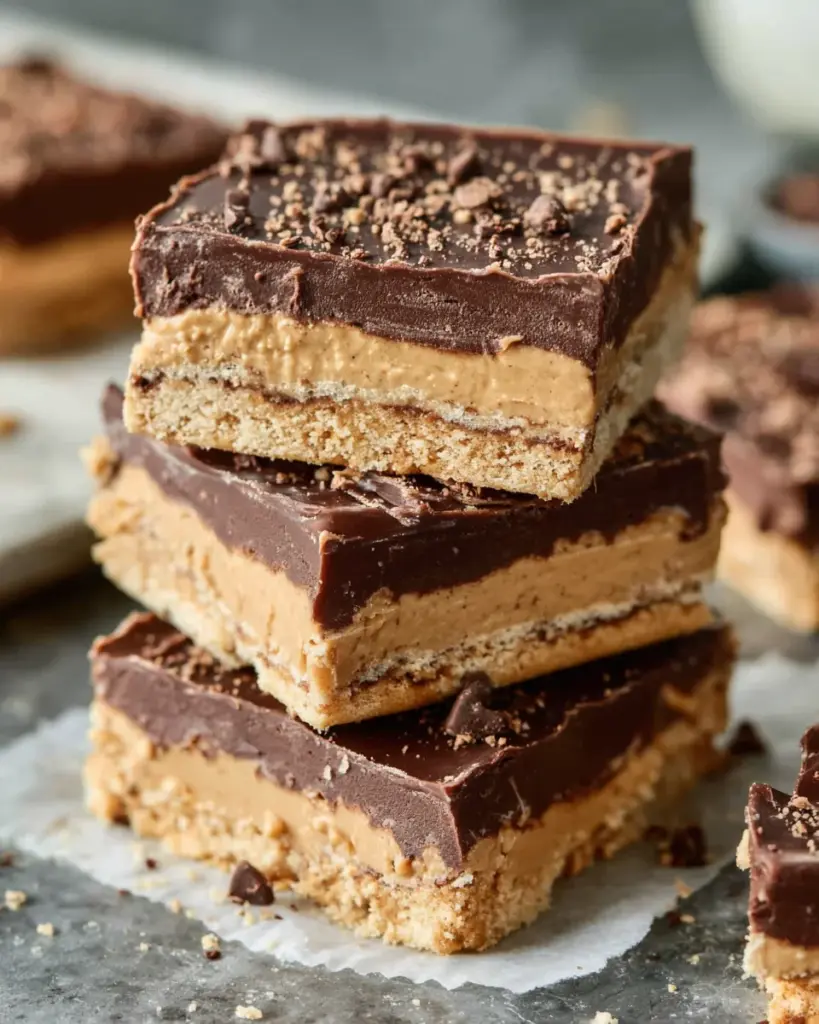
There’s something magical about the combination of peanut butter and chocolate that transports me back to my childhood. These Peanut Butter Sandwich Bars are a game changer for busy moms like us who need a quick, satisfying treat. With the simplicity of layered flavor and ease of preparation, you can have a delightful dessert in no time. Whether you’re prepping for a family gathering or just craving a little sweetness, this recipe is perfect for satisfying both adults and kids alike. So, roll up your sleeves and let’s whip up something delicious!
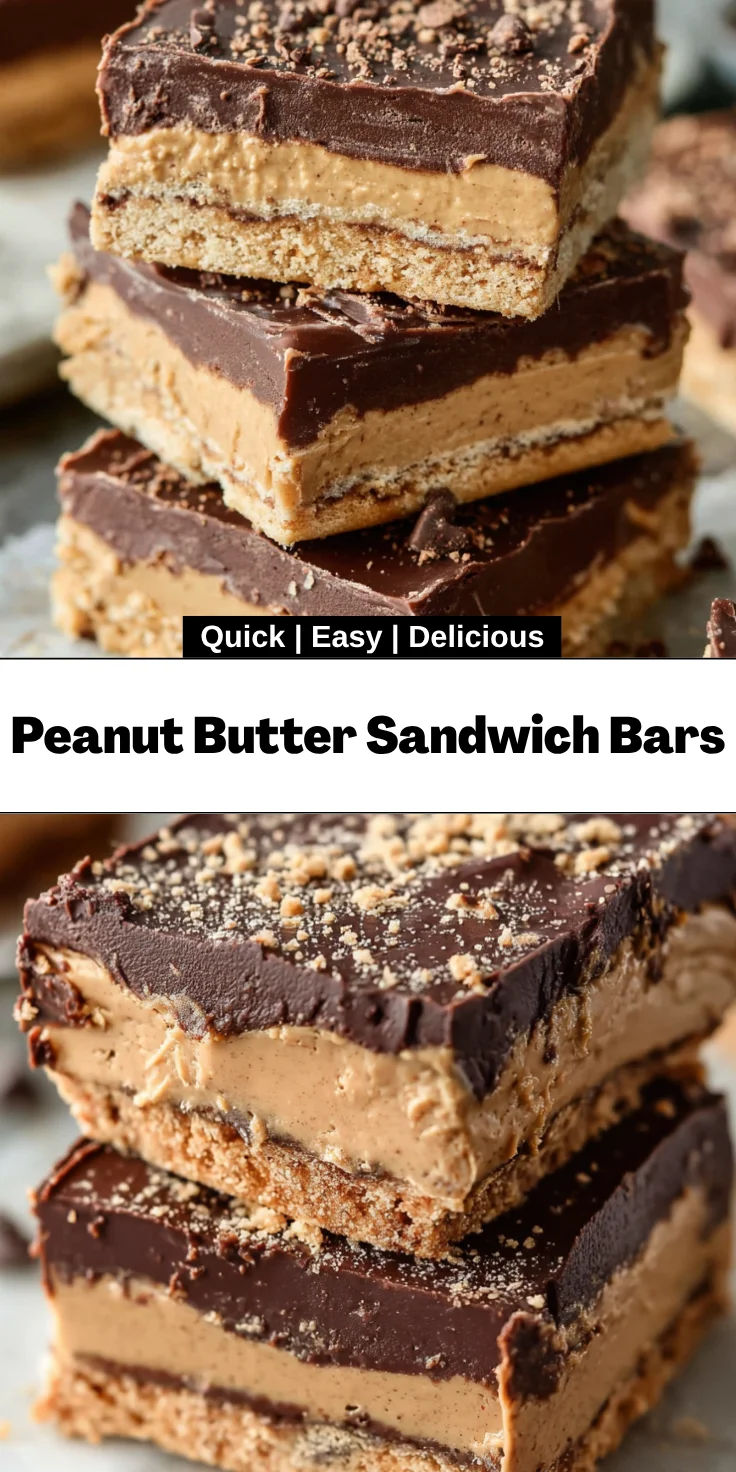
Why You’ll Love This Peanut Butter Sandwich Bars
These Peanut Butter Sandwich Bars are the ultimate treat for any busy family! Not only are they incredibly easy to make, but they come together in just 15 minutes of prep time. The rich, creamy flavors combined with a crunchy graham cracker base create an indulgent dessert that everyone craves. Plus, with no baking required, you’ll spend less time in the kitchen and more time enjoying family moments!
Ingredients for Peanut Butter Sandwich Bars
Creating these delightful Peanut Butter Sandwich Bars starts with some simple yet essential ingredients. Here’s what you’ll need:
- Graham cracker sheets: These provide the sturdy, crunchy base for your bars. Feel free to use regular or honey-flavored for a touch of sweetness.
- Creamy peanut butter: The heart of the recipe! Choose a brand that you love, preferably unsweetened for better balance.
- Softened butter: This helps to achieve a creamy texture in your peanut butter layer. Watch the butter, though; too soft can lead to greasiness!
- Vanilla: A splash of vanilla enhances the overall flavor and brings warmth to the bars. Go for pure vanilla extract if you can!
- Salt: A pinch of salt helps to elevate the sweet flavors, making the peanut butter pop. It’s a small but mighty ingredient!
- Powdered sugar: This sweetener gives our bars that delightful, melt-in-your-mouth quality. Don’t skimp on this one!
- Shortening: Used in melting the chocolate, shortening helps create a smoother finish. If you prefer a more natural option, you can use coconut oil.
- Semi-sweet chocolate chips: Ah, the chocolate! It’s not just a topping; it ties all the flavors together. Switch it up with dark chocolate for a richer taste.
All exact quantities of these ingredients can be found at the bottom of the article, where you can print the recipe for your convenience. Happy cooking!
How to Make Peanut Butter Sandwich Bars
Prepare the Baking Dish and Graham Cracker Base
Start by spraying a 2-quart glass baking dish with non-stick spray. This will keep your bars from sticking and make clean-up a breeze. Next, take two whole sheets of graham crackers and place them in a zip bag. Grab a rolling pin or even the bottom of a glass and crush them into fine crumbs. Set this aside for later!
Make the Peanut Butter Filling
In a mixing bowl, combine creamy peanut butter, softened butter, vanilla, and salt. Mix them together until smooth and creamy. Now, slowly add powdered sugar, about a cup at a time. This gradual process helps to create a lighter texture. You want it thick but spreadable, like frosting.
Melt the Chocolate
In a microwave-safe bowl, toss in the semi-sweet chocolate chips and shortening. Microwave them in 30-second intervals, stirring between, until the mixture is completely smooth. Be careful not to overheat; burnt chocolate is a sad sight! Trust me, smooth chocolate is what elevates these Peanut Butter Sandwich Bars.
Assemble the Peanut Butter Sandwich Bars
Now comes the fun part! Start by placing six whole graham cracker sheets at the bottom of your prepared dish. Pour about one-third of your melted chocolate over the crackers, spreading it gently. Next, take fistfuls of your peanut butter mixture and press it down over the chocolate. Don’t worry if it breaks a little! Layer another third of chocolate on top, followed by another six graham cracker sheets. Finish with the last of the melted chocolate and sprinkle those crushed graham cracker crumbs on top for a lovely crunch.
Cool and Serve
Pop your baking dish into the refrigerator and let it set for at least an hour. This helps everything firm up nicely. When ready, take it out and slice into squares—big or small; it’s your choice! Enjoy the joy of sharing these delicious treats!
Tips for Success
- Use a sharp knife to cut the bars for cleaner edges.
- Chill the bars longer for easier cutting and a firmer texture.
- For added flavor, consider sprinkling sea salt on top of the chocolate layer.
- Make these ahead of time; they keep well for a week in the fridge!
- Feel free to experiment with flavored chocolate chips for different tastes.
Equipment Needed
- 2-quart glass baking dish: If you don’t have one, use a metal pan; just check the cooking time.
- Ziploc bags: Alternatives include a kitchen towel or cloth for crushing graham crackers.
- Mixing bowl: Any large bowl will do for mixing ingredients.
- Microwave-safe bowl: Use a regular bowl if you prefer melting chocolate on the stove.
- Sharp knife: A pizza cutter can also work well for cutting the bars.
Variations
- Nutty Twist: Add chopped nuts like almonds or walnuts for an extra crunch and flavor boost.
- Chewy Coconut: Mix shredded coconut into the peanut butter filling for a tropical touch.
- Gluten-Free Option: Substitute graham crackers with gluten-free cookies or rice crackers to cater to dietary needs.
- Fruit Layer: Spread a layer of jam or fresh fruit like sliced bananas for a fruity contrast.
- Spicy Kick: Add a pinch of cayenne pepper or cinnamon to the peanut butter mixture for a surprising flavor twist.
Serving Suggestions for Peanut Butter Sandwich Bars
- Pair these bars with a glass of cold milk for a classic treat.
- Serve alongside fresh fruit slices like apples or bananas for a refreshing contrast.
- Top with a scoop of vanilla ice cream for an indulgent dessert experience.
- Wrap them in colorful napkins for a delightful picnic or lunchbox treat.
- Drizzle with extra melted chocolate for an eye-catching finish before serving.
FAQs about Peanut Butter Sandwich Bars
Do I need to bake the Peanut Butter Sandwich Bars? No baking is required! This recipe is a no-bake dessert that comes together quickly, making it perfect for busy moms.
How should I store Peanut Butter Sandwich Bars? Store the bars in an airtight container in the refrigerator to keep them fresh for up to one week. They make for a great grab-and-go snack!
Can I use crunchy peanut butter instead of creamy? Absolutely! If you love a little texture, feel free to swap out creamy for crunchy peanut butter. It adds a fun twist to the bars!
What if I don’t have graham crackers? No worries! You can substitute with a similar cookie like digestive biscuits or even vanilla wafers for equally delicious results.
Can I make these bars ahead of time? Yes, these bars are perfect for making ahead of time. They actually taste better after chilling in the fridge overnight as the flavors meld beautifully!
Final Thoughts
Making these Peanut Butter Sandwich Bars is like savoring a little piece of joy. With each layer, you create not just a dessert, but a sweet memory for your family. This recipe is perfect for those hectic days when you crave something scrumptious, yet don’t have much time. The delightful combination of creamy peanut butter and rich chocolate is sure to please everyone at the table. Plus, the simple preparation makes it a win-win for busy moms. So, whether it’s a special occasion or a regular day, these bars will add a touch of happiness to your kitchen!
Print
Peanut Butter Sandwich Bars
- Total Time: 1 hour 25 minutes
- Yield: 12 servings 1x
- Diet: Vegetarian
Description
Delicious and easy-to-make peanut butter sandwich bars layered with chocolate and graham crackers.
Ingredients
- 14 whole graham cracker sheets
- 2 cups creamy peanut butter
- 8 tbsp softened butter
- 2 tsp vanilla
- ½ tsp salt
- 3½ cups powdered sugar
- 4 tbsp shortening
- 4 cups semi-sweet chocolate chips
Instructions
- Spray a 2 quart (8 ½ x 11) glass baking dish with non-stick spray.
- Place 2 whole sheets of graham cracker in a zip bag and crush into crumbs using a rolling pin, meat mallet, or the bottom of a glass. Set aside.
- Mix peanut butter, butter, vanilla, and salt. Slowly add in powdered sugar a little at a time.
- In a microwave-safe bowl, heat chocolate chips with shortening. Heat for 30 seconds at a time, stirring between, until smooth. Be careful not to overcook.
- Lay the first layer of graham crackers (6 whole sheets) in the sprayed baking dish.
- Pour about 1/3 of the chocolate into a thin layer over the graham crackers.
- Using your hands, take fistfuls of the peanut butter mixture and flatten. Lay on top of the chocolate layer, covering as best you can without breaking the graham crackers below. Use all of the peanut butter mixture.
- Layer another 1/3 of chocolate on top of the peanut butter and then layer again with graham crackers (6 whole sheets) and pour the remaining chocolate on top.
- Sprinkle the crushed graham cracker crumbs on top.
- Let cool in the refrigerator for at least 1 hour. Cut into squares, big or small.
Notes
- For a more intense flavor, use dark chocolate chips instead of semi-sweet.
- Store bars in an airtight container in the refrigerator for up to one week.
- Prep Time: 15 minutes
- Cook Time: 10 minutes
- Category: Dessert
- Method: No-bake
- Cuisine: American
Nutrition
- Serving Size: 1 bar
- Calories: 350
- Sugar: 30g
- Sodium: 150mg
- Fat: 20g
- Saturated Fat: 8g
- Unsaturated Fat: 10g
- Trans Fat: 0g
- Carbohydrates: 36g
- Fiber: 2g
- Protein: 6g
- Cholesterol: 30mg