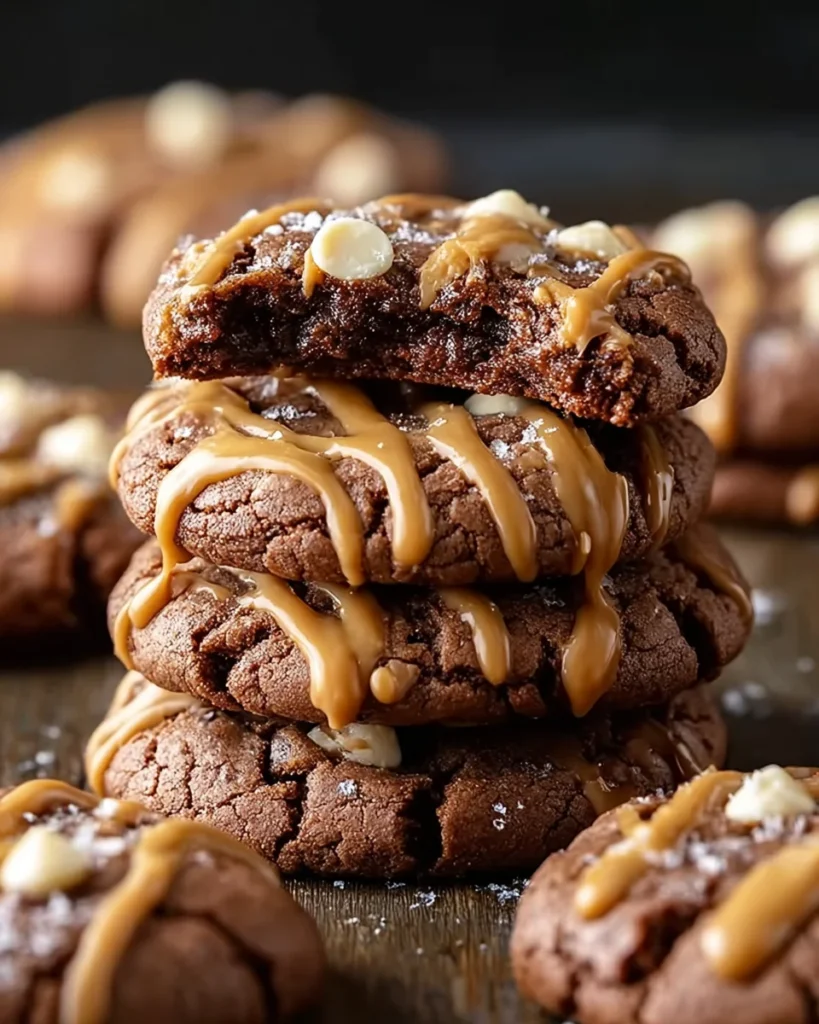
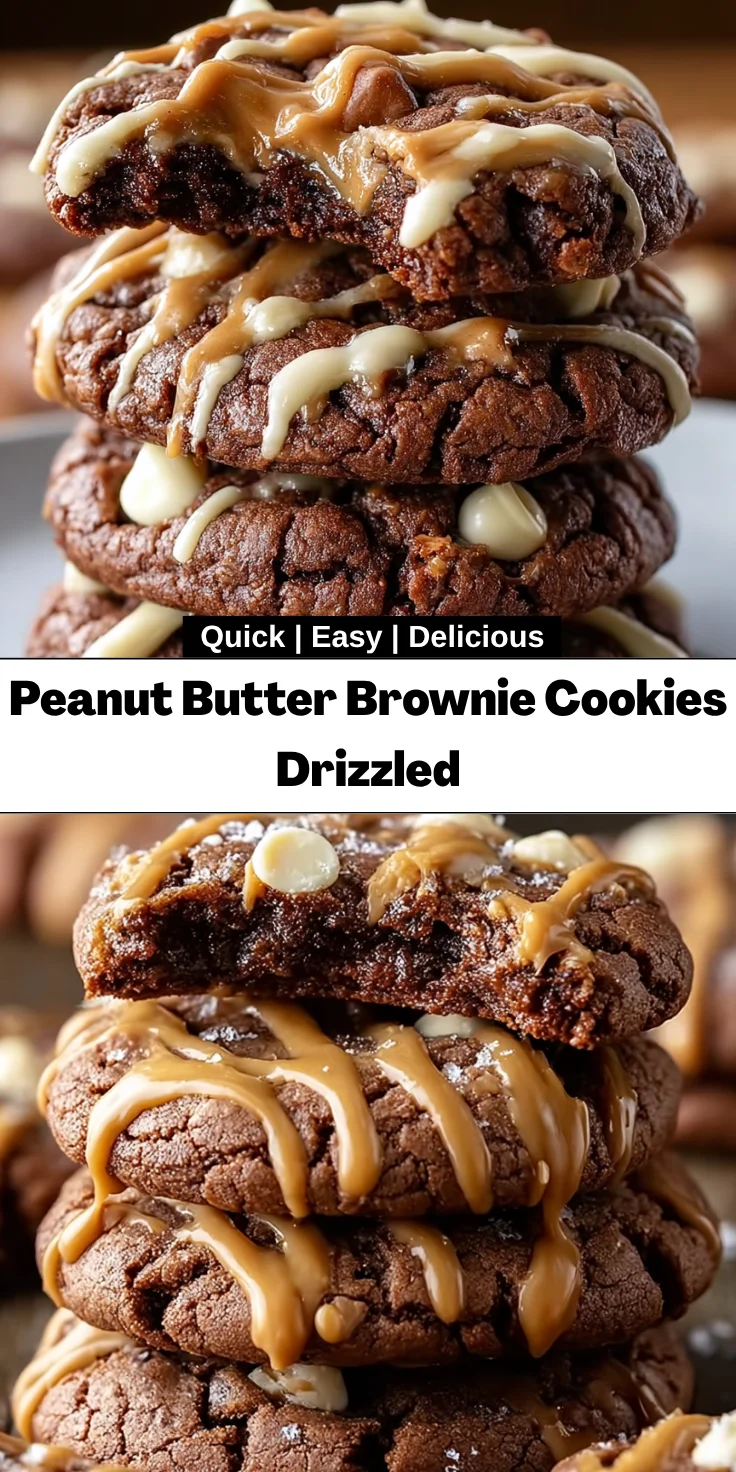
Introduction to Peanut Butter Brownie Cookies Drizzled
Let’s face it, life is busy and that especially rings true for many of us that are busy moms and professionals. Here’s the kicker – what if I was to tell you that you can make a batch of Peanut Butter Brownie Cookies Drizzled that will appease your sweet tooth but also impress your loved ones? All the goodness of the most tasty sweets combines the huge flavors of peanut butter as well as chocolate itself; obviously, that’s why these are a great way out in terms of a fast ending of a business day. Trust me on this one – these cookies are the cheer you need to lift your weeknight routine with a little bit of warmth and affection.
Why You’ll Love This Peanut Butter Brownie Cookies Drizzled
One bite of these Peanut Butter Brownie Cookies Drizzled and you’ll understand their magic! They’re super easy to make, taking just 15 minutes of prep and 12 minutes of baking. The gooey, chewy texture offers a blissful contrast to the drizzled white chocolate, creating ultimate comfort in every cookie. Plus, they’re perfect for kids of all ages, making them a delightful treat to share after a long day.
Ingredients for Peanut Butter Brownie Cookies Drizzled
Gathering the right ingredients is the first step toward creating your glorious Peanut Butter Brownie Cookies Drizzled. Here’s what you’ll need:
- Unsalted butter: This gives the cookies a rich flavor and provides moisture.
- Creamy peanut butter: The star of the show! It imparts a delicious nuttiness and chewy texture.
- Granulated sugar: This sweetens the cookies while helping them to become soft and chewy.
- Brown sugar: This adds moisture and a slight caramel flavor, elevating the cookie experience.
- Large eggs: These act as binding agents to help hold everything together in perfect harmony.
- Vanilla extract: Just a splash of this adds warmth and depth to the cookies’ overall flavor.
- Unsweetened cocoa powder: It enriches the chocolate flavor and provides the brownie-like essence.
- All-purpose flour: This is essential for structure, giving the cookies their shape.
- Baking soda: It helps the cookies rise slightly, creating that fluffy texture.
- Salt: Just a pinch enhances all the flavors, balancing sweetness.
- White chocolate chips: Perfect for drizzling over the cookies for that beautiful finish. Substitute with dark chocolate for a richer taste!
Don’t worry about measuring right now! You’ll find exact quantities at the bottom of the article, perfect for printing out and keeping in your kitchen.
How to Make Peanut Butter Brownie Cookies Drizzled
Making these Peanut Butter Brownie Cookies Drizzled is a breeze! I’ll walk you through each step to ensure you enjoy the process. Let’s dive into the magic of baking!
Step 1: Combine Wet Ingredients
Start by grabbing a large mixing bowl. Whisk together the melted butter and creamy peanut butter until smooth. This combo is the heart of your cookies, adding moisture and flavor. Next, add the granulated sugar and brown sugar. Mix until everything is well blended and glossy. Trust me, this glossy magic sets the stage for deliciousness!
Step 2: Add Dry Ingredients
Now comes the fun part. Sift in the cocoa powder, flour, baking soda, and salt. Gently fold the mixture with a spatula or wooden spoon until a thick, fudgy dough forms. It’s okay if you see some flour bits; overmixing can dull the cookie’s nice chewy texture. This dough should give off a brownie-like vibe—it’s pure bliss in a bowl!
Step 3: Chill the Dough
If you have a bit of time, let’s chill the dough for about 30 minutes. This step is optional but highly recommended. Chilling helps the cookies hold their shape, preventing them from spreading too much in the oven. Plus, it enhances that chewy texture we all adore!
Step 4: Preheat and Prepare for Baking
While the dough chills, it’s time to get your oven ready! Preheat it to 350°F (175°C). Then, line two baking sheets with parchment paper. This little trick keeps cookies from sticking and makes cleanup a breeze. Once the oven is hot, you’re all set!
Step 5: Shape and Bake the Cookies
Now, scoop the chilled dough into tablespoon-sized balls. Place them about 2 inches apart on the prepared baking sheets. Gently flatten each ball with the back of a spoon. This little nudging helps them bake evenly. Pop them in the oven and bake for 10-12 minutes. You want the edges set but remember, the centers should look slightly soft. They’ll continue to cook on the pan, creating chewy perfection!
Step 6: Drizzle with White Chocolate
Once the cookies are cooled, it’s time for the starry finish! Melt the white chocolate chips in a microwave-safe bowl, heating in 20-second intervals and stirring until smooth. Use a spoon or piping bag to elegantly drizzle the chocolate over each cookie. This adds the final touch of sweetness and a beautiful presentation. Wait a moment for the chocolate to set before diving in!
Tips for Success
- Use room-temperature ingredients for easier mixing and a smoother dough.
- Don’t skip the chilling step—it’s key for chewy cookies!
- Experiment with mix-ins like nuts or different chocolate types for fun variations.
- Keep an eye on the baking time to ensure cookies stay soft inside.
- Try adding a sprinkle of sea salt on top before baking for a flavor boost!
Equipment Needed
- Mixing bowl: A large bowl, or even a sturdy pot will do!
- Whisk: Use a fork if you don’t have a whisk handy.
- Spatula: A wooden spoon works great too for mixing your dough.
- Baking sheets: Any sheet pan will suffice; just make sure to line them!
- Parchment paper: Silicone baking mats are a fantastic alternative.
Variations
- Nutty Delight: Add chopped walnuts or pecans for an extra crunch and flavor boost.
- Dark Chocolate Lovers: Swap white chocolate chips for dark chocolate chips to intensify that rich cocoa taste.
- Gluten-Free Option: Substitute all-purpose flour with a 1:1 gluten-free baking blend for a gluten-free treat.
- Vegan Twist: Use coconut oil instead of butter, and flax eggs in place of regular eggs for a vegan-friendly version.
- Spice It Up: A dash of cinnamon or a pinch of cayenne can add a delightful kick and warmth.
Serving Suggestions
- Pair your Peanut Butter Brownie Cookies Drizzled with a tall glass of cold milk for the ultimate nostalgia.
- Serve alongside a scoop of vanilla ice cream for a decadent dessert experience.
- Dress up your cookie plate with fresh berries for a pop of color.
- Wrap them in cute packaging for delightful homemade gifts.
- Enjoy with a hot cup of coffee or tea for that cozy moment.
FAQs about Peanut Butter Brownie Cookies Drizzled
Have questions about making these fabulous Peanut Butter Brownie Cookies Drizzled? You’re not alone! Here are some common queries that pop up while baking these treats:
Can I make the dough ahead of time?
Absolutely! You can prepare the dough in advance and store it in the fridge for up to 3 days. Just remember to let it come to room temperature before scooping and baking.
How can I store the cookies?
Keep your cookies in an airtight container at room temperature for up to a week. If you want them to last longer, pop them in the freezer for a treat anytime!
What if my cookies spread too much while baking?
If this happens, it usually means the dough was too warm. Make sure to chill the dough for a bit before baking. A quick chill prevents excessive spreading!
Can I use natural peanut butter?
You can, but keep in mind that natural peanut butter can be a bit runnier and may change the texture of the cookies. Pot for the creamy, conventional kind for best results.
How do I know when the cookies are done?
Look for set edges and soft centers—they’ll finish cooking on the pan. Cookies that seem a bit underdone will firm up perfectly as they cool!
Final Thoughts
There’s something special about whipping up a batch of Peanut Butter Brownie Cookies Drizzled. The aroma fills your kitchen, creating a warm, inviting atmosphere that instantly lifts your spirits. These cookies are not just a treat; they’re a way to bring family together. Watching my kids enjoy these gooey delights reminds me that simple pleasures can create the most cherished memories. So whether you’re celebrating a special occasion or just a cozy night at home, these cookies will bring joy in every bite. Trust me, they’re worth every second spent in the kitchen!
Print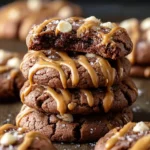
Peanut Butter Brownie Cookies Drizzled
- Total Time: 42 minutes
- Yield: 24 cookies 1x
- Diet: Vegetarian
Description
Delicious peanut butter brownie cookies drizzled with white chocolate for a delightful treat.
Ingredients
- 1/2 cup unsalted butter, melted
- 1/2 cup creamy peanut butter
- 1 cup granulated sugar
- 1/2 cup brown sugar, packed
- 2 large eggs
- 1 teaspoon vanilla extract
- 1/2 cup unsweetened cocoa powder
- 1 cup all-purpose flour
- 1/2 teaspoon baking soda
- 1/4 teaspoon salt
- 1/2 cup white chocolate chips (for drizzling)
Instructions
- In a large mixing bowl, whisk together the melted butter, peanut butter, granulated sugar, and brown sugar until smooth. Add the eggs and vanilla extract, and stir until everything is well combined and glossy.
- Sift in the cocoa powder, flour, baking soda, and salt. Mix gently with a spatula or wooden spoon until the dough is thick and fudgy. It should resemble brownie batter but be thick enough to scoop.
- If you have time, chill the dough for 30 minutes. This helps the cookies hold their shape and enhances the chewy texture.
- Preheat the oven to 350°F (175°C). Line two baking sheets with parchment paper. Scoop the dough into tablespoon-sized balls and place them about 2 inches apart. Flatten slightly with the back of a spoon.
- Bake for 10–12 minutes, just until the edges are set but the centers still look slightly soft. They’ll continue to cook a bit on the pan.
- Let the cookies cool completely. Melt the white chocolate chips in a microwave-safe bowl in 20-second intervals, stirring until smooth. Use a spoon or piping bag to drizzle the white chocolate over the cookies in zig-zag lines.
- Let the chocolate set before storing—or eat them warm for maximum meltiness.
Notes
- Chilling the dough is optional but recommended for better texture.
- For a richer flavor, use dark chocolate chips instead of white chocolate chips.
- Store cookies in an airtight container for up to a week.
- Prep Time: 15 minutes
- Cook Time: 12 minutes
- Category: Dessert
- Method: Baking
- Cuisine: American
Nutrition
- Serving Size: 1 cookie
- Calories: 180
- Sugar: 15g
- Sodium: 90mg
- Fat: 8g
- Saturated Fat: 4g
- Unsaturated Fat: 3g
- Trans Fat: 0g
- Carbohydrates: 23g
- Fiber: 1g
- Protein: 3g
- Cholesterol: 25mg