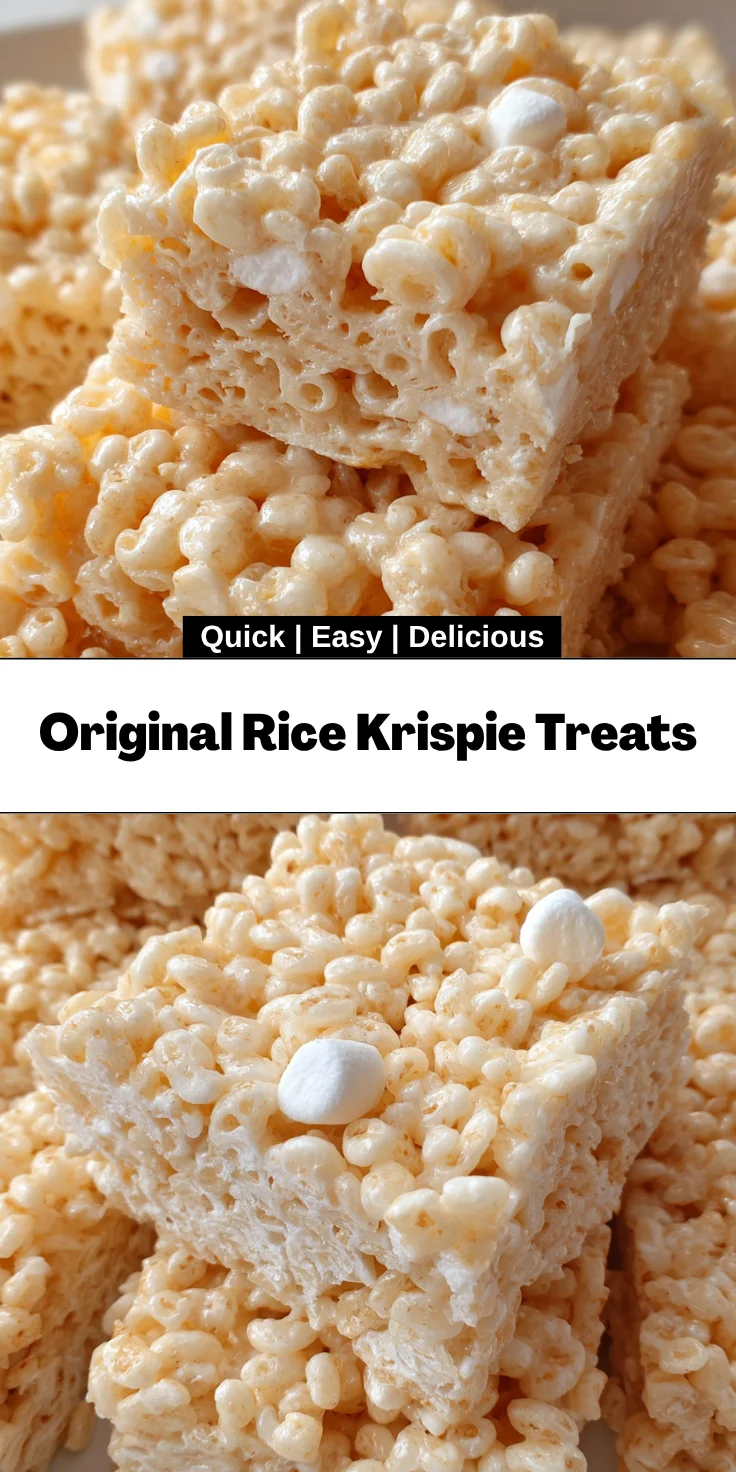
Introduction to Original Rice Krispie Treats
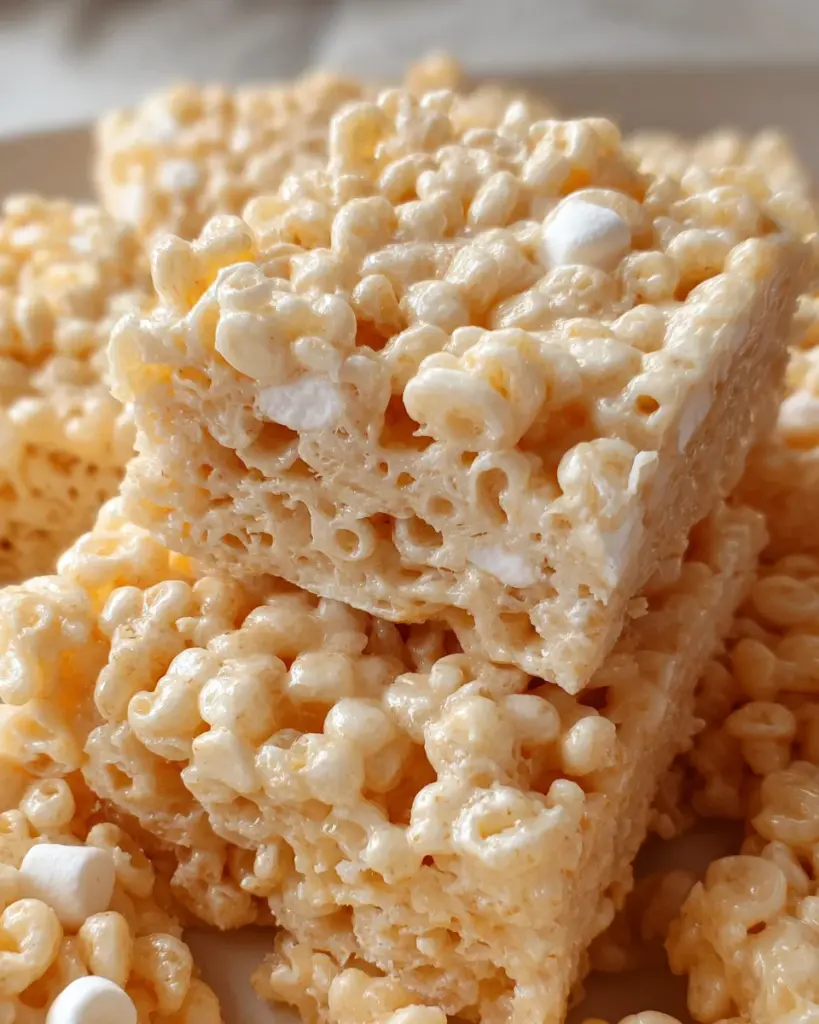
There’s something magical about the moment a batch of Original Rice Krispie Treats comes together. It’s like a nostalgic hug from your childhood. I often whip up this classic recipe when life gets a bit chaotic—like on those busy weekdays filled with juggling work and family. Within just 15 minutes, you can create a delightful snack that delights everyone, from kids to adults. Whether it’s a quick solution for after-school cravings or a fun treat to impress during gatherings, these marshmallow wonders never fail to bring a smile!
Why You’ll Love This Original Rice Krispie Treats
These Original Rice Krispie Treats are a lifesaver for busy moms like me. They come together in a flash, perfect when you’re juggling multiple tasks. The combination of crispy rice and gooey marshmallows creates an irresistible flavor experience that keeps everyone coming back for more. Plus, they require minimal ingredients, so you won’t break the bank or your sanity making them. Simply put, they’re a delightful treat for every occasion!
Ingredients for Original Rice Krispie Treats
To create these delightful Original Rice Krispie Treats, you’ll need just a few staple ingredients. Don’t worry; I’ll also share optional tweaks to make them even yummier!
- Unsalted Butter: Melts beautifully and provides a rich flavor. You can substitute with coconut oil for a dairy-free version.
- Marshmallows: The heart of this recipe! They give that delightful chewiness. Mini marshmallows work great too and melt faster.
- Puffed Rice Cereal: Offers the classic crunch. Try using brown rice cereal for a healthier twist or gluten-free option.
If you’re feeling adventurous, a dash of vanilla extract can amp up the flavor profile. And for a fun twist, consider adding colorful sprinkles or mixing in your favorite candy pieces!
For exact measurements, scroll towards the end of the article where I’ve provided a handy printable recipe.
How to Make Original Rice Krispie Treats
Making Original Rice Krispie Treats is as simple as 1-2-3—okay, more like 6 steps! Grab your ingredients, and let’s dive right into this sweet adventure.
Step 1: Prepare Your Pan
Start by coating a 33 x 23 cm rectangular pan with non-stick spray. This is key! A well-greased pan keeps your treats from sticking, ensuring a clean release when you’re ready to serve.
Step 2: Melt the Butter
In a large microwave-safe bowl, melt the unsalted butter gently. Keep an eye on it! You want it melted but not bubbling. This step adds the smooth richness that makes these treats irresistible.
Step 3: Combine Butter and Marshmallows
Add the marshmallows to the melted butter. Stir well to coat each marshmallow with buttery goodness. You can almost smell the sweetness already!
Step 4: Melt the Mixture
Now, microwave the combined mixture for about 45 seconds. Remove it and give it a good stir. Return it to the microwave for another 45 seconds, stirring until it’s completely melted and silky smooth. This melting process is what gives the Original Rice Krispie Treats that chewy texture!
Step 5: Mix in the Cereal
Pour the puffed rice cereal into your gooey marshmallow mixture. Use a spatula or wooden spoon to mix it all together. Ensure every piece of cereal is coated in that marshmallow magic. This is where the snack’s signature crunch comes to life!
Step 6: Press into the Pan
Transfer the mixture to the prepared pan, spreading it out evenly. Use a greased spatula or your hands (lightly coated in spray) to press it firmly into an even layer. The more snugly packed, the better the bars will hold together once cooled!
Tips for Success
- Make sure to thoroughly grease your pan; this will save you from a sticky disaster.
- Use a spatula sprayed with non-stick spray to press down the mixture; it helps prevent sticking.
- Let the treats cool completely before cutting; this ensures they hold their shape.
- Store leftovers in an airtight container for up to a week to maintain freshness.
- Feel free to experiment with toppings or mix-ins for added fun!
Equipment Needed
- Microwave-safe bowl: Essential for melting butter and marshmallows. You can use a heatproof glass bowl if you don’t have a microwave-safe one.
- Spatula: Perfect for mixing and pressing down the treats. A wooden spoon is a great alternative.
- Measuring cups: Necessary for portioning ingredients accurately; a kitchen scale can also work well.
- 33 x 23 cm rectangular pan: A standard baking dish for shaping your treats; any similar-sized dish will do in a pinch.
Variations
- Chocolate Delight: Drizzle melted chocolate on top or mix chocolate chips into the marshmallow mixture for a rich twist.
- Nutty Version: Stir in a handful of your favorite nuts, like almonds or peanuts, for added crunch and nutrition.
- Dried Fruits: Fold in some dried cranberries or raisins for a fruity surprise that adds both sweetness and texture.
- Peanut Butter Bliss: Mix in peanut butter with the butter to create a creamy layer of flavor that elevates your treats.
- Gluten-Free Option: Use certified gluten-free puffed rice cereal to enjoy these delicious bars without worry.
Serving Suggestions
- Pair these Original Rice Krispie Treats with a glass of ice-cold milk for a delightful dunking experience.
- For a fun twist, serve them alongside fresh fruit like strawberries or banana slices for a balanced snack.
- Wrap each treat in colorful cellophane for a charming homemade gift or party favor.
- For added flair, stack them on a decorative plate, sprinkle with powdered sugar, and serve at gatherings.
FAQs about Original Rice Krispie Treats
Can I use flavored marshmallows for a twist? Absolutely! Using flavored marshmallows, like strawberry or chocolate, can add a fun twist to your Original Rice Krispie Treats.
How do I store leftovers properly? Store your treats in an airtight container at room temperature. This keeps them fresh for up to a week, so they remain just as delicious!
What should I do if my treats are too sticky? If your treats turn out sticky, you’ve likely added too many marshmallows. Don’t worry! You can sprinkle a bit of extra puffed rice cereal and mix until evenly distributed.
Can I make these treats dairy-free? Yes! Substitute the unsalted butter with coconut oil or vegan butter for a delightful dairy-free version of these classic treats.
Is there a way to make these healthier? You can make your Original Rice Krispie Treats a bit healthier by using brown rice cereal instead of the regular kind. Consider adding nuts or dried fruits for a nutritious boost too!
Final Thoughts
Every time I make Original Rice Krispie Treats, I’m reminded of the simple joys of cooking. The aroma of melted marshmallows fills the kitchen, welcoming everyone with a sense of comfort. These treats aren’t just a dessert; they’re a reason to gather, celebrate, and create memories. Whether it’s a family movie night or a bake sale for school, sharing these bars brings so much joy. So, roll up your sleeves, have fun, and let your creativity show! Trust me, with these treats on hand, happiness is just a bite away!
Print
Original Rice Krispie Treats
- Total Time: 15 minutes
- Yield: 16 squares 1x
- Diet: Vegetarian
Description
Original Rice Krispie Treats are a classic, easy-to-make snack that brings a delightful combination of crispy and chewy textures.
Ingredients
- 45 grams unsalted butter, melted
- 285 grams marshmallows
- 150 grams puffed rice cereal
Instructions
- Coat a 33 x 23 cm rectangular pan evenly with non-stick spray and set aside.
- In a large microwave-safe bowl, heat the melted butter gently.
- Add the marshmallows to the bowl and stir to combine with butter.
- Microwave the mixture for 45 seconds, remove, and stir thoroughly. Repeat heating for another 45 seconds, then stir until the marshmallows are completely melted and smooth.
- Add the puffed rice cereal to the melted marshmallow mixture. Stir until all cereal is uniformly coated.
- Evenly distribute the mixture into the prepared pan. Press firmly into an even layer using a spatula or lightly greased hands.
Notes
- Make sure the pan is coated well to prevent sticking.
- For added flavor, you can include vanilla extract in the melted marshmallow mixture.
- Let the treats cool completely before cutting them into squares.
- Prep Time: 10 minutes
- Cook Time: 5 minutes
- Category: Dessert
- Method: Microwave
- Cuisine: American
Nutrition
- Serving Size: 1 square
- Calories: 90
- Sugar: 9g
- Sodium: 30mg
- Fat: 3g
- Saturated Fat: 2g
- Unsaturated Fat: 1g
- Trans Fat: 0g
- Carbohydrates: 16g
- Fiber: 0g
- Protein: 1g
- Cholesterol: 10mg