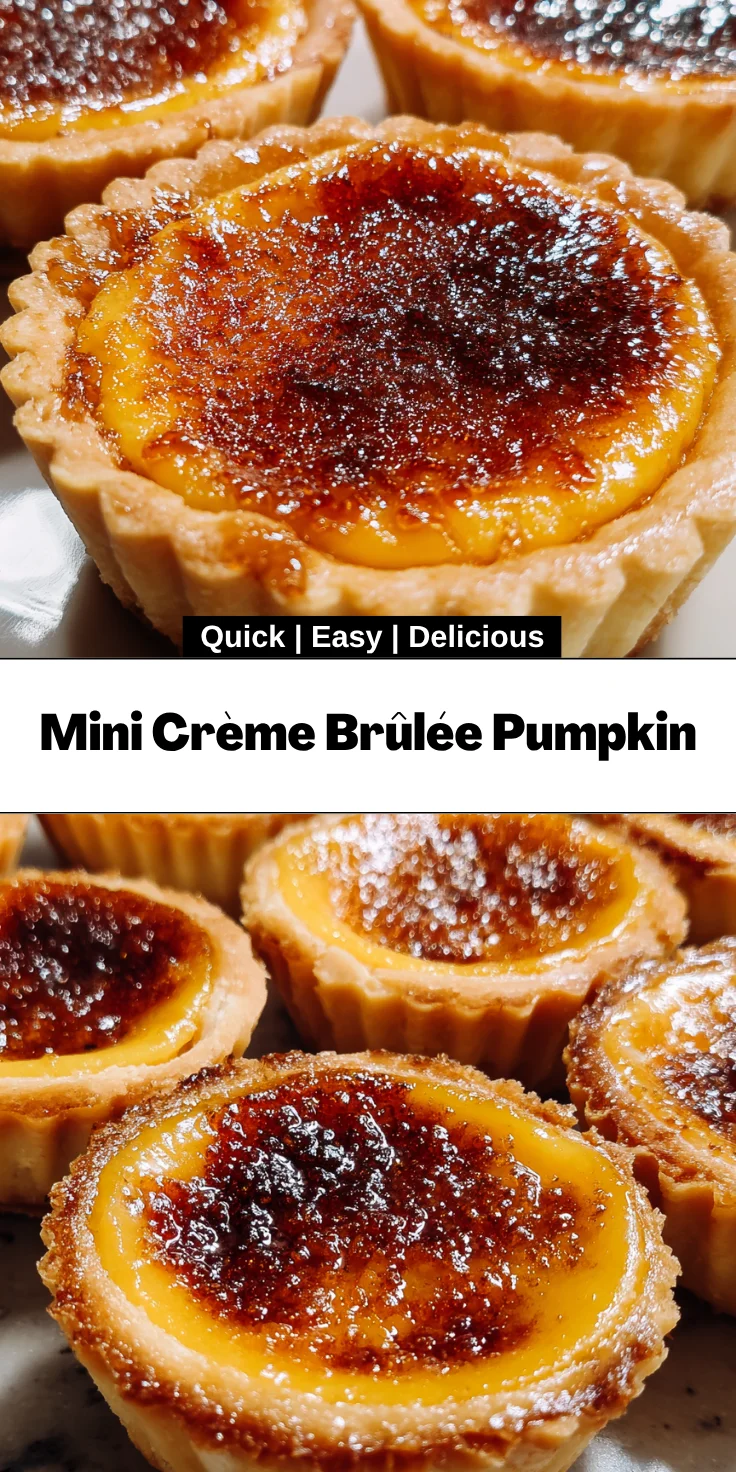
Introduction to Mini Crème Brûlée Pumpkin
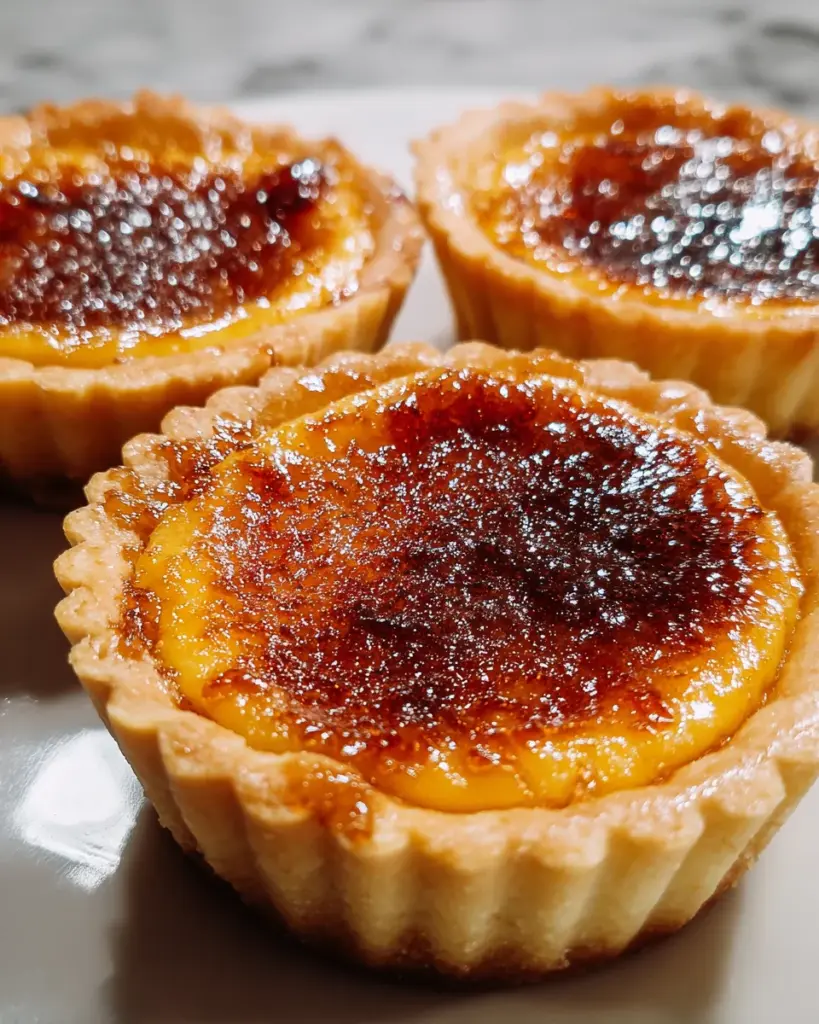
With the changing of the leaves and that crisp feeling in the air, I always start craving warm, seasonal desserts. And that is where the Mini Crème Brûlée Pumpkins come into play-they have the perfect marriage of creamy pumpkin deliciousness with a yummy caramelized sugar top. Whether you are entertaining company or having a quiet evening at home, this is one recipe to use when you are pinched for time. Yeah, these are smile-inducing, sugar-satisfying kind of after just one bite for anybody desserts so don’t even try to deny it will completely become part of your seasonal rotation!
Why You’ll Love This Mini Crème Brûlée Pumpkin
What’s not to love about these adorable desserts? They’re easy to whip up, taking just over 50 minutes from start to finish. The combination of the creamy pumpkin filling and the crispy sugar crust will make your taste buds dance with joy. Plus, they impress guests without keeping you in the kitchen all day. Whether it’s a family gathering or a cozy night in, these mini delights are sure to shine!
Ingredients for Mini Crème Brûlée Pumpkin
Let’s talk about the ingredients that make these Mini Crème Brûlée Pumpkin treats irresistible! Each one plays a vital role in creating the perfect fall dessert.
- Store-bought pie dough: A time-saver that makes this recipe accessible. However, homemade dough can add a personal touch!
- Flour: Just a little for dusting the work surface to prevent sticking. Simple but essential!
- Store-bought pumpkin pie filling: Convenient and packs all the classic flavors. If you have the time, I highly recommend making your own for a fresh twist!
- Superfine or granulated sugar: This is what gives that beautiful caramelized crust. Make sure you sprinkle it evenly for the best finish!
If you’re interested in exact quantities, you’ll find them at the bottom of the article. Happy baking!
How to Make Mini Crème Brûlée Pumpkin
Now comes the fun part—creating those delectable Mini Crème Brûlée Pumpkin treats! Follow these straightforward steps, and you’ll find yourself a dessert hero in no time.
Prepare the Oven and Dough
Positioning the Oven Rack
First things first, let’s get that oven ready. Position the oven rack in the center and preheat it to 175°C. This ensures even baking, which is key to a golden crust.
Form the Crust
Roll Out the Dough
Next, lightly dust your work surface with flour to prevent any sticky situations. Roll the pie dough into about 6 mm thickness. This allows it to hold up against the rich filling while keeping that flaky texture.
Cut Out Rounds and Place in Muffin Tin
Grab a cookie cutter or a paring knife and cut out twelve rounds that are about 9 cm in diameter. Gently place these rounds into a 12-cup muffin tin, pushing them down lightly to form little shells. No need for perfection here; they’ll still taste divine!
Fill and Bake
Spoon in Pumpkin Filling
Now it’s time for the star of the show—pumpkin pie filling! Spoon in 45 to 60 ml of filling into each crust, leaving just a bit of space (around 3 mm) from the top edge. This little bit of room is essential for that perfect bake.
Baking Time and Signs of Doneness
Slide the muffin tin into the oven and bake for 25 to 35 minutes. Keep an eye on them; you’re looking for a golden crust and slightly set filling that still jiggles in the center. It’s a fine balance, just like life!
Caramelizing the Sugar
Applying the Sugar
Once they’re done baking, let the mini crème brûlées cool completely. When they’re cool, evenly sprinkle superfine sugar atop each one. This forms that luxurious crust we all adore.
Using the Blowtorch Safely
To caramelize the sugar, grab a blowtorch. Trust me, this part is fun! Gently toast the sugar until it’s bubbly and golden, which should take about a minute. Be careful not to burn it—golden is the goal here, not burnt-crispy!
Tips for Success
- Use chilled pie dough for a flaky crust—it makes a world of difference!
- Don’t rush the cooling process. Make sure the mini crème brûlées are completely cool before adding sugar.
- Sprinkle sugar just before serving to keep the crust crunchy and delightful.
- Practice your blowtorch technique on a leftover piece of dough for even results!
- Feel free to top with whipped cream for added decadence.
Equipment Needed
- Muffin tin: Essential for shaping your mini crème brûlées. If you don’t have one, small ramekins work too!
- Rolling pin: For rolling out the dough. A wine bottle can do the job in a pinch!
- Blowtorch: To caramelize sugar. A kitchen torch is ideal, but your broiler can work as an alternative.
- Cookie cutter or paring knife: For cutting dough rounds. A glass or cup can substitute if needed.
Variations
- Spiced version: Add a pinch of cinnamon or nutmeg to the pumpkin filling for an extra burst of fall flavor.
- Dairy-free: Substitute the pie crust with a dairy-free option and use coconut cream for a vegan twist.
- Nutty crunch: Top your mini crème brûlées with crushed pecans or walnuts after caramelizing the sugar for added texture.
- Chocolate lovers: Mix in a bit of melted chocolate to the pumpkin filling for a rich chocolate pumpkin experience.
- Maple twist: Drizzle some maple syrup into the filling or as a topping for a sweet contrast to the pumpkin flavor.
Serving Suggestions for Mini Crème Brûlée Pumpkin
- Whipped cream: A dollop of fresh whipped cream on the side enhances the creamy texture.
- Spiced tea or coffee: Pair your treats with a warm cup of chai or pumpkin spice latte for a delightful experience.
- Fall fruits: Serve alongside sliced apples or pears for a refreshing contrast.
- Elegant presentation: Arrange on a beautiful dessert platter, garnished with cinnamon sticks or sprigs of mint.
FAQs about Mini Crème Brûlée Pumpkin
Can I use homemade pumpkin pie filling for this recipe?
Absolutely! Homemade pumpkin pie filling adds a fresh taste that’s hard to beat. Just make sure it has the right spices to complement the pumpkin flavor!
How do I store the Mini Crème Brûlée Pumpkin?
You can store these delights in the fridge for up to three days. Just wait to caramelize the sugar until you’re ready to serve them. This keeps that delightful crunch!
Can I make these mini treats ahead of time?
Yes, you can prepare the shells and filling in advance. Simply bake them and store them in the fridge. Caramelize the sugar just before serving for the best experience!
What can I use if I don’t have a blowtorch?
If you don’t have a blowtorch, you can broil them in your oven. Just place it on the top rack and keep a close eye—sugar can go from golden to burnt in a flash!
Is this dessert safe for those with nut allergies?
Yes, the ingredients listed are nut-free. Just be cautious with any toppings or variations that introduce nuts. Always check labels if you’re buying pre-made items.
Final Thoughts
There’s something magical about creating Mini Crème Brûlée Pumpkin treats that captures the essence of fall in every bite. These little gems are not just desserts; they’re a celebration of warmth, comfort, and seasonal flavors that can easily turn a regular evening into something special. As you savor each spoonful, the rich pumpkin mingles with that delightful crunch of caramelized sugar, reminding you of cozy gatherings and cherished moments. I hope these treats bring as much joy to your table as they’ve brought to mine. Happy cooking, and may your fall festivities be filled with sweetness!
Print
Mini Crème Brûlée Pumpkin
- Total Time: 55 minutes
- Yield: 12 mini crème brûlées 1x
- Diet: Vegetarian
Description
A delightful dessert that combines the flavors of pumpkin and the rich creamy texture of crème brûlée, perfect for fall festivities.
Ingredients
- 255 g store-bought pie dough or equivalent homemade batch
- Flour for dusting
- 590 ml store-bought pumpkin pie filling or half batch homemade pumpkin pie filling
- 100 g superfine or granulated sugar
Instructions
- Position oven rack in center and preheat oven to 175°C.
- Lightly dust work surface with flour and roll dough to 6 mm thickness.
- Cut out twelve 9 cm diameter rounds using a cookie cutter or paring knife.
- Place dough rounds into a 12-cup muffin tin, pressing gently to form shells.
- Spoon 45 to 60 ml pumpkin pie filling into each shell, leaving 3 mm from top edge free.
- Bake until crust is golden and filling is slightly set but still jiggles in center, approximately 25 to 35 minutes.
- Remove from oven and allow to cool completely.
- Evenly sprinkle superfine sugar atop each pie.
- Using a small blowtorch, caramelize sugar until bubbly and golden, about 1 minute.
- Let cool briefly before serving.
Notes
- Ensure the caramelized sugar is golden, not burnt, for the best flavor.
- Experiment with homemade pumpkin pie filling for a fresh taste.
- Allow the mini crème brûlées to cool completely for easier handling before serving.
- Prep Time: 20 minutes
- Cook Time: 35 minutes
- Category: Dessert
- Method: Baking
- Cuisine: American
Nutrition
- Serving Size: 1 mini crème brûlée
- Calories: 200
- Sugar: 15 g
- Sodium: 150 mg
- Fat: 10 g
- Saturated Fat: 4 g
- Unsaturated Fat: 4 g
- Trans Fat: 0 g
- Carbohydrates: 25 g
- Fiber: 1 g
- Protein: 3 g
- Cholesterol: 30 mg