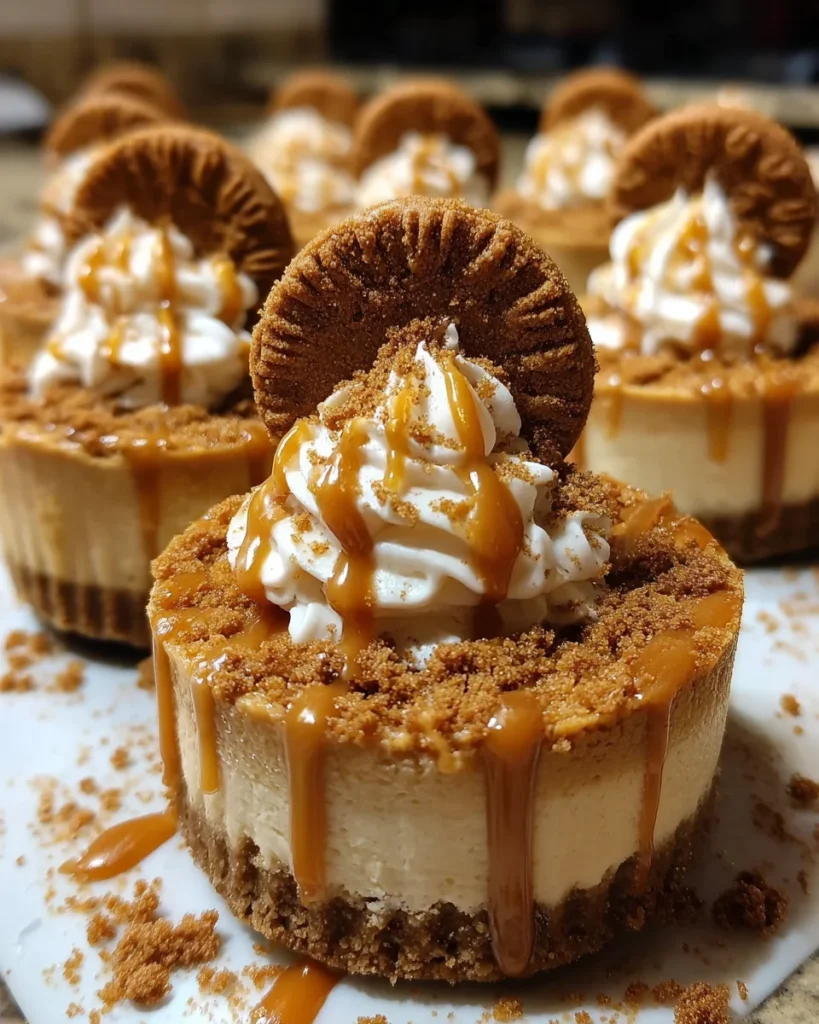
Introduction to Mini Biscoff Cheesecake
As a busy mom, I often find myself searching for desserts that satisfy my sweet tooth without eating up my entire day. That’s where this Mini Biscoff Cheesecake comes into play! With its creamy filling and that delightful crunch from the Biscoff cookie crust, it’s a sweet indulgence that feels special without being overly complicated.
It’s the perfect treat for a last-minute gathering with friends or a cozy night in with my family, offering a delicious break in a hectic schedule. Trust me, once you try this heavenly dessert, your loved ones will be begging for seconds!
Why You’ll Love This Mini Biscoff Cheesecake
This Mini Biscoff Cheesecake is not just a dessert; it’s an act of love!
It’s quick and easy to whip up, needing only 20 minutes of prep time.
The taste? Absolutely divine!
With creamy Biscoff spread blended into the filling and that irresistible cookie crust, it captures every sweet craving beautifully.
And best of all, it can be made ahead of time—perfect for even the busiest of schedules!
Ingredients for Mini Biscoff Cheesecake
To create your delightful Mini Biscoff Cheesecake, you’ll need a few simple ingredients. Each one plays a vital role in building the layered magic of flavor. Here’s what you’ll gather:
- Biscoff cookies: These are the star player! They form the crunchy base and add that signature caramelized flavor.
- Unsalted butter: Used to bind the cookie crumbs together, it brings richness to the crust.
- Cream cheese: The heart of any cheesecake! Softened cream cheese ensures a smooth and creamy filling.
- Granulated sugar: This adds sweetness to the filling, balancing the rich cream cheese.
- Brown sugar: A touch of molasses flavor enhances the caramel notes in the Biscoff, making it even more indulgent.
- Vanilla extract: It brings warmth and depth to the flavor profile, complementing the Biscoff beautifully.
- Heavy cream: Whipped to soft peaks, it lends a light texture to the filling, making it fluffy and irresistible.
- Biscoff spread: This is the secret ingredient that truly elevates the cheesecake. It’s creamy, nutty, and downright delicious! Plus, it’s great for drizzling on top.
- Eggs: They act as a binder, providing structure to the dessert while helping it set perfectly.
- A pinch of salt: Just a touch! Salt enhances all the flavors, rounding out the sweetness.
You’ll find exact measurements for each ingredient at the bottom of the article for easy printing. Feel free to get creative with additions—I’ve even swapped out half the Biscoff spread for a different cookie butter, and it was just as yummy!
How to Make Mini Biscoff Cheesecake
Making this Mini Biscoff Cheesecake is simpler than you might think! Just follow these clear steps, and you’ll have a delightful dessert ready in no time. With easy instructions and some patience, you’ll impress your family and friends with this creamy dream. Here’s how to do it:
Step 1: Prepare the Crust
Start by crushing your Biscoff cookies into fine crumbs. You can do this by placing them in a plastic bag and rolling a rolling pin over them. Alternatively, a food processor speeds things up!
Once crumbled, mix the cookie crumbs with melted unsalted butter. You want to ensure all crumbs are coated.
Then, press this mixture into the bottom of cupcake liners or a muffin tin to form your crust. Think of it as sculpting little cookie shells ready for a sweet filling!
Step 2: Bake the Crust
Preheat your oven to 325°F (160°C) and pop the crusts in to bake for about 5-7 minutes.
This short baking time is crucial to set the crust nicely.
Let them cool completely before moving on to the filling. Patience is key here; a warm crust can make your cheesecake filling a bit runny!
Step 3: Make the Filling
In a mixing bowl, beat the softened cream cheese until it’s smooth and creamy.
Add the granulated and brown sugars along with vanilla extract, blending well.
Next, whip the heavy cream until soft peaks form. Gently fold the whipped cream into the cream cheese mixture for that light, fluffy texture.
Finally, mix in the creamy Biscoff spread and add the eggs one at a time. This method keeps your mixture smooth—no lumps allowed!
Step 4: Combine and Fill
Now, it’s time to combine!
Spoon the creamy filling into the cooled crusts, filling them about three-quarters full.
Leave some space for rising and settling while baking.
If you’re feeling adventurous, you can swirl a little extra Biscoff spread into the filling for added flavor. Your mini cheesecakes are now ready to take on the heat!
Step 5: Bake and Chill
Return the filled crusts to the preheated oven and bake for 18-20 minutes.
You’re looking for the edges to be set while the center has a little jiggle—it’s all about that perfect texture!
Once baked, let them cool at room temperature for 30 minutes, then refrigerate for at least 2 hours to help them fully set.
Step 6: Final Touches
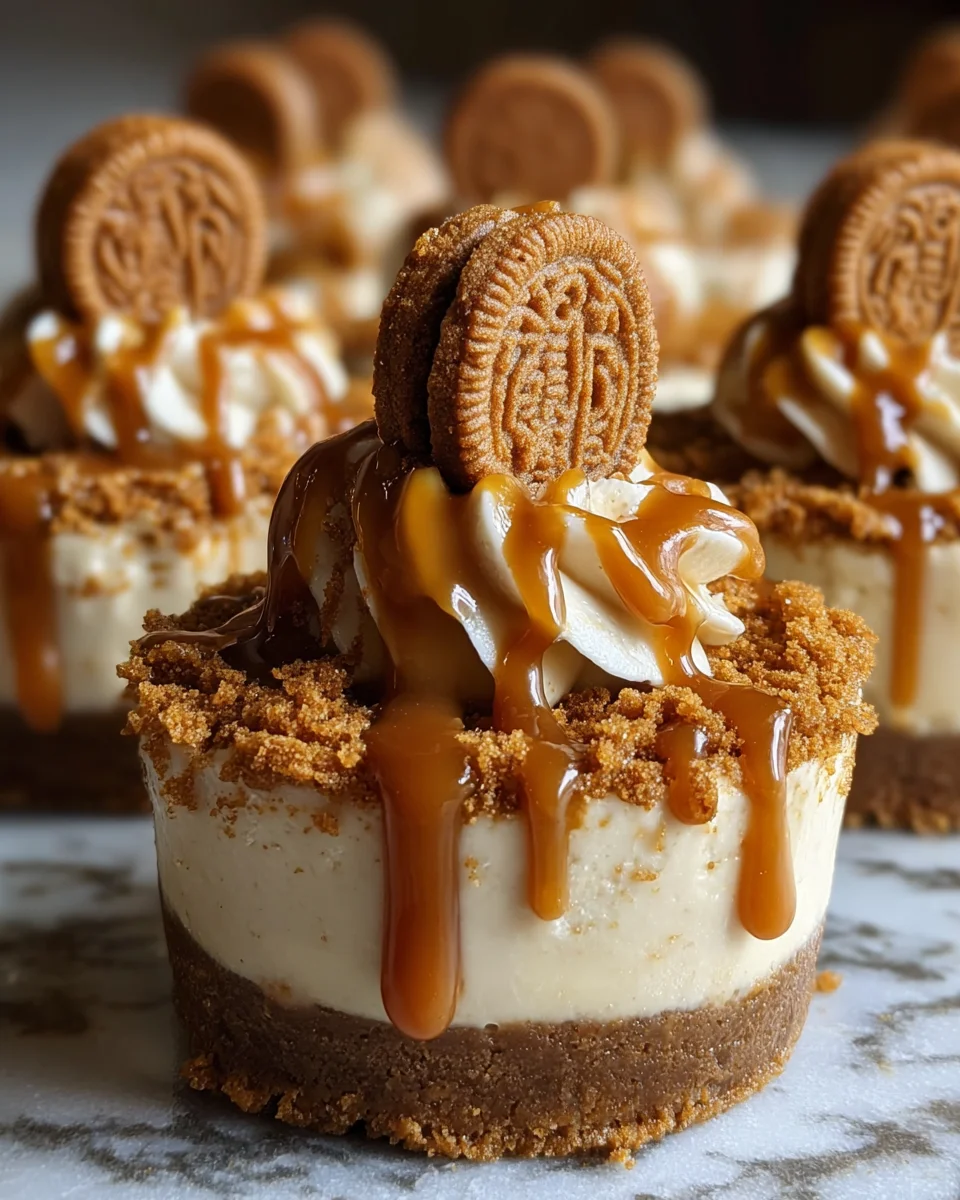
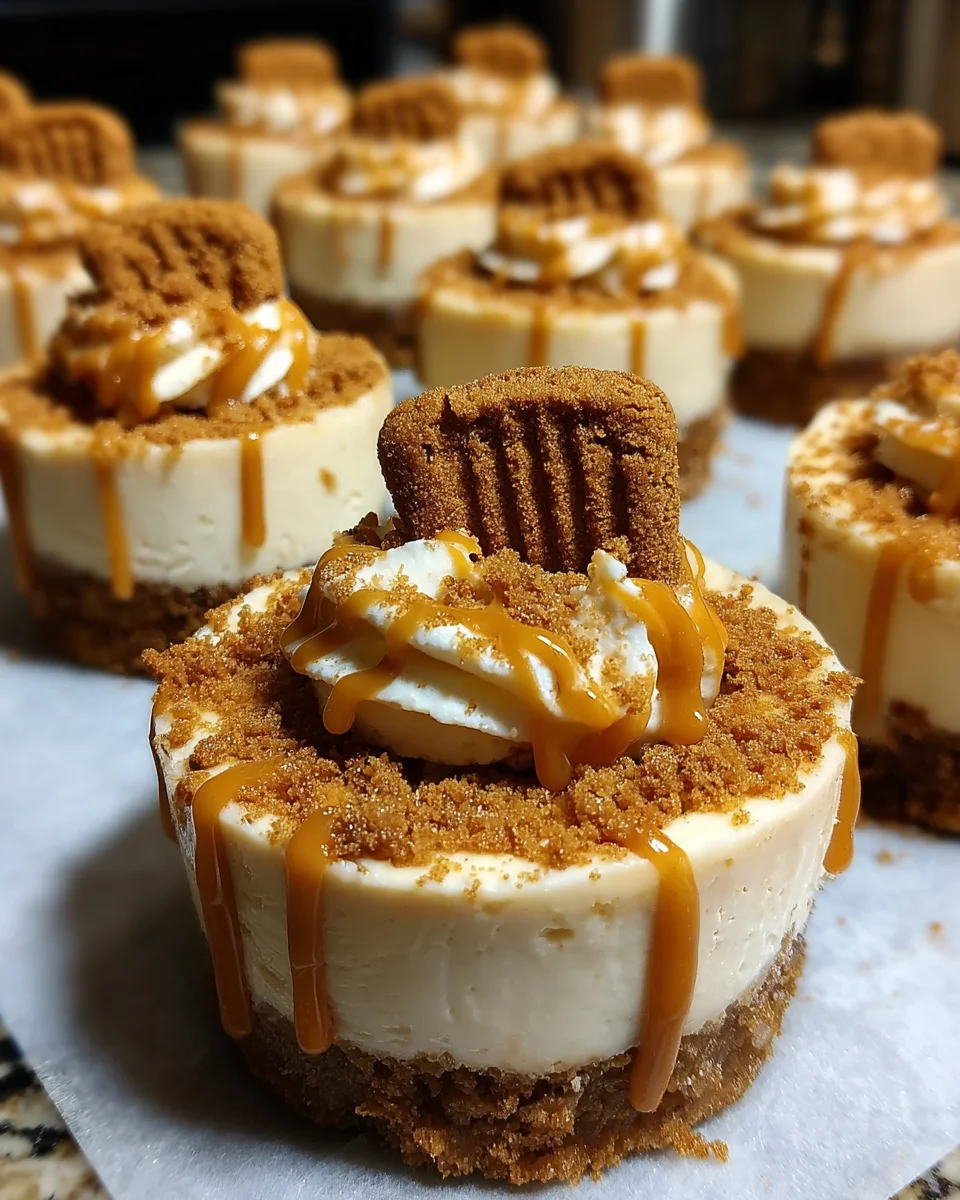
To add the ultimate finishing touches, drizzle melted Biscoff spread over the cheesecakes just before serving.
Then, top each mini cheesecake with a whole Biscoff cookie for that wow factor.
These tiny treats not only look stunning but also promise to be utterly delicious. Enjoy sharing—or keep them all to yourself!
Tips for Success
- Make sure your cream cheese is at room temperature for a smooth filling.
- Don’t skip the cooling step! It helps firm up your cheesecakes.
- If you’re short on time, you can use store-bought cookie crumbs!
- For an extra flavor boost, try adding a pinch of cinnamon to the crust.
- Remember, these cheesecakes can be made a day ahead—just keep them covered in the fridge.
Equipment Needed
- Mixing bowls: Use any size; just make sure they’re big enough for your ingredients.
- Hand mixer or stand mixer: A whisk works too, but mixing will take longer.
- Measuring cups and spoons: Essential for getting your ingredients just right.
- Muffin tin or cupcake liners: These create the perfect shape for your mini cheesecakes.
- Spatula: For folding in whipped cream and smoothing out your filling.
Variations
- Chocolate Twist: Swap out a portion of the Biscoff spread for chocolate hazelnut spread for a decadent chocolate variation.
- Gluten-Free Option: Use gluten-free cookie crumbs to make the crust and ensure everyone can indulge.
- Nutty Delight: Add chopped nuts, like pecans or almonds, into the crust for a delightful crunch.
- Fruity Option: Top your cheesecakes with fresh berries for a burst of color and refreshing flavor.
- Sugar-Free Version: Opt for sugar substitutes in place of granulated and brown sugars for a lighter treat.
Serving Suggestions
- Pair with Coffee: A rich cup of coffee complements the sweet flavors perfectly.
- Fresh Berries: Serve with a side of mixed berries for a refreshing contrast.
- Whipped Cream: Add a dollop of whipped cream for extra creaminess.
- Presentation: Arrange the cheesecakes on a beautiful platter for a stunning display at parties.
FAQs about Mini Biscoff Cheesecake
You might have a few questions about this delightful Mini Biscoff Cheesecake. Let’s clear up some common queries to ensure your baking experience is as smooth as the cheesecake itself!
Can I make Mini Biscoff Cheesecake ahead of time?
Absolutely! These mini cheesecakes can be prepared a day in advance. Just make sure to store them in the refrigerator, covered, for the best flavor and texture. This makes them perfect for parties or those busy weeknights.
How do I keep the cheesecakes from cracking?
To prevent cracking, avoid over-beating the mixture. Make sure to bake them at a low temperature and allow them to cool gradually in the oven before transferring them to the fridge. A little patience goes a long way!
Can I use other cookie types for the crust?
Definitely! While Biscoff cookies are a fantastic choice, you can experiment with others. Golden Oreos, Graham crackers, or even chocolate cookies can add unique flavors and textures to your crust.
What can I use instead of heavy cream?
If you’re looking to lighten up the recipe, you can use half-and-half or evaporated milk. Although the texture will be slightly different, it can still yield a deliciously creamy Mini Biscoff Cheesecake!
Can I freeze Mini Biscoff Cheesecake?
You can freeze these mini cheesecakes! Just make sure they are well-wrapped in plastic wrap and keep them in an airtight container. Thaw in the fridge overnight before serving for the best results.
Final Thoughts
Preparing this Mini Biscoff Cheesecake has transformed my dessert game! The sheer joy of whipping up a creamy, dreamy treat that brings smiles to my family’s faces is simply unmatched.
Every bite is a sweet escape, balancing that rich Biscoff flavor with the soothing creaminess of the cheesecake.
I love how versatile and forgiving this recipe is, making it a reliable companion for my busy days.
So, whether you’re hosting a gathering or just treating yourself, this cheesecake is sure to become a cherished tradition in your home. Dive into this creation and savor the joy!
Print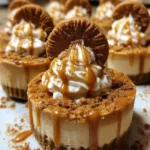
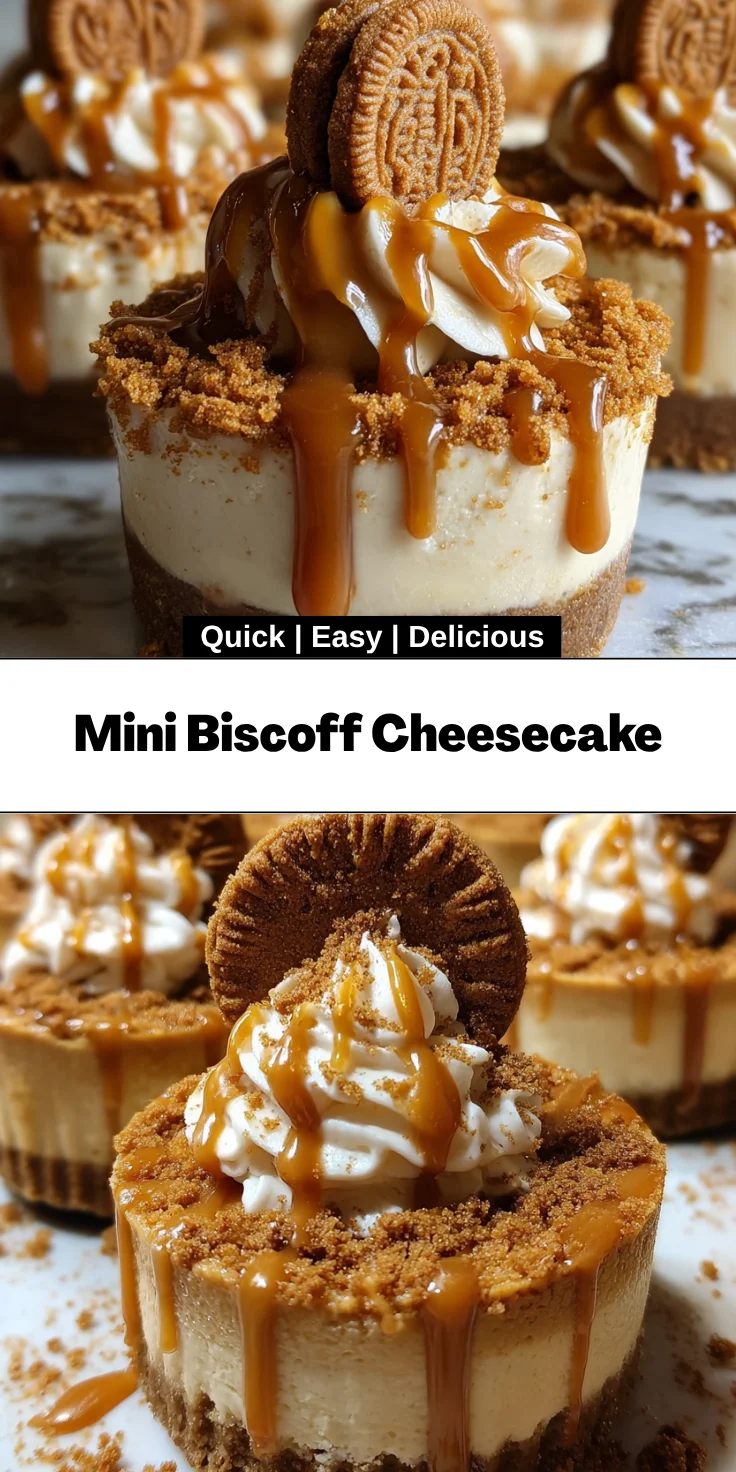
Mini Biscoff Cheesecake
- Total Time: 2 hours 50 minutes
- Yield: 12 mini cheesecakes 1x
- Diet: Vegetarian
Description
Mini Biscoff Cheesecake is a sweet and indulgent dessert featuring a creamy filling made with cream cheese and Biscoff spread, set on a crunchy Biscoff cookie crust.
Ingredients
- 20 Biscoff cookies (for crust and garnish)
- 4 tablespoons unsalted butter (melted)
- 8 oz cream cheese (softened)
- 1/3 cup granulated sugar
- 1/3 cup brown sugar
- 1 teaspoon vanilla extract
- 1/2 cup heavy cream
- 1/2 cup Biscoff spread (plus extra for drizzling)
- 2 large eggs
- A pinch of salt
Instructions
- Preheat your oven to 325°F (160°C). Crush the Biscoff cookies into fine crumbs.
- Combine the cookie crumbs with melted butter until well mixed. Press into cupcake liners to form the crust.
- Bake the crust for 5-7 minutes and let cool.
- Beat softened cream cheese until smooth, then add granulated sugar, brown sugar, and vanilla extract.
- Whip heavy cream until soft peaks form and fold into the cream cheese mixture.
- Mix in Biscoff spread and add eggs one at a time, mixing gently.
- Spoon the filling into the crusts, filling them about 3/4 full.
- Bake for 18-20 minutes until edges are set and center jiggles slightly. Cool at room temperature for 30 minutes.
- Refrigerate for at least 2 hours until fully set.
- Drizzle with melted Biscoff spread and garnish with a whole Biscoff cookie before serving.
Notes
- Ensure the cream cheese is softened for easier blending.
- Let the cheesecakes cool completely before refrigerating for best results.
- These cheesecakes can be made a day in advance and stored in the refrigerator.
- Prep Time: 20 minutes
- Cook Time: 30 minutes
- Category: Dessert
- Method: Baking
- Cuisine: American
Nutrition
- Serving Size: 1 mini cheesecake
- Calories: 280
- Sugar: 15g
- Sodium: 180mg
- Fat: 20g
- Saturated Fat: 10g
- Unsaturated Fat: 5g
- Trans Fat: 0g
- Carbohydrates: 25g
- Fiber: 1g
- Protein: 3g
- Cholesterol: 80mg


