Introduction to Matilda Chocolate Cake Classic
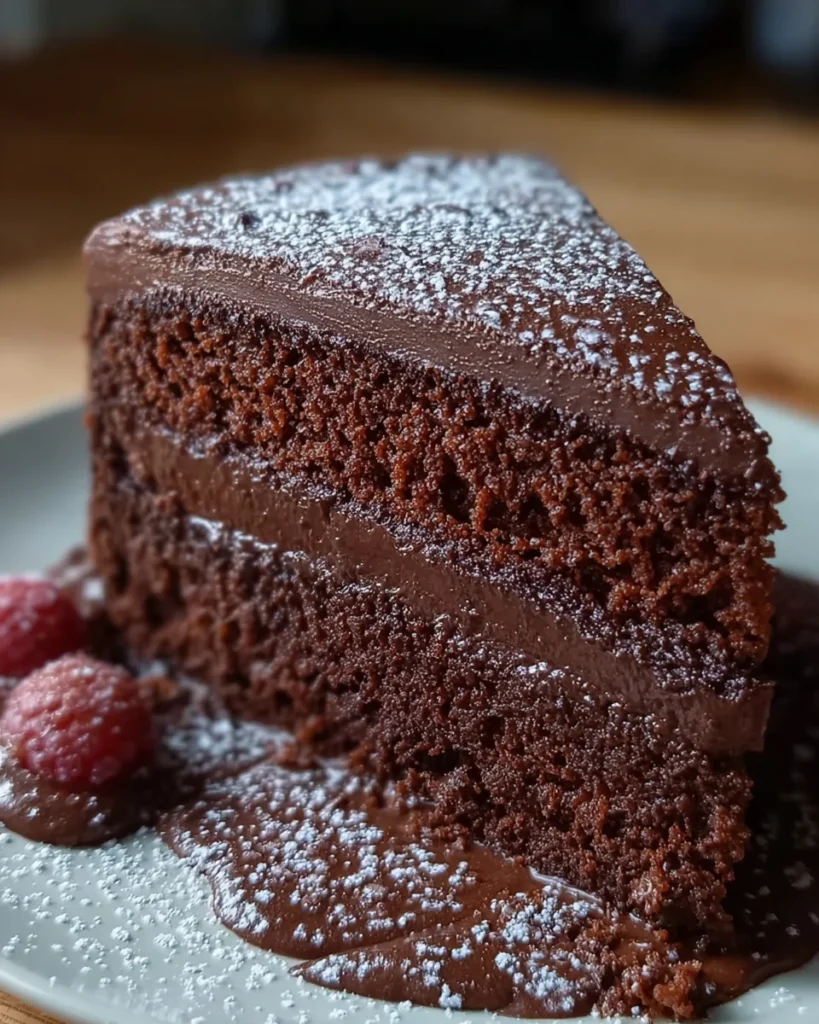
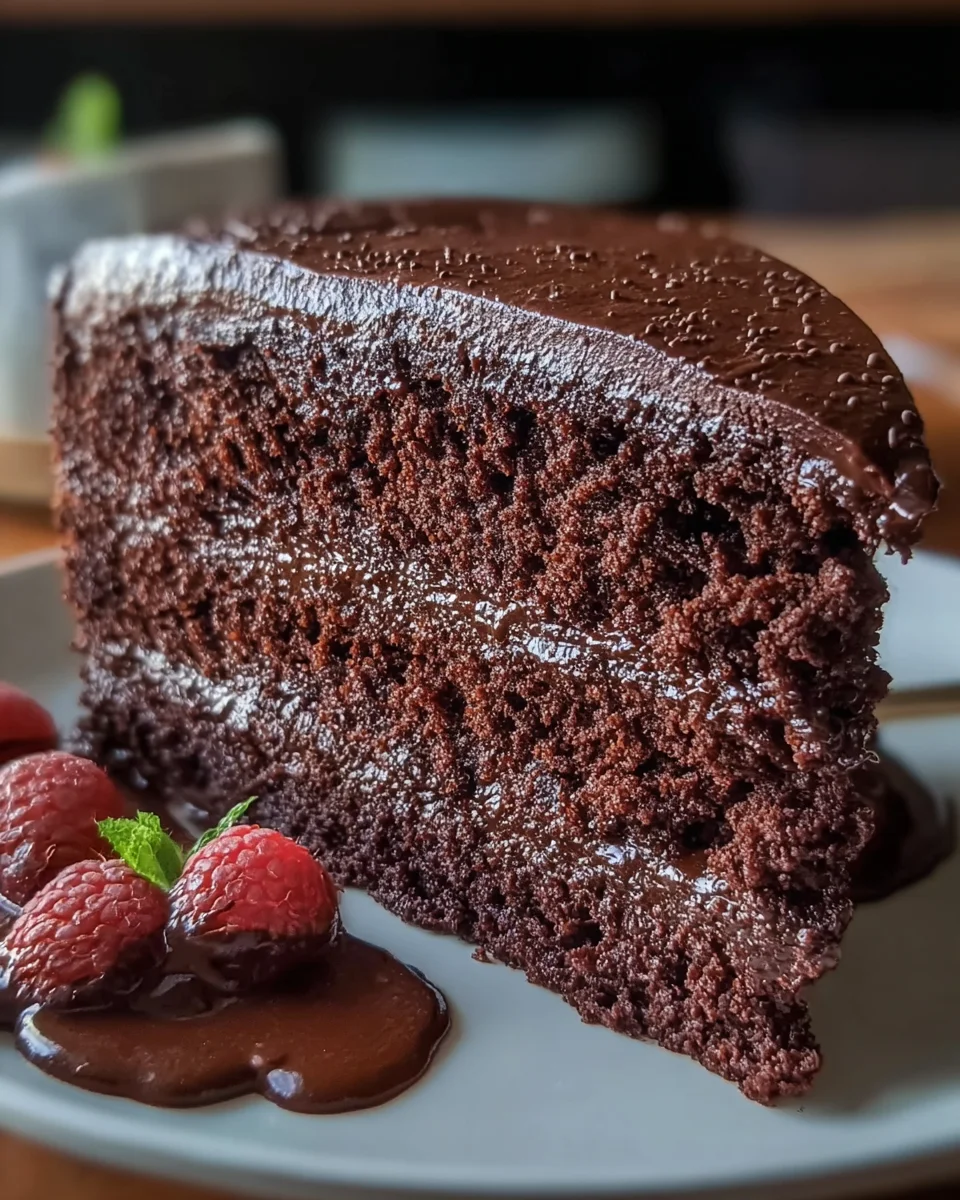
There’s something magical about the smell of a freshly baked cake wafting through the house, isn’t there? The Matilda Chocolate Cake Classic is not just a dessert; it’s an experience! This rich and decadent chocolate cake will surely steal the spotlight at any celebration. Whether you’re looking for a quick solution for a busy day or a sweet dessert to impress your loved ones, this recipe is your answer. With its creamy chocolate frosting and a flavor profile that dances on your taste buds, you’ll find it hard to resist going back for seconds!
Why You’ll Love This Matilda Chocolate Cake Classic
The Matilda Chocolate Cake Classic is truly a dream come true for busy moms and professionals alike. Not only is it quick to whip up, but it also yields a cake that’s incredibly moist and bursting with flavor. Imagine serving this delightful dessert at your next gathering and hearing the oohs and aahs! It’s a crowd-pleaser that requires minimal effort, allowing you to spend more time enjoying the moment with loved ones.
Ingredients for Matilda Chocolate Cake Classic
Gathering your ingredients is the first step to crafting this wonderful Matilda Chocolate Cake Classic. Let’s break it down:
- All-purpose flour: The backbone of our cake, giving structure and stability.
- Granulated sugar: This sweetener adds moisture and a tender crumb to the cake.
- Unsweetened cocoa powder: The star ingredient, bringing that rich chocolatey flavor.
- Baking powder and baking soda: These leavening agents help the cake rise and achieve a light texture.
- Salt: A pinch enhances sweetness and balances out flavors.
- Instant coffee powder: Optional, but it boosts the chocolate flavor ever so slightly.
- Milk or buttermilk: Adds moisture and tenderness, with buttermilk giving a slight tang.
- Vegetable oil: Keeps the cake moist. You could also use melted butter for added flavor.
- Large eggs: They bind ingredients together, ensuring a great rise and texture.
- Vanilla extract: A staple in baking, it enriches the flavor profile.
- Hot water: This unexpected ingredient creates a very thin batter, resulting in a moist cake.
For our luscious chocolate frosting, you’ll need:
- Unsalted butter: Whipped until light and fluffy, it forms the base for your frosting.
- Powdered sugar: This gives the frosting its sweetness and smooth texture.
- Unsweetened cocoa powder: Adding depth of flavor to the frosting, much like in the cake.
- Heavy cream: Ensures the frosting is creamy and easy to spread, adjust as needed for consistency.
- Vanilla extract and a pinch of salt: They enhance every bite, making it sing!
The exact quantities of these ingredients can be found at the bottom of this article, which are also printable for your kitchen adventures!
How to Make Matilda Chocolate Cake Classic
Getting into the kitchen to create the Matilda Chocolate Cake Classic is like stepping into a world of chocolatey bliss. Each step is simple and rewarding, making the process enjoyable. Let’s dive right in!

Step 1 – Preheat and Prepare
Start by preheating your oven to 350°F (175°C). This is crucial for achieving that perfect rise. Next, grab three 8-inch round cake pans. Grease them with butter and line the bottoms with parchment paper. This ensures your cake comes out effortlessly, leaving no crumbs behind. Trust me, it’s worth the extra minute!
Step 2 – Mix the Dry Ingredients
In a large mixing bowl, sift together the all-purpose flour, granulated sugar, unsweetened cocoa powder, baking powder, baking soda, and salt. Sifting is essential; it aerates the ingredients, ensuring your cake is light and fluffy. As I often say, it’s the small details that make a big difference!
Step 3 – Combine Wet Ingredients
In another bowl, whisk together the milk or buttermilk, vegetable oil, eggs, and vanilla extract. This mixture should be well-combined, as it will bring moisture and richness to the cake. Make sure to mix until everything is smooth—no lumps allowed! Then combine this wet mixture with the dry ingredients.
Step 4 – Add Hot Water
Now comes the magical part! Gradually pour in the hot water while stirring. This makes the batter wonderfully thin and glossy, which is what leads to a moist cake. Don’t be alarmed; this is exactly how it should look! The heat from the water helps create that rich texture.
Step 5 – Bake the Cake
Pour the batter evenly into the prepared cake pans. Place them in the preheated oven and bake for 30 to 35 minutes. Keep an eye on them! When a toothpick inserted in the center comes out clean, they’re done. Allow the cakes to cool completely on a wire rack before moving on to the frosting.
Step 6 – Prepare the Frosting
While the cakes cool, let’s whip up that creamy chocolate frosting. In a mixing bowl, beat the softened unsalted butter until it’s light and airy. Gradually add in the powdered sugar and cocoa powder, mixing continuously. The frosting should be fluffy and smooth—this is key to making your cake shine!
Step 7 – Assemble the Cake
Once your cakes are cool, it’s time to layer! Start with one cake round on a serving plate. Spread a generous layer of frosting on top before adding a second cake layer. Repeat this with the third layer, covering the entire cake with the remaining frosting. A smooth finish adds that professional touch!
Step 8 – Decorate
To really make your Matilda Chocolate Cake Classic pop, consider decorating it with chocolate shavings or sprinkles. Piping swirls of frosting on top adds a wonderful decorative flair, too! If you’re feeling fancy, drizzle melted chocolate over the top for an irresistible finishing touch.
Tips for Success
- Always use room temperature ingredients for a smooth batter.
- Don’t overmix; gentle folding is key to a light cake.
- Check the cake for doneness a few minutes early to avoid dryness.
- Let the cakes cool completely for easier frosting.
- Experiment with decorations—chocolate shavings or fresh berries elevate your cake!
Equipment Needed
- 3 x 8-inch round cake pans (you can use 9-inch pans in a pinch).
- Mixing bowls in various sizes for dry and wet ingredients.
- E electric mixer or whisk for blending your batter and frosting.
- Parchment paper to ensure an easy release.
- Toothpick or cake tester for checking doneness.
Variations of Matilda Chocolate Cake Classic
- Gluten-Free: Substitute all-purpose flour with a gluten-free flour blend. Just make sure it includes xanthan gum for structure!
- Vegan: Replace eggs with flaxseed meal (1 tablespoon flax + 2.5 tablespoons water for each egg) and use almond milk instead of regular milk.
- Mint Chocolate: Add a few drops of mint extract to the batter and frosting for a refreshing twist!
- Peanut Butter Swirl: Gently swirl creamy peanut butter into the cake batter before baking for a delightful flavor surprise.
- Chocolate Cherry: Fold in some chopped maraschino cherries or cherry preserves into the batter for a fruity touch.
Serving Suggestions
- Pair with a scoop of vanilla ice cream for a delightful contrast.
- Serve with a side of fresh berries for a pop of color and freshness.
- Drizzle with chocolate sauce or caramel for a decadent touch.
- A dollop of whipped cream on top elevates every slice!
- Enjoy with a cup of freshly brewed coffee or tea for a perfect afternoon treat.
FAQs about Matilda Chocolate Cake Classic
Can I make Matilda Chocolate Cake Classic ahead of time?
Absolutely! You can prepare the cake layers a day in advance. Just wrap them well in plastic wrap and store them in the refrigerator. Frost them the day you plan to serve for the best taste.
How do I store leftovers of Matilda Chocolate Cake Classic?
Keep any leftover cake in an airtight container at room temperature for up to three days. If you need to keep it longer, refrigerate it, but allow it to come to room temperature before serving for the best texture.
Can I freeze Matilda Chocolate Cake Classic?
Yes! Once cooled, wrap individual slices or entire layers in plastic wrap and place them in a freezer-safe container. It can last in the freezer for up to three months. Thaw overnight in the refrigerator before enjoying!
What can I substitute for eggs in the Matilda Chocolate Cake Classic?
If you’re looking for an egg substitute, a popular option is using flaxseed meal. Mix 1 tablespoon of flaxseed meal with 2.5 tablespoons of water for each egg. Let it sit for a few minutes until it thickens!
What type of cocoa powder should I use?
You can use unsweetened cocoa powder for a classic taste. However, if you want a deeper flavor, try dark chocolate cocoa powder. It will elevate your Matilda Chocolate Cake Classic to a whole new level!
Final Thoughts
Baking the Matilda Chocolate Cake Classic is more than just creating a dessert; it’s about making memories. The way the aroma fills your kitchen, and the delight in your loved ones’ eyes when they take that first bite is priceless. This cake has a magical ability to bring everyone together, no matter the occasion. Whether it’s a birthday, a simple family dinner, or just because you deserve a little treat, this rich chocolate delight is always a hit. So, don your apron and start baking; bliss is just a whisk away!
Print
Matilda Chocolate Cake Classic
- Total Time: 1 hour 5 minutes
- Yield: 12 servings 1x
- Diet: Vegetarian
Description
A classic chocolate cake that’s rich, moist, and ideal for any celebration. Indulge in a delicious slice of Matilda Chocolate Cake topped with creamy frosting.
Ingredients
- Chocolate Cake
- 2 cups all-purpose flour
- 2 cups granulated sugar
- 3/4 cup unsweetened cocoa powder
- 2 teaspoons baking powder
- 1 1/2 teaspoons baking soda
- 1 teaspoon salt
- 1 teaspoon instant coffee powder (optional)
- 1 cup milk or buttermilk
- 1/2 cup vegetable oil
- 2 large eggs, room temperature
- 2 teaspoons vanilla extract
- 1 cup hot water
- Chocolate Frosting
- 1 cup unsalted butter, softened
- 3 1/2 cups powdered sugar
- 1 cup unsweetened cocoa powder
- 1/2 cup heavy cream
- 2 teaspoons vanilla extract
- Pinch of salt
Instructions
- Preheat oven to 350°F (175°C). Grease and line three 8-inch round cake pans with parchment paper.
- In a large mixing bowl, sift together all-purpose flour, granulated sugar, unsweetened cocoa powder, baking powder, baking soda, salt, and instant coffee powder.
- Add milk or buttermilk, vegetable oil, eggs, and vanilla extract to the dry mixture. Whisk until smooth and fully incorporated.
- Gradually pour in hot water and mix until the batter is thin and glossy.
- Divide the batter evenly between the prepared pans. Bake for 30 to 35 minutes, or until a toothpick inserted in the center emerges clean. Cool cakes completely on a wire rack.
- Beat softened unsalted butter until light and airy. Slowly add powdered sugar and cocoa powder, mixing continuously.
- Blend in vanilla extract, salt, and heavy cream, beating until the frosting is creamy and smooth. Add additional cream as needed to achieve spreadable consistency.
- Layer each cooled cake round with a generous application of frosting. Cover the entire cake with remaining frosting and smooth out the surface.
- Pipe decorative swirls with frosting on top and drizzle with melted chocolate if desired.
Notes
- For an extra chocolaty flavor, add more cocoa powder to the frosting.
- Ensure the eggs are at room temperature for better mixing.
- Chocolate cake can be stored in an airtight container for up to 3 days.
- Prep Time: 30 minutes
- Cook Time: 35 minutes
- Category: Dessert
- Method: Baking
- Cuisine: American
Nutrition
- Serving Size: 1 slice
- Calories: 450
- Sugar: 40g
- Sodium: 300mg
- Fat: 20g
- Saturated Fat: 10g
- Unsaturated Fat: 5g
- Trans Fat: 0g
- Carbohydrates: 62g
- Fiber: 3g
- Protein: 5g
- Cholesterol: 60mg


