Introduction to Marshmallow Easter Bars
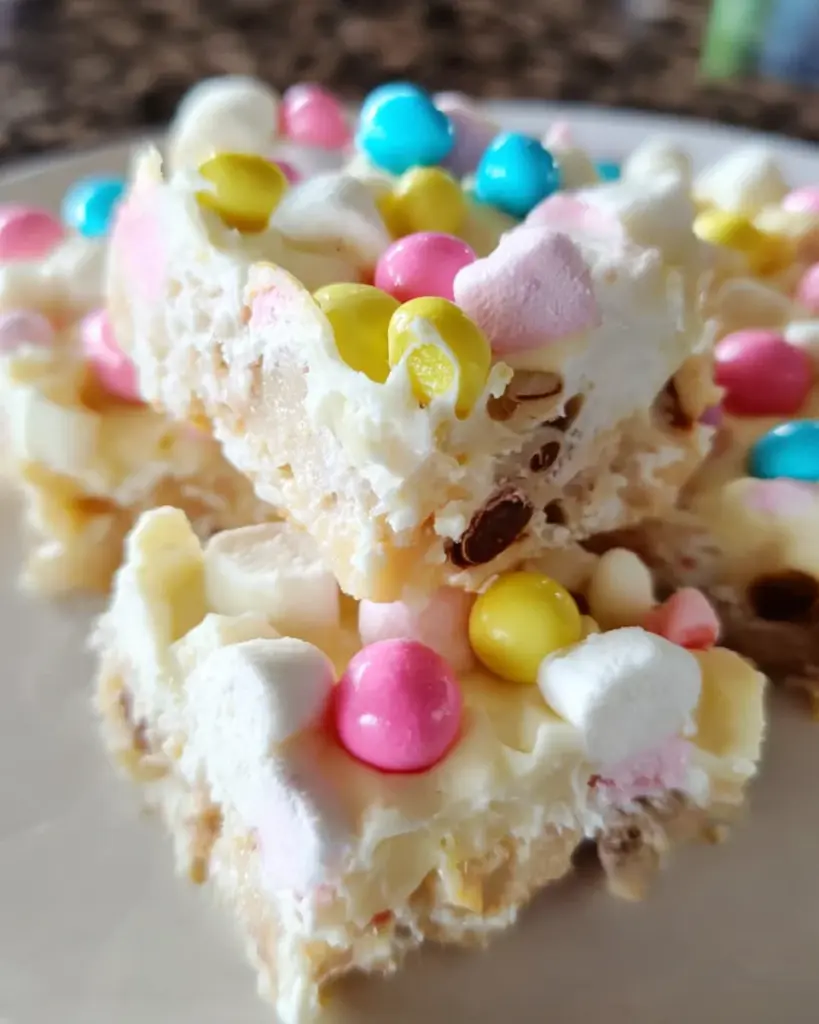
As spring approaches, it’s time for family gatherings and fun festivities. What better way to celebrate than with a delightful treat like Marshmallow Easter Bars? These sweet goodies are not just visually stunning; they’re a breeze to whip up, making them perfect for busy moms like us! I can almost hear the laughter of kids enjoying these colorful squares, their faces lighting up with every bite. Whether you’re hosting a holiday dinner or just treating your loved ones, this recipe is guaranteed to bring joy to your table and a warm smile to your heart.
Why You’ll Love This Marshmallow Easter Bars
What’s not to love about Marshmallow Easter Bars? They’re easy to make, taking just minutes to prepare, perfect for those hectic days when time is limited. This dessert is also incredibly delicious, combining the sweetness of white chocolate and mini marshmallows with a fun pop of color from the Sixlets. Trust me, these bars will impress your loved ones, leaving them begging for seconds after the very first bite!
Ingredients for Marshmallow Easter Bars
Gathering the right ingredients is the first step in crafting these delightful Marshmallow Easter Bars. Each one plays a vital role in creating that irresistible combination of flavors and textures. Here’s what you’ll need:
- White chocolate chips or candy melts: These form the creamy, sweet base of our bars. Candy melts can give you vibrant colors if you’re feeling extra festive!
- Shortening: If you opt for chocolate chips, a bit of shortening helps to achieve that smooth, velvety melt. It’s like a secret handshake to keep your chocolate silky.
- Mini marshmallows: These fluffy gems are the heart of the dessert. Their chewy texture and sweetness elevate the entire treat, adding a nostalgic touch.
- Sixlets in Easter colors: These playful candies add a fun crunch and visual appeal. You could also use chocolate Easter eggs for a twist!
Don’t worry about memorizing these now; exact measurements are tucked away at the bottom of this article for your convenience. Feel free to mix and match according to your taste or what you have at hand. Remember, cooking is all about creativity, and with these ingredients, the options are endless!
How to Make Marshmallow Easter Bars
Now that we’ve gathered all the ingredients, let’s dive into making these delightful Marshmallow Easter Bars! Trust me, the steps are simple and fun, perfect for involving the kids or even making it a laid-back solo kitchen adventure.
Step 1: Prepare the Baking Dish
First, grab an 8×8 baking dish and line it with parchment paper. This is a game-changer! The parchment will make it super easy to lift those bars out after they’ve set. Just enough overhang will make your life easier, trust me on this.
Step 2: Melt the Chocolate
Next, it’s time to melt the chocolate. Place your white chocolate chips or candy melts in a double boiler. If you’re using chocolate chips, mix in that tablespoon of shortening. This will give you a smooth, dreamy melting experience. Stir gently as the chocolate turns silky and glossy. Take your time here; nobody wants burnt chocolate!
Step 3: Mix in the Marshmallows and Sixlets
Once the chocolate is melted, remove it from heat. Allow it to cool for just a minute or two—this will help preserve the marshmallows’ fluffiness. Now, toss in the mini marshmallows and half of your colorful Sixlets. Quickly stir to coat everything. Work fast—the warmth will start softening those marshmallows, creating a wonderful, chewy blend.
Step 4: Transfer to the Pan
It’s time for the fun part! Pour that delicious mixture into your prepared baking dish, using a spatula to spread it evenly. Don’t be shy; make sure every corner is filled. This beautiful layer of gooeyness will treat your taste buds later!
Step 5: Freeze and Serve
To set your Marshmallow Easter Bars, pop them into the freezer for about 20 minutes. This quick chill will firm up the chocolate beautifully. Once ready, take them out, cut into squares, and get ready for smiles! Serve them up and watch everyone forget their worries as they enjoy a bit of sweet bliss!
Tips for Success
- Work quickly when mixing in the marshmallows to prevent them from melting too much.
- Using a silicone spatula will help you spread that gooey chocolate mixture smoothly.
- For a fun twist, experiment with different candy colors or add sprinkles for additional flair.
- Ensure your chocolate is not too hot to maintain the marshmallows’ texture.
- Store any leftovers in an airtight container to keep them fresh and chewy.
Equipment Needed
- 8×8 Baking Dish: If you don’t have one, any similar-sized dish works fine.
- Parchment Paper: You can use aluminum foil in a pinch, but parchment makes it easier to lift out the bars.
- Double Boiler or Microwave-safe Bowl: Either works for melting chocolate smoothly.
- Spatula: A silicone spatula is great for mixing and spreading.
Variations
- Nutty Addition: Add chopped nuts like almonds or walnuts for a crunchy texture. Just fold them in with the marshmallows.
- Different Chocolates: Switch things up by using milk or dark chocolate instead of white chocolate. Each type offers a unique flavor profile!
- Mini Eggs: Swap out Sixlets for mini chocolate Easter eggs for an extra chocolaty twist that kids will adore.
- Dairy-Free Option: Use dairy-free chocolate chips and marshmallows for a delicious treat suitable for those with dietary restrictions.
- Flavorful Extracts: Add a splash of vanilla or almond extract to the melted chocolate for an aromatic boost.
Serving Suggestions
- Pair your Marshmallow Easter Bars with a refreshing glass of iced tea or lemonade to balance the sweetness.
- Arrange the bars on a bright colored platter for a festive look during gatherings.
- Serve with fresh fruit like strawberries or raspberries to add a touch of freshness.
- For a fun touch, sprinkle more Sixlets or edible glitter on top for added flair.
FAQs about Marshmallow Easter Bars
Can I make these bars ahead of time? Absolutely! Marshmallow Easter Bars can be made a day in advance. Just keep them covered in an airtight container at room temperature, and they’ll be perfect when you’re ready to serve.
What if I don’t have a double boiler? No worries! You can easily melt the chocolate using a microwave-safe bowl. Heat in short bursts of 15-20 seconds, stirring in between until smooth and creamy.
Can I use different candy for topping? Definitely! While Sixlets add a fun touch, feel free to experiment with your favorite chocolate candies, sprinkles, or even crushed cookies for a delightful variation. The world is your oyster!
Are Marshmallow Easter Bars gluten-free? Yes, as long as you check that your chocolate chips and marshmallows don’t contain gluten. Many brands offer gluten-free options, so you’re set!
How do I store leftovers? Keep any leftovers in an airtight container at room temperature for up to a week. They’ll stay delicious and chewy, perfect for a sweet snack later on!
Final Thoughts
Creating Marshmallow Easter Bars is more than just a recipe; it’s an opportunity to bring joy to family and friends. There’s something incredibly satisfying about watching those colorful squares disappear as smiles spread across faces. As a busy mom, I cherish moments like these when my kitchen transforms into a space of happiness and love. This treat is simple, delightful, and packed with memories waiting to unfold. Whether it’s a holiday celebration or just a regular day, these bars can turn any moment into a festive occasion. Sweet moments like this are what life is truly about!
Print
Marshmallow Easter Bars
- Total Time: 35 minutes
- Yield: 16 squares 1x
- Diet: Vegetarian
Description
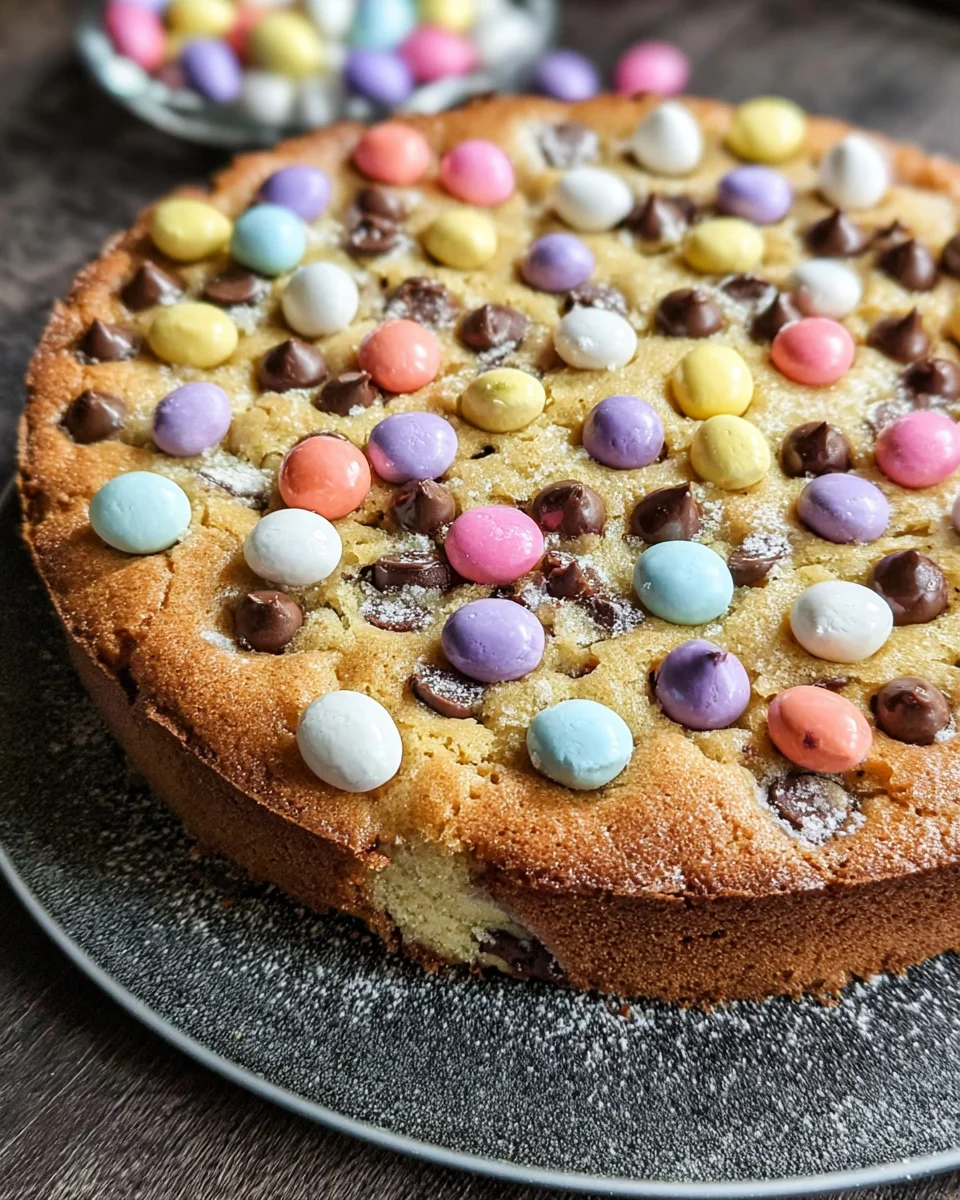
Delicious and colorful Marshmallow Easter Bars made with white chocolate, mini marshmallows, and festive Sixlets.
Ingredients
- 1–1/2 cups white chocolate chips or candy melts
- 1 tbsp shortening (only if using chocolate chips)
- 3–1/2 cups mini marshmallows
- 4.5 oz Sixlets in Easter colors
Instructions
- Line an 8×8 baking dish with parchment and set aside.
- Melt your chocolate in a double boiler until it’s smooth and silky.
- Remove from heat and allow to cool for 1-2 minutes.
- Add marshmallows and half the container of Sixlets; stir to coat.
- Work quickly; the marshmallows will start to melt in the warm chocolate.
- Transfer to the prepared pan and smooth out.
- Top with additional Sixlets.
- Place in the freezer to firm up the chocolate quickly; leave for 20 minutes.
- Remove and cut into squares; serve.
Notes
- Ensure to work quickly to avoid melting the marshmallows too much.
- Use parchment paper to easily lift out the bars after setting.
- Prep Time: 10 minutes
- Cook Time: 5 minutes
- Category: Dessert
- Method: No-bake
- Cuisine: American
Nutrition
- Serving Size: 1 square
- Calories: 180
- Sugar: 16g
- Sodium: 30mg
- Fat: 9g
- Saturated Fat: 5g
- Unsaturated Fat: 4g
- Trans Fat: 0g
- Carbohydrates: 24g
- Fiber: 0g
- Protein: 1g
- Cholesterol: 5mg