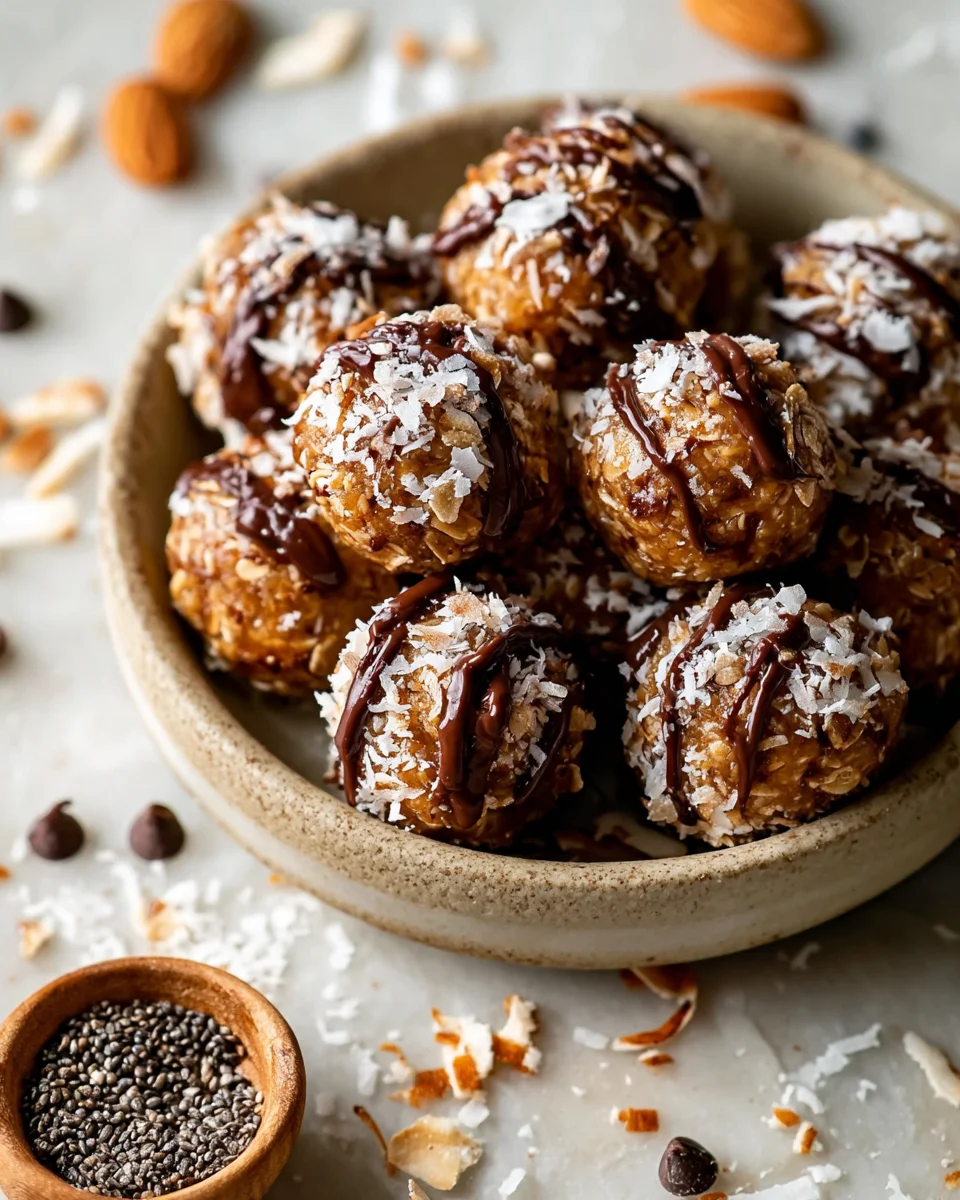
Introduction to Ginger Turmeric Energy Balls
Have you ever found yourself in a rush, craving something quick, healthy, and utterly delicious? Well, let me introduce you to my delightful Ginger Turmeric Energy Balls! These little bites of joy are not just snacks; they’re a burst of energy wrapped in a cocoon of warmth and flavor. Perfect for hectic days, they blend the zesty kick of ginger with the earthy tones of turmeric. Whether you need a pick-me-up between meetings or a treat for your kids after school, these energy balls have got you covered. Let’s dive into this simple yet satisfying recipe!
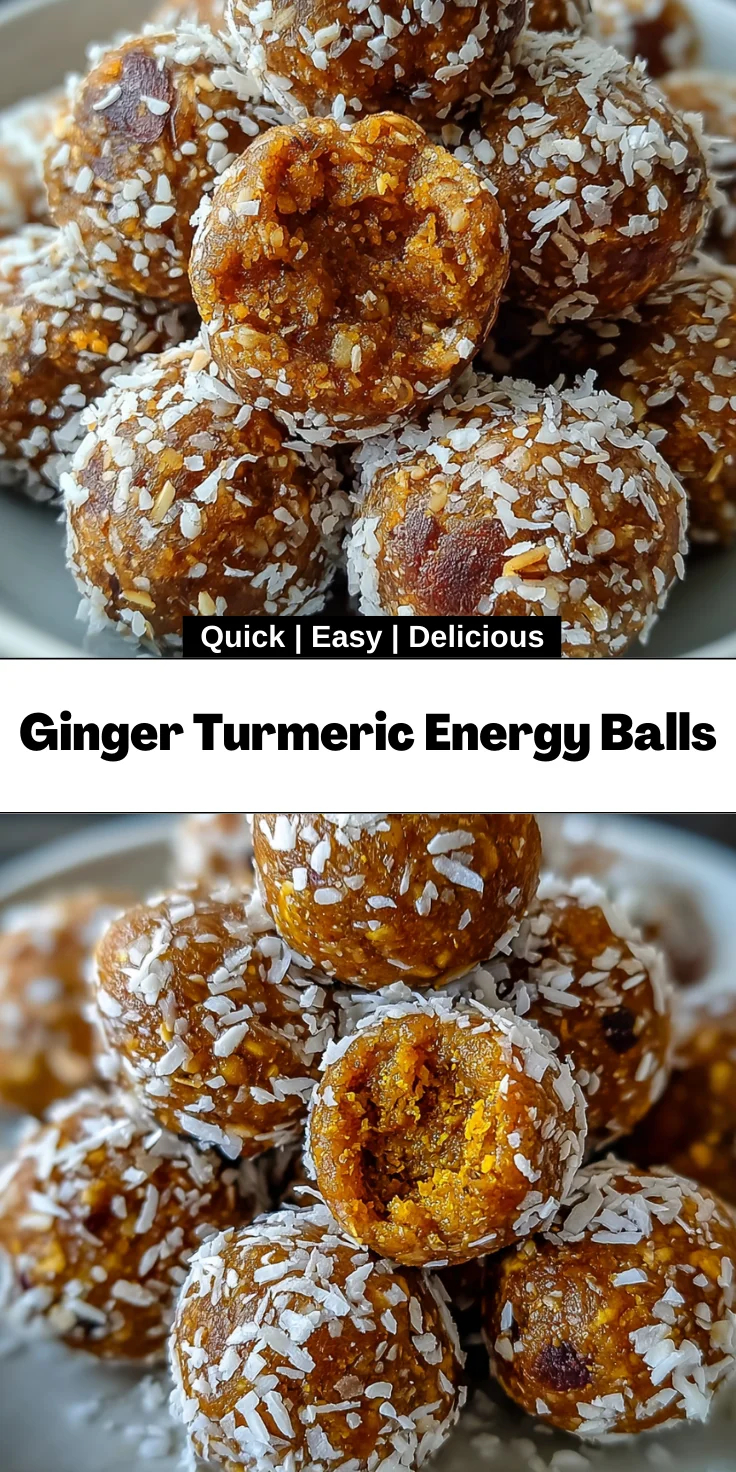
Why You’ll Love This Ginger Turmeric Energy Balls
If you’re like me, juggling a busy schedule, simple and tasty snacks are a lifesaver. These Ginger Turmeric Energy Balls are not only quick to make, but they’re also bursting with flavor! They require no baking and take just a few minutes to prepare. Plus, with the goodness of ginger and turmeric, you’re treating your body to a nutritious boost that will sustain your energy throughout the day. You’ll love how they satisfy your cravings while keeping you feeling great!
Ingredients for Ginger Turmeric Energy Balls
Gathering the right ingredients is one of the joys of cooking, and these Ginger Turmeric Energy Balls are no exception! Here’s what you’ll need:
- Rolled oats: These are the backbone of your energy balls, adding texture and fiber. Opt for gluten-free certified oats if needed.
- Medjool dates: Sweet and caramel-like, they act as the natural sweetener while binding everything together. Feel free to substitute with other soft dates if you can’t find Medjool.
- Raw cashews: These nuts bring a creamy richness and healthy fats. If cashews aren’t your thing, try almonds or walnuts instead!
- Almond butter: A delightful source of protein and creaminess. Peanut butter can also be used if you prefer that taste.
- Fresh ginger: Grated ginger gives a lovely zing and warmth. You can use ground ginger as a substitute, but fresh is always best for flavor.
- Fresh turmeric: This vibrant root adds an earthy flavor and rich color. If fresh isn’t available, ground turmeric works beautifully, too!
- Maca powder: I love adding this superfood for additional energy and nourishment. You can skip it if you don’t have it on hand.
- Hemp seeds: These tiny seeds pack a punch of protein and healthy fats. They can be swapped for chia seeds if desired.
- Ground cinnamon: A sprinkle of cinnamon adds warmth and depth. It’s wonderfully fragrant, so don’t skip this one!
- Sea salt: Just a pinch enhances all of the flavors, balancing the sweetness from the dates.
- Vanilla extract: This elevates the overall flavor profile. Make sure to use pure vanilla extract for the best taste.
- Shredded coconut: Optional for rolling, it adds an enticing texture and flavor complexity.
- Maple syrup: Optional for an extra touch of sweetness, especially if you prefer a sweeter bite!
Looking for precise measurements? Don’t worry! You’ll find them at the bottom of the article, easily printable for your next kitchen adventure.
How to Make Ginger Turmeric Energy Balls
Making these Ginger Turmeric Energy Balls is as simple as it gets! You don’t need to be a culinary pro to whip these up. Just follow these easy steps, and you’ll have a batch of energy-boosting treats ready in no time!
Step 1: Process Oats and Cashews
First, grab your food processor. Toss in the rolled oats and raw cashews, then pulse them together. You want a fine, crumbly consistency, almost like sand. Be patient! This is where your base comes together, creating the perfect texture for your energy balls. Aim for a smooth blend without any chunky bits. It sets the stage for the tasty energy bomb we are crafting!
Step 2: Combine Remaining Ingredients
Next, it’s time to mix in the rest of the goodness. Add the pitted dates, almond butter, fresh ginger, turmeric, maca powder, hemp seeds, cinnamon, sea salt, and vanilla extract into the processor. Blend until everything is perfectly combined and holds together when pressed. If the mixture seems too dry, don’t fret! Just drizzle in a teaspoon of maple syrup or water until it’s just right. You want a sticky, cohesive blend for easy shaping!
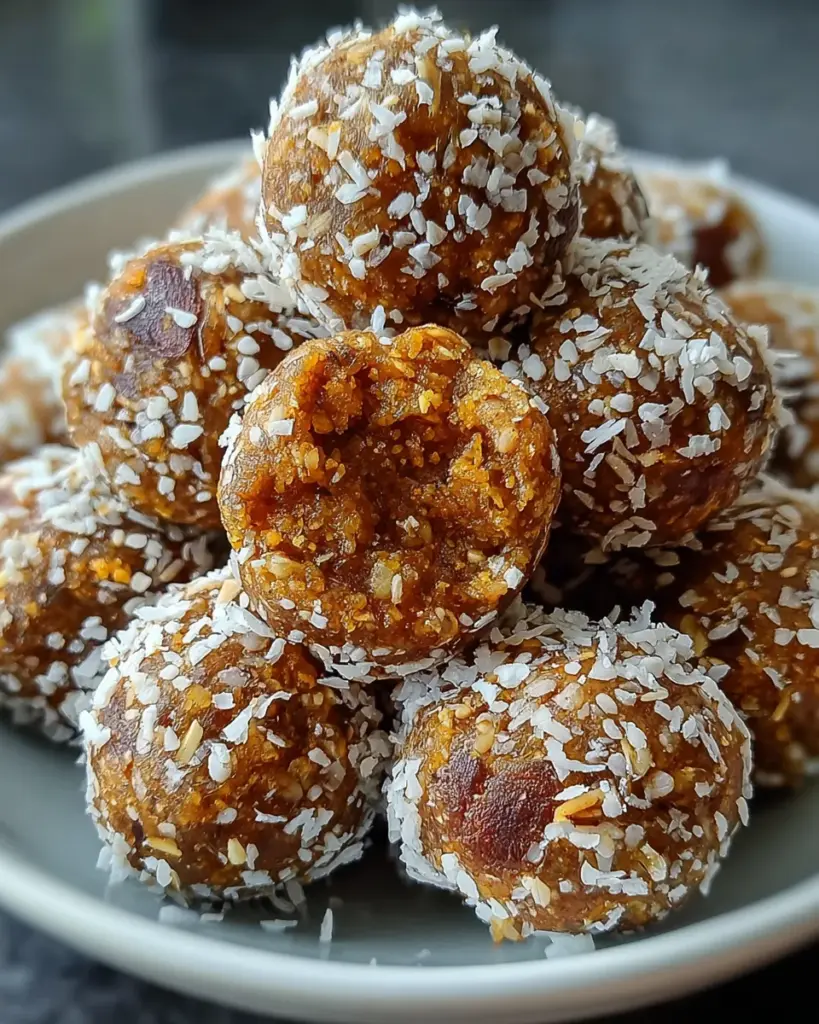
Step 3: Shape the Energy Balls
Now, let’s get hands-on! Scoop out tablespoon-sized portions of the mixture and roll them between your palms into little spheres. It’s like crafting mini energy orbs! Don’t worry about them being perfect; the fun is in the process. The more you roll, the better you’ll get at it. Plus, kids love getting involved here, turning it into a family activity!
Step 4: Chill the Energy Balls
Once you’ve shaped all the balls, place them in the fridge. Chilling for at least 30 minutes helps them firm up beautifully. This step is crucial for easy handling later. If you need to store them, pop the energy balls into an airtight container—so simple! If you’ve managed to make a big batch (which I highly encourage), they’ll stay fresh in the fridge for about a week. Trust me; you’ll be glad to have some on hand!
Tips for Success
- Use a high-quality food processor for the best texture.
- Feel free to experiment with ingredient ratios to suit your taste.
- If the mixture is crumbly, don’t hesitate to add a splash of water.
- Make these in larger batches and freeze them for extra convenience.
- Involve your kids in the rolling process; they’ll love being little chefs!
Equipment Needed
- Food processor: Essential for blending everything smoothly; a high-speed blender can also work in a pinch.
- Measuring cups and spoons: Accurate measurements help ensure a perfect balance of flavors.
- Baking sheet: Handy if you’re chilling multiple batches of energy balls at once.
- Airtight container: Use to store your energy balls and keep them fresh longer.
Variations
- Nut Alternatives: Swap cashews for almonds, walnuts, or pecans for a different flavor profile or consider sunflower seeds for a nut-free option.
- Sweetness Adjustments: Replace maple syrup with agave nectar or honey if you prefer a different sweetener.
- Flavor Boosts: Add a splash of espresso powder for a coffee kick or a sprinkle of cocoa powder for a chocolatey twist.
- Superfood Enhancements: Incorporate chia seeds or flaxseeds for an extra boost of omega-3 fatty acids.
- Fruit Infusion: Mix in dried fruits like cranberries, goji berries, or raisins for added sweetness and chewiness.
- Spice it Up: Experiment with spices such as nutmeg or cardamom to create unique flavor combinations.
Serving Suggestions
- Pair these energy balls with a refreshing green smoothie for a balanced breakfast.
- Enjoy with a cup of herbal tea for a cozy afternoon snack.
- Serve on a colorful platter for a lovely presentation at gatherings.
- Try them alongside fresh fruit for a satisfying snack combo.
FAQs about Ginger Turmeric Energy Balls
What are the benefits of ginger and turmeric?
Ginger and turmeric are powerful roots that offer numerous health benefits. Ginger aids digestion and reduces inflammation, helping your body feel more vibrant. On the other hand, turmeric is known for its anti-inflammatory properties and can improve energy levels while supporting overall wellness. Together, they make your Ginger Turmeric Energy Balls not just tasty but also a wholesome snack that fuels your day and boosts your immune system—talk about a win-win!
How long can I store Ginger Turmeric Energy Balls?
You can keep your Ginger Turmeric Energy Balls fresh in the refrigerator for up to a week. Just store them in an airtight container to prevent them from drying out. If you want to keep them for a more extended period, feel free to freeze them! They can last for up to three months in the freezer. Just remember to let them thaw for a few minutes before indulging in their delightful flavors!
Can I customize the sweetness in this recipe?
Absolutely! If you prefer a sweeter treat, simply add more maple syrup to the mixture until it reaches your desired sweetness. You can also substitute maple syrup with agave nectar, honey, or even stevia for a lower-calorie option. The beauty of these Ginger Turmeric Energy Balls is that they can cater to your taste preferences while still being deliciously healthy!
Final Thoughts
Making Ginger Turmeric Energy Balls has become one of my favorite kitchen adventures! They’re not only a breeze to whip up, but they also bring a sense of joy and satisfaction knowing I’m nourishing my body with wholesome ingredients. Every bite is a delightful combination of flavor and energy. Whether it’s a busy day or a cozy afternoon at home, these energy balls offer a perfect pick-me-up. I hope you embrace this simple recipe and find it to be a handy companion in your daily routine. Cheers to sweet, healthy snacking!
Print
Ginger Turmeric Energy Balls
- Total Time: 30 minutes (including chilling)
- Yield: Approximately 12 energy balls 1x
- Diet: Vegan
Description
Ginger Turmeric Energy Balls are healthy, no-bake snacks that provide a quick energy boost with the combined benefits of ginger and turmeric.
Ingredients
- 1 cup rolled oats, gluten-free certified
- 1 cup Medjool dates, pitted
- 1/2 cup raw cashews
- 2 tablespoons almond butter
- 1 tablespoon fresh ginger, grated
- 1 1/2 teaspoons fresh turmeric, grated or 1 teaspoon ground turmeric
- 1 tablespoon maca powder
- 2 tablespoons hemp seeds
- 1/2 teaspoon ground cinnamon
- 1/4 teaspoon sea salt
- 1 teaspoon vanilla extract
- 2 to 3 tablespoons shredded coconut for rolling (optional)
- 1 to 2 teaspoons maple syrup for additional sweetness (optional)
Instructions
- Add rolled oats and raw cashews to a food processor and pulse until the mixture reaches a fine, crumbly consistency.
- Add pitted dates, almond butter, fresh ginger, turmeric, maca powder, hemp seeds, cinnamon, sea salt, and vanilla extract to the processor. Blend until the mixture cohesively holds together when pressed. If the mixture appears too dry, add maple syrup or water 1 teaspoon at a time until the desired consistency is achieved.
- Scoop tablespoon-sized portions of the mixture and roll between palms into uniform spheres.
- Roll prepared balls in shredded coconut if desired for enhanced texture and flavor complexity.
- Refrigerate balls for a minimum of 30 minutes to firm and set. Transfer to an airtight container and refrigerate for up to 7 days.
Notes
- These energy balls are great for a quick snack or pre-workout fuel.
- Customize the sweetness by adjusting the amount of maple syrup used.
- They can also be frozen for longer storage.
- Prep Time: 15 minutes
- Cook Time: 0 minutes
- Category: Snack
- Method: No-bake
- Cuisine: Healthy
Nutrition
- Serving Size: 1 energy ball
- Calories: 120
- Sugar: 8g
- Sodium: 30mg
- Fat: 5g
- Saturated Fat: 1g
- Unsaturated Fat: 3g
- Trans Fat: 0g
- Carbohydrates: 18g
- Fiber: 3g
- Protein: 3g
- Cholesterol: 0mg