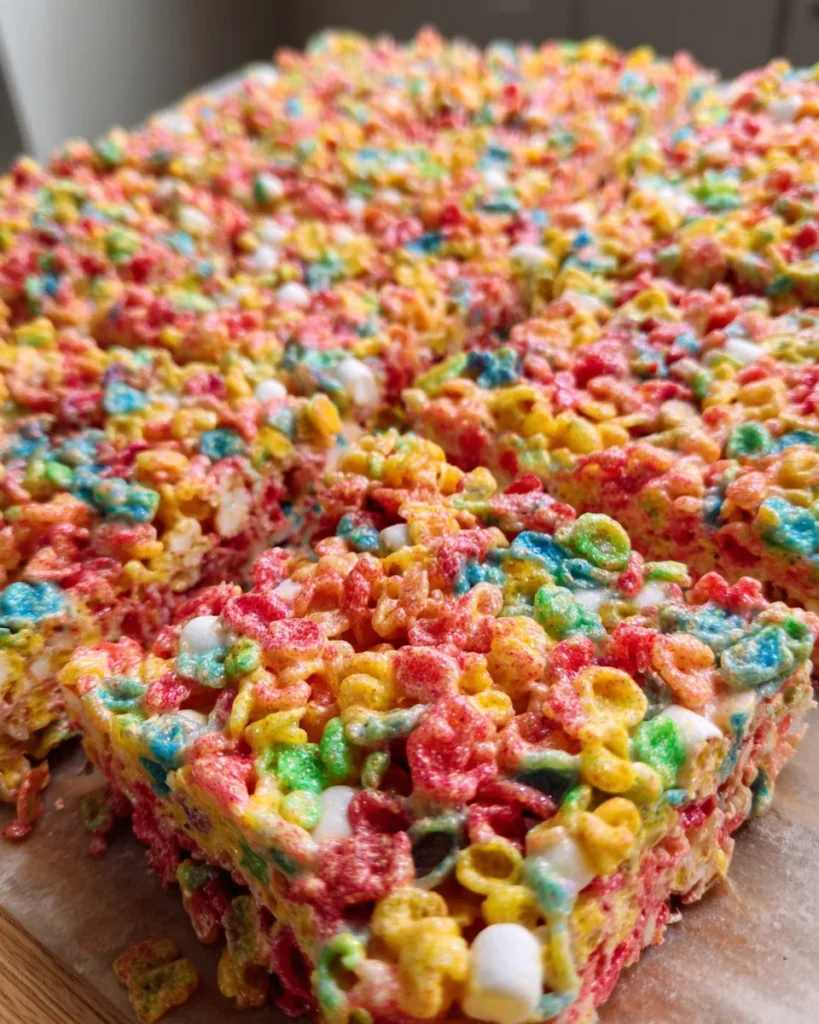
Introduction to Fruity Pebbles Rice Krispie Treats
There’s something utterly delightful about Fruity Pebbles Rice Krispie Treats, don’t you think? These colorful, crispy squares not only satisfy your sweet tooth but also bring a splash of joy to any gathering. As a busy mom, I know how tricky it can be to juggle family and hobbies while still wanting to whip up something special in the kitchen. That’s where these treats come in! They’re simple, fun to make, and guaranteed to bring smiles all around. Trust me, once you make them, they’ll become a beloved staple in your dessert rotation.
Why You’ll Love This Fruity Pebbles Rice Krispie Treats
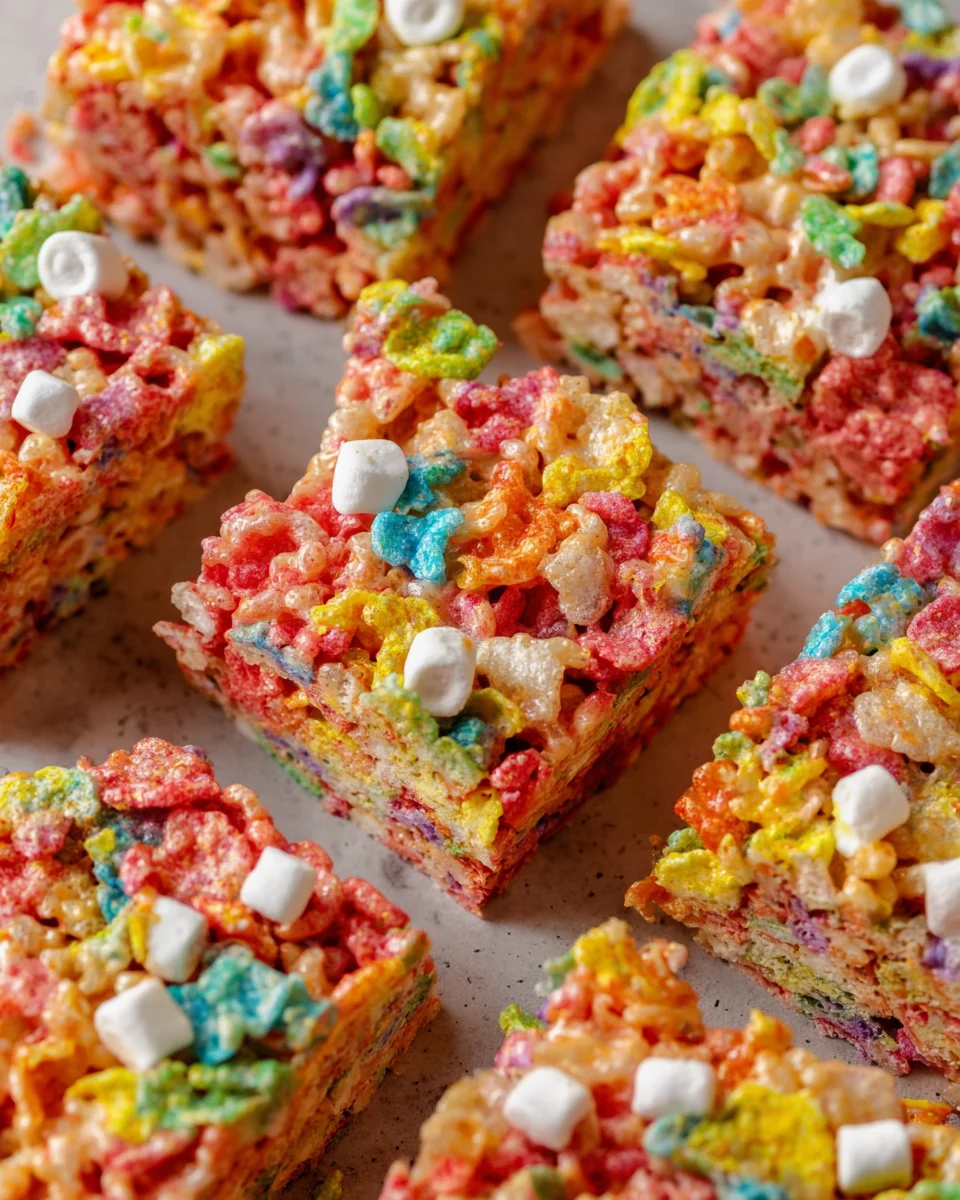
Fruity Pebbles Rice Krispie Treats are a whirlwind of color and flavor, perfect for those times when you need a quick dessert! They come together in a flash, making them ideal for busy evenings or unexpected guests. Plus, these treats have a delightful chewiness and that irresistible fruity crunch. It’s hard to stop at just one! They’re a sweet treat that will brighten any day.
Ingredients for Fruity Pebbles Rice Krispie Treats
Gathering your ingredients is the first step to creating these delightful Fruity Pebbles Rice Krispie Treats!
- Fruity Pebble Cereal: This vibrant cereal is the star of the show. It adds cheer and that iconic fruity flavor.
- Salted Butter: A little butter adds richness and helps the marshmallows melt smoothly. You could try unsalted butter if you prefer, just add a pinch of salt.
- Mini Marshmallows: These are what gives the treats their signature gooey texture. If you can’t find mini ones, regular marshmallows work too—just chop them up a bit!
For a dash of extra flavor, consider adding a splash of vanilla extract to the melted marshmallows. It takes the treats to another level! Don’t forget, for a full list of exact measurements, you can find them at the bottom of the article, available for printing.
How to Make Fruity Pebbles Rice Krispie Treats
Making Fruity Pebbles Rice Krispie Treats is a breeze! Follow these simple steps, and you’ll have a colorful, chewy dessert ready to be enjoyed. Let’s dive right in!
Step 1: Prepare Your Ingredients
Start by gathering all your ingredients. This step makes the process smoother.
Set out your Fruity Pebble cereal, salted butter, and mini marshmallows near your work area.
Also, grab an 8×8-inch pan and grease it with either nonstick spray or butter. The greasing prevents sticking and ensures easy removal later.
Step 2: Melt the Butter
Now, let’s melt that buttery goodness!
In a medium saucepan, place 1/4 cup of salted butter over low heat.
Keep an eye on it and stir occasionally until it’s fully melted. This should only take a minute or two.
Stirring helps ensure it melts evenly and prevents burning.
Step 3: Incorporate the Mini Marshmallows
Once the butter is melted, it’s time to add the stars of the show!
Dump in 4 cups of mini marshmallows into the saucepan.
Stir constantly over low heat until the marshmallows are completely melted and the mixture looks smooth and creamy, about 3-5 minutes.
If you want a little added flavor, you can toss in some vanilla extract at this stage!
Step 4: Combine with Cereal
With your marshmallows melted, it’s time for the colorful cereal!
Pour the 5 cups of Fruity Pebble cereal into the melted marshmallow mixture.
Gently fold the cereal in until each piece is evenly coated. Use a rubber spatula for better mixing.
Take your time! You want that cereal to soak up the goodness without turning into mush.
Step 5: Press the Mixture into the Pan
Now, transfer that vibrant mixture into your prepared pan.
Using a piece of wax or parchment paper, press the mixture evenly into the pan.
Be careful not to squish it too hard; you want it to stay light and chewy.
A light pressing will ensure that they hold together without being rock-hard.
Step 6: Cool and Serve
Time for the hard part—waiting!
Let the treats cool completely at room temperature for about 20-30 minutes.
If you’re in a hurry, pop the pan in the refrigerator for about 5 minutes for faster cooling.
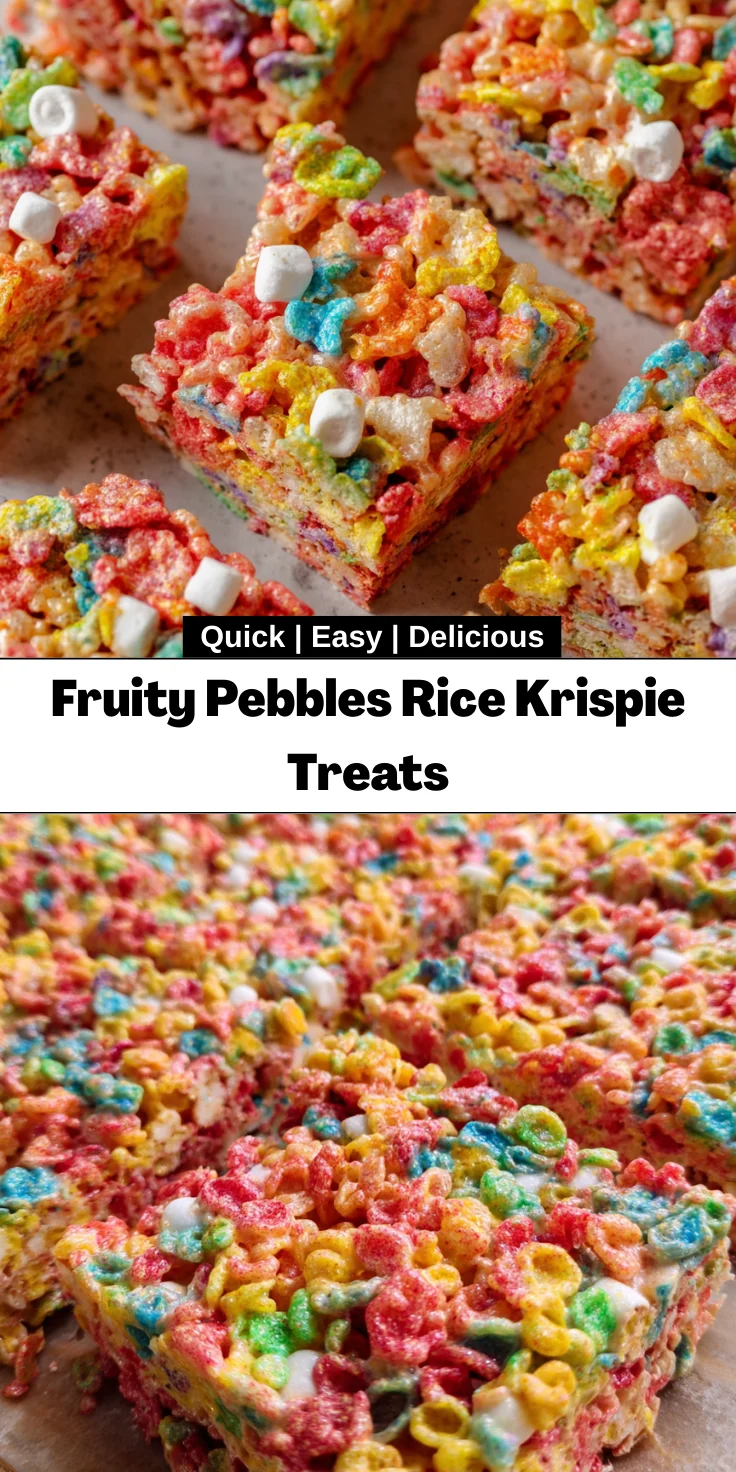
Once cooled, cut into 9 squares, and voila! Your Fruity Pebbles Rice Krispie Treats are ready to be devoured.
Tips for Success
- Measure your ingredients accurately for the best texture.
- Use a rubber spatula for gentle folding; it helps prevent cereal breakage.
- Lightly grease your hands when pressing the mixture into the pan to avoid stickiness.
- For extra flavor, mix in some sprinkles or mini chocolate chips before pressing.
- Store leftovers in an airtight container for freshness—if they last that long!
Equipment Needed
- Medium Saucepan: You can use a large pot if you’re doubling the recipe.
- Rubber Spatula: A sturdy spoon or wooden spatula works too for mixing.
- 8×8-inch Pan: A similar-sized dish will work, even a baking sheet for thinner treats.
- Wax or Parchment Paper: You can also use your greased hands if you don’t have these.
Variations of Fruity Pebbles Rice Krispie Treats
- Chocolate Drizzle: Melt some chocolate and drizzle it over the cooled treats for a decadent twist!
- Nut Butter Addition: Swirl in some peanut butter or almond butter during the marshmallow melting stage for extra creaminess and protein.
- Mix in Dried Fruits: Toss in some dried cranberries or banana chips for a chewy texture and a fruity burst.
- Rainbow Sprinkles: Add colorful sprinkles into the final mixture for an extra fun flair that kids will love!
- Rice Krispies Combination: Mix half Fruity Pebbles with half classic Rice Krispies for a subtle flavor balance.
- Gluten-Free Version: Substitute with gluten-free crispy rice cereal to make them suitable for gluten-sensitive friends.
Serving Suggestions
- Pair with Milk: Serve these treats alongside a tall glass of cold milk for a nostalgic treat!
- Presentation: Arrange them on a colorful platter for parties or gatherings to showcase their vibrant colors.
- Great with Ice Cream: Top a scoop of vanilla or strawberry ice cream with a crumbled treat for a delightful dessert experience.
- Fun Party Favors: Wrap individual squares in cellophane and gift them at birthday parties or family gatherings.
FAQs about Fruity Pebbles Rice Krispie Treats
Got questions? Don’t worry; I’ve got answers! Here are a few commonly asked questions about these delightful Fruity Pebbles Rice Krispie Treats, along with some tips to get the best results.
Can I use regular Rice Krispies instead of Fruity Pebbles?
Sure! While the fruity flavor makes Fruity Pebbles Rice Krispie Treats unique, you can absolutely substitute regular Rice Krispies. The texture will still be amazing, just a bit less vibrant in flavor!
How should I store my Rice Krispie Treats?
To keep your treats fresh, store them in an airtight container at room temperature. They’ll stay soft and chewy for several days—if they last that long!
Can I make these treats ahead of time?
You can definitely make them a day in advance! Just store them properly to maintain that luscious texture. They are perfect for prepping for parties or gatherings!
How can I make these treats more festive?
Add seasonal sprinkles or colored marshmallows for a holiday touch! These cheerful additions will make your Fruity Pebbles Rice Krispie Treats stand out even more.
Are these treats suitable for kids and allergies?
Fruity Pebbles Rice Krispie Treats are generally kid-friendly. However, be mindful of any allergies. Always check the labels for dietary restrictions! You can switch ingredients to meet specific needs if necessary.
Final Thoughts
In the end, Fruity Pebbles Rice Krispie Treats are not just a dessert; they’re a cherished way to create delightful memories with family and friends. Each colorful square holds the promise of joyful moments, laughter, and, of course, a bit of nostalgia. As I watch my kids devour these treats, I’m reminded of the joys of simpler times—when sweets meant smiles and creativity in the kitchen. So, whether you’re whipping these up for a party or just because, let the vibrant colors and delightful flavors spark joy in your home, one chewy bite at a time!
Print
Fruity Pebbles Rice Krispie Treats
- Total Time: 35 minutes
- Yield: 9 squares 1x
- Diet: Vegetarian
Description
Fruity Pebbles Rice Krispie Treats are a fun and colorful dessert that’s easy to make and perfect for sharing!
Ingredients
- 5 cups fruity pebble cereal
- 1/4 cup salted butter
- 4 cups mini marshmallows
Instructions
- Pour 5 cups fruity pebble cereal into a large mixing bowl. Set aside. Lightly grease an 8×8-inch pan with nonstick spray or butter.
- In a medium saucepan over low heat, melt 1/4 cup salted butter. Once melted, add 4 cups mini marshmallows. Stir constantly until the marshmallows are fully melted and the mixture is smooth, about 3–5 minutes.
- Immediately pour the melted marshmallow mixture over the cereal. Stir with a rubber spatula until the cereal is evenly coated.
- Transfer the mixture to the prepared 8×8-inch pan. Using a piece of wax or parchment paper, press the mixture evenly into the pan. Be careful not to press too hard to keep the treats light and chewy.
- Allow the treats to cool completely at room temperature, about 20–30 minutes. For faster cooling, place the pan in the refrigerator for about 5 minutes.
- Once cooled, cut into 9 squares and serve.
Notes
- For added flavor, consider adding vanilla extract to the melted marshmallow mixture.
- Store leftovers in an airtight container to maintain freshness.
- Prep Time: 10 minutes
- Cook Time: 5 minutes
- Category: Dessert
- Method: No-Bake
- Cuisine: American
Nutrition
- Serving Size: 1 square
- Calories: 150
- Sugar: 10g
- Sodium: 80mg
- Fat: 6g
- Saturated Fat: 4g
- Unsaturated Fat: 2g
- Trans Fat: 0g
- Carbohydrates: 22g
- Fiber: 0g
- Protein: 1g
- Cholesterol: 15mg