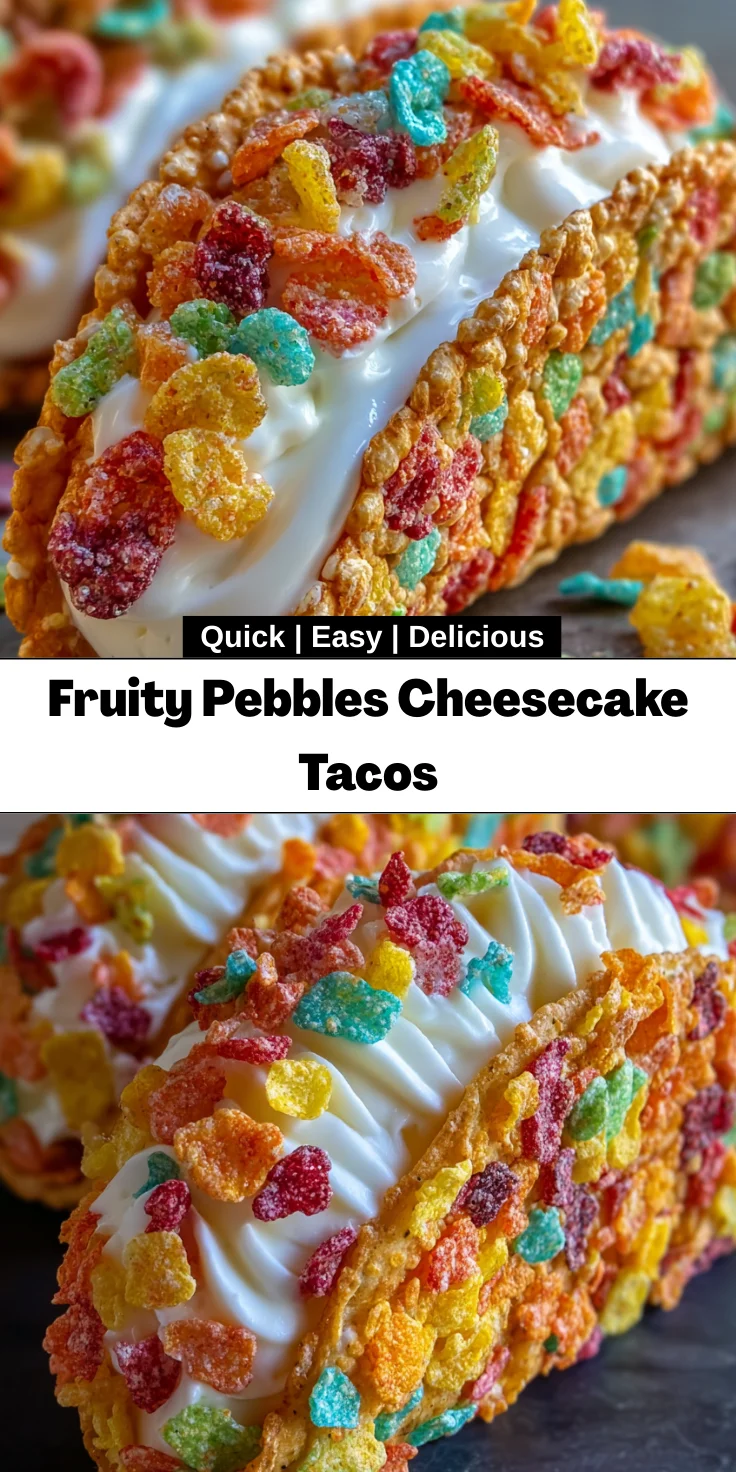
Introduction to Fruity Pebbles Cheesecake Tacos
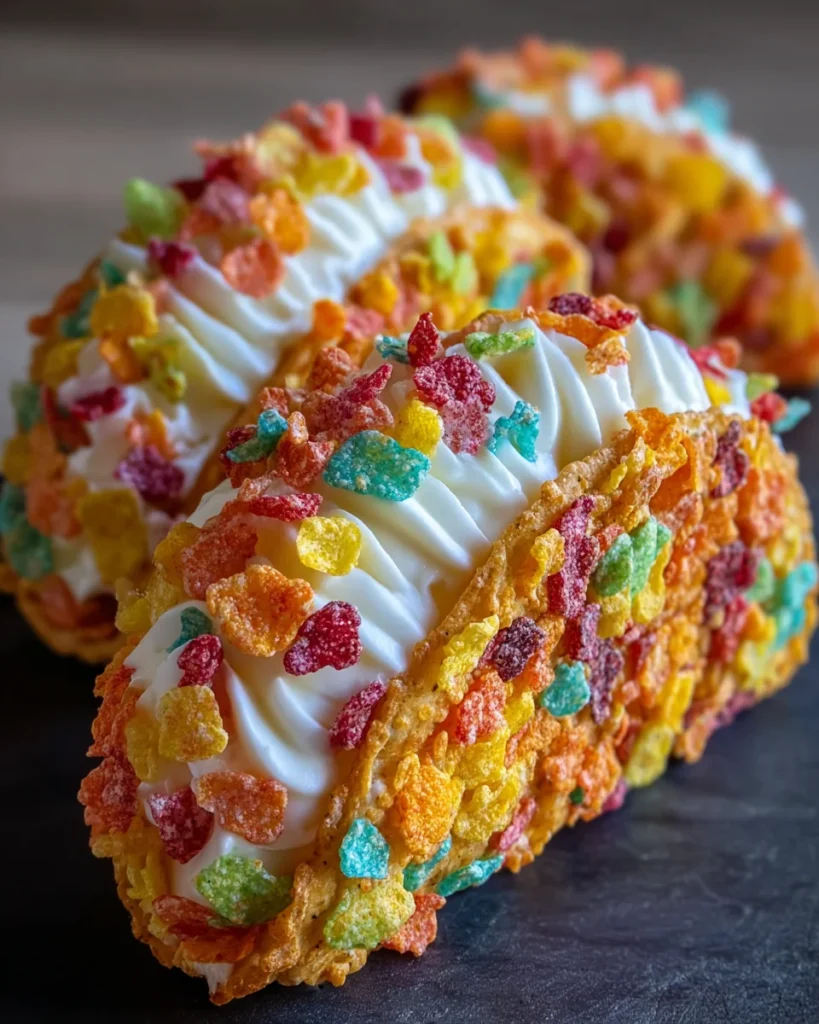
Let’s face it—life gets hectic, especially for busy moms and professionals like us. We often crave something sweet and fun, but who has time for complicated desserts? That’s where my Fruity Pebbles Cheesecake Tacos come to the rescue! Imagine a dessert that combines the nostalgic crunch of Fruity Pebbles with a creamy cheesecake filling, all in a playful taco shape. It’s the perfect treat to impress your loved ones or indulge yourself after a long day. Plus, this no-bake recipe is as easy as it is delightful, making it a must-try when you’re short on time!
Why You’ll Love This Fruity Pebbles Cheesecake Tacos
Let me tell you why you’ll absolutely adore these Fruity Pebbles Cheesecake Tacos! First off, they come together in a flash, making them perfect for those hectic evenings when you need a quick dessert fix. The flavor? A delightful blend of sweet and creamy that dances on your taste buds. Plus, the taco shape makes them fun, inviting everyone to dig in. They’re sure to bring smiles and sparkle to any gathering!
Ingredients for Fruity Pebbles Cheesecake Tacos
Ready to whip up these tasty Fruity Pebbles Cheesecake Tacos? Here’s what you’ll need:
- Fruity Pebbles cereal: The star of the show! This cereal brings that nostalgic, fruity flavor and vibrant color, making each bite a joy.
- Unsalted butter: Using unsalted butter allows you to control the saltiness in your dessert. It’s essential for helping the cereal hold its shape.
- Cream cheese: The base for our cheesecake filling; it adds a rich, creamy texture that balances the sweetness of the filling perfectly.
- Powdered sugar: This sweetener gives the cheesecake its delightful flavor without the graininess of granulated sugar. Sift it before adding for the smoothest texture!
- Pure vanilla extract: A splash of vanilla enhances the flavor beautifully. It adds warmth and depth to the filling—never settle for imitation!
- Whipped cream: Light and airy, it creates a fluffy cheesecake mixture. You can make your own or use store-bought for convenience.
- Additional Fruity Pebbles for garnish: These provide a lovely crunch and pop of color on top of your tacos, making them super appealing.
For ingredient quantities, don’t forget to check the bottom of the article, where you’ll find everything listed and available for printing. Happy cooking!
How to Make Fruity Pebbles Cheesecake Tacos
Now comes the fun part—making these delightful Fruity Pebbles Cheesecake Tacos! The process is super simple, so roll up your sleeves and let’s dive right in!
Step 1: Prepare the Cereal Shells
First, grab a large mixing bowl and combine the Fruity Pebbles cereal with the melted butter. Give it a good stir until all the cereal pieces are evenly coated. This mixture is going to be the crunchy taco shell, so make sure every little piece gets that buttery goodness. It’s like a party for your cereal!
Step 2: Mold the Taco Shapes
Next, take your coated cereal mixture and press it firmly into small taco-shaped molds or even muffin tins. This step is crucial; you want to compact it tightly so the shells will hold their shape. Once you’ve shaped them, pop the molds into the refrigerator for at least 30 minutes to set. This chill time works wonders, creating a sturdy shell that’s ready to hold that creamy cheesecake filling.
Step 3: Make the Cheesecake Filling
While your taco shells are setting, let’s whip up the cheesecake filling! Using a hand mixer, beat the softened cream cheese until it’s light and fluffy. Gradually add in the sifted powdered sugar and pure vanilla extract, blending until the mixture is smooth and creamy. Be careful not to overmix! Gently fold in the whipped cream with a spatula. You want to keep that light, airy texture, like a fluffy cloud!
Step 4: Fill the Taco Shells
Once those adorable cereal taco shells are firm, it’s time for the filling! Generously spoon the creamy cheesecake mixture into each taco shell. The more, the merrier, right? Fill them to the brim for a heavenly bite that’s bound to make everyone swoon!
Step 5: Garnish and Chill
Finally, it’s time for some finishing touches! Sprinkle extra Fruity Pebbles on top of the filled tacos for a delightful crunch and a burst of color. Now, you have a choice: serve these vibrant treats immediately for a soft texture, or refrigerate them for another hour for a firmer bite. Either way, they’re going to be a hit!
Tips for Success
- Ensure the cereal is well-coated with butter to help it hold its shape.
- Don’t rush the refrigeration process; letting the cereal shells set is key.
- When folding in whipped cream, go gentle to maintain that fluffy texture.
- Try using flavored whipped cream for an extra twist!
- Experiment with toppings like sprinkles or chocolate drizzle for added fun.
Equipment Needed
- Large mixing bowl: A classic choice—don’t have one? Any big bowl will do!
- Hand mixer: Perfect for whipping the cheesecake. A whisk works too, but it’ll take some elbow grease!
- Taco-shaped molds or muffin tins: No molds? Just shape the cereal mix by hand!
- Spatula: Essential for folding in the whipped cream! A wooden spoon can work in a pinch.
- Refrigerator: For setting those adorable taco shells. Can’t be without it!
Variations of Fruity Pebbles Cheesecake Tacos
- Chocolatey Twist: Swap some of the Fruity Pebbles for crushed cocoa puffs for a chocolatey experience that still has that crunch!
- Nut-Free Option: If you’re concerned about allergies, use dairy-free whipped cream and cream cheese, and enjoy the same fruity flavor without nuts!
- Gluten-Free Version: Use gluten-free cereal—there are varieties available that mimic Fruity Pebbles perfectly!
- Festive Themes: Switch up the toppings for holidays; think red and green sprinkles for Christmas or pastel colors for Easter!
- Fruit Add-Ins: For a burst of freshness, fold in diced strawberries or blueberries into the cheesecake filling.
Serving Suggestions for Fruity Pebbles Cheesecake Tacos
- Enjoy with a scoop: A side of vanilla ice cream pairs perfectly, adding a creamy cold contrast to the crunchy tacos.
- Fresh fruit accents: Serve with slices of strawberries or kiwi for a refreshing touch.
- Colorful presentation: Arrange on a vibrant platter and sprinkle extra Fruity Pebbles for that extra pop!
- Drinks: A fruity lemonade or sparkling soda complements the sweetness beautifully.
FAQs about Fruity Pebbles Cheesecake Tacos
You might have some questions about these delightful Fruity Pebbles Cheesecake Tacos, and I’m here to help clear things up! Here are a few commonly asked questions I’ve encountered:
Can I make these Fruity Pebbles Cheesecake Tacos in advance?
Absolutely! You can prepare the taco shells a day ahead and fill them just before serving. This way, they’ll stay crunchy, and your guests will be wowed by the fresh presentation!
Are there any substitutions for ingredients?
Yes! If you don’t have vanilla extract, feel free to use almond extract for a unique twist. You can also swap cream cheese for a dairy-free alternative if needed.
Can kids help with this recipe?
Definitely! Making these tacos is a great way to involve kids in the kitchen. They can help mix the cereal and butter and, of course, fill the taco shells with the cheesecake mixture.
What should I do if my cereal shells crumble?
If your cereal shells don’t hold together, it may be that they weren’t tightly packed or enough butter was not used. Don’t worry! Just re-press the mixture again and pop them back in the fridge to set properly.
How can I store leftovers?
Store any filled tacos in an airtight container in the fridge for up to two days. Just keep in mind that the shells may get softer the longer they sit!
Final Thoughts
Creating these Fruity Pebbles Cheesecake Tacos is not just about making dessert; it’s about bringing joy to your kitchen and your loved ones. Each bite is a burst of fun, nostalgia, and flavor, transforming even the busiest of days into something special. The smiles and laughter around the table when you serve these delightful treats make all the effort worthwhile. So, whether you’re celebrating a special occasion or just looking for a sweet escape from daily routines, these tacos are sure to deliver happiness in every crunchy, creamy bite. Let the fun begin!
Print
Fruity Pebbles Cheesecake Tacos
- Total Time: 50 minutes
- Yield: 12 tacos 1x
- Diet: Vegetarian
Description
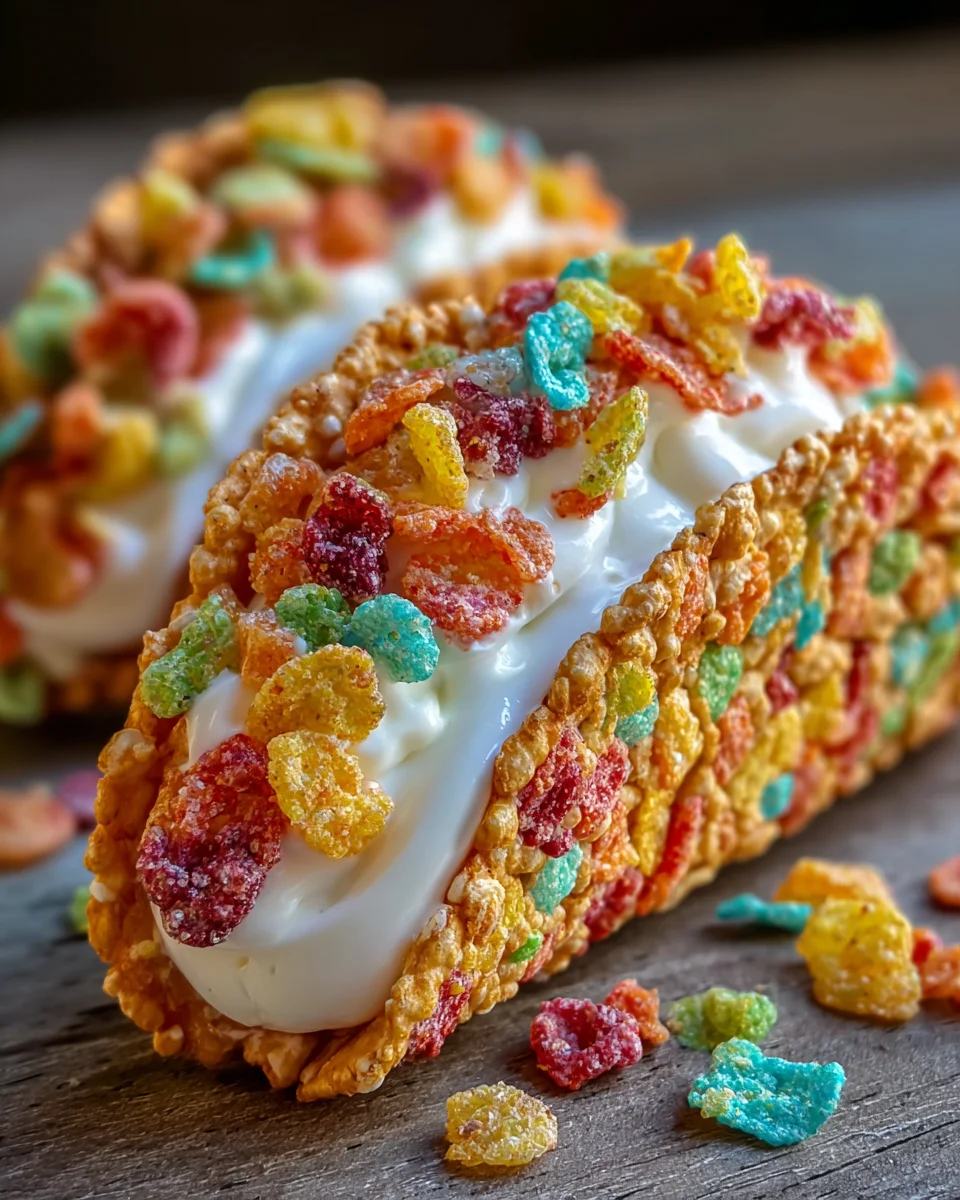
Fruity Pebbles Cheesecake Tacos are a delightful twist on traditional cheesecake, combining the nostalgic flavor of Fruity Pebbles cereal with a creamy cheesecake filling in a fun taco shape.
Ingredients
- 3 cups Fruity Pebbles cereal
- 1/2 cup unsalted butter, melted
- 8 ounces cream cheese, softened
- 1/2 cup powdered sugar, sifted
- 1 teaspoon pure vanilla extract
- 1 cup whipped cream
- Additional Fruity Pebbles cereal for garnish
Instructions
- Combine Fruity Pebbles cereal and melted butter in a large mixing bowl. Stir thoroughly to evenly coat all cereal pieces.
- Press the coated cereal mixture firmly into small taco-shaped molds or muffin tins, compacting tightly. Refrigerate molds for at least 30 minutes to set.
- Using a hand mixer, beat cream cheese until light and fluffy. Gradually incorporate powdered sugar and vanilla extract, blending until smooth and homogenous.
- Gently fold whipped cream into the cream cheese mixture with a spatula, maintaining a light and airy texture.
- Once cereal shells are firm, generously spoon cheesecake filling into each shell. Top with additional Fruity Pebbles cereal as garnish.
- Serve immediately for a soft texture, or refrigerate filled tacos for an additional hour for a firmer bite.
Notes
- Ensure the cereal is well-coated with butter to hold the shape.
- Do not overmix the whipped cream into the cheesecake filling to keep it airy.
- For a crunchier texture, serve tacos immediately after filling.
- Prep Time: 20 minutes
- Cook Time: 30 minutes
- Category: Dessert
- Method: No-Bake
- Cuisine: American
Nutrition
- Serving Size: 1 taco
- Calories: 250
- Sugar: 15g
- Sodium: 150mg
- Fat: 15g
- Saturated Fat: 9g
- Unsaturated Fat: 3g
- Trans Fat: 0g
- Carbohydrates: 28g
- Fiber: 0g
- Protein: 2g
- Cholesterol: 30mg