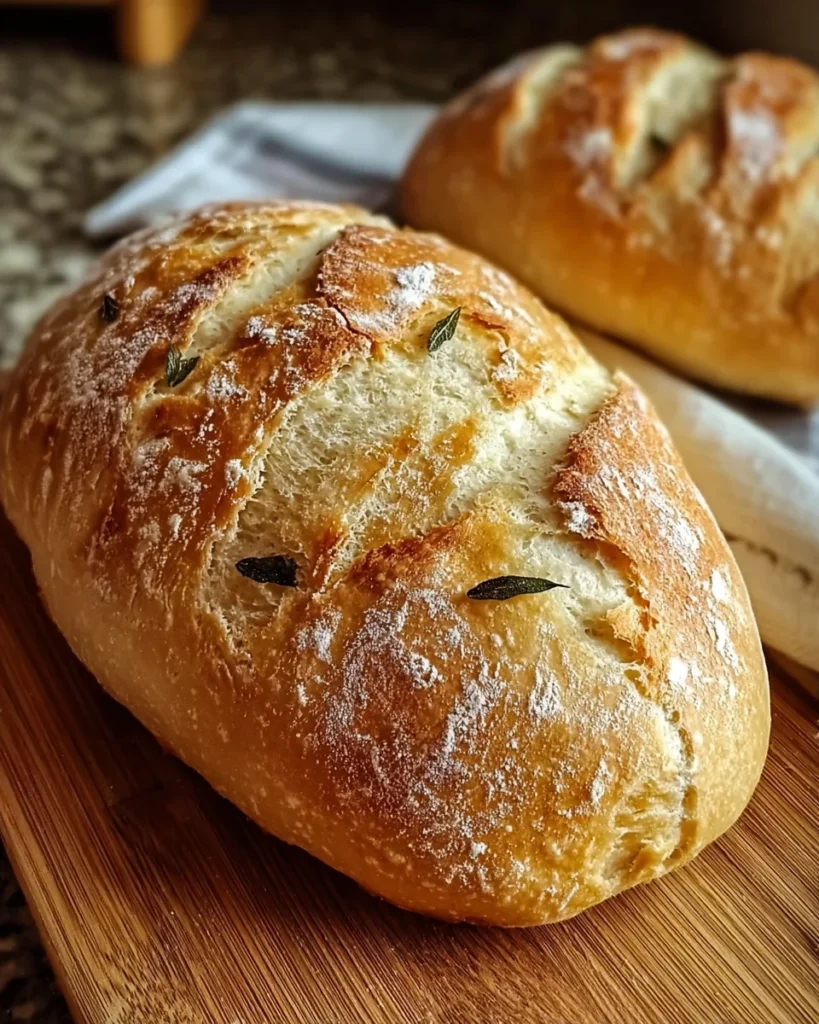
Introduction to Crusty Italian Bread
Every time I smell freshly baked bread in my kitchen, it takes me back to my grandmother’s warm embrace and her beautiful kitchen filled with love. Crusty Italian bread is a gift that not only satisfies your hunger but also brings your family together. It’s a quick solution for a busy day or a delightful side to impress guests at dinner. With this simple recipe, you won’t just satisfy your craving, but you’ll also create an inviting atmosphere that fills your home with warmth. Let’s roll up our sleeves and dive into making this delicious treasure!
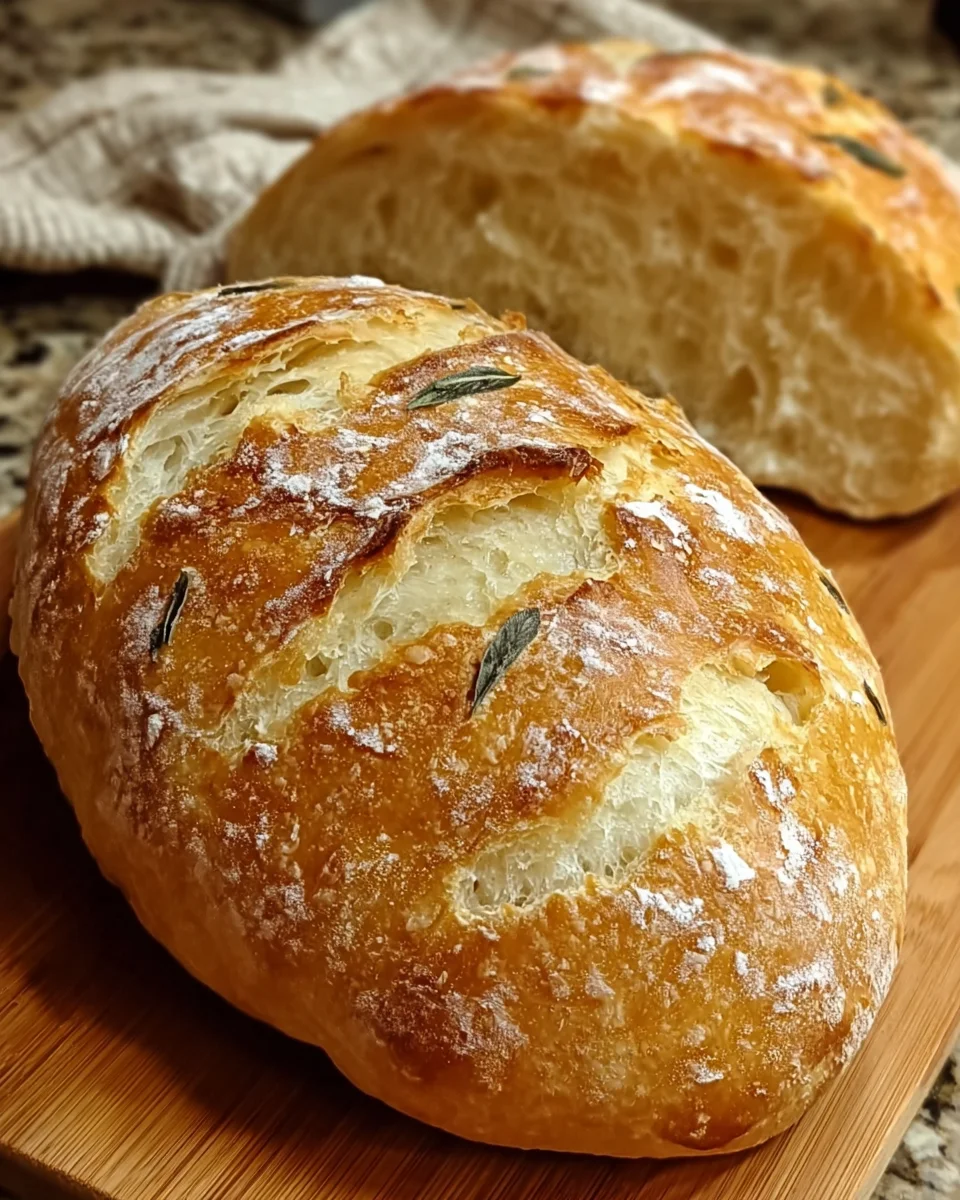
Why You’ll Love This Crusty Italian Bread
Making crusty Italian bread at home is incredibly rewarding and, believe me, it’s easier than you might think. It’s a speedy recipe that doesn’t require fancy equipment or hours in the kitchen. Plus, the aroma wafting through your home while it bakes is pure bliss! The satisfying crunch of the crust paired with that soft, airy interior? It’s simply irresistible. Your family will think you’ve become a pro baker!
Ingredients for Crusty Italian Bread
Let’s gather the essentials to create your masterpiece of crusty Italian bread. Here’s what you’ll need:
- All-purpose flour: This is the backbone of our bread. It provides structure and a delightful chewiness.
- Salt: A crucial ingredient that enhances flavor and strengthens the dough. It allows the bread to really sing!
- Sugar: Added to fuel the yeast and enhance browning. A pinch goes a long way to create that golden crust.
- Active dry yeast: This magical ingredient makes your dough rise. Make sure it’s fresh for optimal fluffiness.
- Warm water: The perfect temperature helps the yeast activate. Think of it as a cozy bath for our yeast friends.
- Cornmeal: Used for dusting the baking sheet. It gives the crust a lovely crunch and prevents sticking.
Don’t forget, you can find the exact measurements at the bottom of the article, where they’re available for printing. With these simple ingredients, you’re already on your way to bakery-quality bread right in your kitchen!
How to Make Crusty Italian Bread
Step 1: Prepare the Yeast Mixture
Start by pouring the warm water into a large mixing bowl. It should feel just warm to the touch, like a cozy hug! Sprinkle in the sugar and then add the active dry yeast. Give it a gentle stir and let it sit for 5-10 minutes. You’ll know it’s ready when it becomes frothy and bubbly. This little step is crucial; it ensures your bread will rise beautifully!
Step 2: Mix the Dough
Next, it’s time to join the party! Add the all-purpose flour and salt to your yeast mixture. Grab a sturdy wooden spoon or spatula, and stir until a rough dough forms. Don’t worry about perfection here; think of it as creating a rustic masterpiece!
Step 3: Knead the Dough
Lightly flour your kitchen counter and turn out that dough. Knead it with your hands for about 8-10 minutes. This is where the magic happens! Your dough should feel smooth and elastic. If it sticks to your fingers, add a tiny bit more flour. Think of it as giving your dough a workout!
Step 4: First Rise
Once kneaded, place the dough in a lightly greased bowl. Cover it with a damp cloth and let it rise in a warm spot, like near a sunny window. This resting period is essential; you’re allowing the dough to double in size, creating that light, airy texture we all love!
Step 5: Shape the Dough
After the first rise, it’s time for a little punch! Lightly punch down the dough to remove excess air. Shape it into a round or oval loaf, whatever your heart desires! Dust your baking sheet with cornmeal to prevent sticking, adding a crunchy bite to that crust later.
Step 6: Second Rise
Cover your shaped loaf with a cloth once again and let it rise for another 30-45 minutes. This second rise is just as important. It’s like giving your bread a beauty nap, ensuring it’s light and fluffy when it bakes.
Step 7: Preheat and Prepare for Baking
Now, preheat your oven to 450°F. To create that perfect crust, place a shallow pan of water on the bottom rack. This little trick helps generate steam during baking, making your crust nicely crusty!
Step 8: Bake the Bread
Make a few slashes on the top of your loaf using a sharp knife right before baking. This lets steam escape and adds that artisanal touch. Bake for 25-30 minutes, watching for that golden brown crust. When you tap the bottom and hear a hollow sound? That’s your cue—it’s done!
Step 9: Cool Your Bread
Remove the loaf from the oven and let it cool on a wire rack. Patience is key here! Allowing it to cool completely enhances the flavors and texture, so try not to slice it too soon. You’ll be rewarded with a beautiful bread that’s ready to serve.
Tips for Success
- Ensure your yeast is fresh by checking the expiration date. This guarantees a good rise.
- Use a kitchen thermometer to maintain water temperature. Too hot can kill the yeast!
- Experiment with kneading; you’ll get a feel for when the dough is just right.
- Don’t rush the rising times; patience yields a more flavorful loaf.
- Use an oven thermometer to ensure accurate baking temperature.
Equipment Needed
- Mixing bowl: A large bowl works best, but any bowl that can hold your ingredients will do.
- Wooden spoon or spatula: Use any sturdy utensil to mix the dough; a whisk can work in a pinch.
- Kitchen towel: Any clean cloth will cover your dough during rising.
- Baking sheet: A regular baking tray is perfect; just dust it with cornmeal.
- Wire rack: A cooling rack is great, but you can use any surface that allows airflow.
Variations
- Herb-Infused: Add chopped fresh herbs like rosemary or thyme to the dough for an aromatic twist.
- Garlic Bread: Mix in minced garlic and a sprinkle of garlic powder for a flavorful addition. Brush with olive oil before baking!
- Whole Wheat Option: Substitute half of the all-purpose flour with whole wheat flour for a nuttier flavor and added nutrition.
- Cheesy Delight: Fold in grated Parmesan or mozzarella cheese into the dough for a savory spin.
- Seed Topping: Top your loaf with sesame or poppy seeds before baking for extra texture and flavor.
Serving Suggestions for Crusty Italian Bread
- Pair with Olive Oil: Serve warm slices with a drizzle of quality olive oil and balsamic vinegar for dipping.
- Soup Companion: Enjoy alongside a comforting bowl of tomato or minestrone soup.
- Charcuterie Board: Include slices on a charcuterie board to elevate your appetizer spread.
- Garlic Toast: Toast slices with garlic butter for an irresistible side for pasta dishes.
- Salad Base: Use chunks of bread in salads or as croutons to add a delightful crunch.
FAQs about Crusty Italian Bread
What can I do if my crusty Italian bread doesn’t rise?
If your dough doesn’t rise properly, it’s likely due to the yeast being old or the water temperature being too hot or cold. Always check your yeast’s expiration date and ensure the water is around 110°F for an optimal rise!
Can I make crusty Italian bread ahead of time?
Absolutely! You can prepare the dough and let it rise, then cover it tightly with plastic wrap and refrigerate for up to 24 hours. Just bring it back to room temperature before baking to ensure it rises again.
Why does my crust turn out soft?
A soft crust typically results from insufficient steam during baking. To achieve that perfect crust, add more water to your shallow pan or spray water into the oven during the first few minutes of baking.
Can I use whole wheat flour instead of all-purpose flour?
Yes! You can substitute up to half of the all-purpose flour with whole wheat flour. You’ll get a nuttier flavor and added nutrition, making your crusty Italian bread even more wholesome!
How can I store the leftover crusty Italian bread?
To keep your bread fresh, wrap it in parchment paper or a cloth and store it at room temperature. If you want to keep it longer, slice it and freeze it in a zip-top bag. Simply reheat slices in the oven to enjoy that fresh-baked taste!
Final Thoughts
Making crusty Italian bread at home is more than just a cooking project; it’s a heartfelt experience! The way your kitchen fills with that mouthwatering aroma, and the joy of sharing warm slices with family is truly priceless. This recipe brings everyone together, creating cherished memories over simple but delicious bread. Whether you’re enjoying it with olive oil, soups, or just on its own, each bite is a reminder that homemade food can nourish both body and soul. So, grab your apron, embrace the process, and savor the happiness that comes from your very own baking adventure!
Print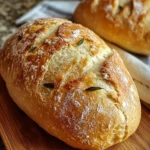
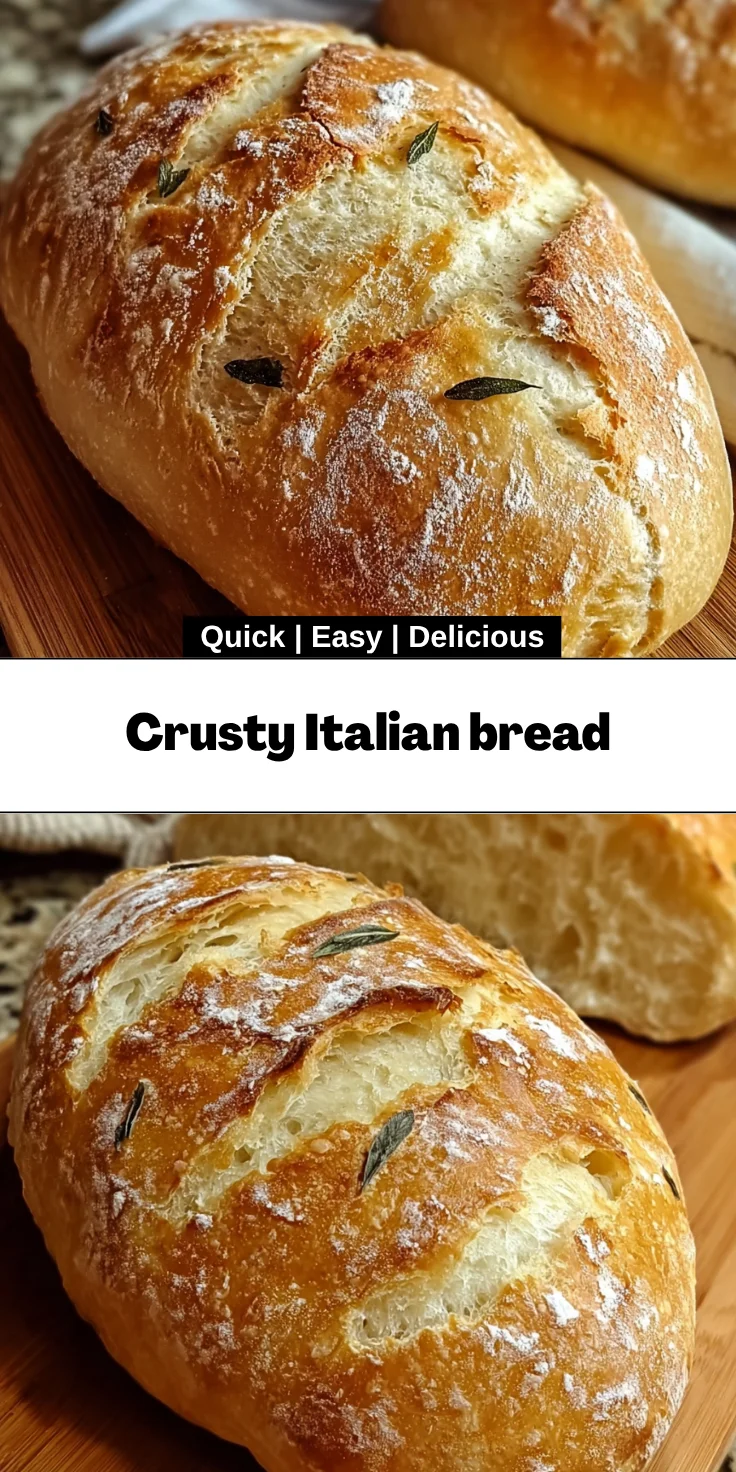
Crusty Italian bread
- Total Time: 2 hours 45 minutes
- Yield: 1 loaf 1x
- Diet: Vegetarian
Description
A simple and delicious recipe for making crusty Italian bread at home.
Ingredients
- 3 ½ cups all-purpose flour
- 1 ½ teaspoons salt
- 1 teaspoon sugar
- 1 packet (2 ¼ teaspoons) active dry yeast
- 1 ½ cups warm water (about 110°F)
- Cornmeal for dusting
Instructions
- In a large mixing bowl, combine the warm water, sugar, and yeast. Let it sit for about 5-10 minutes until it becomes frothy.
- Add the flour and salt to the yeast mixture. Stir until a rough dough forms.
- Turn the dough out onto a floured surface and knead for about 8-10 minutes until smooth and elastic.
- Place the dough in a lightly greased bowl, cover with a damp cloth, and let it rise in a warm place for about 1-2 hours, or until it has doubled in size.
- Once risen, punch down the dough and shape it into a round or oval loaf. Place it on a baking sheet dusted with cornmeal.
- Cover the shaped loaf with a cloth and let it rise again for about 30-45 minutes.
- Preheat your oven to 450°F. Place a shallow pan of water on the bottom rack to create steam.
- Just before baking, make a few slashes on the top of the loaf with a sharp knife.
- Bake the bread for 25-30 minutes or until the crust is golden brown and the loaf sounds hollow when tapped on the bottom.
- Remove from the oven and let it cool on a wire rack before slicing.
Notes
- For a crustier bread, you can increase the steam in the oven by adding more water to the shallow pan.
- Allow the bread to cool completely before slicing for the best texture.
- Prep Time: 15 minutes
- Cook Time: 30 minutes
- Category: Baking
- Method: Baking
- Cuisine: Italian
Nutrition
- Serving Size: 1 slice
- Calories: 120
- Sugar: 0g
- Sodium: 150mg
- Fat: 0.5g
- Saturated Fat: 0g
- Unsaturated Fat: 0.5g
- Trans Fat: 0g
- Carbohydrates: 25g
- Fiber: 1g
- Protein: 4g
- Cholesterol: 0mg