Introduction to Cream Puff Cake
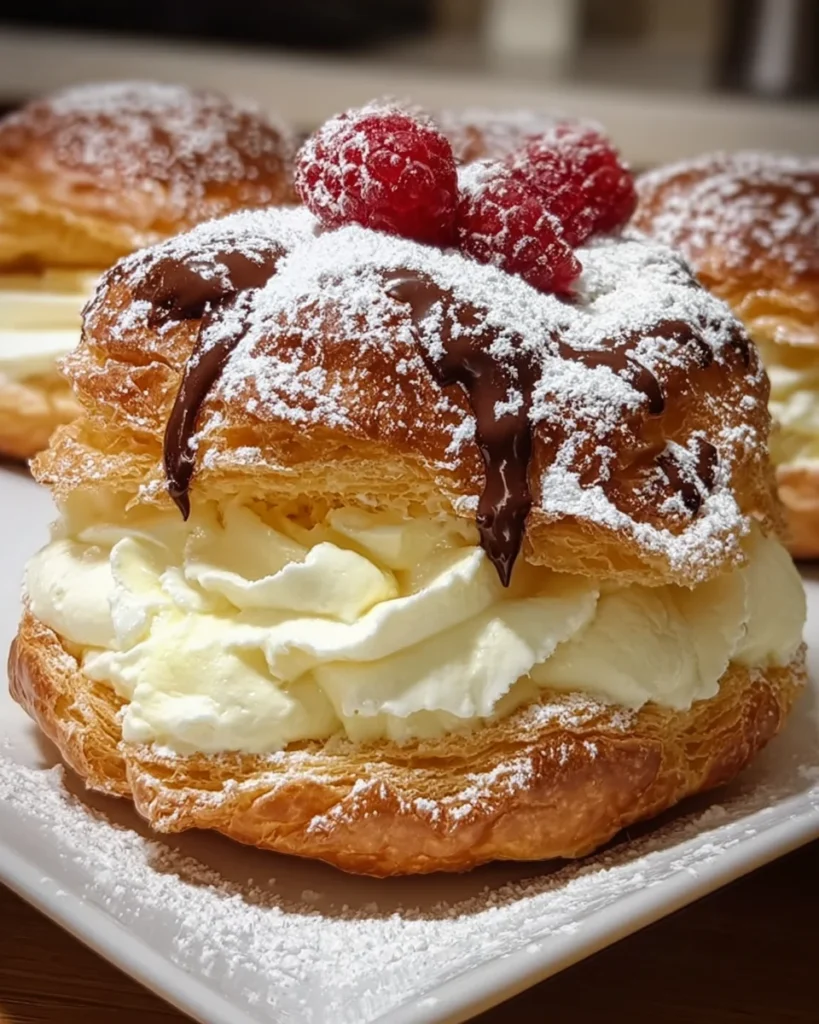
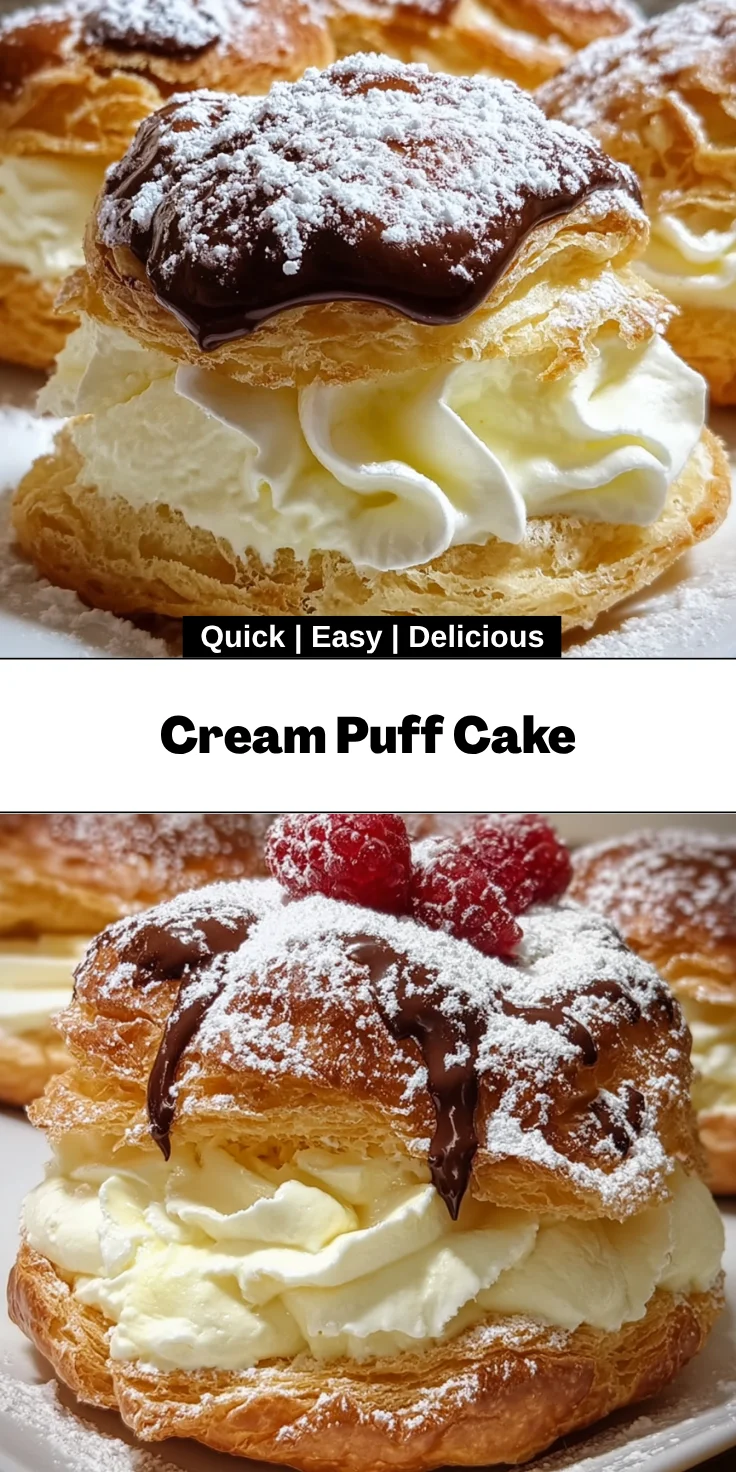
Hey there! If you’re in the mood for a dessert that’s both stunning and scrumptious, let me introduce you to the delightful world of Cream Puff Cake. You won’t believe how easy it is to whip up this showstopper! As a busy mom, I know how precious time can be, and this recipe saves the day. It’s perfect for impressing family and friends, yet simple enough to make on a hectic afternoon. Just imagine creamy custard layered on a light, fluffy cake topped with rich chocolate glaze—a slice of happiness ready to be savored!
Why You’ll Love This Cream Puff Cake
This Cream Puff Cake is a delightful combination of flavors and textures that will leave everyone craving more! The best part? It comes together without a fuss. You’ll appreciate how quickly you can go from ingredients to a beautiful dessert, perfect for potlucks or family gatherings. With its creamy custard and luscious chocolate glaze, it feels indulgent, yet is surprisingly simple to create. It’s truly a win-win!
Ingredients for Cream Puff Cake
To create this delightful Cream Puff Cake, you’ll need some simple yet essential ingredients. Here’s what to gather:
- Water: Essential for creating the base of the dough, giving it the needed moisture.
- Unsalted Butter: This adds richness and flavor. Unsalted is preferred, so you can better control the saltiness.
- All-Purpose Flour: This provides structure to our cake, helping it rise beautifully in the oven.
- Large Eggs: They are crucial for binding everything together and contributing to the delightful texture.
- Vanilla Extract: Who can resist a touch of vanilla? It adds warmth and depth to both the cake and custard.
- Instant Vanilla Pudding Mix: This is the secret to our creamy filling. It makes it smoothly luscious.
- Cold Milk: Important for preparing the pudding mix, ensuring a rich and smooth custard.
- Heavy Cream: Used in both the pudding and for the delightful chocolate glaze, adding that dreamy creaminess.
- Semi-Sweet Chocolate Chips: These turn into a dreamy glaze, delivering a rich chocolatey finish.
For those looking to experiment, consider adding some fruit puree for a fruity twist or swapping in almond extract for a different flavor profile! Ingredients with exact quantities are at the bottom of this article, ready for printing.
How to Make Cream Puff Cake
Step 1: Preheat the Oven and Prepare the Pan
First things first, let’s get that oven ready! Preheating it to 400°F (200°C) ensures our Cream Puff Cake bakes evenly. While it’s heating up, grab a 9×13-inch baking pan and grease it well. This prevents the cake from sticking, making it easier to remove later. Trust me; you want that gorgeous cake to come out intact!
Step 2: Create the Dough
In a medium saucepan, pour 1 cup of water and add ½ cup of butter. Bring this mixture to a rolling boil over medium-high heat. It’s like waiting for a pot to boil, but it’ll be worth it! Once it’s boiling, quickly stir in 1 cup of all-purpose flour. Keep stirring until the dough forms a ball, which usually takes about 2-3 minutes. The dough should look smooth and come away from the sides of the pan; this means you’ve nailed it!
Step 3: Add Eggs and Vanilla
Now, you’ll want to let that dough cool for about 5 minutes. It’s too hot to add eggs just yet! Once it’s cooled slightly, you can begin incorporating 4 large eggs. Add them one at a time, mixing well after each addition for a silky texture. Finally, stir in 1 teaspoon of vanilla extract to give that lovely aroma. Your arm might feel like it’s been at the gym, but trust me; it’s worth it!
Step 4: Bake the Cake Base
Spread the dough evenly into the prepared pan, smoothing the top with a spatula. Pop the pan in the oven and bake for 30-35 minutes. Keep an eye on it! You’ll know it’s done when the top is golden brown and puffy. You want it to feel light to the touch. Once it’s baked, let the cake cool completely in the pan.
Step 5: Make the Custard Filling
While your cake base is cooling, it’s time to whip up that dreamy custard filling. In a medium bowl, whisk together 1 package of instant vanilla pudding mix and 2 cups cold milk. Blend until smooth. In another bowl, whip 1 cup of heavy cream with 1 teaspoon of vanilla extract until soft peaks form. Gently fold this fluffy cream into the pudding mixture. It’s all about that light, airy texture!
Step 6: Assemble the Cream Puff Cake
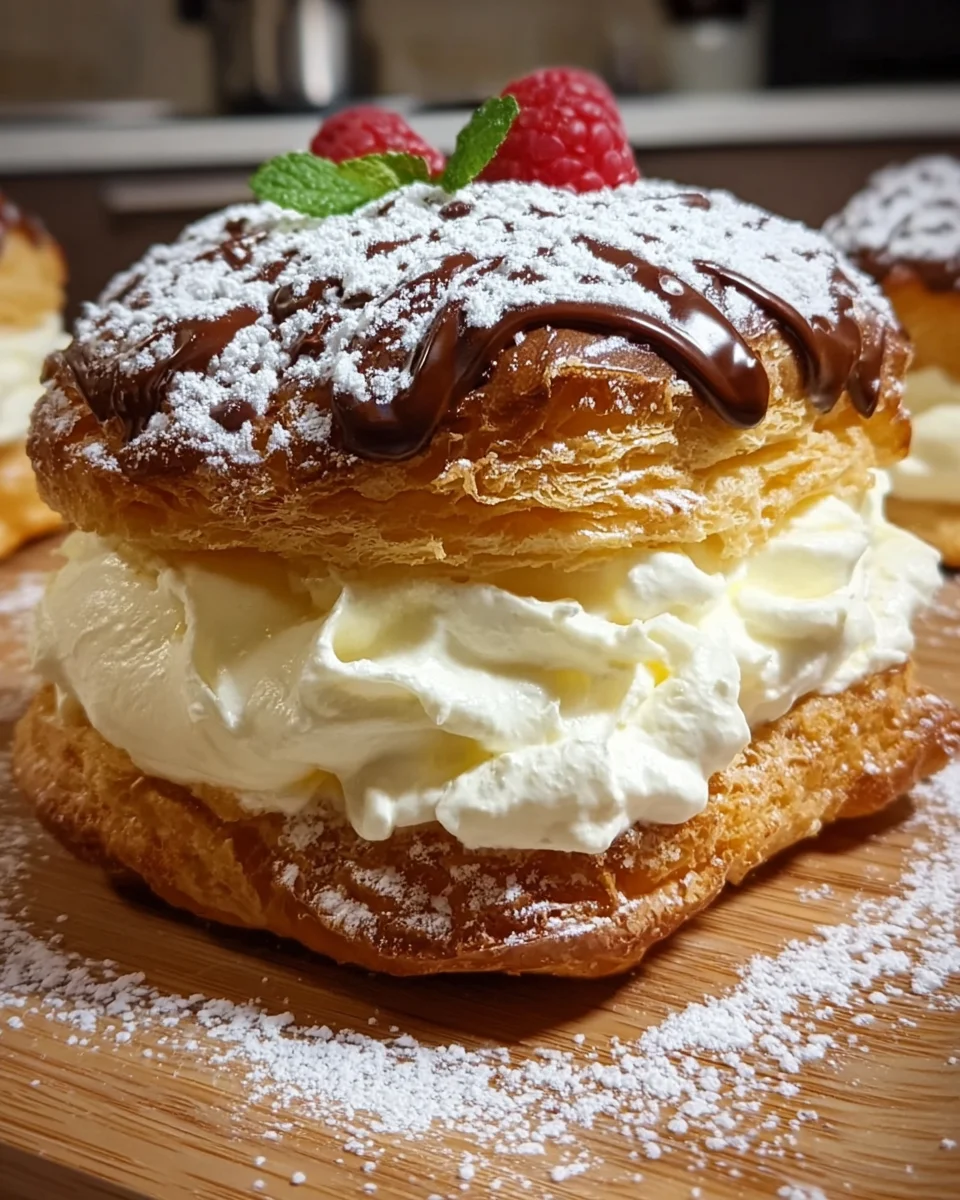
When your cake base has cooled completely, spread the custard filling evenly over the top. Use a spatula to ensure every bite will be filled with that luscious custard goodness. It’s like icing on a cake—but a whole lot better!
Step 7: Prepare the Chocolate Glaze
Now, let’s make that rich chocolate glaze! In a small saucepan, heat ¼ cup of heavy cream over medium heat until it starts to simmer. Remove it from heat and stir in 1 cup of semi-sweet chocolate chips. Keep stirring until the chocolate melts into a glossy, smooth glaze. Drizzle this chocolaty goodness over the custard layer. Spread it gently using a spatula for that professional touch!
Step 8: Chill and Serve
Last but not least, let this fabulous creation chill in the refrigerator for at least 2 hours. This step is crucial; it allows the layers to set and become one delicious dessert. Once chilled, slice and serve this Cream Puff Cake. Get ready for the delighted smiles when you share it!
Tips for Success
- Always preheat your oven for even baking.
- Cool the dough properly before adding eggs to avoid cooking them.
- For extra flavor, try using almond extract instead of vanilla.
- Let the cake chill longer if you have the time for perfect texture.
- Don’t skip the chocolate glaze; it’s the icing on the cake!
Equipment Needed
- 9×13-inch baking pan: A regular baking dish works too, but this size is ideal.
- Medium saucepan: Use a standard pot for boiling ingredients; just ensure it has a sturdy handle.
- Mixing bowls: Any size will do, but having a large one makes mixing easier.
- Whisk: A hand whisk is great; you could even use a fork in a pinch.
- Spatula: A silicone spatula is perfect for spreading the custard and glaze.
Variations on Cream Puff Cake
- Fruit-Infused Twist: Add layers of fresh berries or sliced bananas between the custard and cake for a burst of fruity freshness!
- Chocolate Lovers: Swap the vanilla pudding for chocolate pudding mix to create a richer, chocolatey filling.
- Nutty Delight: Incorporate finely chopped nuts like pecans or almonds into the custard for added texture and flavor.
- Gluten-Free Option: Replace all-purpose flour with a gluten-free flour blend to accommodate dietary needs.
- Sugar-Free Version: Use sugar-free pudding mix and sugar substitute to enjoy a lighter dessert without the sweetness overload.
Serving Suggestions
- Pair Cream Puff Cake with a dollop of whipped cream for extra indulgence.
- Serve it alongside fresh fruit like strawberries or raspberries for a vibrant contrast.
- A warm cup of coffee or tea makes for a delightful drink pairing.
- Garnish with chocolate shavings or mint leaves for an elegant presentation!
- For a fun twist, serve with a scoop of vanilla ice cream on the side.
FAQs about Cream Puff Cake
Can I make Cream Puff Cake ahead of time?
Absolutely! This dessert actually benefits from sitting in the fridge for a few hours or even overnight. The longer it chills, the more the flavors meld together, and the custard sets perfectly. Just be sure to cover it well to keep it fresh!
What can I use instead of heavy cream?
If you’re looking for a lighter option, you can substitute heavy cream with half-and-half or even whole milk. However, this may alter the richness of the chocolate glaze slightly. For a whipped cream alternative, try using coconut cream for a dairy-free version!
How should I store leftovers?
Keep any leftovers covered and refrigerated for up to 3 days. The texture may change slightly as it sits, but it’s still delicious! Just be prepared for some swooning when you uncover that creamy goodness again.
Can I freeze Cream Puff Cake?
Freezing this cake isn’t ideal due to the creamy layers. However, if you must, consider freezing just the cake base. Make sure it’s well-wrapped and enjoy the custard and glaze fresh!
What’s a good way to garnish my Cream Puff Cake?
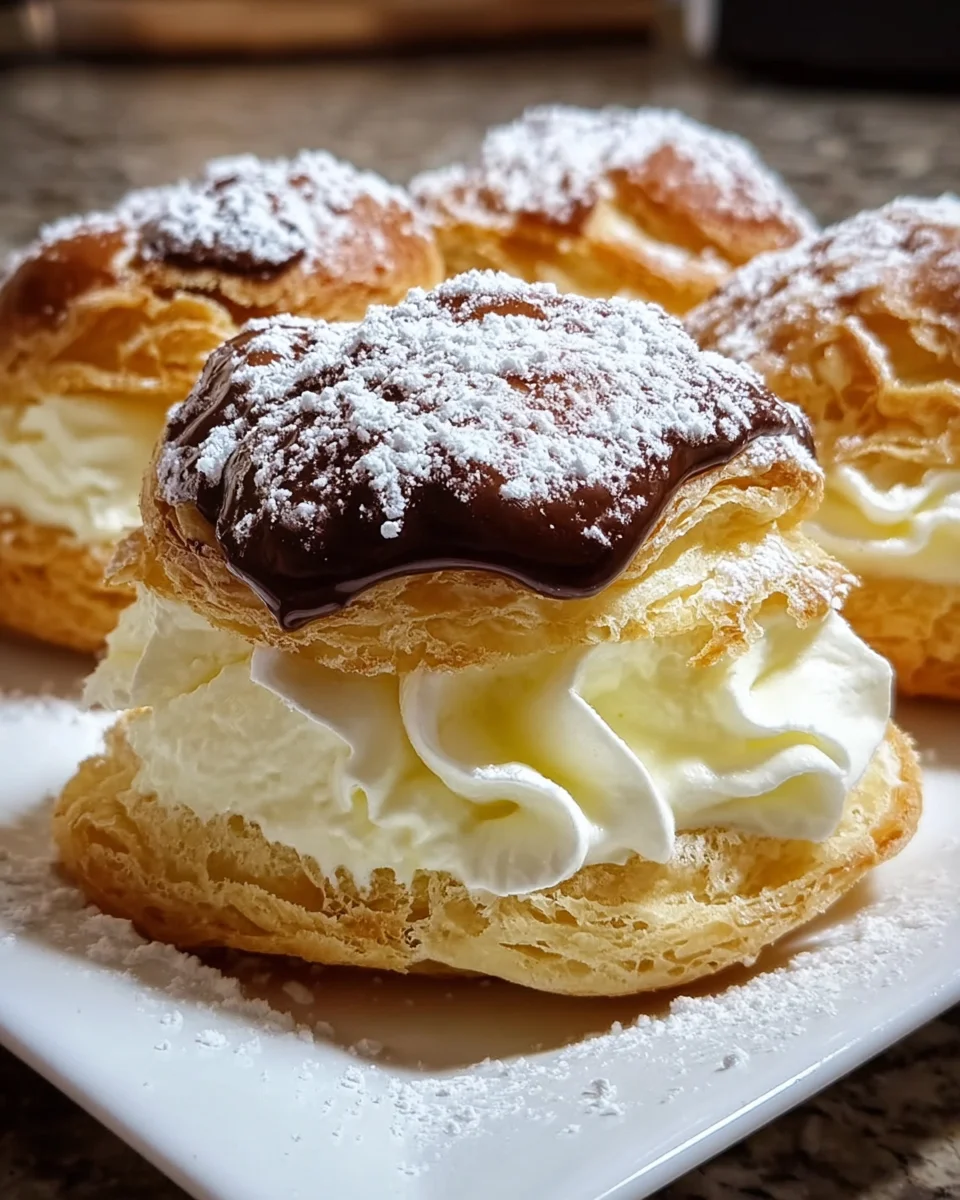
There are so many lovely options! Fresh berries, chocolate shavings, or even a sprinkle of powdered sugar make a beautiful presentation. Feel free to get creative—your guests will love the extra touch!
Final Thoughts
Creating this Cream Puff Cake is more than just baking; it’s about sharing moments of joy with loved ones. The laughter around the table, the delighted expressions as the first slice is served—these are the memories that make us cherish our time spent in the kitchen. With its perfect blend of creamy custard and rich chocolate glaze, this dessert truly uplifts any occasion. I hope you find as much happiness in making and sharing this cake as I do. So roll up your sleeves, gather your family, and enjoy every blissful bite together!
Print
Cream Puff Cake
- Total Time: 2 hours 30 minutes
- Yield: 12 servings 1x
- Diet: Vegetarian
Description
A delightful dessert featuring a light cake topped with creamy custard and rich chocolate glaze.
Ingredients
- 1 cup water
- ½ cup unsalted butter
- 1 cup all-purpose flour
- 4 large eggs
- 1 teaspoon vanilla extract
- 1 package (3.4 oz) instant vanilla pudding mix
- 2 cups cold milk
- 1 cup heavy cream
- 1 teaspoon vanilla extract
- 1 cup semi-sweet chocolate chips
- ¼ cup heavy cream
Instructions
- Preheat the oven to 400°F (200°C). Grease a 9×13-inch baking pan and set aside.
- In a medium saucepan, bring 1 cup of water and ½ cup butter to a boil over medium-high heat. Stir in the flour and cook, stirring constantly, until the mixture forms a ball, about 2-3 minutes.
- Remove from heat and let cool for 5 minutes. Once cooled slightly, add the eggs one at a time, mixing well after each addition. Stir in the vanilla extract.
- Spread the dough into the prepared pan and smooth the top. Bake for 30-35 minutes, or until the dough is golden brown and puffy. Remove from the oven and allow to cool completely in the pan.
- In a medium bowl, whisk together the instant pudding mix and cold milk until smooth. Set aside.
- In another bowl, whip the heavy cream and vanilla extract until soft peaks form. Gently fold the whipped cream into the pudding mixture until combined and smooth.
- Once the cake base has completely cooled, spread the custard filling evenly over the top.
- In a small saucepan, heat the heavy cream over medium heat until it begins to simmer. Remove from heat and stir in the chocolate chips until smooth and glossy.
- Drizzle the chocolate glaze over the custard layer, spreading it gently with a spatula to cover the surface evenly.
- Refrigerate the cake for at least 2 hours before serving to allow the layers to set.
- Slice and enjoy this creamy, indulgent dessert!
Notes
- For best results, chill the cake for a longer time if possible.
- Feel free to garnish with chocolate shavings or fresh berries before serving.
- Prep Time: 30 minutes
- Cook Time: 35 minutes
- Category: Dessert
- Method: Baking
- Cuisine: American
Nutrition
- Serving Size: 1 slice
- Calories: 350
- Sugar: 22g
- Sodium: 150mg
- Fat: 20g
- Saturated Fat: 10g
- Unsaturated Fat: 5g
- Trans Fat: 0g
- Carbohydrates: 35g
- Fiber: 1g
- Protein: 5g
- Cholesterol: 70mg