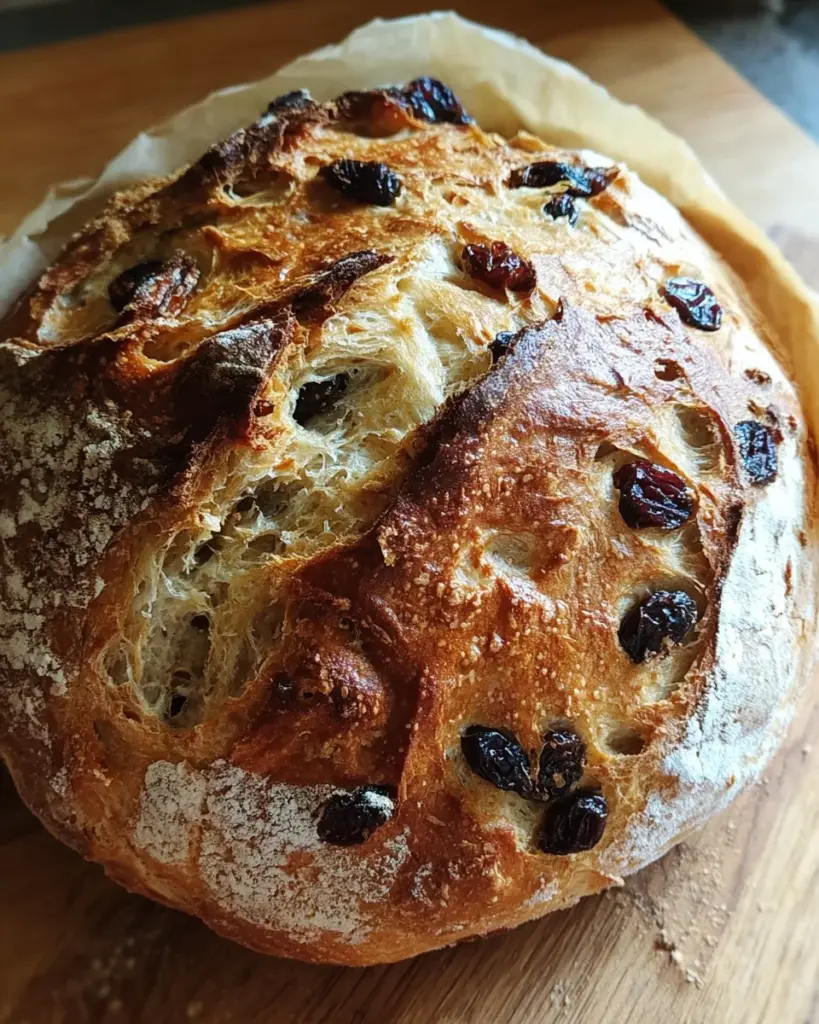
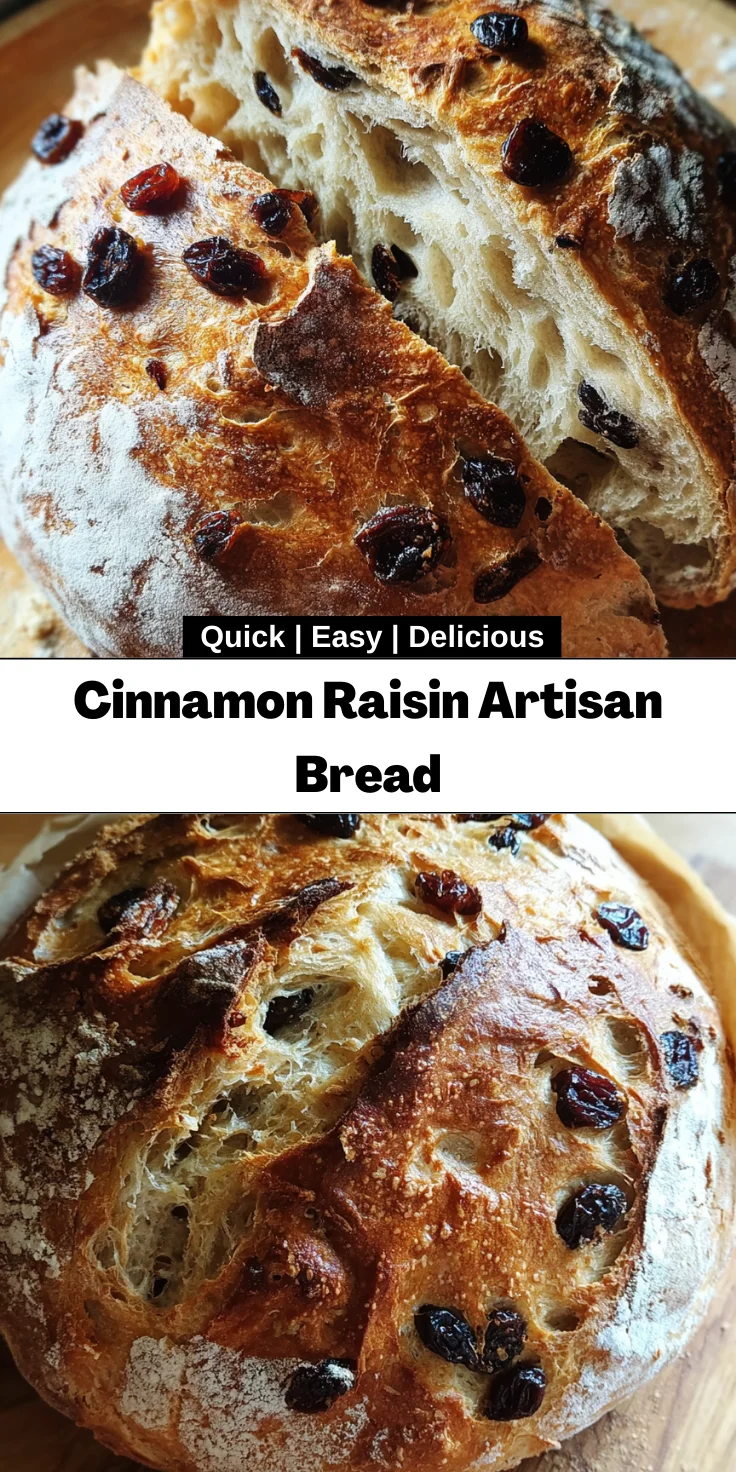
Introduction to Cinnamon Raisin Artisan Bread
Ah, the smell of fresh bread wafting through the kitchen! There’s something so comforting about baking, don’t you think? Today, I’m excited to share my recipe for Cinnamon Raisin Artisan Bread. This delightful loaf is not only an explosion of flavor but is also surprisingly simple to make. Between the warm cinnamon and sweet raisins, this bread is perfect for breakfast or a cozy afternoon snack. Whether you’re a busy mom or a professional always on the go, you’ll find that this Cinnamon Raisin Artisan Bread is the delicious kind of indulgence you deserve.
Why You’ll Love This Cinnamon Raisin Artisan Bread
What’s not to love about a warm slice of Cinnamon Raisin Artisan Bread? It’s the kind of recipe that fits perfectly into your busy life. Super easy to whip up, it requires minimal hands-on time. Plus, you get that artisanal feel without the bakery price tag. With a deliciously sweet aroma, this bread will brighten your mornings and make snack time feel special. Trust me, your family will ask for seconds!
Ingredients for Cinnamon Raisin Artisan Bread
Let’s dive into the lovely components that make this Cinnamon Raisin Artisan Bread truly special. Each one plays a vital role!
- Water: Ideally at room temperature, it helps activate the yeast, creating a lovely rise.
- Active dry yeast: This little powerhouse fuels the fermentation process, leading to that airy texture we adore.
- Bread or all-purpose flour: The backbone of our bread! Bread flour adds chewiness, while all-purpose can work just fine.
- Kosher or fine sea salt: It not only enhances flavor but also strengthens the dough structure.
- Raisins: Sweet, chewy bursts of flavor that scream comfort, adding a delightful texture.
- Dark brown sugar: This is what gives our bread a hint of caramel flavor and moisture.
- Ground cinnamon: The star of the show! It brings warmth and spice, perfectly complementing the sweet raisins.
Grab these ingredients and feel free to explore options! For example, you can replace raisins with dried cranberries or apricots for a different twist. The ingredient quantities are provided at the bottom of the article for easy reference and printing.
How to Make Cinnamon Raisin Artisan Bread
Making this Cinnamon Raisin Artisan Bread is easier than it sounds! Follow these steps, and you’ll have a warm, comforting loaf in no time.
Step 1: Prepare the Yeast Mixture
Start by adding one teaspoon of active dry yeast to 1½ cups of room temperature water. Let it sit for 10 to 15 minutes. You’re looking for the yeast to become frothy, which means it’s alive and ready to work its magic!
Step 2: Mix Dry Ingredients
While your yeast is busy waking up, grab a large bowl. Whisk together three cups of bread or all-purpose flour, one teaspoon of kosher or fine sea salt, three tablespoons of dark brown sugar, two teaspoons of ground cinnamon, and ¾ cup of raisins. The flour keeps the raisins from sticking together, ensuring they’re evenly distributed. Let this sit for about 10 minutes to let the flavors mingle.
Step 3: Combine Mixtures
Now it’s time for the fun part! Pour the yeast mixture into the dry ingredients. Stir it together gently until the mixture just comes together. Don’t worry about getting it perfectly smooth; a bit of stickiness is totally fine. The dough should look slightly shaggy with some floury bits hanging around.
Step 4: First Rise
Cover the bowl with a clean cloth or plastic wrap and place it in a warm area. Let it rise until it doubles in size, which usually takes about 8 to 10 hours. I often do this before bed, so I wake up to glorious, risen dough. The anticipation is half the fun!
Step 5: Shape the Dough
Once your dough has risen, lightly flour a clean work surface and gently pull the dough out of the bowl. Fold it over itself a few times until you form a soft ball. It doesn’t need to be perfect—rustic is part of the charm in this artisan bread!
Step 6: Refrigerate the Dough
Placing your dough seam side up in a floured bowl, dust the top with more flour. Cover it again, but this time, tuck it into the fridge. Let it chill overnight, or up to 48 hours. This slow fermentation develops amazing flavors that will surprise your taste buds.
Step 7: Preheat the Oven
On baking day, preheat your oven to 450ºF (232ºC) about 30 minutes before you intend to bake. Don’t forget to place your Dutch oven inside as it preheats. The hot environment ensures that your bread will rise beautifully!
Step 8: Final Shaping
When you’re ready to bake, gently invert the bowl to turn the dough onto a floured surface, seam side down. Shape it into a loaf by tucking the sides under, creating a nice round shape. It should feel soft and full of promise!
Step 9: Baking the Bread
Place the shaped dough onto a piece of parchment paper and score the top with a sharp knife. This lets the steam escape, creating those lovely artisanal cracks. Now, carefully transfer it into the preheated Dutch oven. Cover it and bake for 30 minutes. Remove the lid and bake for another 15 to 20 minutes until it’s beautifully golden brown and sounds hollow when tapped.
Step 10: Cooling The Bread
Once baked, use the parchment paper to lift your bread out of the Dutch oven. Let it cool on a wire rack for up to an hour. That’s right, resist the temptation to slice it immediately! Cooling allows flavors to set, resulting in a delightful loaf that’s perfect for any occasion.
Tips for Success
- Always use room temperature water; it wakes up the yeast better.
- Let your dough rise in a warm spot, like near the oven or on a sunny windowsill.
- Don’t skip the overnight refrigeration; it enhances flavor and texture.
- Use a kitchen scale for precise measurements, especially when baking.
- Let the bread cool completely before slicing; it prevents it from becoming gummy.
Equipment Needed
- Mixing Bowl: Any large bowl will do. A glass or stainless steel one works great.
- Measuring Cups and Spoons: For accuracy, use dry measuring cups for flour and liquid cups for water.
- Whisk: A simple whisk or fork will help combine the dry ingredients.
- Dutch Oven: If you don’t have one, any oven-safe pot with a lid works.
- Parchment Paper: This isn’t mandatory but helps prevent sticking when transferring the dough.
Variations of Cinnamon Raisin Artisan Bread
- Nutty Addition: Add walnuts or pecans for a delightful crunch and extra flavor.
- Spice It Up: Incorporate nutmeg or allspice along with the cinnamon for a more complex spice profile.
- Fruit Twist: Swap out raisins for dried cranberries, apricots, or even chopped apples for a fruity surprise.
- Whole Wheat Option: Use whole wheat flour for a heartier bread that’s packed with nutrients.
- Vegan Version: Replace brown sugar with maple syrup or coconut sugar for a vegan-friendly alternative.
Serving Suggestions
- Breakfast Delight: Serve warm slices with a pat of butter and a drizzle of honey.
- Snack Pairing: Enjoy alongside a cup of coffee or tea for a cozy afternoon treat.
- Brunch Addition: Use as a base for French toast by dipping it in egg mixture before frying.
- Presentation: Arrange on a wooden board with cheese and fresh fruits for a charming platter.
FAQs about Cinnamon Raisin Artisan Bread
You’re probably wondering a few things as you dive into making this Cinnamon Raisin Artisan Bread. Here are some common questions that can help clear things up!
Can I use instant yeast instead of active dry yeast?
Absolutely! Instant yeast works great and doesn’t need to be proofed. Just mix it into the dry ingredients and proceed as normal. It’s a great time-saver!
What if I don’t have a Dutch oven?
No problem! You can use any oven-safe pot with a lid, or even a baking stone. Just be sure to keep the lid covered to trap steam while baking, which helps create that beautiful crust.
How do I store leftover bread?
Once cooled, wrap it in plastic wrap, or place it in a resealable bag to keep it fresh. It can last up to 3 days at room temperature or put it in the freezer for longer storage!
Can I add nuts or other dried fruits?
Yes! Feel free to mix in walnuts, chopped pecans, or different dried fruits. Just keep in mind that if you add too much, it may affect the texture of your bread.
Why does my bread not rise as expected?
Check that your yeast is fresh and properly activated. If your kitchen is too cold, find a warmer spot. Sometimes, patience is key—give it a little more time to rise!
Final Thoughts
Baking Cinnamon Raisin Artisan Bread is more than just making a loaf; it’s an experience filled with warmth and joy. The aroma that fills your kitchen as it bakes is nothing short of magical. This simple recipe transforms basic ingredients into something extraordinary, creating memories with every slice. Whether shared with family at breakfast or savored alone with a cup of tea, it’s the little things that bring happiness. So don’t hesitate; embrace this delicious adventure and let your oven create something wonderful. I promise, each bite will remind you of the love baked right into it!
Print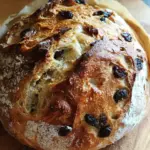
Cinnamon Raisin Artisan Bread
- Total Time: 8 hours and 60 minutes
- Yield: 1 loaf 1x
- Diet: Vegetarian
Description
A deliciously aromatic bread made with cinnamon and raisins, perfect for breakfast or a snack.
Ingredients
- 1½ cups water, room temperature (at or near 70°F/21°C)
- 1 teaspoon active dry yeast
- 3 cups bread or all-purpose flour, plus more for dusting
- 1 teaspoon kosher or fine sea salt
- ¾ cup raisins, stems removed and separated
- 3 tablespoons dark brown sugar
- 2 teaspoons ground cinnamon
Instructions
- Add the yeast to the water and let it sit for 10-15 minutes.
- In a large bowl, whisk together flour, salt, brown sugar, cinnamon, and raisins until the raisins are well-covered in flour. Let sit for 10 minutes.
- Add water and yeast to the bowl and mix just until combined. The dough should look a little sticky and stringy with some flour around the edges.
- Cover and let rise in a warm place until it has doubled in size, about 8-10 hours.
- Once doubled, pull the dough onto a floured surface and gently fold it into itself until a soft, flour-covered ball is formed.
- Seam side up, place it into a flour-dusted bowl, dust with flour, cover, and refrigerate overnight (or up to 48 hours).
- When ready to bake, preheat oven to 450ºF (232ºC) with your Dutch oven inside.
- Invert the bowl to turn the dough onto a floured surface seam side down and shape into a loaf.
- Place on parchment, score the top, then transfer into the preheated Dutch oven.
- Cover and bake for 30 minutes, then remove the cover and bake for another 15-20 minutes until browned and sounds hollow when tapped.
- Using parchment edges, lift bread from Dutch oven and let cool on a wire rack for up to an hour before slicing.
Notes
- Let the dough rise in a warm place for best results.
- This bread can be refrigerated for up to 48 hours before baking.
- Prep Time: 10 minutes (excluding rising and resting times)
- Cook Time: 45-50 minutes
- Category: Bread
- Method: Baking
- Cuisine: American
Nutrition
- Serving Size: 1 slice
- Calories: 150
- Sugar: 5g
- Sodium: 200mg
- Fat: 1g
- Saturated Fat: 0g
- Unsaturated Fat: 1g
- Trans Fat: 0g
- Carbohydrates: 30g
- Fiber: 1g
- Protein: 4g
- Cholesterol: 0mg