
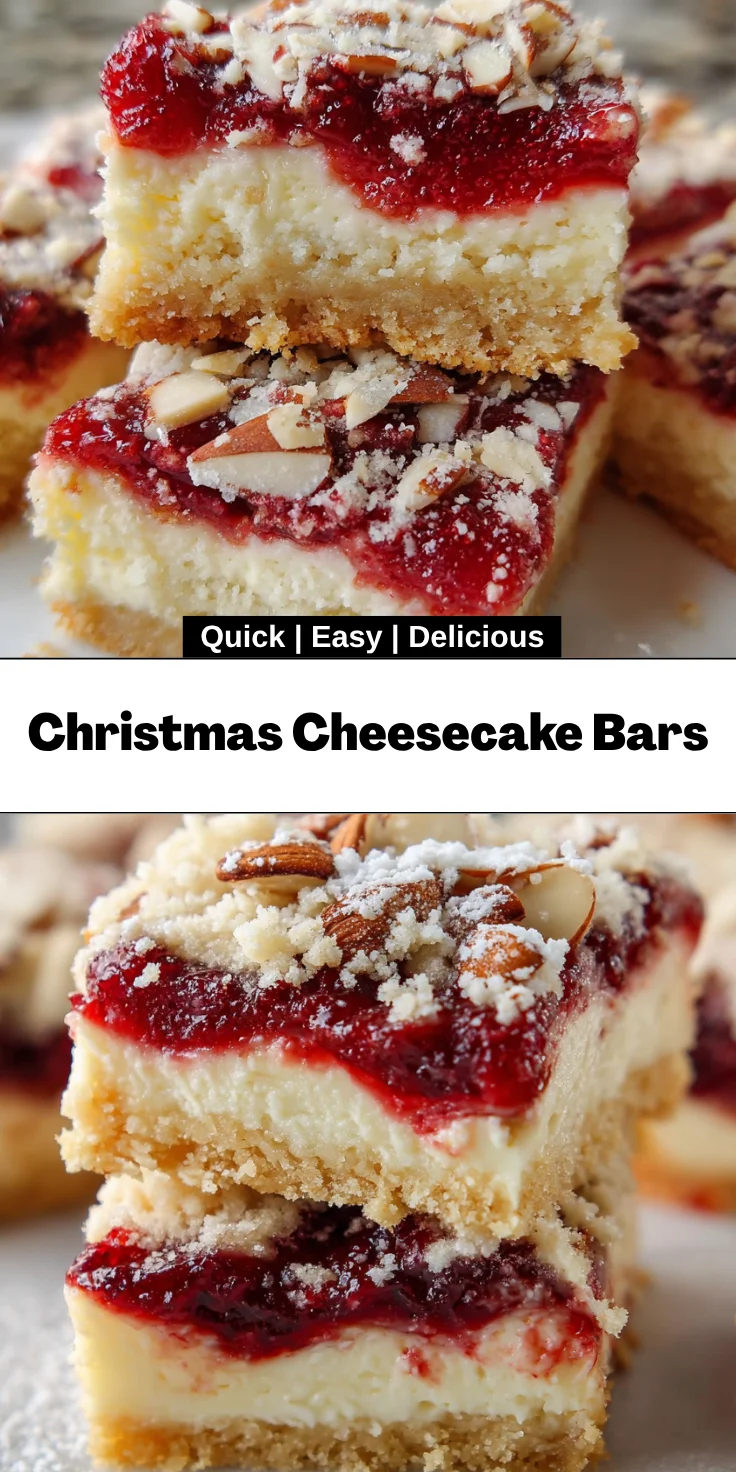
Introduction to Christmas Cheesecake Bars
Baking becomes an impossible task amidst the activities that characterize the festive season. Anyways, I am excited to give you the formula for Christmas Cheesecake Bars! Smooth cheesecake filling and rich cherry topping make up the components of these bars; together, they equate to a sweet treat perfect for the celebration of special occasions with loved ones. They don’t taste any less than what they are because, as all-knowing mommies know, the easiest things turn out to be so convenient to whip up. You will really knock your family’s socks off and not break a sweat in the process!
Why You’ll Love This Christmas Cheesecake Bars
Christmas Cheesecake Bars are not only easy to make, but they also deliver exceptional flavor that will elevate your holiday gatherings. With minimal prep time and a bake time that allows you to multitask, they fit perfectly into a busy schedule. Plus, the rich, creamy texture and sweet cherry topping create a festive indulgence that everyone will adore, making them the ultimate holiday treat!
Ingredients for Christmas Cheesecake Bars
Let’s gather the ingredients that will bring our Christmas Cheesecake Bars to life! Each component plays a crucial role in creating that melt-in-your-mouth experience we crave. Don’t worry; the exact measurements are listed at the end of the article for your convenience.
- Sugar Cookie Mix: This serves as the base crust. It’s sweet and buttery, perfect for holding all the delicious layers together.
- Cold Butter: Cubed and mixed with the cookie mix, it adds richness to the crust. Using cold butter ensures a crumbly texture that’s just right.
- Cream Cheese: A must for that luscious cheesecake filling! Make sure it’s softened to room temperature for easy blending.
- Sugar: This sweetens the cheesecake, balancing out the cream cheese’s tanginess. You could use a sugar alternative if desired.
- Flour: Just a tablespoon will help stabilize the filling, giving it that perfect texture.
- Vanilla Extract: This adds warmth and depth to the flavor. It’s a small addition that makes a big difference!
- Egg: Essential for binding the filling together, helping to create a smooth and creamy consistency.
- Cherry Pie Filling: This fruity topping provides a burst of flavor and color. Feel free to substitute it with your favorite fruit filling, like blueberry or raspberry, if cherries aren’t your thing!
- Sliced Almonds: They add a wonderful crunch and nutty flavor. If you’re nut-sensitive, you can omit them entirely or replace them with crushed graham crackers.
These ingredients combine to create a delightful dessert that will have your loved ones begging for seconds! So gather them up, and let’s get ready to bake some holiday magic!
How to Make Christmas Cheesecake Bars
Preheat and Prepare the Pan
Let’s get the oven warmed up! Preheat it to 350 degrees Fahrenheit. While that’s happening, grab an 8 x 8 pan and spray it with non-stick spray. This will help ensure your delicious bars release easily once baked. Trust me, we want those beautiful cheesecake bars to shine without any sticking!
Prepare the Cookie Crust
Next up, it’s time to work on our cookie crust! In a small bowl, mix the sugar cookie mix with cold, cubed butter using a fork. You want it to resemble crumbly wet sand. That’s the good stuff! Set aside ¾ cup of the mixture for later. Then, press the remaining mixture into the bottom of your prepared pan. Bake it for 10 minutes and let it cool in the refrigerator while you prep the cheesecake filling.
Mix the Cheesecake Filling
Now, let’s create that luscious cheesecake filling! In a large bowl, beat together the softened cream cheese, sugar, flour, vanilla, and egg. Mix until smooth and creamy, with no lumps in sight. This filling is the heart of our Christmas Cheesecake Bars, so give it some love and attention!
Assemble the Bars
It’s assembly time! Spread the cheesecake mixture evenly over the cooled crust. Make sure it coats the crust well; we want every bite to be creamy and delicious. Next, spoon the cherry pie filling over the cheesecake layer, spreading it out carefully. Finally, take that reserved crumble mixture and stir in the sliced almonds before sprinkling it on top. This adds a delightful crunch that your family will adore!
Bake and Cool
Pop your beautifully assembled bars into the oven and bake for 40 minutes until the filling is set and slightly golden. Once time’s up, let them cool for about 30 minutes on the counter. After that, store them in the refrigerator until fully chilled and firm. Patience is key, but the result will be worth the wait!
Tips for Success
- Always use softened cream cheese for a smooth filling. It blends better!
- If you’re short on time, you can make the crust a day ahead and keep it in the fridge.
- Want to mix it up? Try different fruit fillings based on what’s in season.
- Let your cheesecake bars cool completely before slicing for cleaner edges.
- Don’t forget to chill them after baking for the best flavor!
Equipment Needed
- 8 x 8 Baking Pan: A square pan is ideal, but a round pan works too!
- Mixing Bowls: Use any size you have. I often opt for a medium and a large bowl.
- Fork: Perfect for mixing the crust. You can use a pastry cutter if available.
- Non-Stick Spray: Essential for easy release. If you don’t have it, butter works great too!
- Electric Mixer: Hand mixers are awesome, but a whisk will do in a pinch.
Variations
- Fruit Fillings: Swap the cherry pie filling for other fruits like blueberries, strawberries, or even peaches—each creates a unique flavor.
- Cream Cheese Alternatives: For a lighter version, consider using Neufchâtel cheese or a vegan cream cheese alternative.
- Gluten-Free Option: Use a gluten-free sugar cookie mix to accommodate dietary restrictions without sacrificing taste.
- Chocolate Drizzle: Add a drizzle of melted chocolate on top for an indulgent twist that chocolate lovers will adore.
- Nut-Free Version: Omit the almonds or substitute with crushed graham crackers for a crumbly topping without the nuts.
Serving Suggestions
- Pair with Whipped Cream: A dollop of freshly whipped cream on top enhances the richness.
- Serve with Coffee: These bars are delightful alongside a warm cup of coffee or hot chocolate.
- Garnish with Mint: For a festive touch, add a sprig of mint on each plate.
- Presentation: Cut into neat squares and dust with powdered sugar for a beautiful finish.
- Enjoy Chilled: Serve them straight from the fridge for the best flavor and texture!
FAQs about Christmas Cheesecake Bars
Can I make these cheesecake bars ahead of time?
Absolutely! These Christmas Cheesecake Bars can be made a day in advance. Just cool and chill them overnight. This helps to enhance the flavor and allows the bars to set properly.
What can I use instead of cherry pie filling?
If cherries aren’t your favorite, feel free to swap out the cherry pie filling for other fruit fillings! Blueberry, raspberry, or even a mixed berry topping can add a festive twist to your dessert, fitting for any holiday gathering.
Are these cheesecake bars suitable for a gluten-free diet?
You bet! To make a gluten-free version, simply choose a gluten-free sugar cookie mix. It’s an easy way to accommodate dietary restrictions while ensuring no one misses out on the deliciousness!
How should I store leftover cheesecake bars?
Store any leftovers in an airtight container in the fridge. They’ll keep well for about 3-4 days. Just remember to let them come to a bit closer to room temperature before serving for the best taste!
Can I freeze these cheesecake bars?
Yes, you can freeze them! Just wrap the bars tightly in plastic wrap and then in foil. They’ll stay fresh for up to 3 months. When you’re ready to enjoy, thaw them in the fridge overnight.
Final Thoughts
Making these Christmas Cheesecake Bars truly embodies the spirit of the season. They’re perfect for sharing at holiday parties or enjoying with your family after a long day. Every bite offers a delicious blend of creamy cheesecake and sweet, fruity topping, creating a festive indulgence everyone will love. I cherish the moments spent in the kitchen, crafting treats that bring smiles to my loved ones. So grab your ingredients and let the joy of baking fill your home with warmth and delight. Trust me, you’ll be making these bars a holiday tradition!
Print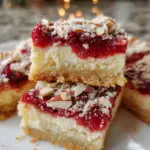
Christmas Cheesecake Bars
- Total Time: 1 hour 10 minutes
- Yield: 16 bars 1x
- Diet: Vegetarian
Description
These Christmas Cheesecake Bars are a delightful holiday treat with a rich cheesecake filling and a sweet cherry topping, perfect for celebrating the season.
Ingredients
- 1 (8.5 oz) Sugar Cookie Mix
- 4 tbsp Butter, Cold
- 1 (8 oz) Cream Cheese, Softened
- 1/4 cup Sugar
- 1 tbsp Flour
- 1/2 tsp Vanilla
- 1 Egg
- 3/4 can Cherry Pie Filling
- 1/3 cup Almonds, Sliced
Instructions
- Preheat oven to 350 degrees. Spray an 8 x 8 pan with non-stick spray and set aside.
- In a small bowl, combine sugar cookie mix and cold, cubed butter with a fork until crumbly.
- Set aside 3/4 cup of the mixture. Press the remaining mixture into the bottom of the prepared pan. Bake for 10 minutes. Place in the refrigerator to cool quickly.
- While the crust is cooling, prepare the cheesecake mixture by beating together softened cream cheese, sugar, flour, vanilla, and egg until smooth and creamy.
- Spread the mixture over the cooled crust evenly, covering the crust completely.
- Then spoon on pie filling over the top of the cheesecake mixture, spreading evenly.
- Stir sliced almonds into the reserved crumble mixture. Sprinkle all over the top of the pie filling.
- Bake for 40 minutes.
- Cool for 30 minutes, then store in the refrigerator until cold and firm.
Notes
- Make sure the cream cheese is softened to room temperature for easy mixing.
- You can substitute the cherry pie filling with any fruit filling of your choice.
- These bars can be made a day ahead of serving for enhanced flavor.
- Prep Time: 20 minutes
- Cook Time: 50 minutes
- Category: Dessert
- Method: Baking
- Cuisine: American
Nutrition
- Serving Size: 1 bar
- Calories: 210
- Sugar: 12g
- Sodium: 150mg
- Fat: 10g
- Saturated Fat: 5g
- Unsaturated Fat: 3g
- Trans Fat: 0g
- Carbohydrates: 28g
- Fiber: 1g
- Protein: 3g
- Cholesterol: 40mg


