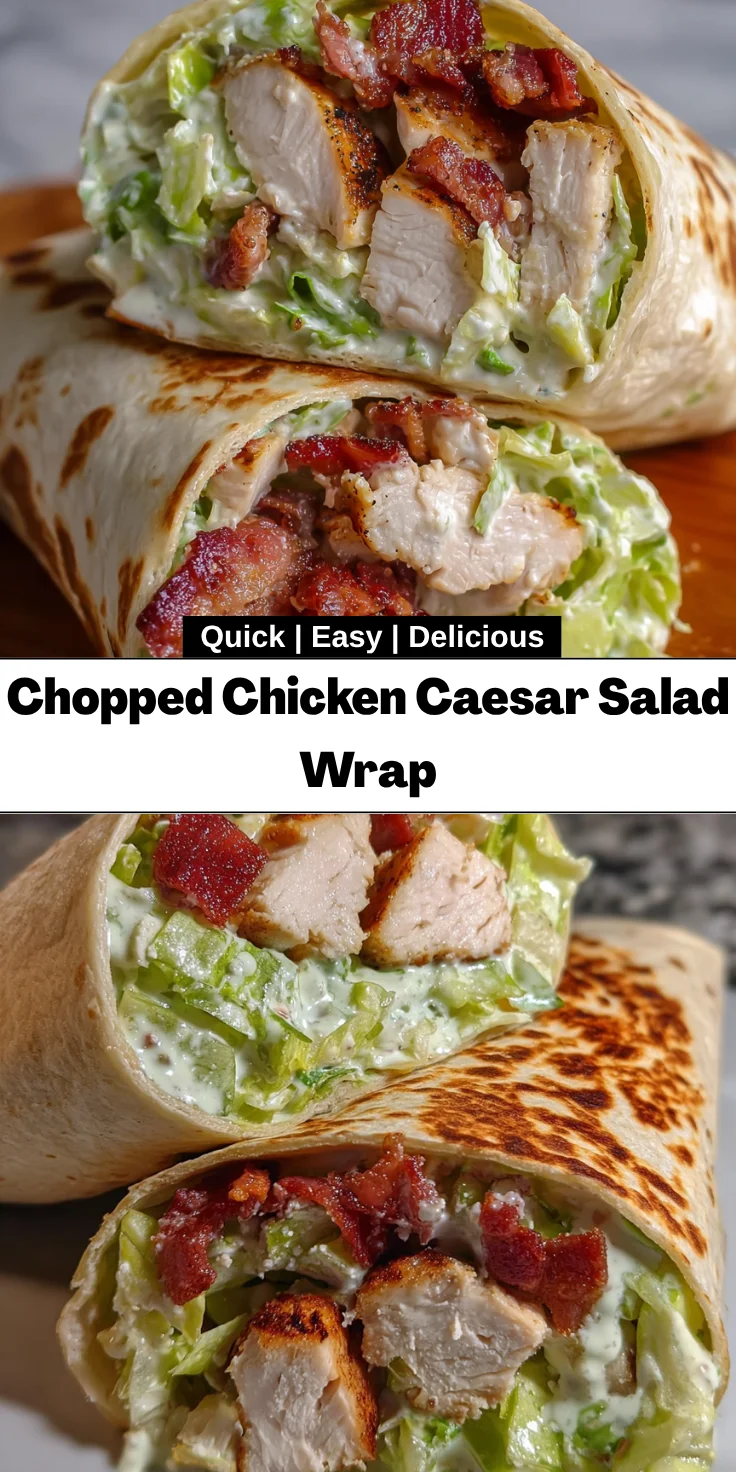
Introduction to Chopped Chicken Caesar Salad Wrap
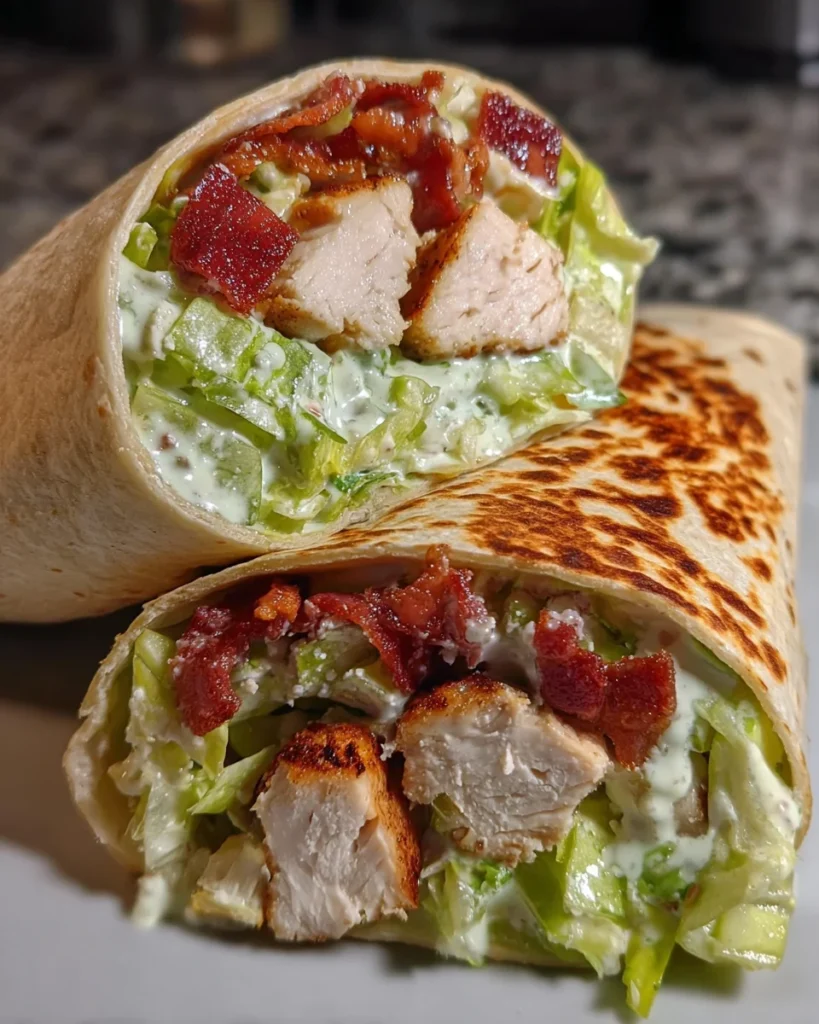
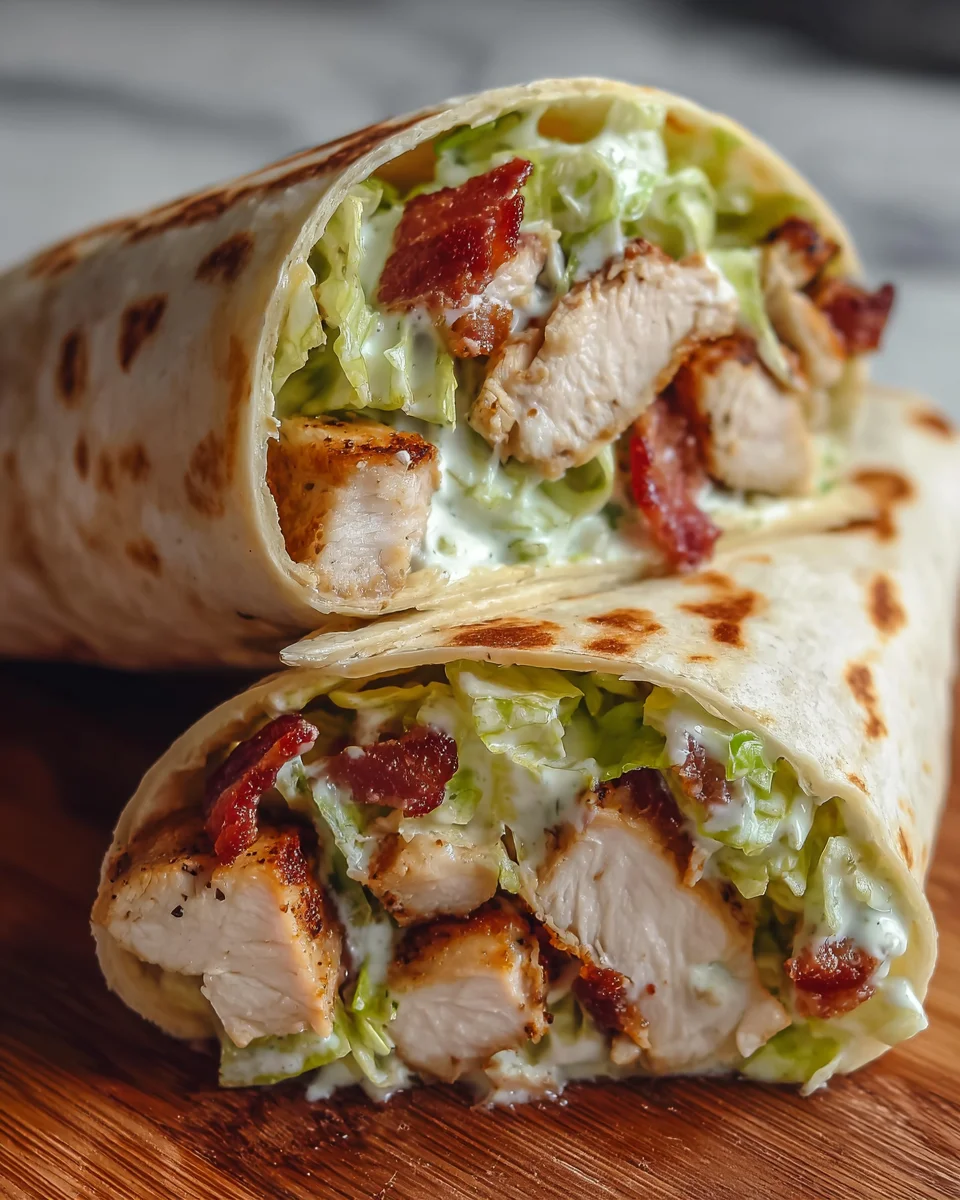
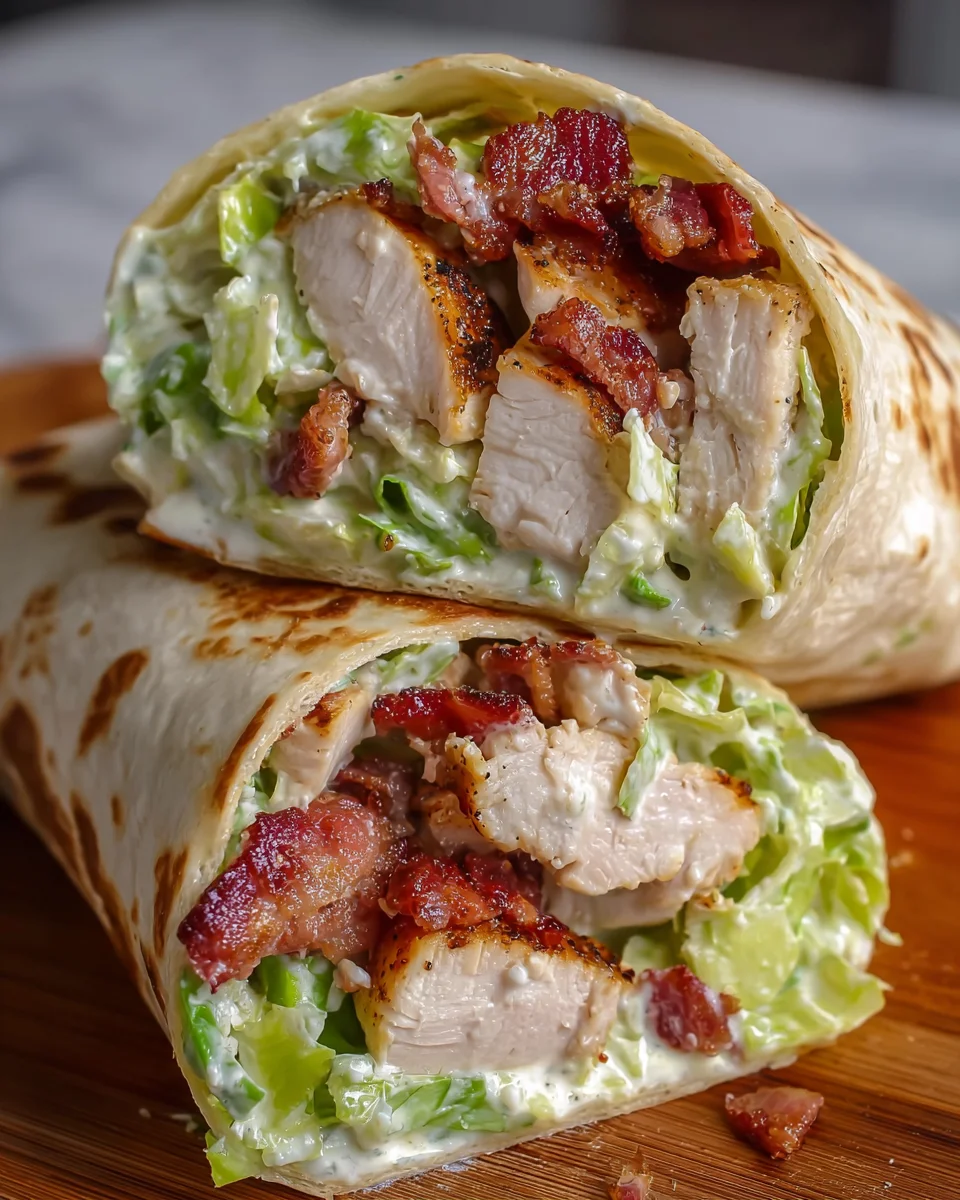
Hey there, fellow food lovers! If you’re searching for a quick solution for a busy day, look no further than my Chopped Chicken Caesar Salad Wrap. It’s a delightful twist on the classic Caesar salad, wrapped up in a tortilla with grilled chicken and crispy bacon. Trust me, the vibrant flavors will have your loved ones cheering for seconds! This wrap is not only easy to whip up, but it also packs a punch in both taste and presentation. Let’s dive in and let your kitchen become a stage for this culinary adventure!
Why You’ll Love This Chopped Chicken Caesar Salad Wrap
This Chopped Chicken Caesar Salad Wrap is a lifesaver for busy moms and professionals! It’s quick, taking just 35 minutes from start to finish. The combination of tender chicken, crispy bacon, and crisp lettuce wrapped in a warm tortilla delivers satisfying flavors in every bite. Plus, you can customize it with your favorite veggies! It’s perfect for lunch, a picnic, or any time you need a delicious meal without the fuss.
Ingredients for Chopped Chicken Caesar Salad Wrap
To create your Chopped Chicken Caesar Salad Wrap, you’ll need a handful of ingredients that come together in a melody of flavors. Here’s what you’ll need:
- Chicken Breast – The star of the dish, this protein adds substance. You can use grilled chicken strips for added convenience!
- Kosher Salt and Cracked Black Pepper – Simple seasoning to enhance the chicken’s flavor. Adjust based on your taste preference.
- Olive Oil – A touch of elegance in cooking, olive oil not only helps in cooking but infuses a rich flavor.
- Burrito-size Tortilla – The wrap that holds all the goodness. Choose whole wheat or spinach tortillas for a nutritious twist!
- Iceberg Lettuce – Crisp and refreshing, it provides the crunch we all crave. You can swap it for romaine if you prefer.
- Bacon – Crispy strips add a savory twist to your wrap. If you’d like a healthier option, turkey bacon works beautifully!
- Store-bought Caesar Dressing – A quick, easy way to add that classic Caesar flavor. If you’re feeling adventurous, make your own!
- Freshly Grated Parmesan Cheese – A sprinkle of this creamy cheese elevates the dish. Consider a vegan alternative for a dairy-free option.
Each ingredient plays a vital role in crafting this delectable wrap. Don’t forget, exact measurements are at the bottom of the article for your convenience. Happy cooking!
How to Make Chopped Chicken Caesar Salad Wrap
Now that we have our ingredients lined up, let’s dive into the step-by-step process! This Chopped Chicken Caesar Salad Wrap is a breeze to make, offering a delicious meal in just a few simple steps. Grab that apron; it’s time to get cooking!
Step 1: Cook the Bacon
Start by heating 1 tablespoon of vegetable oil in a skillet over medium-high heat. When it’s hot enough, add the bacon strips. Cook for 2-4 minutes on each side until they reach your desired crispiness. Once done, take the bacon out and let it cool slightly. Trust me, the aroma will have your taste buds dancing already!
Step 2: Roast the Chicken
Next, preheat your oven to 400°F (200°C). While the oven warms up, season both sides of the chicken breast with kosher salt and cracked black pepper. In an oven-safe skillet, add 1 tablespoon of olive oil and heat it until shimmering. Carefully, lay the seasoned chicken in the skillet. Sear each side for about 4 minutes until it’s golden brown. Then, transfer everything to the oven and roast for 9-12 minutes. The chicken is ready when it reaches an internal temperature of 165°F (75°C). Let it rest for 5 minutes before slicing it into thin, juicy strips.
Step 3: Mix the Salad
While the chicken rests, it’s time for the salad mix! Start by rinsing, drying, and chopping the iceberg lettuce into bite-sized pieces. On a large cutting board, mix the chopped lettuce with the sliced chicken, chopped bacon, Caesar dressing, and freshly grated Parmesan cheese. Use a large knife to chop everything together until it’s well-combined. The colors and textures will make your heart sing!
Step 4: Prepare the Wrap
Now for the fun part: assembling the wrap! Lay the burrito-size tortilla flat on a clean surface. Spoon the salad mixture down the center, ensuring you don’t overfill it—less is more here! Fold in the sides of the tortilla and tightly roll it up into a neat wrap. Feel free to get creative with the folding technique!
Step 5: Toast the Wrap
For that golden, crispy finish, heat a clean skillet over medium heat. Drizzle a small amount of olive oil or use a quick spray of cooking spray. Place the wrap seam-side down in the skillet. Cook for about 1-2 minutes on each side, gently pressing down with a spatula. You want the tortilla to become golden brown and crisp. The enticing smell will have everyone gathering around the kitchen!
And there you have it—your Chopped Chicken Caesar Salad Wrap is ready to be devoured! Remember, it’s not just a meal; it’s an experience. Enjoy every bite!
Tips for Success
- Make sure to let the chicken rest for 5 minutes; this keeps it juicy!
- Use a sharp knife for chopping the lettuce and chicken; it makes a big difference.
- If possible, warm your tortillas slightly before wrapping; it makes rolling easier.
- Don’t skip toasting the wrap; it adds a delightful crunch and flavor!
- Experiment with different veggies; they add color and crunch!
Equipment Needed
- Skillet: A non-stick skillet is great for easy cooking. A cast-iron skillet works beautifully too!
- Oven-safe Skillet: If you don’t have one, use a regular skillet and transfer the chicken to a baking dish.
- Sharp Knife: Essential for chopping bacon and veggies. A pair of kitchen scissors also works.
- Cutting Board: A sturdy surface to make your prep easy and neat.
- Spatula: Perfect for flipping and pressing your wrap while it toasts.
Variations
- Vegetarian Option: Swap the chicken and bacon for grilled portobello mushrooms and avocados for a hearty vegetarian twist!
- Gluten-Free Tortilla: Use gluten-free tortillas to make this wrap accessible to those with dietary restrictions.
- Spicy Kick: Add sliced jalapeños or a dash of red pepper flakes to the salad mixture for some heat.
- Extra Crunch: Toss in some cherry tomatoes, cucumbers, or bell peppers for added texture and flavor.
- Herb Infusion: Mix fresh basil or cilantro into the salad for an aromatic twist that brightens the dish.
Serving Suggestions
- Side Salads: Pair the wrap with a simple arugula salad drizzled with lemon vinaigrette for a refreshing contrast.
- Chips: Serve with crunchy tortilla chips or a light garden salad to make a fuller meal.
- Drinks: Enjoy with iced tea or a sparkling lemonade for a delightful lunch.
- Garnish: A sprinkle of extra Parmesan and fresh herbs elevates the presentation!
FAQs about Chopped Chicken Caesar Salad Wrap
Can I make the Chopped Chicken Caesar Salad Wrap ahead of time?
Absolutely! You can prepare the salad mixture a few hours in advance. Just keep it covered in the fridge. However, I recommend waiting to assemble the wrap until right before serving for the best texture!
What can I substitute for the bacon?
If you’re looking for a healthier option, turkey bacon is a great substitute. You could also try crispy chickpeas for a plant-based alternative that still adds crunch!
Is this recipe gluten-free?
Yes, as long as you use gluten-free tortillas, this Chopped Chicken Caesar Salad Wrap can easily fit into a gluten-free diet. It’s delicious and satisfying!
How do I store leftovers?
Store any leftovers in an airtight container in the refrigerator. They can be enjoyed the next day, but I recommend consuming the wrap fresh for the best taste and texture.
Can I customize the vegetables in my wrap?
Definitely! Feel free to add veggies like cherry tomatoes, cucumbers, or bell peppers. Mixing in a variety of colors makes the wrap even more appealing!
Final Thoughts
The Chopped Chicken Caesar Salad Wrap is not just a meal; it’s a journey filled with comfort and joy. With its perfect blend of flavors and textures, it effortlessly transforms a simple lunch into a culinary delight. Every bite brings the crunch of lettuce, the savories of bacon, and the creaminess of Caesar dressing. I love how versatile it is, allowing you to customize it to your heart’s desire. Whether you’re rushing between errands or taking a moment to savor your lunch, this wrap is your tasty companion. Embrace the joy of cooking and enjoy this delightful dish!
Print
Chopped Chicken Caesar Salad Wrap
- Total Time: 35 minutes
- Yield: 2 wraps 1x
- Diet: Gluten Free
Description
A delicious and easy-to-make Chopped Chicken Caesar Salad Wrap that combines the classic flavors of Caesar salad with grilled chicken and crispy bacon, all wrapped in a tortilla.
Ingredients
- 1 chicken breast
- ½ teaspoon kosher salt
- ¼ teaspoon cracked black pepper
- 3 tablespoons olive oil
- 1 large burrito-size tortilla
- 1 head iceberg lettuce
- 4 bacon strips
- 4 tablespoons store-bought Caesar dressing
- ¼ cup freshly grated Parmesan cheese
Instructions
- Heat 1 tablespoon of vegetable oil in a skillet over medium-high heat until hot. Add the bacon strips and cook for 2-4 minutes on each side, depending on how crispy you like it. Remove the bacon, let it cool slightly, then chop into bite-sized pieces. Set aside.
- Preheat your oven to 400°F (200°C). Season both sides of the chicken breasts with salt and pepper. In an oven-safe skillet over medium-high heat, add 1 tablespoon olive oil. When shimmering, add the chicken breasts. Sear each side for 4 minutes until golden brown, then transfer the skillet to the oven. Roast for 9-12 minutes, or until the internal temperature reaches 165°F (75°C). Let the chicken rest for 5 minutes, then slice into thin strips.
- Rinse, dry, and chop the romaine lettuce into bite-sized pieces. On a large cutting board, add the lettuce, sliced chicken, chopped bacon, Caesar dressing, and freshly grated Parmesan. Use a large knife to chop and mix everything together until well-combined.
- Place the tortilla on a flat surface and add the salad mixture down the center. Fold in the sides and tightly roll up the tortilla into a wrap.
- To toast the wrap, heat a clean skillet over medium heat and add a small drizzle of olive oil or a quick spray of cooking spray. Place the wrap seam-side down in the skillet. Cook for 1-2 minutes on each side, pressing down gently with a spatula, until the tortilla is golden brown and crisp.
Notes
- You can substitute the chicken breast with grilled chicken strips for convenience.
- Feel free to add other vegetables like cherry tomatoes or cucumbers for extra crunch.
- This wrap is best enjoyed fresh but can be stored for a day in the refrigerator.
- Prep Time: 15 minutes
- Cook Time: 20 minutes
- Category: Lunch
- Method: Skillet and Oven
- Cuisine: American
Nutrition
- Serving Size: 1 wrap
- Calories: 540
- Sugar: 2g
- Sodium: 1200mg
- Fat: 36g
- Saturated Fat: 8g
- Unsaturated Fat: 20g
- Trans Fat: 0g
- Carbohydrates: 34g
- Fiber: 3g
- Protein: 30g
- Cholesterol: 85mg