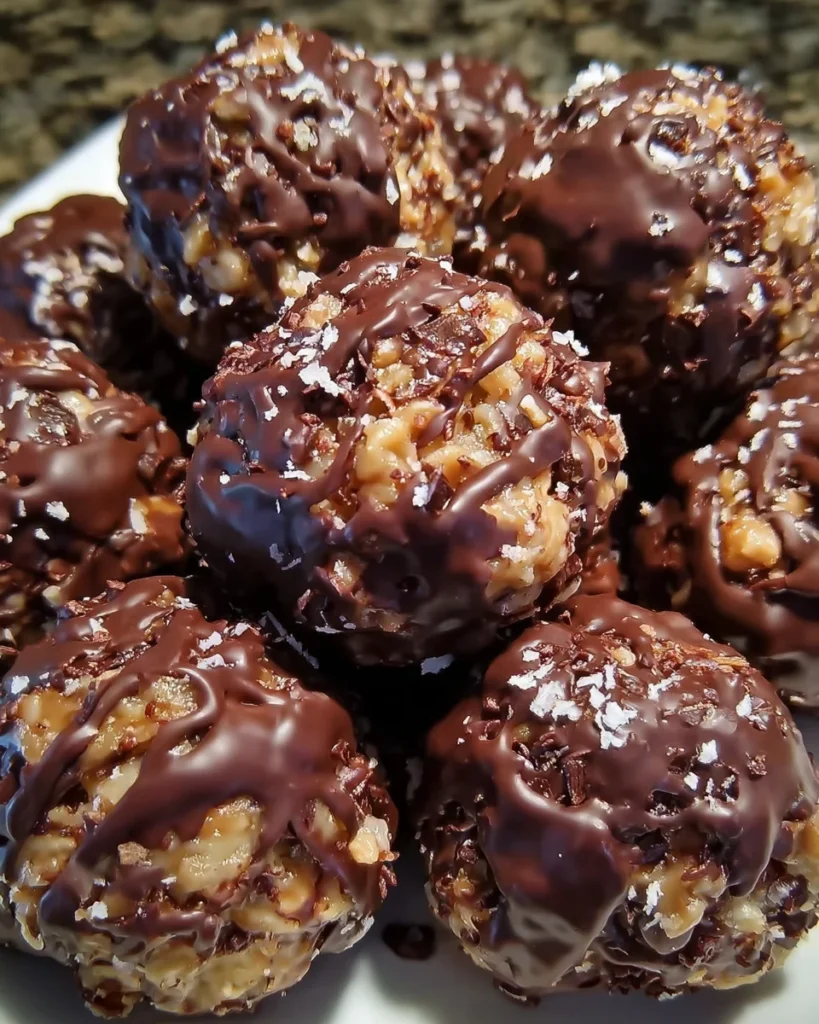
Introduction to Chocolate Rice Krispie Balls
Hey there, fellow home cooks! If you’re anything like me, you adore creating sweet delights that bring joy to your family. Chocolate Rice Krispie Balls are a perfect fit for busy moms and professionals who crave something quick, easy, and oh-so-delicious. Picture this: crunchy Rice Krispies coated in rich chocolate, all while being no-bake! These delightful treats come together in just a flash, making them the ideal snack for those moments when time feels like it’s slipping away. Trust me, once you bite into one of these beauties, you’ll feel like a culinary rockstar!
Why You’ll Love This Chocolate Rice Krispie Balls
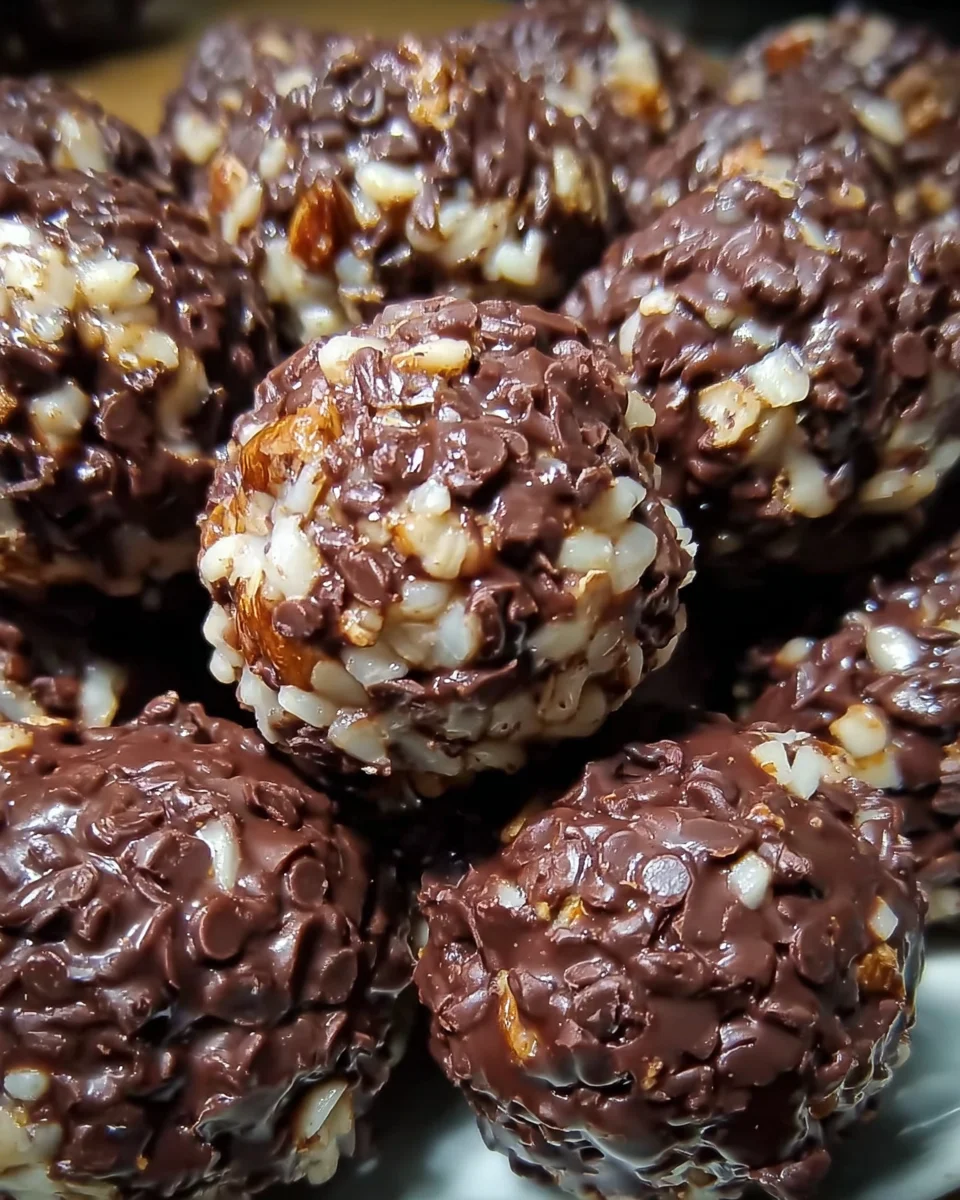
From their simple preparation to that delightful crunch, Chocolate Rice Krispie Balls have it all. These no-bake treats are a whirlwind of flavor, taking just minutes to whip up. You won’t need fancy equipment or hours in the kitchen to impress your family. Plus, the balance of sweet chocolate and crunchy ingredients creates a satisfying bite that’s perfect for any occasion. They’re an enjoyable escape from your busy day!
Ingredients for Chocolate Rice Krispie Balls
When it comes to whipping up these delightful Chocolate Rice Krispie Balls, the ingredients are as simple as they are delicious. Here’s what you’ll need:
- Peanut Butter: This creamy spread adds richness and binds everything together. You could also use almond or cashew butter for a different twist.
- Soft Butter: Butter gives that luscious mouthfeel and keeps the mixture moist. If you’re vegan, coconut oil is a wonderful substitute.
- Vanilla: A teaspoon of vanilla extract enhances the flavors beautifully. Don’t skip it; the warm notes make a big difference.
- Rice Krispies: The star of the show! Their crunch is what makes these treats delightful. Any crispy rice cereal will work, but Rice Krispies are classic.
- Chopped Pecans: These nuts add a lovely crunch and flavor. Feel free to swap them for walnuts or even sunflower seeds if nut allergies are a concern.
- Shredded Coconut: It contributes a tropical twist and additional texture. Unsweetened coconut is a healthier option, but sweetened works too if you want extra sweetness.
- Chocolate Chips: For that gorgeous chocolate coating! Semi-sweet is common, but dark chocolate or milk chocolate are equally delicious.
- Sweet Chocolate: This ensures a smooth melting consistency for coating. Use good quality chocolate to elevate your treats.
You’ll find all the exact quantities listed at the bottom of the article, along with a handy option to print the recipe. Now, let’s gather those tasty ingredients and get ready to create some magic in the kitchen!
How to Make Chocolate Rice Krispie Balls
Ready to mix, chill, and coat? Making these Chocolate Rice Krispie Balls is as fun as it is straightforward. Follow these simple steps for a delightful treat that will wow everyone!
Step 1: Prepare the Mixture
In a large mixing bowl, scoop out the peanut butter, soft butter, and vanilla extract. Using a spatula, mix them together until they form a smooth, luscious blend.
Tip: If the peanut butter is hard, pop it in the microwave for just a few seconds to soften it up. This makes it easier to mix and ensures you won’t have to wrestle with it!
Step 2: Add Crunchy Ingredients
Now, it’s time to bring in the fun! Gradually stir in the Rice Krispies, chopped pecans, and shredded coconut. Make sure every crunchy bit gets a nice coating of that creamy mixture.
Engaging your senses is key here. Feel the texture change as you mix. You’ll love watching everything come together into one cohesive mixture!
Step 3: Chill the Mixture
Cover the bowl with plastic wrap and pop it into the refrigerator for about 30 minutes. Chilling helps the mixture firm up, making rolling the balls much easier.
Now’s a great time to clean up a bit or enjoy a quick break. Trust me, those 30 minutes will feel like the perfect moment to recharge your baking energy!
Step 4: Melt the Chocolate
It’s chocolate time! Set up a double boiler by placing a heatproof bowl over a saucepan of simmering water. Pour in the chocolate chips and sweet chocolate. Stir continuously until it’s perfectly smooth and creamy.
Remember, patience is key! Keeping the heat low prevents your chocolate from seizing up. Stirring often also helps achieve that silky consistency we crave in our chocolate coating.
Step 5: Dip the Balls
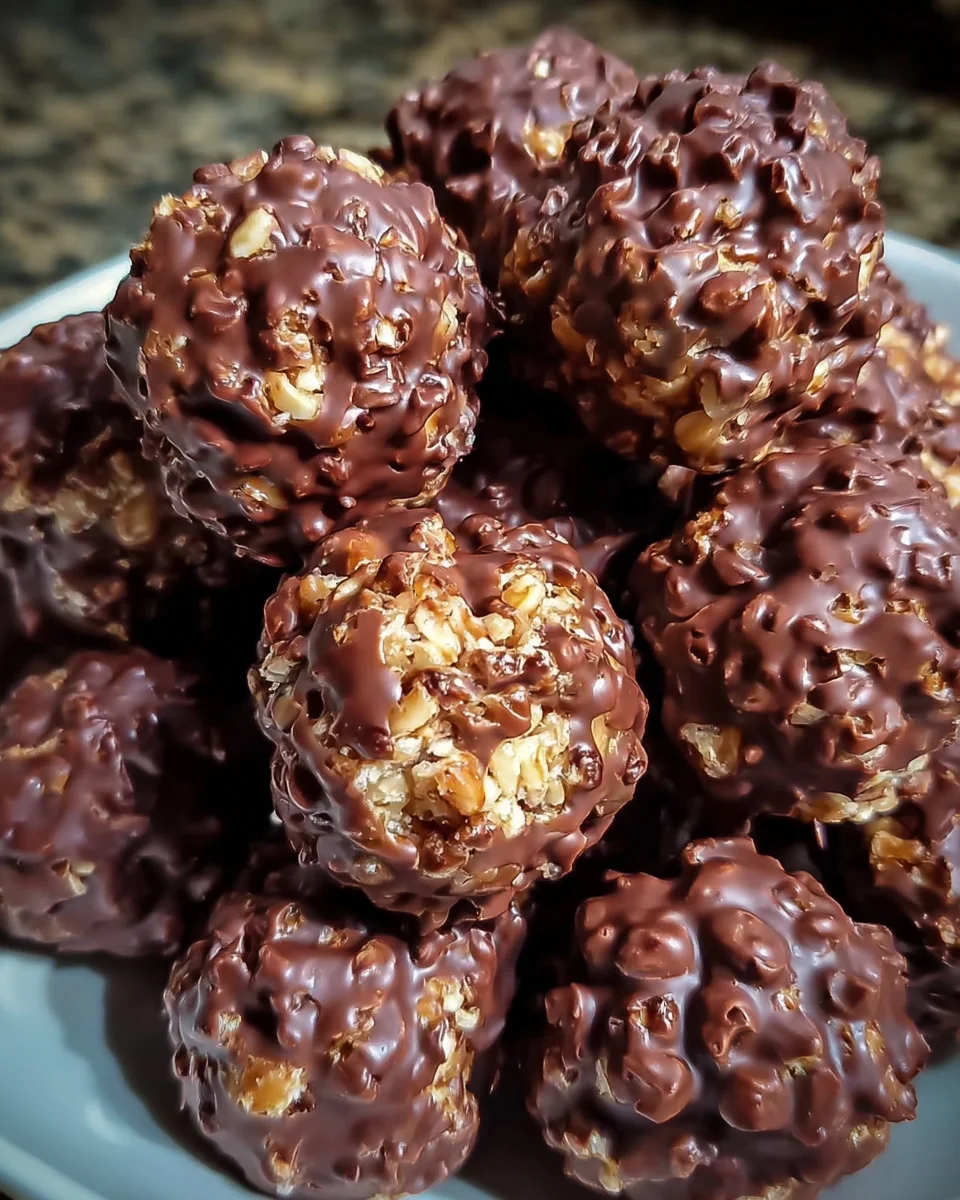
Once your mixture has chilled and your chocolate is melted, it’s time for the fun part! Roll small portions of the chilled mixture into balls, then use a fork to dip each one into the melted chocolate.
For a tidy finish, tap the fork gently on the bowl’s edge to shake off excess chocolate. No one likes a drippy ball!
Step 6: Set the Chocolate
Place your beautifully coated balls back onto the parchment-lined baking sheet. Now, transfer them to the refrigerator once more, letting the chocolate harden completely. This usually takes about an hour.
Let’s be honest, waiting is the hardest part! But that moment when you bite into one of these chocolaty delights will be totally worth it. You’re nearly there!

Tips for Success
- Ensure your butter and peanut butter are soft for easier mixing.
- Use fresh ingredients for the best taste, especially the chocolate.
- Don’t rush the chilling process; it makes rolling the balls easier.
- Keep chocolate warm while dipping for an even coat.
- Experiment with flavors by adding spices or other nuts for variety.
Equipment Needed
- Mixing Bowl: A large bowl for combining ingredients. Any bowl will do, even a sturdy saucepan!
- Spatula: A silicone spatula helps mix smoothly. Wooden spoons work too!
- Double Boiler: For melting chocolate. You can create one using a bowl over a pot of simmering water.
- Fork: Essential for dipping. Tongs can also do the trick!
- Parchment Paper: To line your baking sheet. Wax paper can be a suitable alternative.
Variations of Chocolate Rice Krispie Balls
- Nut-Free: Replace pecans with pumpkin seeds or sunflower seeds to accommodate nut allergies.
- Coconut-Free: Skip the shredded coconut and add more Rice Krispies for extra crunch.
- Dried Fruit Addition: Toss in some chopped dried cherries or cranberries for a fruity twist.
- Flavored Chocolate: Use flavored chocolate chips, like mint or caramel, for a unique taste experience.
- Protein Boost: Stir in a scoop of protein powder to make these treats more filling and nutritious.
Serving Suggestions
- Pair these Chocolate Rice Krispie Balls with a tall glass of cold milk for a classic combo.
- Serve them on a pretty platter for parties or family gatherings to impress your guests.
- For a fun twist, sprinkle some sea salt on top before the chocolate sets!
- Offer alongside fresh fruit like strawberries or bananas for a balanced treat.
- Include them in a gift box with other homemade goodies for a heartfelt present!
FAQs about Chocolate Rice Krispie Balls
Can I make Chocolate Rice Krispie Balls ahead of time?
Absolutely! These treats can be made in advance and stored in an airtight container for up to a week. Just keep them in the refrigerator to maintain freshness.
What can I substitute for peanut butter?
If you need a nut-free option, sunflower seed butter or almond butter are great alternatives! If you’re looking for a more fragrant option, consider using tahini.
Can I use different types of chocolate for coating?
Yes! Feel free to experiment with white chocolate, milk chocolate, or even dark chocolate chips. Each type brings its own unique flavor!
How can I make these Chocolate Rice Krispie Balls healthier?
To make these treats a bit healthier, you can use dark chocolate and reduce the amount of sugar. Adding chia seeds or hemp hearts can also elevate their nutritional value.
What if I don’t have a double boiler?
No problem! You can create a makeshift double boiler with a heatproof bowl placed over a pot of simmering water. Just ensure the bowl doesn’t touch the water!
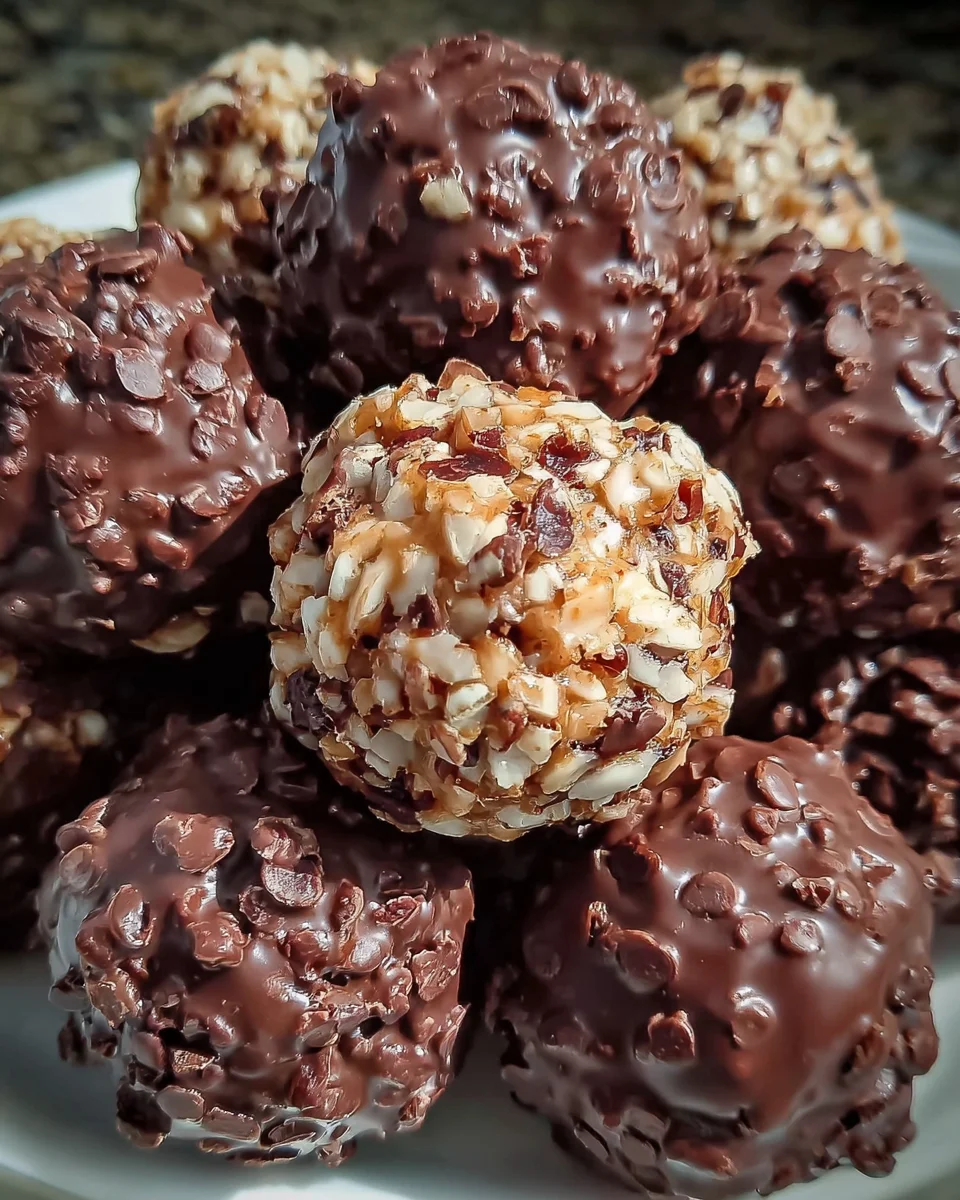
Final Thoughts
Creating these Chocolate Rice Krispie Balls has been a joyful experience, one I’m eager to share with you. Each bite brings a delightful crunch and sweet satisfaction that transforms an ordinary day into something special. Whether you’re making them for a family gathering, a last-minute treat, or simply to satisfy that sweet tooth, these little balls of goodness are sure to bring smiles all around. Plus, there’s something wonderfully nostalgic about combining simple ingredients into a delightful treat. So roll up your sleeves and enjoy the delicious memories you’ll create with these easy-to-make snacks!
Print
Chocolate Rice Krispie Balls
- Total Time: 1 hour 30 minutes
- Yield: 24 balls 1x
- Diet: Vegetarian
Description
A delightful and easy-to-make treat, Chocolate Rice Krispie Balls combine the crunch of Rice Krispies with the richness of chocolate for a perfect sweet snack.
Ingredients
- ½ cup peanut butter
- 3 tbsp soft butter
- 1 tsp vanilla
- 1 cup Rice Krispies
- ½ cup chopped pecans
- 1 cup shredded coconut
- 1 package chocolate chips
- 1 square sweet chocolate
Instructions
- In a large mixing bowl, combine the peanut butter, soft butter, and vanilla. Stir until smooth and well combined.
- Mix in the Rice Krispies, chopped pecans, and shredded coconut. Stir until all ingredients are evenly distributed and well coated.
- Cover the bowl with plastic wrap and refrigerate the mixture for at least 30 minutes to firm up. Once chilled, take small portions and roll them into balls using your hands. Place the balls on a parchment-lined baking sheet.
- In a double boiler over low heat, melt the chocolate chips and sweet chocolate together. Stir continuously until smooth and creamy. Keep the heat low to prevent the chocolate from hardening too quickly.
- Using a fork, dip each Rice Krispie ball into the melted chocolate mixture, ensuring it is evenly coated. Tap the fork gently on the side of the bowl to remove any excess chocolate.
- Place the chocolate-coated balls back onto the parchment paper-lined baking sheet. Transfer the sheet to the refrigerator to allow the chocolate to set completely, usually about 1 hour.
Notes
- For a different flavor, try adding other nuts or dried fruits.
- These treats can be stored in an airtight container for up to a week.
- Make sure the chocolate stays warm while dipping the balls to ensure an even coat.
- Prep Time: 15 minutes
- Cook Time: 15 minutes
- Category: Dessert
- Method: No-Bake
- Cuisine: American
Nutrition
- Serving Size: 1 ball
- Calories: 150
- Sugar: 10g
- Sodium: 50mg
- Fat: 8g
- Saturated Fat: 3g
- Unsaturated Fat: 5g
- Trans Fat: 0g
- Carbohydrates: 15g
- Fiber: 1g
- Protein: 3g
- Cholesterol: 5mg