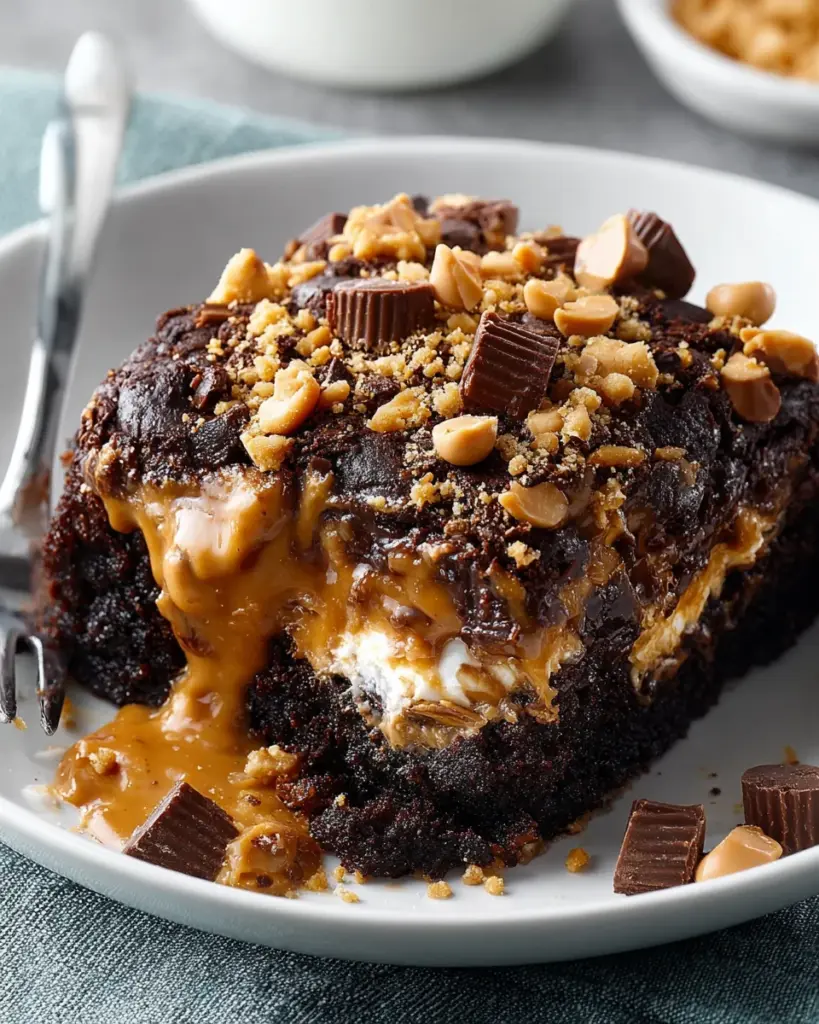
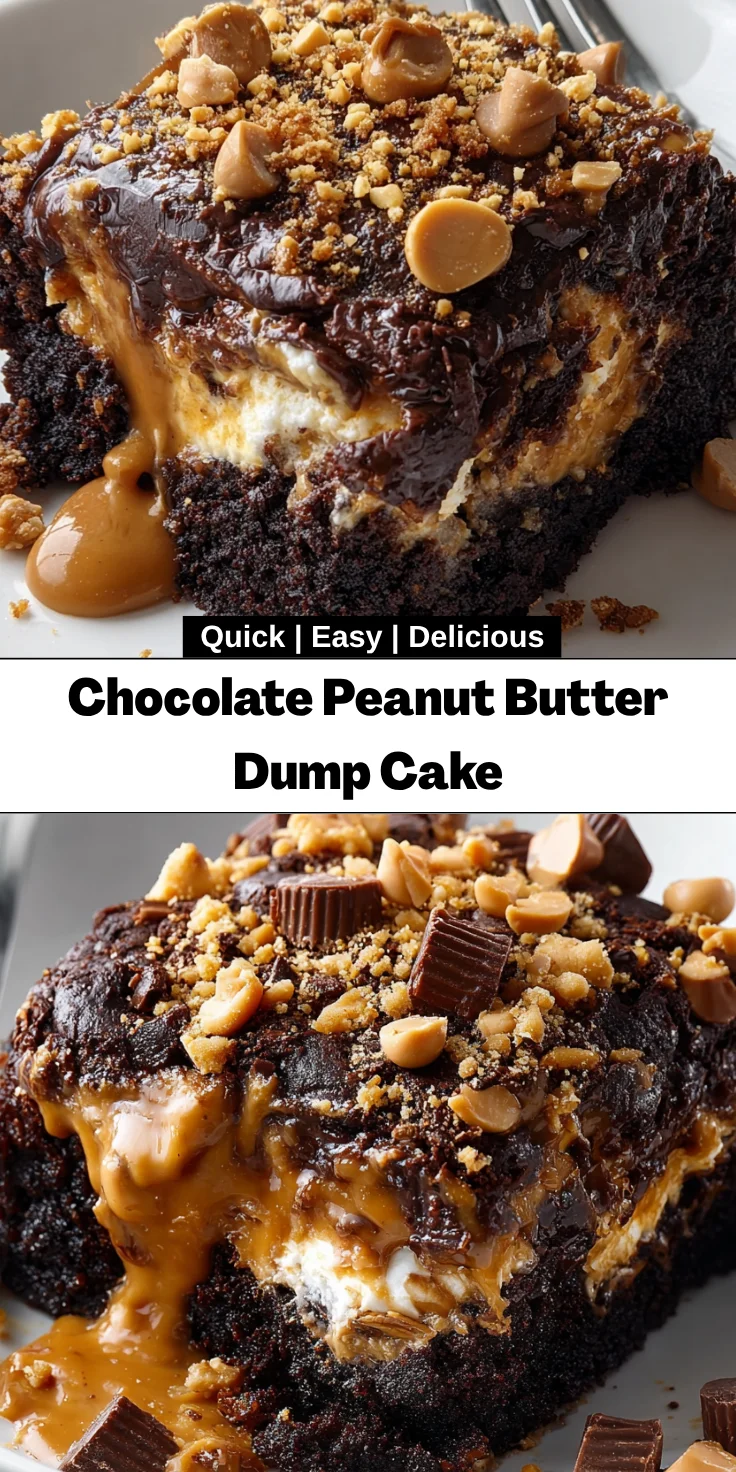
Introduction to Chocolate Peanut Butter Dump Cake
As a busy mom, I know how important it is to whip up something delicious without spending hours in the kitchen. That’s why I can’t wait to share my Chocolate Peanut Butter Dump Cake with you! It’s a delightful concoction that seamlessly marries rich chocolate and creamy peanut butter in one easy recipe. This cake is perfect for those nights when your family craves a little indulgence or when you want to impress friends at a gathering. Best of all, it’s simple to make, allowing you to spend less time cooking and more time enjoying the moment!
Why You’ll Love This Chocolate Peanut Butter Dump Cake
If you’re looking for a dessert that checks all the boxes, this Chocolate Peanut Butter Dump Cake is it. It’s quick to whip up, making it ideal for those last-minute gatherings or family nights. The combination of chocolate and peanut butter is downright irresistible, creating a flavor explosion that everyone will love. Plus, it’s a one-pan wonder, so cleanup is a breeze—who doesn’t appreciate that?
Ingredients for Chocolate Peanut Butter Dump Cake
Let’s gather all the scrumptious ingredients to create this decadent delight! Each element is pivotal in crafting the irresistible flavor of this Chocolate Peanut Butter Dump Cake.
- Instant chocolate pudding mix: This provides a silky texture and rich chocolate flavor, making it a foundation for our cake.
- 2% milk: It helps activate the pudding mix and adds moisture to the cake, ensuring a luscious end result.
- Chocolate or devil’s food cake mix: This is where the cake magic happens, giving us the ideal base to build upon with chocolate goodness.
- Peanut butter cups: Chopped into delightful chunks, they offer bursts of rich, creamy peanut butter in every bite!
- Peanut butter chips: These add even more peanut butter flavor, enhancing that comforting, nutty essence we all love.
- Semisweet chocolate chips: For those extra chocolatey moments, these gems melt beautifully into the batter.
- Chopped unsalted peanuts: This gives a satisfying crunch and elevates the overall texture of the cake.
- Optional toppings: Vanilla ice cream or sweetened whipped cream pairs wonderfully, balancing the richness and adding a touch of creaminess.
For exact measurements, feel free to scroll to the bottom of the article where I’ve got you covered with a printable version of the recipe!
How to Make Chocolate Peanut Butter Dump Cake
Step 1: Preheat and Prepare
First things first! Preheat your oven to 350°F (175°C). While that’s heating up, grab a 13×9-inch baking pan and grease it well. I love using a bit of butter or non-stick spray to ensure that cake releases perfectly. You don’t want any of that deliciousness stuck to the pan!
Step 2: Mix the Base
In a large mixing bowl, combine the instant chocolate pudding mix and 2% milk. Whisk them together until the mixture is smooth and creamy. This step is crucial because it sets the base for our indulgent Chocolate Peanut Butter Dump Cake. You’ll be amazed at how quickly the pudding thickens, creating a decadent foundation for all those chocolatey and peanut buttery layers to come!
Step 3: Combine Cake Mix
Now, it’s time to fold in the cake mix. Gently add it to the pudding mixture and stir until fully combined. Don’t be alarmed if the batter appears quite thick—this is a good thing! That rich texture helps hold all of our yummy mix-ins together and creates a deliciously dense cake that everyone will adore.
Step 4: Add the Goodies
Get ready for the star of the show! Gently fold in the chopped peanut butter cups, peanut butter chips, and semisweet chocolate chips. The aroma will drive you wild! Finally, sprinkle in the chopped unsalted peanuts for that satisfying crunch. Make sure every bite is packed with delicious surprises. This is where the magic happens, transforming your batter into a dreamy chocolate-peanut butter creation.
Step 5: Bake it Up
Spread the irresistible batter evenly in your prepared baking pan. Don’t be shy; make sure it reaches all the corners! Bake in the preheated oven for about 20-25 minutes. Check for doneness by inserting a toothpick into the center. If it comes out with moist crumbs, you’re golden. Just remember, it’s better to underbake slightly since we want that gooey texture!
Step 6: Cool and Serve
Once your cake is baked to perfection, allow it to cool completely in the pan on a wire rack. This step is important, so don’t rush it! Serve your Chocolate Peanut Butter Dump Cake warm or at room temperature. For an extra special touch, add a scoop of creamy vanilla ice cream or a dollop of whipped cream. Trust me; it’ll take this dessert to the next level of indulgence!
Tips for Success with Chocolate Peanut Butter Dump Cake
- Make sure to thoroughly grease the baking pan to prevent sticking.
- For a richer flavor, use whole milk instead of 2%.
- If you prefer a sweeter cake, add an extra handful of chocolate or peanut butter chips.
- Let the cake cool completely for better slicing.
- Store leftover cake covered for freshness up to three days.
Equipment Needed to Make Chocolate Peanut Butter Dump Cake
- 13×9-inch baking pan: Essential for baking; a glass or metal pan works.
- Mixing bowls: Having a couple of large bowls helps for mixing ingredients easily.
- Whisk: Perfect for blending the pudding mix and milk; a fork can also do the job.
- Spoon or spatula: Great for folding in the goodies and spreading the batter.
- Wire rack: Ideal for cooling the cake; if you don’t have one, a cutting board works too!
Variations on Chocolate Peanut Butter Dump Cake
- Gluten-Free Option: Swap the regular cake mix for a gluten-free chocolate cake mix to cater to gluten-sensitive eaters.
- Nut-Free Version: Replace chopped peanuts and peanut butter chips with sunflower seed butter and sunflower seeds for a school-friendly treat.
- Healthier Twist: Use unsweetened applesauce instead of oil in the cake mix for a lower-fat option.
- Extra Chocolatey: Add a layer of chocolate syrup over the top before baking for an even richer experience.
- Fruit Surprise: Mix in some ripe mashed bananas or cherries for a refreshing fruity flavor enhancement.
Serving Suggestions for Chocolate Peanut Butter Dump Cake
- Pair with a scoop of vanilla ice cream for a creamy complement.
- Top with sweetened whipped cream and a drizzle of chocolate syrup for extra indulgence.
- Serve with fresh berries for a pop of color and tartness.
- Consider coffee or milk as refreshing beverage options alongside this decadent dessert.
- Dust with powdered sugar for a touch of elegance before serving.
FAQs about Chocolate Peanut Butter Dump Cake
Got questions about this scrumptious Chocolate Peanut Butter Dump Cake? You’re not alone! Here are some common queries that I hear often:
Can I make this Chocolate Peanut Butter Dump Cake ahead of time?
Absolutely! You can prepare the batter and store it in the refrigerator for a day. Just bake it when you’re ready to serve. This way, you’ll enjoy fresh-baked goodness without the hassle during busy times!
What can I use if I don’t have peanut butter cups?
No worries! You can replace the chopped peanut butter cups with chocolate-covered pretzels or even mini Oreos. They’ll still give you that delightful crunch and chocolate flavor!
How should I store leftovers?
Simply keep any leftover cake in an airtight container at room temperature for up to three days. For longer storage, you can refrigerate, but be sure to let it come to room temperature before serving again!
Can I freeze this dump cake?
Yes! Cut the cooled cake into slices and wrap them individually in plastic wrap. Place the wrapped slices in a freezer-safe bag. They should hold up well for about 2-3 months. Just thaw overnight in the fridge before enjoying!
What’s the best way to serve it?
Serve warm with a scoop of vanilla ice cream or a dollop of whipped cream on top. A drizzle of chocolate syrup won’t hurt either—it’s pure heaven!
Final Thoughts on Chocolate Peanut Butter Dump Cake
Creating a Chocolate Peanut Butter Dump Cake is truly an experience that warms the heart. The joy on your family’s faces when they dive into that rich, chocolaty goodness is simply priceless. This dessert not only satisfies sweet cravings but also brings everyone together, making it perfect for gatherings or cozy family nights. I love how easy and adaptable it is, allowing for spontaneous creations. The aroma wafting through your kitchen will have everyone buzzing with excitement. So go ahead, indulge in this delightful treat and create sweet memories that will last a lifetime!
Print
Chocolate Peanut Butter Dump Cake
- Total Time: 35 minutes
- Yield: 12 servings 1x
- Diet: Vegetarian
Description
A rich and indulgent dessert featuring layers of chocolate and peanut butter flavors that come together in a simple dump cake.
Ingredients
- 1 package (3.9 ounces) instant chocolate pudding mix
- 1–3/4 cups 2% milk
- 1 package chocolate or devil’s food cake mix (regular size)
- 6 packages (1-1/2 ounces each) peanut butter cups, chopped
- 3/4 cup peanut butter chips
- 3/4 cup semisweet chocolate chips
- 1/2 cup chopped unsalted peanuts
- Vanilla ice cream or sweetened whipped cream (optional)
Instructions
- Preheat oven to 350°F (175°C). Grease a 13×9-inch baking pan.
- In a large bowl, combine the instant chocolate pudding mix and 2% milk until fully blended.
- Stir the chocolate or devil’s food cake mix into the pudding mixture; the batter will be thick.
- Gently fold in the chopped peanut butter cups, peanut butter chips, and semisweet chocolate chips.
- Spread the batter evenly into the prepared baking pan. Sprinkle the top with chopped unsalted peanuts.
- Bake for 20-25 minutes, or until a toothpick inserted in the center comes out with moist crumbs.
- Allow the cake to cool completely in the pan on a wire rack. Serve with vanilla ice cream or whipped cream if desired.
Notes
- This dessert is best served warm with ice cream or whipped cream.
- Store leftovers in an airtight container at room temperature for up to 3 days.
- Prep Time: 10 minutes
- Cook Time: 25 minutes
- Category: Dessert
- Method: Baking
- Cuisine: American
Nutrition
- Serving Size: 1 slice
- Calories: 350
- Sugar: 30g
- Sodium: 250mg
- Fat: 15g
- Saturated Fat: 6g
- Unsaturated Fat: 5g
- Trans Fat: 0g
- Carbohydrates: 52g
- Fiber: 2g
- Protein: 6g
- Cholesterol: 25mg