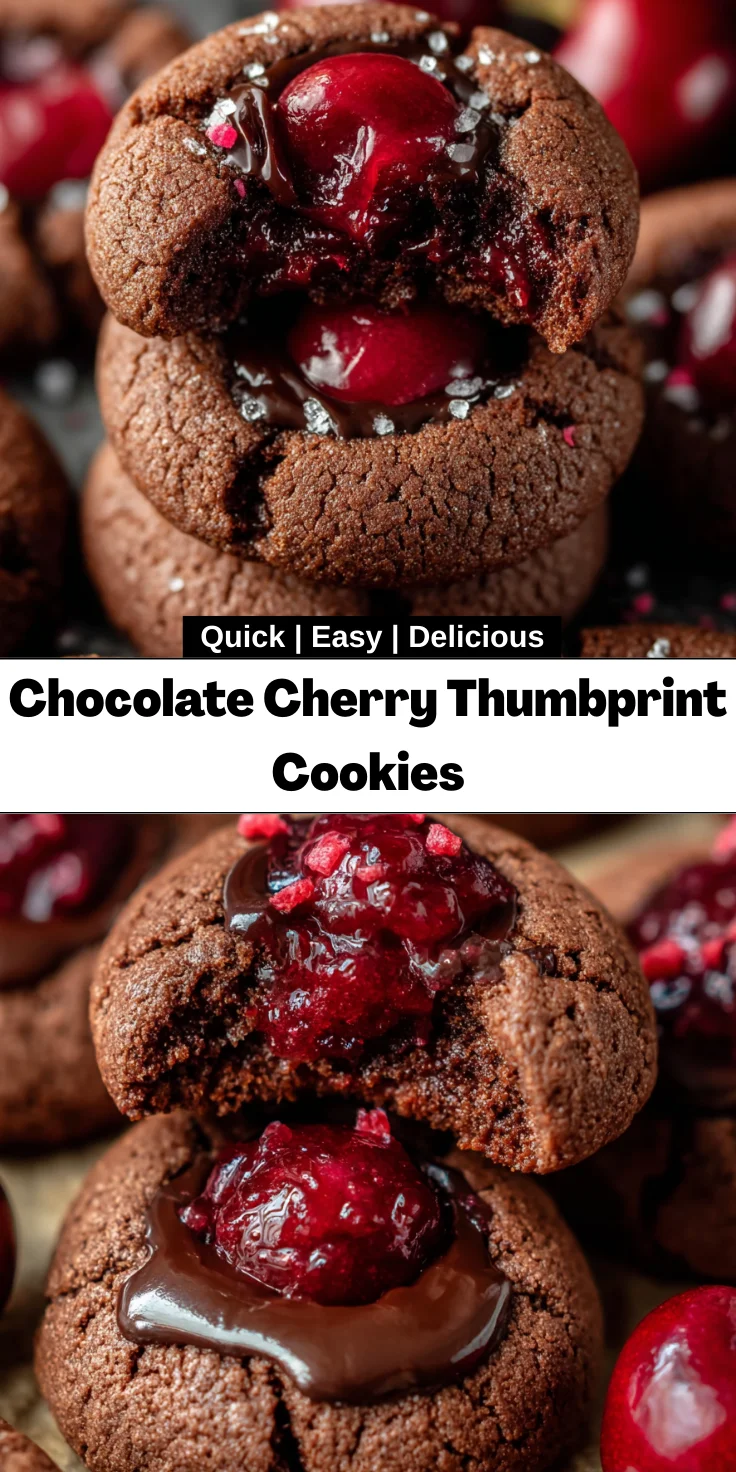
Introduction to Chocolate Cherry Thumbprint Cookies
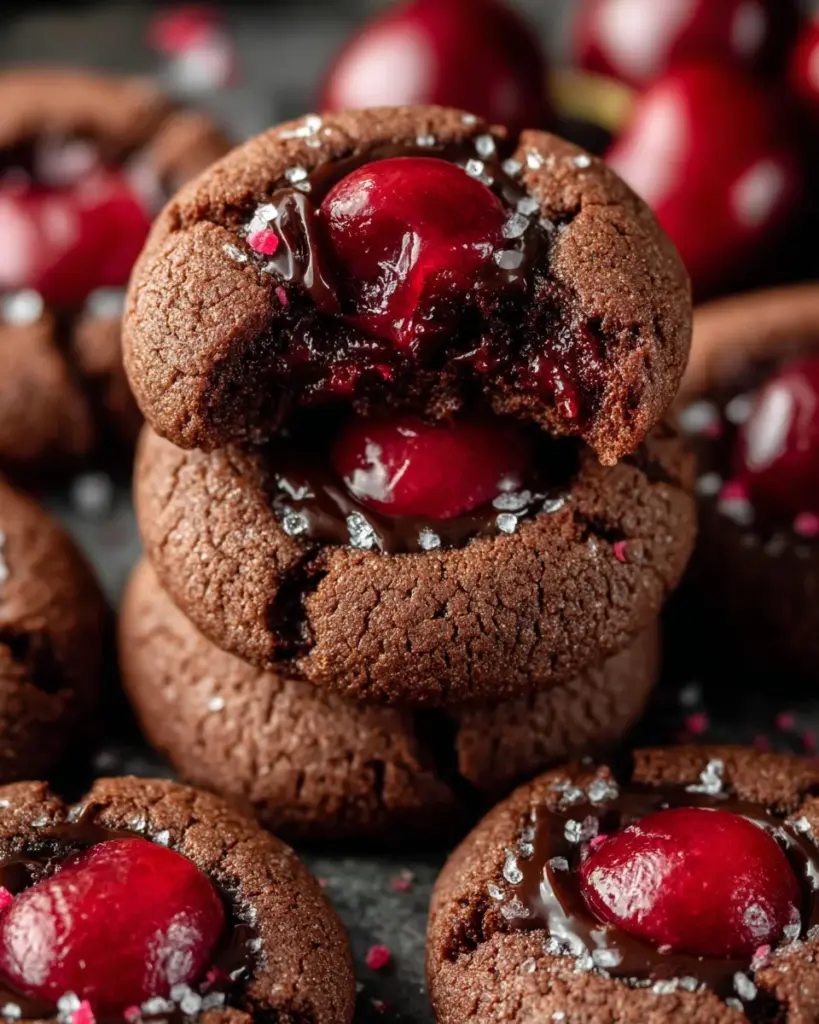
As someone who’s always juggling a million things, I understand how vital it is to have reliable recipes in your back pocket. That’s where Chocolate Cherry Thumbprint Cookies come in. These little delights are not just a treat; they’re a quick solution for a busy day or a way to impress loved ones at a gathering. Imagine the joy on your family’s faces when they bite into a cookie filled with rich chocolate and vibrant cherry! These cookies are the perfect blend of sweetness and festivity, sure to brighten up even the busiest of days.
Why You’ll Love This Chocolate Cherry Thumbprint Cookies
I can confidently say that these Chocolate Cherry Thumbprint Cookies are a game changer. They’re not just easy to whip up, but the combination of chocolate and cherry creates a flavor explosion that’s hard to resist. With simple steps and minimal fuss, you can have a batch baking in your oven before you know it. Plus, they look elegant enough to impress any guest, making them the perfect treat for your next gathering!
Ingredients for Chocolate Cherry Thumbprint Cookies
Creating these delightful Chocolate Cherry Thumbprint Cookies starts with gathering some essential ingredients. Each one plays a unique role in ensuring your cookies are tantalizingly delicious.
- All-purpose flour: This is the foundation of our cookies, giving them structure and a tender bite. If you need a gluten-free option, almond or oat flour can work as substitutes.
- Dutch-process cocoa powder: This adds a rich chocolate flavor while ensuring a deep color. Unsweetened cocoa powder can be used if that’s what you have on hand.
- Baking powder: A key leavening agent that helps our cookies rise slightly, keeping them soft. Be sure it’s fresh for the best results.
- Sea salt: Just a pinch enhances the sweetness and balances flavors. Kosher salt will also do the trick if that’s what you have.
- Unsalted butter: Make sure it’s softened to room temperature for easy creaming. This creates a lovely texture. If you’re dairy-free, coconut oil or vegan butter can be substitutes.
- Light brown sugar: Adds moisture and a hint of caramel flavor. If you prefer, you can use dark brown sugar for a more intense flavor.
- Granulated white sugar: This gives just the right amount of sweetness and contributes to the cookie’s crispness.
- Egg yolks: They add richness and help bind the ingredients together, resulting in a tender cookie. For a vegan alternative, you can use flax or chia eggs.
- Vanilla extract: A must-have for a warm, aromatic flavor that pairs beautifully with chocolate and cherry.
- Dark chocolate with dried cherries: This is the heart of our ganache and adds a delightful surprise to each bite. You can use semi-sweet chocolate for a different taste.
- Heavy cream: Used to create a smooth and luscious ganache; half-and-half can be an alternative if you want a lighter version.
- Cherry preserves: This adds a wonderful tartness and a pop of color to the ganache. If you can’t find cherry, feel free to experiment with raspberry or strawberry preserves!
The exact measurements for these ingredients are listed at the bottom of the article, along with a printable version. Happy baking!
How to Make Chocolate Cherry Thumbprint Cookies
Now that we have our ingredients ready, let’s dive into making these irresistible Chocolate Cherry Thumbprint Cookies. The process is simple, and I promise it will be worth every step!
Step 1: Prepare Your Dry Ingredients
Whisking Together
In a medium mixing bowl, whisk together the all-purpose flour, Dutch-process cocoa powder, baking powder, and sea salt. Make sure everything is blended well, as this ensures an even distribution of flavors. This dry mixture is the foundation of your cookie magic!
Step 2: Cream the Butter and Sugars
Achieving the Right Consistency
In a large bowl, cream your softened butter, light brown sugar, and granulated sugar using an electric mixer. Beat them on high speed until the mixture is pale and fluffy—this could take about 3-5 minutes. It’s like giving your cookies a nice, sweet personality!
Step 3: Add Wet Ingredients
Mixing in Egg Yolks and Vanilla
Next, add in the egg yolks and vanilla extract to the creamed butter mixture. Mix on medium speed until everything is light and smooth. This step adds richness to our cookie dough, enhancing that delightful texture.
Step 4: Combine Dry and Wet Mixtures
Forming the Dough
Now, it’s time to bring our mixtures together! Gradually add the dry ingredients to the wet ones while mixing on low speed. Mix until a dough forms, but be careful not to overmix. We want tender cookies, not tough ones!
Step 5: Shape and Chill the Dough
Rolling and Printing
Portion the dough into tablespoon-sized balls and roll them smoothly in your palms. Use a 1/4 teaspoon to create that signature indent in the center of each ball. Then, arrange them on parchment-lined trays and chill for about 60 minutes. Chilling helps the cookies hold their shape while baking.
Step 6: Bake the Cookies
Prepping for the Oven
About 15 minutes before you’re ready to bake, preheat your oven to 175°C (350°F). Place 8 cookies per prepared baking sheet, then slide them into the oven. Bake for 9-11 minutes until they’re set but still fudgy in the middle. Don’t forget to gently re-press the indents if they puff up!
Step 7: Prepare the Ganache
Melting the Chocolate
While your cookies are cooling, let’s make the luscious ganache! Place the chopped dark chocolate in a medium bowl. Heat the heavy cream until it’s just about boiling, then pour it over the chocolate. Allow it to sit for a moment before stirring until smooth. The aroma is simply divine!
Step 8: Fill the Cookies
Adding the Ganache
Finally, once your cookies have cooled, fill each center with about 1 teaspoon of the chocolate-cherry ganache. This finishing touch brings our cookies to life! Chill them in the refrigerator for 10-15 minutes to set the ganache, and then they’re all ready to enjoy.
There you have it! Your very own batch of mouthwatering Chocolate Cherry Thumbprint Cookies, ready to be shared or hoarded, whichever you prefer!
Tips for Success
- Ensure your butter is softened but not melted for the best cookie texture.
- Chill the dough! This step helps maintain the shape while baking.
- Re-press the indent after baking—this keeps the ganache from overflowing.
- Allow cookies to cool on the baking sheet before transferring to a wire rack for proper cooling.
- Store in an airtight container to keep them fresh for up to 3 days.
Equipment Needed
- Mixing bowls: You’ll need a medium and a large one. Glass or metal works great!
- Electric mixer: A handheld or stand mixer will help you achieve that fluffy texture.
- Parchment paper: This makes clean-up a breeze and prevents sticking.
- Baking sheets: Regular cookie sheets or aluminum trays will do just fine.
- Cookie scoop: If you have one, this helps portion the dough evenly.
Variations for Chocolate Cherry Thumbprint Cookies
- Nutty Delight: Add chopped walnuts or almonds to the dough for an extra crunch and flavor.
- Fruit Fusion: Swap out cherry preserves for raspberry or apricot for a different fruity experience.
- Dairy-Free Option: Use vegan butter and coconut cream in the ganache to make these cookies dairy-free.
- Gluten-Free Variant: Substitute all-purpose flour with a gluten-free blend to cater to gluten sensitivities.
- Spiced Up: Incorporate a touch of cinnamon or nutmeg into the dough for a warming spice kick.
Serving Suggestions
- Coffee or Tea: Pair these cookies with a rich cup of coffee or a steaming herbal tea for a cozy treat.
- Fruit Platter: Serve alongside a colorful fruit platter to add freshness and balance the sweetness.
- Beautiful Presentation: Arrange them on a decorative plate with a sprinkle of powdered sugar for an elegant touch.
FAQs about Chocolate Cherry Thumbprint Cookies
Let’s tackle some common questions I get about these delightful Chocolate Cherry Thumbprint Cookies. You might find the answers helpful while you embark on your baking adventure!
Can I use milk chocolate instead of dark chocolate in the ganache?
Absolutely! If you prefer a sweeter flavor, milk chocolate works wonderfully. Just keep an eye on the sweetness level, as it may alter the overall taste of the cookies.
How do I make sure my cookies stay soft and fudgy?
The key is not to overbake them. Keep a close watch during baking—remove them when they’re set but still soft in the center. Chilling the dough also aids in maintaining that lovely fudgy texture!
Can I freeze these cookies once assembled?
You sure can! These Chocolate Cherry Thumbprint Cookies freeze beautifully. Just make sure they’re in an airtight container, and they’ll keep in the freezer for up to two months. Thaw them in the fridge when you’re ready to enjoy!
What can I substitute for cherry preserves?
If cherries aren’t your thing—or if you’re looking for a twist—feel free to experiment! Raspberry, apricot, or even pomegranate preserves would make delightful alternatives.
How should I store my thumbprint cookies?
Store your cookies in an airtight container at room temperature. This keeps them fresh for about three days. If you want them to last longer, consider refrigerating or freezing them.
Final Thoughts
Creating these Chocolate Cherry Thumbprint Cookies is not just about baking; it’s a delightful experience that brings joy to everyone who takes a bite. The rich chocolate, complemented by the tart cherry preserves, creates a harmony of flavors that’s simply irresistible. As you watch your loved ones savor each cookie, you’ll feel a sense of accomplishment. Whether it’s for a festive gathering or a cozy night in, these cookies are sure to spread happiness and warmth. So grab your apron, and let’s bake this little piece of joy together!
Print
Chocolate Cherry Thumbprint Cookies
- Total Time: 1 hour 45 minutes
- Yield: 32 cookies 1x
- Diet: Vegetarian
Description
Chocolate Cherry Thumbprint Cookies are deliciously rich and festive cookies filled with a decadent chocolate-cherry ganache.
Ingredients
- 188 g all-purpose flour
- 40 g Dutch-process cocoa powder
- 0.5 tsp baking powder
- 0.5 tsp sea salt
- 168 g unsalted butter, softened
- 165 g light brown sugar, packed
- 50 g granulated white sugar
- 2 egg yolks, room temperature
- 1.5 tsp vanilla extract
- 140 g dark chocolate with dried cherries, chopped
- 90 ml heavy cream
- 85 g cherry preserves
Instructions
- In a medium mixing bowl, whisk together the flour, cocoa powder, baking powder, and sea salt until well blended.
- In a large bowl, cream the softened butter, light brown sugar, and granulated sugar using an electric mixer at high speed until pale and fluffy.
- Add egg yolks and vanilla extract to the creamed mixture and beat on medium speed until light and smooth, about 1–2 minutes.
- Add the dry mixture to the wet ingredients and mix on low speed just until a dough forms.
- Portion the dough into 32 tablespoon-sized balls. Roll smooth, then use a 1/4 teaspoon to press an indent in the center of each ball.
- Arrange the shaped dough on parchment-lined trays and chill for 60 minutes.
- Fifteen minutes before baking, preheat the oven to 175°C.
- Place 8 cookies per prepared baking sheet and bake for 9–11 minutes until set but fudgy. Remove from oven and gently re-press the indents if needed.
- While cookies are hot, use a round cookie cutter to gently scoot each into a tidy circular shape. Let cool on the sheet for 5 minutes, then transfer to a wire rack to cool completely.
- Place chopped chocolate in a medium bowl. Heat heavy cream until just before boiling and pour over the chocolate. Let sit briefly, then stir until smooth.
- Mix cherry preserves into the warm ganache until fully incorporated.
- Once cookies have cooled, fill each center with about 1 teaspoon of chocolate-cherry ganache.
- Chill cookies in the refrigerator for 10–15 minutes to set the ganache. Store in an airtight container for up to 3 days.
Notes
- Ensure the butter is softened but not melted for the best texture.
- Chilling the dough helps maintain shape while baking.
- These cookies stay fresh in an airtight container for up to 3 days.
- Prep Time: 30 minutes
- Cook Time: 15 minutes
- Category: Dessert
- Method: Baking
- Cuisine: American
Nutrition
- Serving Size: 1 cookie
- Calories: 150
- Sugar: 8 g
- Sodium: 100 mg
- Fat: 8 g
- Saturated Fat: 5 g
- Unsaturated Fat: 3 g
- Trans Fat: 0 g
- Carbohydrates: 18 g
- Fiber: 1 g
- Protein: 2 g
- Cholesterol: 25 mg