Introduction to Cherry Pie Cookies
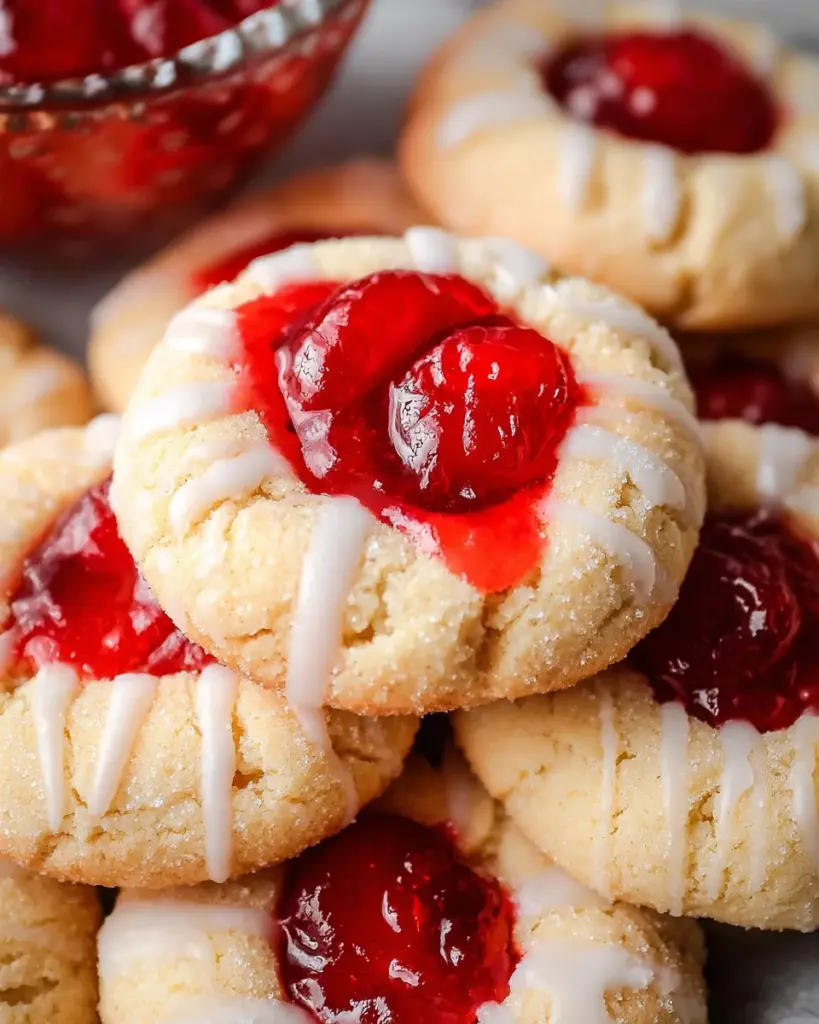
Let me tell you about cherry pie cookies—a delightful treat that brings a burst of sweetness into the chaos of our busy lives. These cookies are like hugs in dessert form, perfect for busy moms, professionals, or anyone looking to sweeten their day. They’re not just quick to whip up; they also bring smiles to faces. Whether you’re sharing them with loved ones or indulging after a long day, these cherry pie cookies are the ultimate sweet escape. Trust me, you’ll want to keep this recipe close for those moments when you need comfort food on-demand!
Why You’ll Love This Cherry Pie Cookies
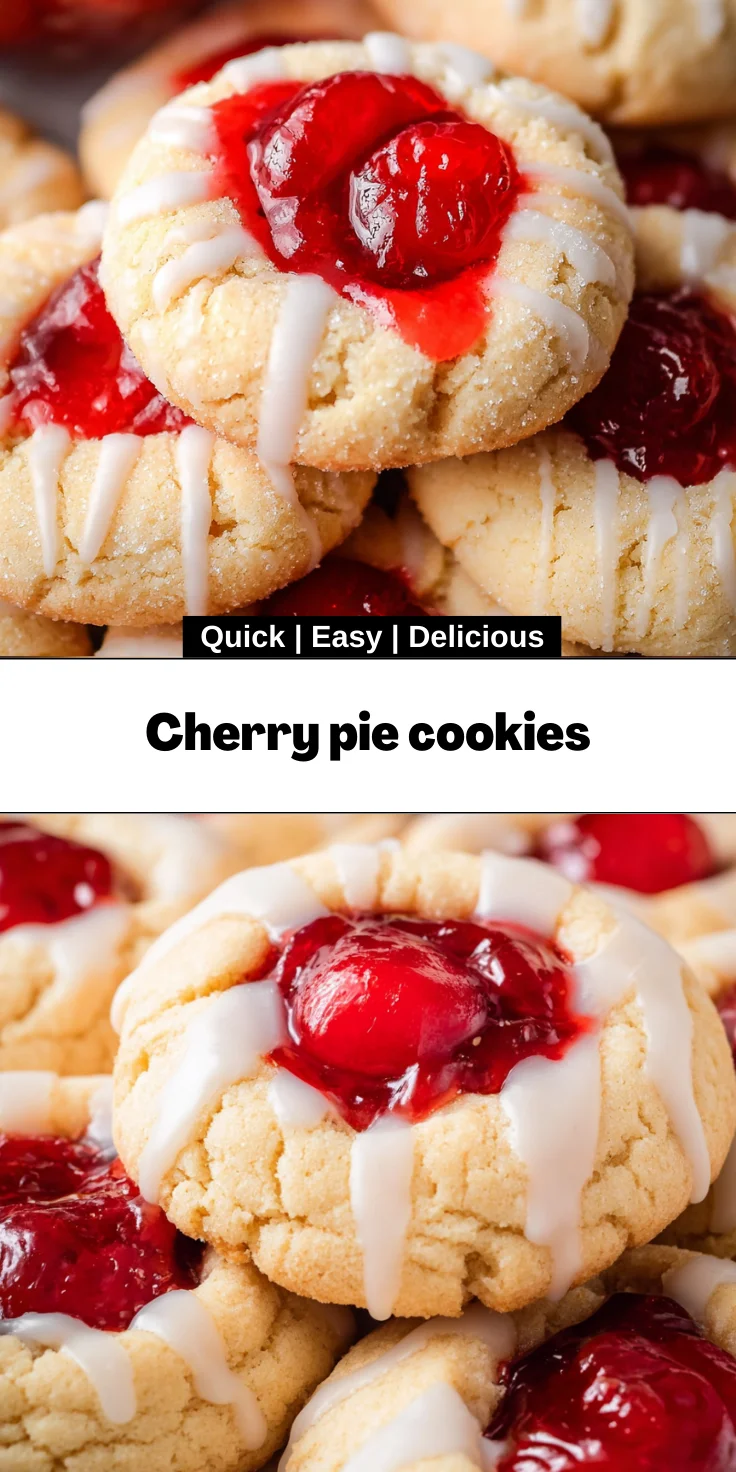
Here’s the scoop: cherry pie cookies are a match made in baking heaven! They’re effortless to prepare, taking just 35 minutes from start to finish. Perfect for busy schedules! Each bite offers that delightful cherry flavor, wrapped in a soft cookie that melts in your mouth. Plus, who can resist the sweet glaze on top? These cookies are an instant crowd-pleaser, making your baking experience both enjoyable and rewarding!
Ingredients for Cherry Pie Cookies
Before we dive into this scrumptious cherry pie cookies adventure, let’s gather our ingredients. Here’s what you’ll need:
- Unsalted butter: Softened to create a rich texture, it’s the heart of those delightful cookies.
- Granulated sugar: This adds sweetness and helps with that golden brown exterior.
- Large egg: A binding agent that brings everything together while adding moisture.
- Vanilla extract: This magical flavor booster enhances the overall taste, making every bite feel special.
- All-purpose flour: The base of our cookies, providing structure and a soft crumb.
- Baking powder: This little leavening agent gives our cookies lift, ensuring they’re fluffy.
- Salt: A pinch elevates sweetness, balancing out flavors perfectly.
- Cherry pie filling: This is the star! Opt for high-quality filling to ensure a burst of cherry goodness in every cookie.
- For the glaze:
- Powdered sugar: For that sweet finish that makes these cookies sparkle!
- Milk: Just enough to achieve that perfect drizzle-able consistency.
- Vanilla extract: A bit more adds an extra touch of flavor to the glaze.
Don’t forget, precise measurements are at the bottom of this article for your convenience. You can easily print them out for your next baking session!
How to Make Cherry Pie Cookies
Now, let’s roll up our sleeves and get started on these cherry pie cookies! Follow these simple steps, and you’ll be enjoying warm, gooey cookies in no time!
Step 1: Preheat the Oven
Start by preheating your oven to 350°F (175°C). Preheating is key to baking because it helps cookies rise and bake evenly. A hot oven ensures that those cherry pie cookies will have that perfect golden color and soft texture.
Step 2: Cream the Butter and Sugar
In a large mixing bowl, cream together the softened butter and sugar until it’s light and fluffy. This step is crucial! Achieving that airy texture gives your cookies the right lift and keeps them soft. The fluffier the mixture, the better your cookies will rise!
Step 3: Add Egg and Vanilla
Now, add in a large egg and a splash of vanilla extract. These ingredients bring warmth and rich flavor. The egg binds everything together, while vanilla adds a fragrant touch that makes your kitchen smell divine. Trust me, your family will come running!
Step 4: Mix Dry Ingredients
In a separate bowl, whisk together your all-purpose flour, baking powder, and salt. Baking powder is the secret that lifts your cookies, while salt balances the sweetness. Don’t skip this step; it’s what makes these cherry pie cookies taste like they came from a bakery!
Step 5: Combine Wet and Dry Mixtures
Gradually add the dry ingredients to the wet mix, stirring until just combined. Here’s a tip: try not to overmix! Overmixing can lead to tough cookies. We want those cherry pie cookies to be delightfully soft and dreamy!
Step 6: Shape the Cookies
Scoop tablespoon-sized portions of the dough onto your lined baking sheets, leaving some space between each. Use your thumb or the back of a spoon to create a slight indentation in the center of each mound. This is where the cherry pie filling will go, and it’s what makes these cookies so special!
Step 7: Fill with Cherry Pie Filling
Now comes the fun part! Spoon a small dollop of cherry pie filling into each cookie’s indentation. Be careful not to overfill; just a teaspoon will do the trick. This way, the filling stays snug and doesn’t spill over while baking. It’s all about the perfect cherry goodness in each bite!
Step 8: Bake the Cookies
Pop those trays into your preheated oven and bake for 12-15 minutes. Keep an eye on them! You’ll know they’re ready when the edges turn lightly golden. They might look soft in the middle, but they will firm up as they cool.
Step 9: Cool Down
Let the cookies cool on the baking sheet for a few minutes before transferring them to a wire rack. Cooling is essential. It helps them set perfectly, making sure they’re not too crumbly when you bite in.
Step 10: Prepare the Glaze
While your cookies cool, it’s time to make the glaze! In a small bowl, whisk together powdered sugar, milk, and a bit more vanilla extract until it’s smooth and drizzle-able. The key to the perfect glaze is just enough milk—too thin, and it won’t stick; too thick, and it won’t drizzle. You want it just right for that sweet finishing touch!
Tips for Success
- Always use softened butter—this makes creaming with sugar much easier.
- For best results, chill the dough in the fridge for 15 minutes before baking.
- Try different fruit fillings like blueberry or apple for a twist!
- Keep an eye on baking time; every oven is different.
- Store leftovers in an airtight container to keep them fresh!
Equipment Needed
- Baking sheets: If you don’t have these, use a large platter lined with parchment paper.
- Parchment paper: This prevents sticking and makes cleanup easy; foil works too in a pinch.
- Mixing bowls: A couple of medium bowls will do; even a large pot can substitute.
- Spoon or cookie scoop: Any spoon will work fine for shaping those cookies!
- Whisk: If you don’t have one, a fork can mix together your glaze!
Variations for Cherry Pie Cookies
- Gluten-Free: Substitute all-purpose flour with a gluten-free baking blend for a delightful gluten-free option.
- Nutty Twist: Add ½ cup of finely chopped nuts like almonds or walnuts into the dough for added crunch and flavor.
- Chocolate Drizzle: Drizzle melted chocolate over the glaze for a deeper, richer flavor contrast with the cherries.
- Spiced Version: Add a pinch of cinnamon or nutmeg to the dough for a hint of warm, cozy spices.
- Fruit Filling Swap: Experiment with other fruit fillings like raspberry, peach, or even lemon curd for a fresh twist on the classic.
Serving Suggestions
- Pair your cherry pie cookies with a scoop of vanilla ice cream for a delightful dessert combo.
- Serve them alongside a warm cup of coffee or tea for a cozy afternoon treat.
- Presentation tip: Arrange cookies on a decorative plate and drizzle extra glaze on top for a beautiful display!
FAQs about Cherry Pie Cookies
Can I make Cherry Pie Cookies ahead of time?
Absolutely! You can prepare the dough and chill it in the fridge for up to 24 hours before baking. Just scoop and fill the cookies right before you’re ready to bake, ensuring fresh cookies for your family!
Can I freeze these cookies?
Yes! After baking, let the cookies cool completely. Then store them in an airtight container or freezer bag. They’ll stay fresh for up to three months. Just thaw them at room temperature before serving!
What’s the best way to store Cherry Pie Cookies?
To keep these cookies soft and fresh, store them in an airtight container at room temperature. They’re best enjoyed within a week, but trust me, they’ll likely disappear much faster!
Can I use homemade cherry pie filling?
Definitely! Homemade cherry pie filling will add a personal touch and incredible flavor to your cookies. Just ensure it’s not too runny, or it may overflow during baking!
How do I achieve the perfect glaze consistency?
To get that ideal glaze consistency, start by adding a tablespoon of milk to your powdered sugar. Mix until smooth, and adjust with more milk if it’s too thick. You want it pourable but not too thin—like the perfect drizzle!
Final Thoughts
As I sit here enjoying a warm cherry pie cookie, I can’t help but smile. These little jewels are more than just cookies; they’re a sweet hug in a hectic world. Whether you bake them for a special occasion or just because you deserve a treat, they offer a moment of joy and nostalgia. The delightful burst of cherry surrounded by soft cookie goodness is a reminder that simple pleasures can brighten any day. So, grab your apron and create some wonderful memories in the kitchen with cherry pie cookies. You won’t regret it!
Print
Cherry pie cookies
- Total Time: 35 minutes
- Yield: 12 cookies 1x
- Diet: Vegetarian
Description
Cherry pie cookies are a delightful blend of soft cookies filled with delicious cherry pie filling and topped with a sweet glaze.
Ingredients
- ½ cup unsalted butter softened
- ½ cup granulated sugar
- 1 large egg
- ½ teaspoon vanilla extract
- 1½ cups all-purpose flour
- ½ teaspoon baking powder
- ¼ teaspoon salt
- Cherry pie filling
- For the glaze:
- ½ cup powdered sugar
- 1–2 tablespoons milk
- ¼ teaspoon vanilla extract
Instructions
- Preheat your oven to 350°F (175°C) and line baking sheets with parchment paper.
- In a large mixing bowl, cream together the softened butter and sugar until light and fluffy.
- Add the egg and vanilla extract, mixing well.
- In a separate bowl, whisk together the flour, baking powder, and salt.
- Gradually add the dry ingredients to the wet ingredients, mixing until just combined.
- Scoop tablespoon-sized portions of dough onto the prepared baking sheets, leaving space between each.
- Create an indentation in the center of each cookie using your thumb or the back of a spoon.
- Spoon a small amount of cherry pie filling into the indentation of each cookie.
- Bake for 12-15 minutes or until the edges are lightly golden. Keep an eye on them to prevent over-baking.
- Allow the cookies to cool on the baking sheets for a few minutes before transferring them to a wire rack to cool completely.
- In a small bowl, whisk together powdered sugar, milk, and vanilla extract until smooth. Drizzle the glaze over the cooled cookies.
Notes
- Make sure the butter is softened for easy creaming with sugar.
- Use a good quality cherry pie filling for the best flavor.
- Store the cookies in an airtight container to maintain freshness.
- Prep Time: 20 minutes
- Cook Time: 15 minutes
- Category: Dessert
- Method: Baking
- Cuisine: American
Nutrition
- Serving Size: 1 cookie
- Calories: 150
- Sugar: 7g
- Sodium: 50mg
- Fat: 6g
- Saturated Fat: 4g
- Unsaturated Fat: 2g
- Trans Fat: 0g
- Carbohydrates: 22g
- Fiber: 1g
- Protein: 2g
- Cholesterol: 20mg