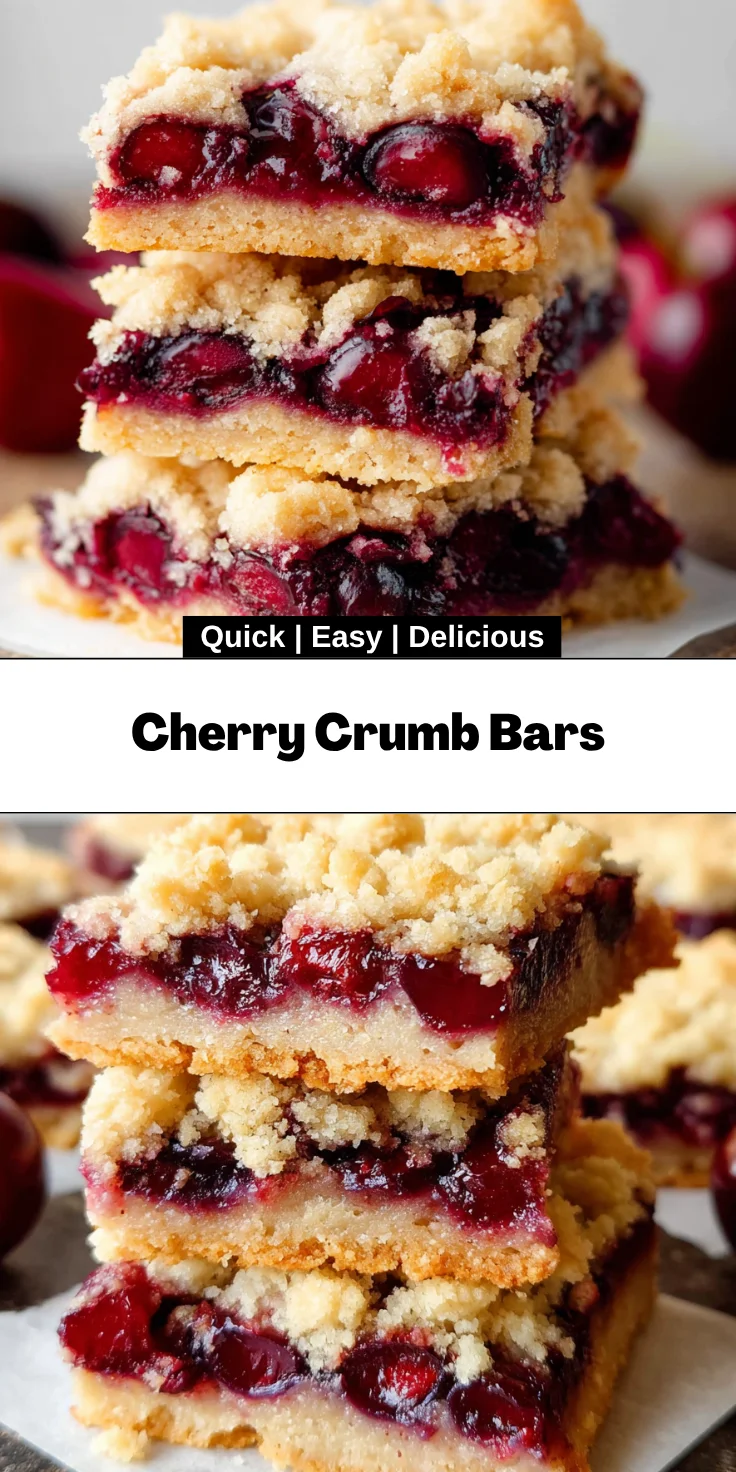
Introduction to Cherry Crumb Bars
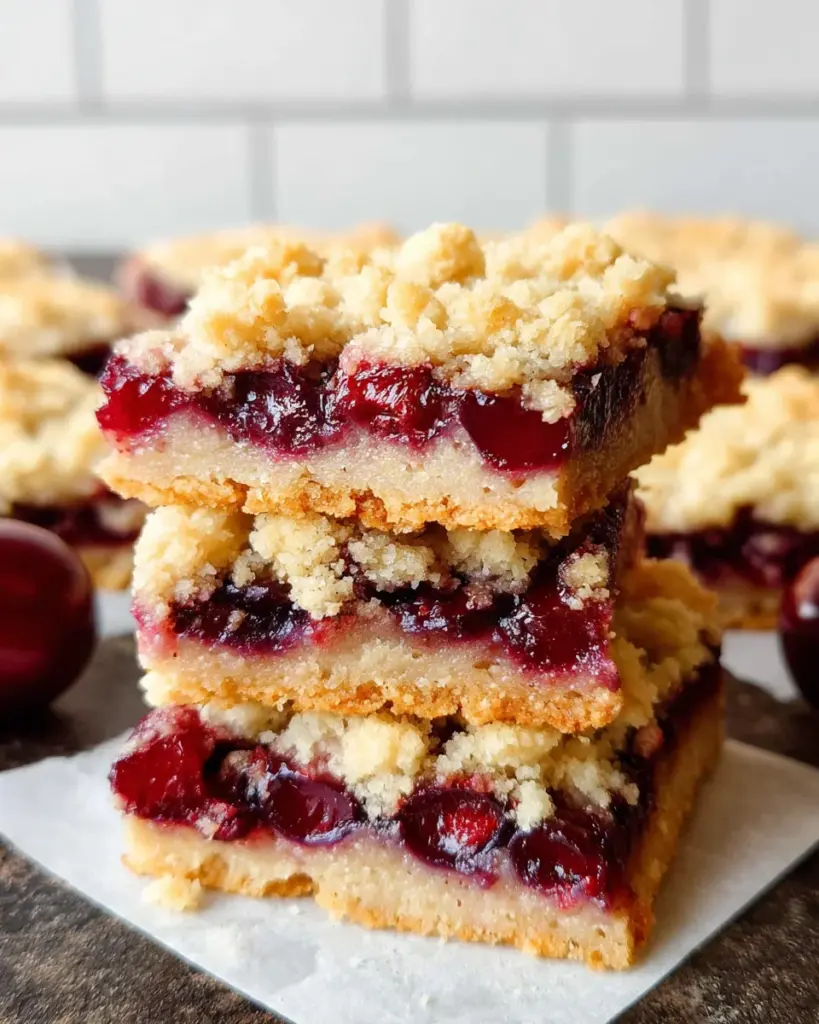
Hey there, fellow home cooks! If you’re on the lookout for a quick and delightful dessert, look no further than these Cherry Crumb Bars. With a buttery shortbread base and a luscious cherry filling, they are the perfect treat to satisfy that sweet craving on busy days. I know how hectic life can get, especially for us moms and professionals. That’s why I adore recipes that are both simple and impressive. These cherry crumb bars strike just the right balance, making them a go-to solution when you want to whip up something delicious without spending hours in the kitchen.
Why You’ll Love This Cherry Crumb Bars
You’ll absolutely love these Cherry Crumb Bars because they are a breeze to make—perfect for our busy lives! The blend of sweet cherries and buttery shortbread is simply divine. Plus, they come together in under an hour, making them a quick yet delightful dessert option. Whether you’re enjoying a quiet evening or entertaining guests, these bars will impress and satisfy, bringing smiles all around.
Ingredients for Cherry Crumb Bars
Let’s chat about the ingredients you’ll need for these delicious Cherry Crumb Bars. Each component brings its unique magic to the table! Here’s what you’re gathering:
- Pitted Cherries: Fresh or frozen cherries will work. If you have sour cherries, just add a little more sugar to balance their tartness.
- Granulated Sugar: Sweetens the cherry filling. Adjust based on your taste and the sweetness of your cherries.
- Cornstarch: This thickens the cherry filling and gives it that perfect clingy texture.
- Lemon Juice: Freshly squeezed is best! It adds a bright zing that enhances the cherry flavor.
- Unsalted Butter: Melting it gives the shortbread layer its rich, buttery goodness. Trust me; it’s worth it!
- All-Purpose Flour: The backbone of your shortbread base. Helps give the bars structure and that lovely crumb.
- Brown Sugar: Adds a hint of caramel flavor and enhances moisture in the shortbread topping.
- Salt: Just a pinch! It balances the sweetness and elevates the flavor profile.
If you need precise measurements, don’t worry! You’ll find them at the bottom of this article, available for easy printing. Happy prepping!
How to Make Cherry Crumb Bars
Now that we have our ingredients ready, let’s dive into making these scrumptious Cherry Crumb Bars! Follow along with these simple steps for a delightful weeknight treat.
Step 1: Preheat and Prepare your Pan
First things first, preheat your oven to 325°F (170°C). Preheating ensures even baking, so your bars have that perfect golden color. Next, grab an 8×8 inch (20×20 cm) baking pan and line it with parchment paper. This little trick not only makes cleanup a breeze but also helps lift your bars out cleanly once they’re baked.
Step 2: Prepare the Cherry Filling
Let’s get those cherries ready! Toss your pitted cherries in a medium bowl with 1 tablespoon of sugar, 2 tablespoons of cornstarch, and the freshly squeezed lemon juice. This mix will not only sweeten the cherries, but the cornstarch will help thicken the filling while it bakes. Ensure every cherry is coated, so they burst with flavor in every bite!
Step 3: Make the Shortbread Layer
In a separate large bowl, whisk together the dry ingredients: 1 3/4 cups of all-purpose flour, 2/3 cup of granulated sugar, 3 tablespoons of cornstarch, and 1/4 teaspoon of salt. This combination creates the foundation of your buttery shortbread. Next, drizzle in the melted unsalted butter and mix until it resembles a crumbly texture. You want to feel tiny clumps forming—this will create that lovely, crumbly topping!
Step 4: Layer and Bake
Now it’s time to assemble. Take a little more than half of your shortbread mixture and press it firmly into the lined baking pan. Make sure it’s even! Pop it in the preheated oven for about 15-20 minutes until set. Once it’s out, carefully spoon the cherry mixture on top, spreading it evenly. Then, crumble the remaining shortbread mixture over the cherries. This adds a beautiful top layer. Bake everything for an additional 25 minutes until golden yellow.
Step 5: Cool and Slice
This might be the hardest part—waiting for the bars to cool! Let them sit for about 3-4 hours. Cooling is crucial; it allows the filling to set beautifully so you can slice them neatly. When ready, use the parchment paper to lift the bars out of the pan, then grab a sharp knife for cutting. Enjoy these Cherry Crumb Bars with friends, family, or by yourself—hey, I won’t judge!
Tips for Success
- Use fresh cherries for the best flavor, but frozen works great too.
- Always measure your ingredients accurately for consistent results.
- Let the bars cool completely for easier slicing and better texture.
- Store leftovers in an airtight container to keep them fresh.
- Feel free to experiment with different fruits like blueberries or raspberries for variety!
Equipment Needed for Cherry Crumb Bars
- 8×8 inch (20×20 cm) Baking Pan: A square pan is ideal, but a round pan works too.
- Parchment Paper: Essential for easy cleanup and bar lifting. Aluminum foil can be a substitute.
- Mixing Bowls: A medium and a large bowl make mixing easy.
- Whisk: A standard whisk or fork works great for combining ingredients.
Variations on Cherry Crumb Bars
- Pineapple Cherry Combo: Blend fresh cherries with crushed pineapple for a tropical twist.
- Nutty Crunch: Add chopped walnuts or almonds into the shortbread layer for added texture.
- Vegan Version: Substitute butter with coconut oil and use a flaxseed meal to replace eggs if desired.
- Gluten-Free Option: Replace all-purpose flour with a gluten-free flour blend for a celiac-friendly treat.
- Spiced Cherry: Incorporate a dash of cinnamon or nutmeg into the cherry filling for a warm, cozy flavor.
Serving Suggestions for Cherry Crumb Bars
- Classic Vanilla Ice Cream: Serve warm bars with a scoop of creamy vanilla ice cream for a delightful contrast.
- Fresh Whipped Cream: Top with a dollop of freshly whipped cream for added sweetness.
- Berry Compote: Drizzle with a mixed berry compote for a fruity twist.
- Dusting of Powdered Sugar: A light sprinkle of powdered sugar adds a pretty touch.
FAQs about Cherry Crumb Bars
Can I use frozen cherries for my Cherry Crumb Bars?
Absolutely! Frozen cherries work perfectly. Just be sure to thaw and drain them before adding to the filling. This prevents excess moisture from making your bars soggy.
How long do Cherry Crumb Bars last?
When stored in an airtight container, these cherry bars can last up to five days at room temperature. If you want to extend their freshness, you can freeze them for up to three months. Just let them cool completely before wrapping!
Can I substitute the cherries with another fruit?
Definitely! Feel free to experiment with other fruits. Blueberries, raspberries, or even peaches can create delicious variations on this classic dessert. Just keep in mind that the sugar levels may need adjusting depending on the sweetness of the fruit.
What if I don’t have cornstarch?
No problem! You can use all-purpose flour as a substitute, though it won’t thicken quite as well as cornstarch. Just adjust the quantity to maintain the right texture in your filling.
Can I make the filling ahead of time?
Yes! You can prepare the cherry filling a day in advance and store it in the refrigerator. Just give it a good stir before using it to avoid any separation. This trick can help save time when you’re ready to bake!
Final Thoughts
As we wrap up our journey through these delightful Cherry Crumb Bars, I can’t help but feel a sense of joy. This recipe is not just about baking; it’s about creating sweet memories in your kitchen. The aroma of baked cherries mingling with buttery shortbread will fill your home with warmth and happiness. Whether you’re sharing them at a family gathering or enjoying a quiet moment with coffee, these bars deliver joy in every bite. Trust me, you and your loved ones will fall head over heels for this recipe. So, grab those cherries and let the baking adventure begin!
Print
Cherry Crumb Bars
- Total Time: 3 hours 15 minutes
- Yield: 16 bars 1x
- Diet: Vegetarian
Description
Delicious cherry crumb bars with a buttery shortbread base and a sweet cherry filling.
Ingredients
- 2 cups pitted cherries, measure after pitting & slicing in half
- 1 tablespoon granulated sugar, use 3 tablespoons if using sour cherries
- 2 tablespoons cornstarch (16 grams)
- 1 tablespoon lemon juice, freshly squeezed
- 3/4 cup unsalted butter (168 grams), melted
- 1 3/4 cup all-purpose flour (219 grams)
- 2/3 cup granulated sugar (133 grams)
- 3 tablespoons cornstarch (24 grams)
- 1/4 teaspoon salt
- 1 tablespoon brown sugar
Instructions
- Preheat the oven to 325F (170C).
- Line an 8×8 inch (20×20 cm) pan with parchment paper, leaving an overhang around the edges.
- Ensure your cherries are pitted and slice each cherry in half or quarters.
- In a medium bowl, toss together the ingredients for the cherry filling: cherries, 1 tablespoon sugar, 2 tablespoons cornstarch and fresh lemon juice. Set aside.
- In a separate large bowl, whisk together the dry ingredients for the shortbread layer: 1 3/4 cups all-purpose flour, 2/3 cup granulated sugar, 3 tablespoons cornstarch and 1/4 teaspoon salt.
- Stir/whisk the melted butter into the flour mixture until crumbly.
- Press a little more than half of the shortbread layer into the prepared pan.
- Bake in the preheated oven for 15-20 minutes, or until the top looks set. Remove from the oven, but leave the oven turned on.
- With the reserved shortbread mixture, stir in the 1 tablespoon of brown sugar.
- Spoon the cherry mixture on top of the baked shortbread base, avoiding excess juice.
- Crumble the remaining shortbread/crumb mixture over the cherry layer.
- Return the pan to the oven and bake for about 25 minutes or until the top is golden yellow.
- Cool the bars completely for 3-4 hours.
- Lift the bars out of the pan using the parchment paper and slice with a sharp knife.
Notes
- For sour cherries, increase the sugar to 3 tablespoons.
- Ensure the bars are completely cool before slicing for the best texture.
- Prep Time: 20 minutes
- Cook Time: 40 minutes
- Category: Dessert
- Method: Baking
- Cuisine: American
Nutrition
- Serving Size: 1 bar
- Calories: 200
- Sugar: 10g
- Sodium: 100mg
- Fat: 9g
- Saturated Fat: 5g
- Unsaturated Fat: 4g
- Trans Fat: 0g
- Carbohydrates: 30g
- Fiber: 1g
- Protein: 2g
- Cholesterol: 20mg


