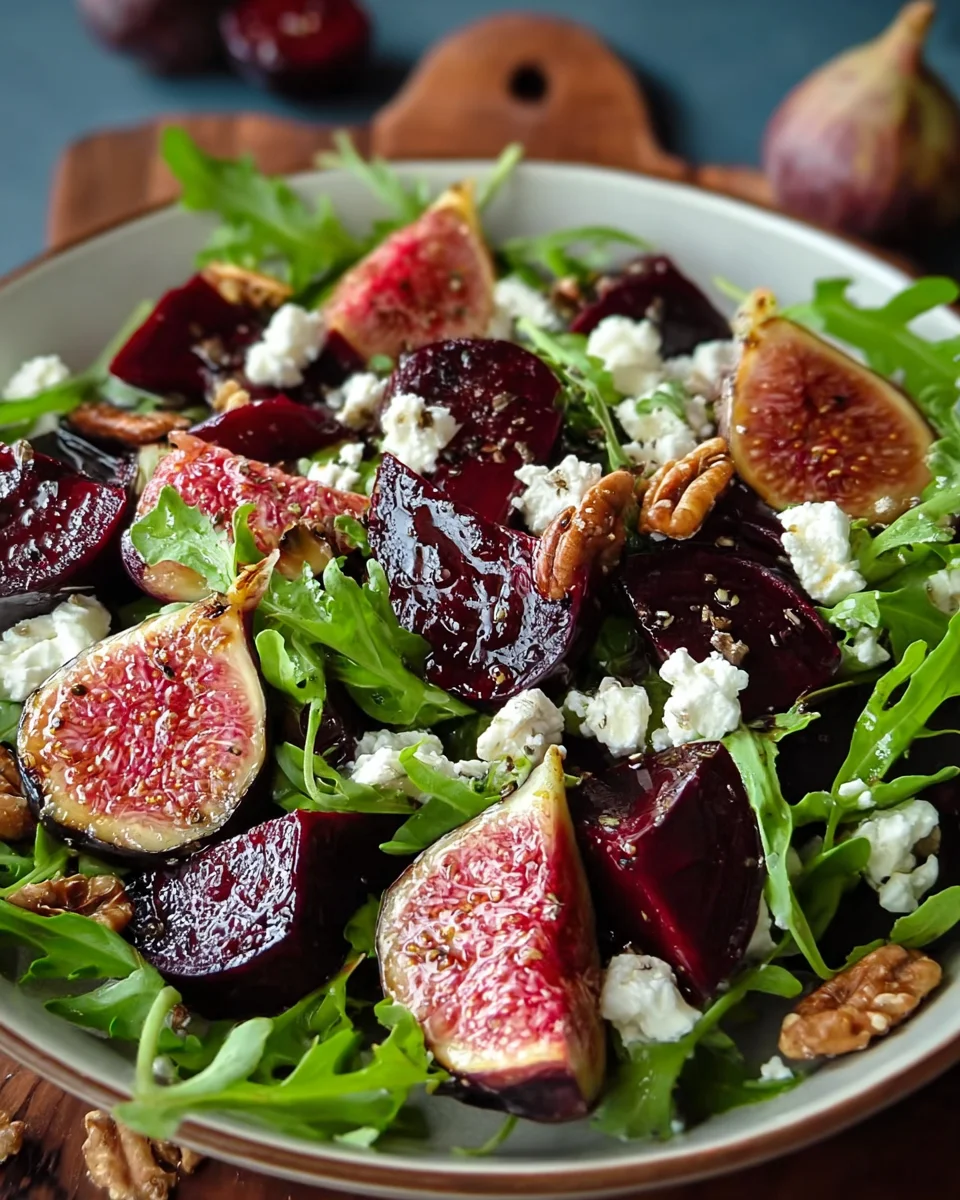
Introduction to Cheese Herb Fatayer Bites
Cheese Herb Fatayer Bites. The flash of time running in and out of our busy lives. Cheese Herb Fatayer Bites are my spick and span solution around the table. Three children? I’m a mom in motion— I get it. And, after a long workday, it’s hard to prepare something delightful that offers solace These bites take no time at all to make, yet look impressive and taste incredible – perfect for serving at a gathering or enjoyed as a ‘quick’ snack, that’s really for those fugitive moments when comfort food is all you’re craving. Trust me, these cheeky little cheese filled pockets of joy will have your heart from the very first bite.
Why You’ll Love This Cheese Herb Fatayer Bites
There’s something magical about the simplicity of Cheese Herb Fatayer Bites. They come together in no time, making them ideal for busy evenings or unexpected guests. Just imagine the lovely aroma filling your kitchen as they bake! Plus, the cheesy, herbaceous filling is a crowd-pleaser, satisfying both kids and adults alike. Trust me, once you serve these bites, they’ll be a hit, and you’ll feel like a culinary superstar!
Ingredients for Cheese Herb Fatayer Bites
Gathering the right ingredients is the first step toward creating your Cheese Herb Fatayer Bites. Here’s what you’ll need, along with a few tips:
- All-purpose flour: The backbone of your dough, giving it a light and fluffy texture. You can also use whole wheat flour for a heartier bite.
- Instant yeast: This magical ingredient helps the dough rise quickly, making your preparation time shorter. Ensure it’s fresh for the best results.
- Granulated sugar: Just a touch, to feed the yeast and enhance the dough’s flavor subtly.
- Fine salt: Essential for flavor, balance the savory notes of cheese and herbs.
- Olive oil: Adds richness to the dough while keeping it tender. You could substitute with melted butter or vegetable oil if desired.
- Warm water: The warmer, the better—just not too hot! It activates the yeast, creating that delightful rise.
- Feta cheese: Brings a salty, tangy flavor, which pairs beautifully with other cheeses in the filling.
- Mozzarella cheese: Melts wonderfully, providing that gooey, cheesy goodness we all adore.
- Fresh parsley: A must for adding a fresh touch to your filling; swap it out for dill for a different flavor profile!
- Fresh mint: Adds a unique zest; it’s an excellent complement to the cheese. Feel free to omit if you’re not a fan.
- Lemon zest: Just a hint of brightness that lifts the flavors. You can replace it with lime zest for a twist.
- Salt and black pepper: Essential for seasoning; adjust to your personal taste.
- Egg: Used for the egg wash, giving your pastries a beautiful golden finish.
- Water: Just a splash to mix with the egg for brushing.
For those exact measurements, simply scroll down to the bottom of the article for a printable version of the recipe!
How to Make Cheese Herb Fatayer Bites
Creating your Cheese Herb Fatayer Bites is a simple yet gratifying journey! Gather your ingredients, roll up your sleeves, and let’s bring these delicious pastries to life step by step.
Step 1: Prepare the Yeast Mixture
Start by taking your warm water and adding a teaspoon of sugar along with the instant yeast. Stir gently and let it sit for about 5 to 10 minutes. You’ll know it’s ready when it starts to foam like a bubbly bath! This indicates that your yeast is lively and will give your dough that lovely rise.
Step 2: Make the Dough
In a large mixing bowl, combine the all-purpose flour and fine salt. Make a well in the center and pour in the activated yeast mixture along with the olive oil. Stir until a rough dough forms. It should feel slightly tacky but manageable. If it’s too sticky, don’t be afraid to sprinkle a little more flour. We’re aiming for a soft, pliable dough here!
Step 3: Knead the Dough
Transfer your dough onto a lightly floured surface. Knead for about 5 to 7 minutes. You’ll know it’s ready when it’s smooth, elastic, and springs back when poked. It’s like giving your dough a little workout; enjoy the process and embrace that glorious doughy texture in your hands!
Step 4: Let the Dough Rise
Place your kneaded dough in an oiled bowl, cover it with a clean towel, and let it rise for 30 minutes. You want it to double in size! A good hint: if you gently press a finger into the dough, it should leave a slight indentation. This means it’s ready for the next step!
Step 5: Prepare the Cheese Filling
In a separate bowl, blend together your crumbled feta cheese, shredded mozzarella, chopped parsley, chopped mint, and lemon zest. Mix thoroughly, ensuring every bite carries that delightful balance of flavors. Season with a pinch of salt and pepper, adjusting to your taste. This filling is where the magic happens!
Step 6: Preheat Oven and Prepare Baking Sheet
Preheat your oven to 375°F (190°C) while you prep your baking sheet with parchment paper. Preheating is crucial! It ensures your Cheese Herb Fatayer Bites bake evenly and develop a beautiful golden crust.
Step 7: Shape the Bites
After the dough has risen, punch it down gently. Divide it into 16 equal pieces and roll each piece into a ball. On a floured surface, roll each ball into a 4-inch circle. Place a tablespoon of your cheese filling in the center, then fold the edges over to create a triangle shape. Make sure to pinch the seams tightly; we don’t want any cheesy escapes happening!
Step 8: Brush and Bake
Mix the beaten egg with a tablespoon of water to create an egg wash. Brush the tops of each fatayer with this mixture for a lovely, golden finish. Place them on your prepared baking sheet and pop them in the oven for 12 to 15 minutes, until they are golden brown and crisp. The aroma wafting through your kitchen will be irresistible!

Tips for Success
- Always check your yeast’s expiration date for the best results.
- Use warm, not hot, water to avoid killing the yeast.
- Don’t rush the rising process; it greatly affects texture.
- Experiment with different herbs to find your favorite flavor combination.
- If the dough feels too dry, add a little water; if too wet, sprinkle in more flour.
Equipment Needed
- Mixing bowls: A large bowl for dough and a smaller one for the filling.
- Rolling pin: Use a wine bottle if you don’t have one handy!
- Parchment paper: Helps with easy cleanup; aluminum foil works too.
- Baking sheet: A standard sheet pan will do the trick.
- Whisk: Essential for mixing; a fork can be a quick substitute.
Variations
- Spinach and Feta: Swap out half of the cheese for fresh sautéed spinach for a lighter, veggie-packed option.
- Spicy Twist: Add a pinch of red pepper flakes to the cheese filling for a little kick that older kids (and adults) will love.
- Gluten-Free: Use a gluten-free flour blend instead of all-purpose flour to make these treats suitable for gluten-sensitive friends and family.
- Herb-Infused: Experiment with different herbs, like thyme or basil, to tailor each batch to your family’s taste preferences.
- Meat Lovers: Mix in some cooked, crumbled sausage or ground lamb in the cheese filling for a heartier version.
Serving Suggestions
- Fresh Salad: Pair with a simple arugula or mixed greens salad for a refreshing contrast.
- Dipping Sauces: Serve alongside tzatziki or spicy harissa for extra deliciousness.
- Presentation: Arrange on a beautiful platter, garnished with fresh herbs for a stunning display.
- Drinks: A crisp white wine or sparkling lemonade perfectly complements these savory bites.
FAQs about Cheese Herb Fatayer Bites
As I dive deeper into the world of cheese-filled pastries, I often get asked a few common questions. Here are some of the most frequently asked queries regarding Cheese Herb Fatayer Bites:
Can I make Cheese Herb Fatayer Bites ahead of time?
Absolutely! You can prepare the dough and the cheese filling a day in advance. Just store everything separately in the refrigerator. When you’re ready to bake, assemble and pop them into the oven, and you’ll have warm snacks in minutes!
How should I store leftover Cheese Herb Fatayer Bites?
Place any leftovers in an airtight container in the fridge for up to three days. You can reheat them in the oven at 350°F (175°C) for about 10 minutes to regain that delightful crispiness!
Can I freeze these bites?
For sure! Cheese Herb Fatayer Bites freeze exceptionally well. Just freeze them before baking. When you’re ready to enjoy, bake them directly from the freezer, adding a few extra minutes to the cooking time.
What can I serve with Cheese Herb Fatayer Bites?
These bites pair beautifully with a fresh salad or savory dipping sauce, like tzatziki or a spicy marinara. The contrasts in flavor elevate the entire experience!
What’s the best way to achieve a flaky pastry?
To ensure fluffy and flaky bites, don’t skip the rising step! Allow the dough enough time to prove, and be gentle with it during shaping. This helps develop those beautiful layers everyone loves!
Final Thoughts
Making Cheese Herb Fatayer Bites isn’t just about cooking; it’s a delightful experience that brings warmth and joy to my kitchen. Each bite is a burst of cheesy goodness, where the flavors dance together perfectly, creating happy moments with loved ones. Whether it’s for a cozy family gathering, a snack on a busy evening, or a fabulous appetizer for friends, these savory pastries are always a hit. I can’t help but smile as I watch everyone enjoy them, and I hope you find just as much happiness in every cheesy, herby bite!
Print
Cheese Herb Fatayer Bites
- Total Time: 1 hour
- Yield: 16 pieces 1x
- Diet: Vegetarian
Description
Cheese Herb Fatayer Bites are delightful savory pastries filled with a cheesy herb mixture, perfect as appetizers or snacks.
Ingredients
- 2 cups all-purpose flour
- 1 teaspoon instant yeast
- 1 teaspoon granulated sugar
- 1/2 teaspoon fine salt
- 3 tablespoons olive oil
- 3/4 cup warm water, more as needed
- 1 cup feta cheese, crumbled
- 1 cup mozzarella cheese, shredded
- 2 tablespoons fresh parsley, chopped
- 1 tablespoon fresh mint, chopped
- 1 teaspoon lemon zest
- Salt and black pepper, to taste
- 1 egg, beaten
- 1 tablespoon water
Instructions
- In a bowl, combine warm water with sugar and instant yeast, allowing the mixture to sit for 5 to 10 minutes until foamy.
- In a large mixing bowl, whisk together all-purpose flour and salt.
- Add the activated yeast mixture and olive oil to the flour mixture, stirring until a rough dough forms.
- Transfer the dough to a lightly floured surface and knead for 5 to 7 minutes until smooth and elastic.
- Place the dough in a lightly oiled bowl, cover with a clean towel, and let rise for 30 minutes until doubled in volume.
- In a separate bowl, combine crumbled feta, shredded mozzarella, chopped parsley, chopped mint, lemon zest, and a pinch of salt and pepper. Mix thoroughly and set aside.
- Preheat oven to 375°F (190°C) and line a baking sheet with parchment paper.
- Punch down the risen dough and divide it into 16 equal pieces. Roll each piece into a ball.
- On a lightly floured surface, roll each ball into a 4-inch diameter circle.
- Place 1 tablespoon of cheese mixture in the center of each dough circle.
- Lift and fold edges of each circle to create a triangle shape, pinching seams tightly to seal in the filling.
- Arrange the fatayer on the prepared baking sheet. Mix beaten egg with water and brush tops evenly.
- Bake in the preheated oven for 12 to 15 minutes, or until golden brown and crisp.
- Transfer to a wire rack and let cool slightly before serving warm.
Notes
- Make sure the water is warm but not hot to activate the yeast properly.
- You can use any combination of herbs you like for the filling.
- These bites can be frozen before baking; just bake them straight from the freezer for a few extra minutes.
- Prep Time: 45 minutes
- Cook Time: 15 minutes
- Category: Appetizers
- Method: Baking
- Cuisine: Middle Eastern
Nutrition
- Serving Size: 1 piece
- Calories: 150
- Sugar: 1g
- Sodium: 300mg
- Fat: 9g
- Saturated Fat: 4g
- Unsaturated Fat: 3g
- Trans Fat: 0g
- Carbohydrates: 12g
- Fiber: 1g
- Protein: 5g
- Cholesterol: 30mg


