Introduction to Banana Poke Cake Dessert
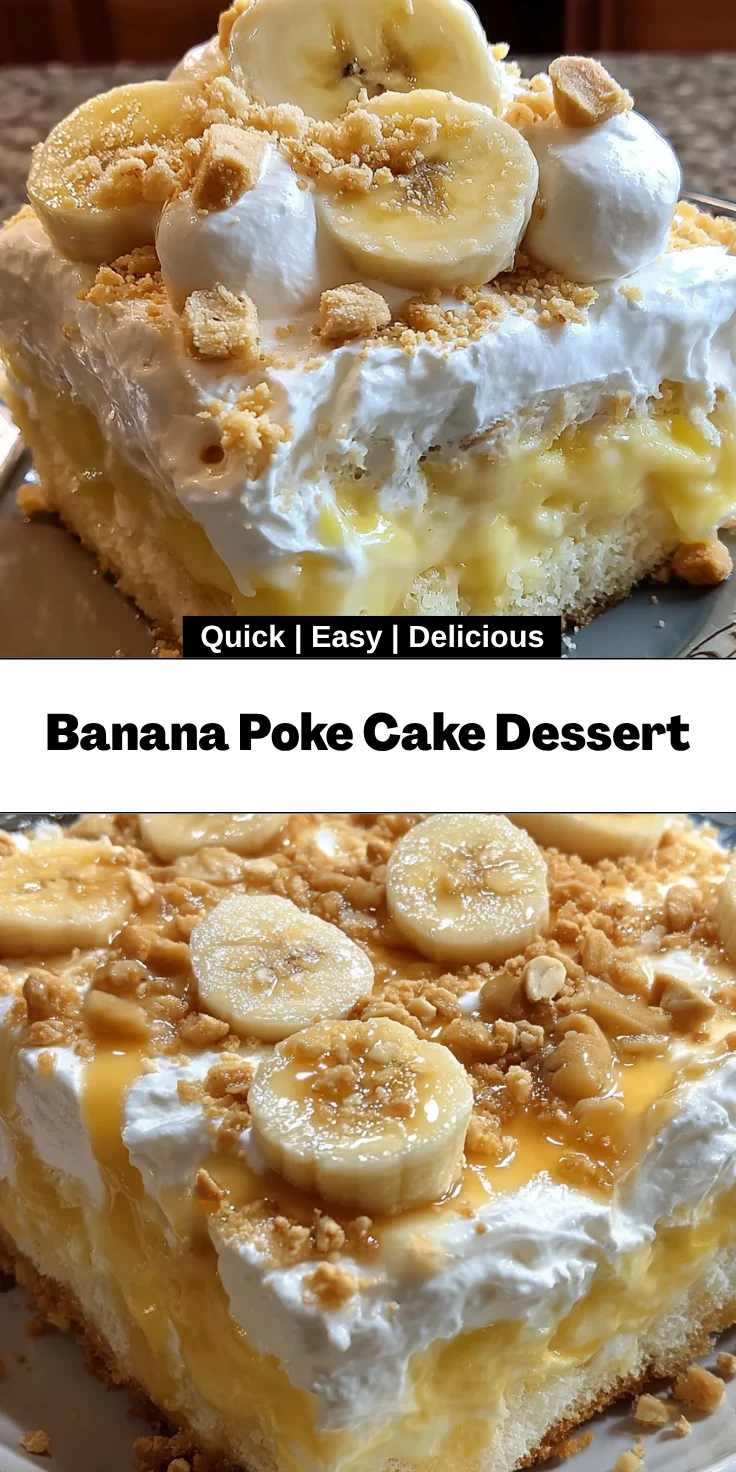
I know life can be pretty hectic when you are a mom on-the-go. And, that’s why I’m constantly veering towards anything quick and fun to still express my passion for baking! Enter – Banana Poke Cake Dessert! This great dessert embodies all the love, warmth, and nostalgia of goodness homemade but without the fuss. Think of a kick of super-moist, light cake that’s been infused with creamy pudding; all of this is topped with airy Cool Whip and crispy wafers; just perfect for any occasion whether shared with a group of friends or family members or whether it’s a simple treat after a long day at work. Yeah, right! Everybody will insist on having second helpings.
Why You’ll Love This Banana Poke Cake Dessert
This Banana Poke Cake Dessert is a game-changer in my kitchen! First off, it’s incredibly easy to make, taking only about 20 minutes of prep time.
The flavors are simply divine; the combination of banana and creamy pudding creates a heavenly taste explosion.
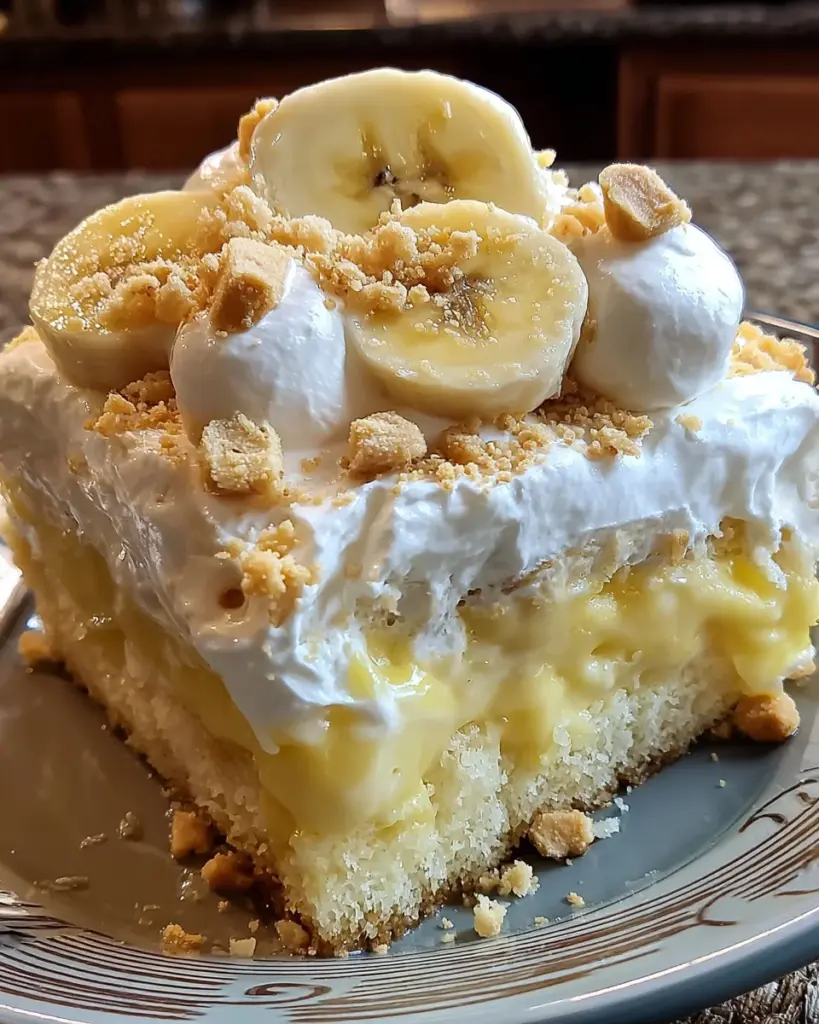
And let’s not forget the presentation—garnished with fresh bananas and vanilla wafers, it’s as beautiful as it is delicious. This dessert is sure to impress!
Ingredients for Banana Poke Cake Dessert
To create this scrumptious Banana Poke Cake Dessert, you’ll need some simple ingredients that you might already have in your kitchen. Here’s a quick rundown of what you’ll use:
- Yellow cake mix: The foundation of the cake, providing that moist, tender texture.
- Water: It helps to bring the cake mix to life and keeps it moist.
- Vegetable oil: This adds richness and ensures the cake stays fluffy.
- Large eggs: They bind everything together, adding both structure and moisture.
- Vanilla instant pudding mix: This brings a hint of sweetness and creaminess, enhancing the overall flavor.
- Banana cream instant pudding mix: A star ingredient, giving the cake that beloved banana flavor we all crave.
- Cold milk: Essential for mixing with the pudding to create a luscious layer.
- Cool Whip: This fluffy topping adds lightness and creaminess. Opt for extra creamy for the best results!
- Crushed vanilla wafer cookies: These provide a delightful crunch that balances the softness of the cake.
- Fresh bananas: Sliced as a garnish, they add a pretty touch and fresh flavor.
For the exact measurements of each ingredient, head to the bottom of the article where you’ll find everything neatly laid out for printing. This Banana Poke Cake Dessert is not only easy to make but also flexible. Feel free to swap in your favorite cake mix or pudding flavors for a fun twist!
How to Make Banana Poke Cake Dessert
Now that you have the ingredients ready to go, let’s dive into making this delightful Banana Poke Cake Dessert! Follow these simple steps, and soon you’ll have a showstopper on your hands.
Step 1: Prepare the Cake
Start by preheating your oven according to the instructions on the yellow cake mix box. In a large mixing bowl, combine the yellow cake mix, water, vegetable oil, and eggs. Mix everything together until you have a smooth batter. It’s a great time to let your kids help out! They love to stir and pour.
Next, grease a 9×13-inch baking dish with a little bit of butter or cooking spray. Pour the batter into the prepared dish, making sure it’s evenly spread. Bake according to the package directions, usually about 30 minutes. Keep an eye on it; the scent alone will make your kitchen smell heavenly! Once it’s baked, allow the cake to cool completely in the dish before moving on to the fun part.
Step 2: Poke the Cake
Once the cake has cooled down (very important—don’t skip this!), grab a wooden spoon or similar utensil. Gently poke holes all over the top of the cake; about an inch apart works well. The holes allow the pudding to seep in, giving you that delicious flavor in every bite. Trust me; your taste buds will thank you!
Step 3: Prepare the Pudding
In a mixing bowl, whisk together the vanilla instant pudding mix, banana cream instant pudding mix, and cold milk. Use a hand mixer or whisk until the mixture starts to thicken—this usually takes about 2 minutes. The pudding needs to be creamy, but not too thick, so pay attention! This is where the magic starts to happen as the flavor intensifies.
Step 4: Assemble the Cake
Next, pour the pudding mixture evenly over the poked cake. Spread it gently with a spatula so it fills all the holes. This step is crucial because it allows the cake to absorb that luscious pudding. Then, cover the cake with plastic wrap and pop it in the fridge for at least one hour. The chilling time lets everything meld beautifully together, and it increases the anticipation for dessert!
Step 5: Finish and Serve
After your hour in the fridge, it’s time for the grand finale! Take out the cake and spread the thawed Cool Whip evenly over the pudding layer. Don’t be shy—ice it generously! Next, sprinkle the crushed vanilla wafer cookies on top for that delightful crunch. For a finishing touch, garnish with slices of fresh banana. Your Banana Poke Cake Dessert is now ready to shine! Slice it up and serve it to your eager guests or, hey, just to yourself after a long day. You deserve it!
Tips for Success
- Make sure your cake is completely cool before poking holes to prevent melting the pudding.
- Use extra creamy Cool Whip for a richer, fluffier topping.
- Adjust the number of bananas for garnish based on your family’s love for them!
- For easy slicing, let the cake chill longer in the fridge if time allows.
- Store any leftovers in the refrigerator, but be mindful—this cake doesn’t last long!
Equipment Needed
- Mixing bowls: You can use a large glass or metal bowl; they work well for whisking.
- 9×13-inch baking dish: Any baking dish close to this size will do.
- Wooden spoon: A spatula or even a fork can come in handy if needed.
- Whisk: A hand mixer speeds things up, but a good old whisk works just fine.
- Plastic wrap: You can also use aluminum foil to cover the cake when chilling.
Variations for Banana Poke Cake Dessert
- Chocolate Delight: Swap out the yellow cake mix for chocolate cake mix. Use chocolate pudding instead of vanilla for a decadent twist that any chocolate lover will adore!
- Nutty Banana: Add a half cup of chopped walnuts or pecans into the pudding mixture for a crunchy texture that complements the soft cake beautifully.
- PB&B Flavor: Swirl in some creamy peanut butter into the pudding for a delightful peanut butter banana flavor that tastes like a dessert dream!
- Dairy-Free Option: Use a dairy-free cake mix and almond or oat milk to prepare the pudding for a delightful treat that caters to dairy sensitivities.
- Fruit Medley: Mix in other fresh fruits like strawberries or blueberries as a garnish to add bursts of color and flavor to your Banana Poke Cake Dessert.
Serving Suggestions for Banana Poke Cake Dessert
- Pair the cake with a scoop of vanilla ice cream for an extra creamy treat.
- Serve it alongside fresh fruit salad for a refreshing contrast.
- A cold glass of milk or homemade iced tea complements the sweetness perfectly.
- For presentation, drizzle some chocolate syrup on the plate before placing a slice.
FAQs about Banana Poke Cake Dessert
Can I make Banana Poke Cake Dessert ahead of time? Absolutely! This cake is great for making in advance. Just prepare it a day ahead and cover it tightly to keep it fresh. The flavors actually get better as they meld together in the fridge!
What can I use instead of Cool Whip? If you’re not a fan of Cool Whip, you can use homemade whipped cream. Just whip together heavy cream with a bit of sugar and vanilla extract until stiff peaks form. It will add a lovely, fresh taste!
Can I freeze Banana Poke Cake Dessert? While I usually recommend enjoying it fresh, you can freeze the cake without the toppings. Simply wrap it tightly in plastic wrap and then aluminum foil. When you’re ready to serve, let it thaw and add your toppings right before serving.
Is this dessert suitable for kids? Yes! Kids simply love this Banana Poke Cake Dessert. The appealing layers and sweet flavors make it a hit for family gatherings or birthday parties. Just keep an eye on those sweet tooths!
Can I use a different flavor of pudding? Of course! Feel free to switch out the pudding flavors to suit your taste. Chocolate or butterscotch pudding would be delightful alternatives, allowing you to create new flavor combinations in your Banana Poke Cake Dessert!
Final Thoughts
This Banana Poke Cake Dessert shines as a true labor of love, turning any meal into a celebration. There’s something magical about watching your family devour it with joyous smiles and satisfied sighs. It’s more than just dessert; it’s a sweet memory in the making, bridging generations over a shared slice.
Whether you’re a busy mom looking for a quick yet impressive treat or a baking enthusiast wanting to try something new, this cake is a delightful choice. So, roll up your sleeves, embrace the joy of baking, and let this cake bring sweetness into your home!
Print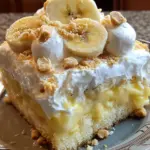
Banana Poke Cake Dessert
- Total Time: 1 hour 50 minutes
- Yield: 12 servings 1x
- Diet: Vegetarian
Description
A delightful and moist Banana Poke Cake topped with creamy pudding and Cool Whip, perfect for any dessert lover.
Ingredients
- 1 box yellow cake mix
- 1 cup water
- 1/2 cup vegetable oil
- 3 large eggs
- 3.4 oz box vanilla instant pudding mix (do not use cook-and-serve)
- 3.4 oz box banana cream instant pudding mix
- 3 cups cold milk
- 8 oz tub of Cool Whip, thawed (preferably extra creamy)
- 2 cups crushed vanilla wafer cookies
- 1–2 fresh bananas, sliced (for garnish)
Instructions
- Mix the yellow cake mix with water, oil, and eggs according to package directions. Pour into a greased 9×13-inch dish and bake as directed on the box. Let the cake cool completely.
- Using the handle of a wooden spoon or a similar utensil, create holes across the surface of the cooled cake.
- In a mixing bowl, whisk together the vanilla instant pudding mix, banana cream instant pudding mix, and cold milk until they begin to thicken.
- Pour the prepared pudding mixture evenly over the cake, spreading it with a spatula to fill the holes. Refrigerate for 1 hour.
- Spread the thawed Cool Whip over the pudding layer. Sprinkle crushed vanilla wafers generously over the top. Garnish with freshly sliced bananas before serving.
Notes
- Ensure the cake is completely cooled before adding the pudding layer to prevent melting.
- For best results, use extra creamy Cool Whip.
- Feel free to adjust the amount of bananas used for garnish according to your preference.
- Prep Time: 20 minutes
- Cook Time: 30 minutes
- Category: Dessert
- Method: Baking
- Cuisine: American
Nutrition
- Serving Size: 1 piece
- Calories: 320
- Sugar: 18g
- Sodium: 240mg
- Fat: 15g
- Saturated Fat: 5g
- Unsaturated Fat: 8g
- Trans Fat: 0g
- Carbohydrates: 42g
- Fiber: 1g
- Protein: 4g
- Cholesterol: 50mg