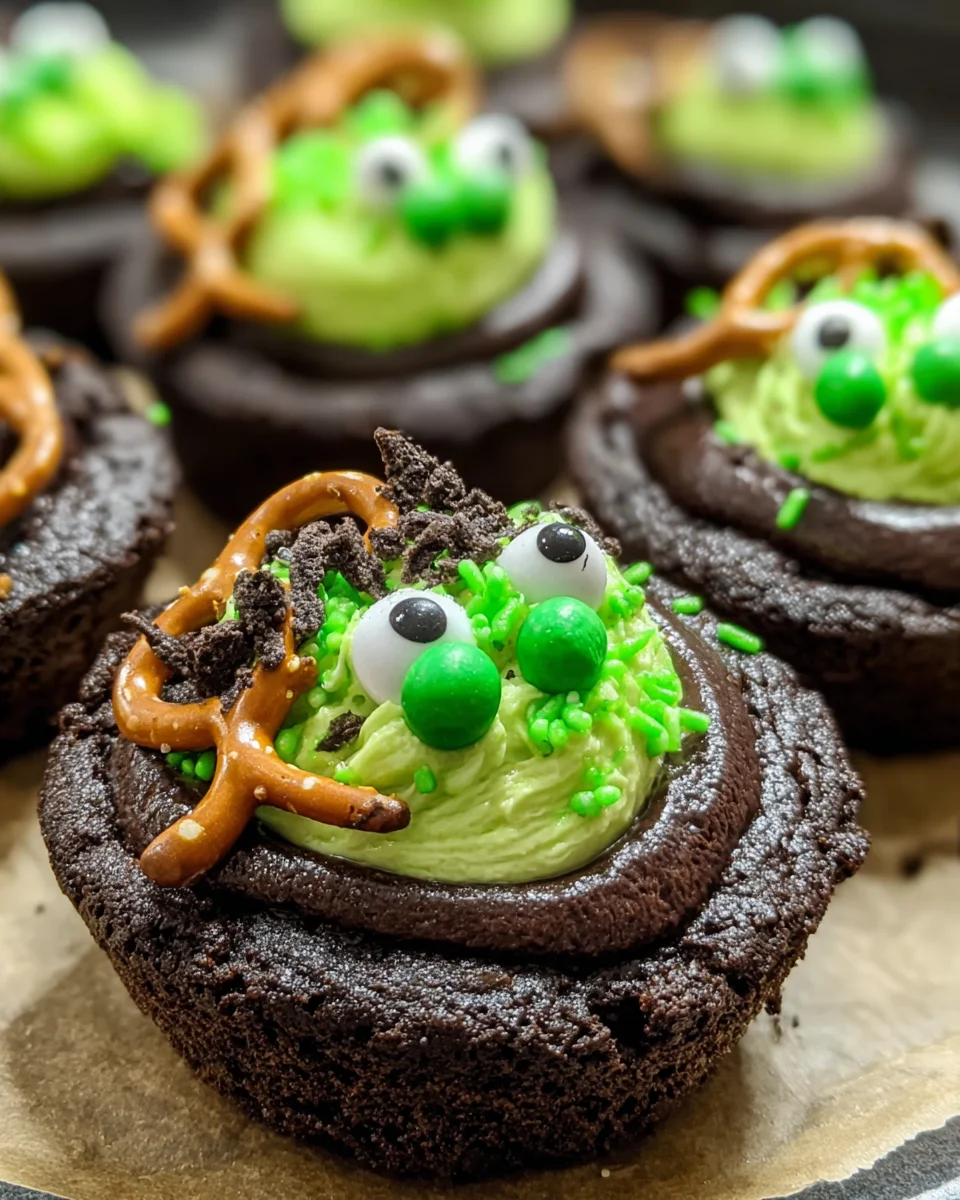
Introduction to Mummy Oreo Balls Delight
As a busy mom, I know the hustle of preparing festive treats can sometimes feel overwhelming. But fear not! The Mummy Oreo Balls Delight is here to save the day. This quick and easy Halloween treat combines the rich flavors of creamy filling with a sweet white chocolate coating, making it perfect for busy October evenings. Not only will your family and friends love these adorable little mummies, but they also require minimal effort and time. Get ready to impress your loved ones with a delightful dessert that can be whipped up in just 30 minutes!
Why You’ll Love This Mummy Oreo Balls Delight
This delightful treat brings together speed, simplicity, and irresistible taste, making it a win-win for any busy household. With just a handful of ingredients, you can craft these charming mummies in no time at all. Plus, the creamy and sweet combo creates a bite that’s simply out of this world! Trust me, when everyone sees your festive creations, they’ll be buzzing with excitement and begging for more.
Ingredients for Mummy Oreo Balls Delight
Ready to dive into the ingredients that bring these spooky delights to life? Here’s what you’ll need to make Mummy Oreo Balls Delight:
- Golden Sandwich Cookies: I prefer blonde Oreos for a unique flavor twist, but any vanilla sandwich cookies work well too.
- Cream Cheese: Softened at room temperature, this gives a rich creaminess to the filling. It’s what makes these balls downright irresistible!
- White Chocolate Candy Melts: These melt beautifully and create the perfect coating for your mummies. Dipping wafers are another tasty option!
- Candy Eyes: The finishing touch to give your mummies personality! You can find them easily at craft stores or online.
For those looking for variations or fun extras, try adding a pinch of sea salt to the chocolate or using gluten-free cookies! Remember, the exact quantities of each ingredient are at the bottom of the article for easy reference and printing.
How to Make Mummy Oreo Balls Delight
Let’s get you started on creating these adorable Mummy Oreo Balls Delight! Follow these simple steps to bring a festive twist to your table without breaking a sweat.

Step 1: Prepare the Cookie Crumbs
First things first—grab your food processor and toss in those golden sandwich cookies. Pulse them until they turn into fine crumbs. It should look like sandy powder. This step is essential for getting that perfect texture in our delicious filling.
Step 2: Combine with Cream Cheese
Next, take your cookie crumbs and scoop them into a mixing bowl. Add the softened cream cheese. Using a spatula or a mixer, blend everything together until it’s fully incorporated and smooth. You want it to combine excellently, like a sweet, creamy cloud.
Step 3: Form the Balls
Now for some fun! Grab a cookie scoop or your hands and start forming 1-inch balls from the mixture. Place these little mummies on a baking sheet lined with parchment paper. Leave some space between them so they don’t stick together. Once you’ve got all the balls made, pop them in the freezer for 30 minutes. This helps them firm up nicely!
Step 4: Melt the Chocolate
While the cookie balls are chilling, let’s melt that white chocolate. Follow the package instructions for your candy melts or dipping wafers. Typically, you’ll microwave them in short intervals, stirring in between until they’re smooth and fluid. Keep an eye on it; you don’t want to burn the chocolate!
Step 5: Coat the Oreo Balls
Once your cookie balls are nice and chilled, it’s time to coat them! Dip each ball into the smooth melted white chocolate. Use a fork to lift them out, tapping gently to remove any excess coating. This will help avoid a chocolate pool on your baking sheet!
Step 6: Decorate the Mummies
Here comes the creative part! Drizzle any leftover melted white chocolate over each coated ball. This simulates the mummy’s bandages. While the chocolate is still wet, place two candy eyes on each ball to bring them to life. How cute will those little mummies be?
Step 7: Chill Before Serving
Finally, place your decorated Mummy Oreo Balls back in the refrigerator. Let them chill for about 20 minutes or until the coating has set fully. This ensures your treats will hold their shape and be ready to impress your guests!
Tips for Success
- Use room-temperature cream cheese for easy mixing.
- Don’t rush the chilling process; it helps maintain the ball’s shape.
- For a smoother coating, ensure your chocolate is fully melted and without lumps.
- Experiment with flavored chocolate melts for a unique twist!
- Be creative with the decorations—try adding sprinkles or edible glitter for extra fun!
Equipment Needed
- Food Processor: A great tool for making cookie crumbs easily. A zip-top bag and rolling pin works too!
- Baking Sheet: Use any flat baking sheet lined with parchment paper to prevent sticking.
- Mixing Bowl: A large bowl for combining your ingredients. A sturdy plastic or glass bowl will do.
- Cookie Scoop: For consistent balls, but you can use your hands as well!
- Microwave-Safe Bowl: Perfect for melting your chocolate—glass or ceramic works best.
Variations of Mummy Oreo Balls Delight
- Chocolate Oreo Balls: Swap the golden sandwich cookies for classic chocolate Oreos for a deeper chocolate flavor.
- Nut Butter Balls: For a rich twist, mix in a spoonful of almond or peanut butter with the cream cheese.
- Vegan Option: Use vegan cream cheese and dairy-free chocolate melts for a plant-based treat everyone can enjoy.
- Gluten-Free Version: Pot for gluten-free sandwich cookies to accommodate dietary restrictions without sacrificing taste.
- Spiced Variation: Add a dash of cinnamon or pumpkin spice to the mixture for a seasonal flavor kick that screams fall!

Serving Suggestions for Mummy Oreo Balls Delight
- Serve on a Festive Platter: Arrange the Mummy Oreo Balls on a spooky-themed tray for a fun presentation.
- Pair with Hot Cocoa: These treats go perfectly with a warm cup of hot cocoa or apple cider.
- Use Fun Decorations: Surround the balls with candy corn or pumpkin decorations for a festive touch.
- Offer with Fruit: Serve alongside fresh fruits like apple slices for a balanced treat.
- Let Kids Decorate: Set up a decorating station with extra candy eyes and sprinkles for added fun!
FAQs about Mummy Oreo Balls Delight
Can I make Mummy Oreo Balls in advance?
Absolutely! You can make these delightful treats a day or two ahead. Just store them in an airtight container in the refrigerator to keep them fresh. They’ll be waiting for you when it’s time to celebrate!
What can I use instead of cream cheese?
If you’re not a fan of cream cheese, you can try using Greek yogurt or a dairy-free cream cheese alternative. Both will lend a different yet delicious flavor to your Mummy Oreo Balls Delight!
How do I store leftovers?
Any leftovers can be stored in an airtight container in the refrigerator for up to a week. Just make sure they’re fully cooled and set before packing away, so they stay adorable and delicious!
Can I freeze Mummy Oreo Balls?
Yes, you can freeze these treats! Just ensure they’re well-wrapped or placed in a freezer-safe container. Thaw them in the fridge when you’re ready to enjoy!
How do I make these gluten-free?
To make Mummy Oreo Balls Delight gluten-free, simply swap in gluten-free sandwich cookies. They’ll taste just as delightful without those pesky gluten concerns!
Final Thoughts
Creating Mummy Oreo Balls Delight is not just about baking; it’s about making memories. These adorable treats bring smiles and laughter to the table, making them a perfect addition to your Halloween festivities. I love how they combine simplicity with a touch of creativity that everyone in the family can enjoy. Whether you’re hosting a party or simply looking for a tasty dessert to share, these mummies will make any occasion feel special. So gather your loved ones, whip up this delightful recipe, and experience the joy that each delicious bite brings. Happy Halloween baking!
Print
Mummy Oreo Balls Delight
- Total Time: 30 minutes
- Yield: 24 balls 1x
- Diet: Vegetarian
Description
Mummy Oreo Balls Delight is a quick and easy Halloween treat that combines creamy filling and a sweet white chocolate coating, decorated to look like mummies.
Ingredients
- 1 package (15.35 oz) golden sandwich cookies (blonde Oreos preferred)
- 8 oz cream cheese, softened to room temperature
- 12 oz white chocolate candy melts or white dipping wafers
- candy eyes, approximately 24 pieces
Instructions
- Pulse the golden sandwich cookies in a food processor until they become fine crumbs.
- Mix the cookie crumbs with softened cream cheese until fully incorporated and smooth.
- Use a cookie scoop to form 1-inch balls from the mixture, place them on a baking sheet lined with parchment, and freeze for 30 minutes to set.
- Melt the white chocolate candy melts according to package instructions until smooth and fluid.
- Dip each chilled ball into the melted white chocolate, remove excess coating by tapping gently, then transfer back to the parchment-lined baking sheet.
- Drizzle remaining melted white chocolate over each coated ball to simulate mummy bandages and place two candy eyes on each while chocolate is still wet.
- Refrigerate the decorated balls for 20 minutes until the coating is fully set before serving.
Notes
- For best results, use blonde Oreos for a unique flavor.
- Make sure the cream cheese is at room temperature for easier mixing.
- Store any leftovers in an airtight container in the refrigerator.
- Prep Time: 20 minutes
- Cook Time: 10 minutes
- Category: Dessert
- Method: No-Bake
- Cuisine: American
Nutrition
- Serving Size: 1 ball
- Calories: 120
- Sugar: 10g
- Sodium: 35mg
- Fat: 7g
- Saturated Fat: 4g
- Unsaturated Fat: 2g
- Trans Fat: 0g
- Carbohydrates: 15g
- Fiber: 0g
- Protein: 1g
- Cholesterol: 10mg

